2004 CHEVROLET EPICA bulb
[x] Cancel search: bulbPage 1 of 338
Seats and Restraint Systems........................... 1-1
Front Seats
............................................... 1-2
Rear Seats
............................................... 1-9
Safety Belts
.............................................1-10
Child Restraints
.......................................1-28
Air Bag Systems
......................................1-46
Restraint System Check
............................1-55
Features and Controls..................................... 2-1
Keys
........................................................ 2-2
Doors and Locks
....................................... 2-7
Windows
.................................................2-13
Theft-Deterrent Systems
............................2-15
Starting and Operating Your Vehicle
...........2-18
Mirrors
....................................................2-31
Storage Areas
.........................................2-33
Sunroof
..................................................2-35
Instrument Panel............................................. 3-1
Instrument Panel Overview
.......................... 3-4
Climate Controls
......................................3-18
Warning Lights, Gages, and Indicators
........3-30
Secondary Information Center (SIC)
............3-46
Audio System(s)
.......................................3-48Driving Your Vehicle....................................... 4-1
Your Driving, the Road, and Your Vehicle
........ 4-2
Towing
...................................................4-29
Service and Appearance Care.......................... 5-1
Service
..................................................... 5-3
Fuel
......................................................... 5-5
Checking Things Under the Hood
...............5-10
Headlamp Aiming
.....................................5-40
Bulb Replacement
....................................5-41
Windshield Wiper Blade Replacement
.........5-47
Tires
......................................................5-48
Appearance Care
.....................................5-68
Vehicle Identification
.................................5-77
Electrical System
......................................5-78
Capacities and Specifications
.....................5-85
Maintenance Schedule..................................... 6-1
Maintenance Schedule
................................ 6-2
Customer Assistance and Information.............. 7-1
Customer Assistance and Information
........... 7-2
Reporting Safety Defects
...........................7-11
Index................................................................ 1
2004 Chevrolet Epica Owner ManualM
Page 106 of 338
Turn and Lane-Change Signals
The turn signal has two upward (for right) and two
downward (for left) positions. These positions allow you
to signal a turn or a lane change.
To signal a turn, move the lever all the way up or down.
When the turn is finished, the lever will return
automatically.
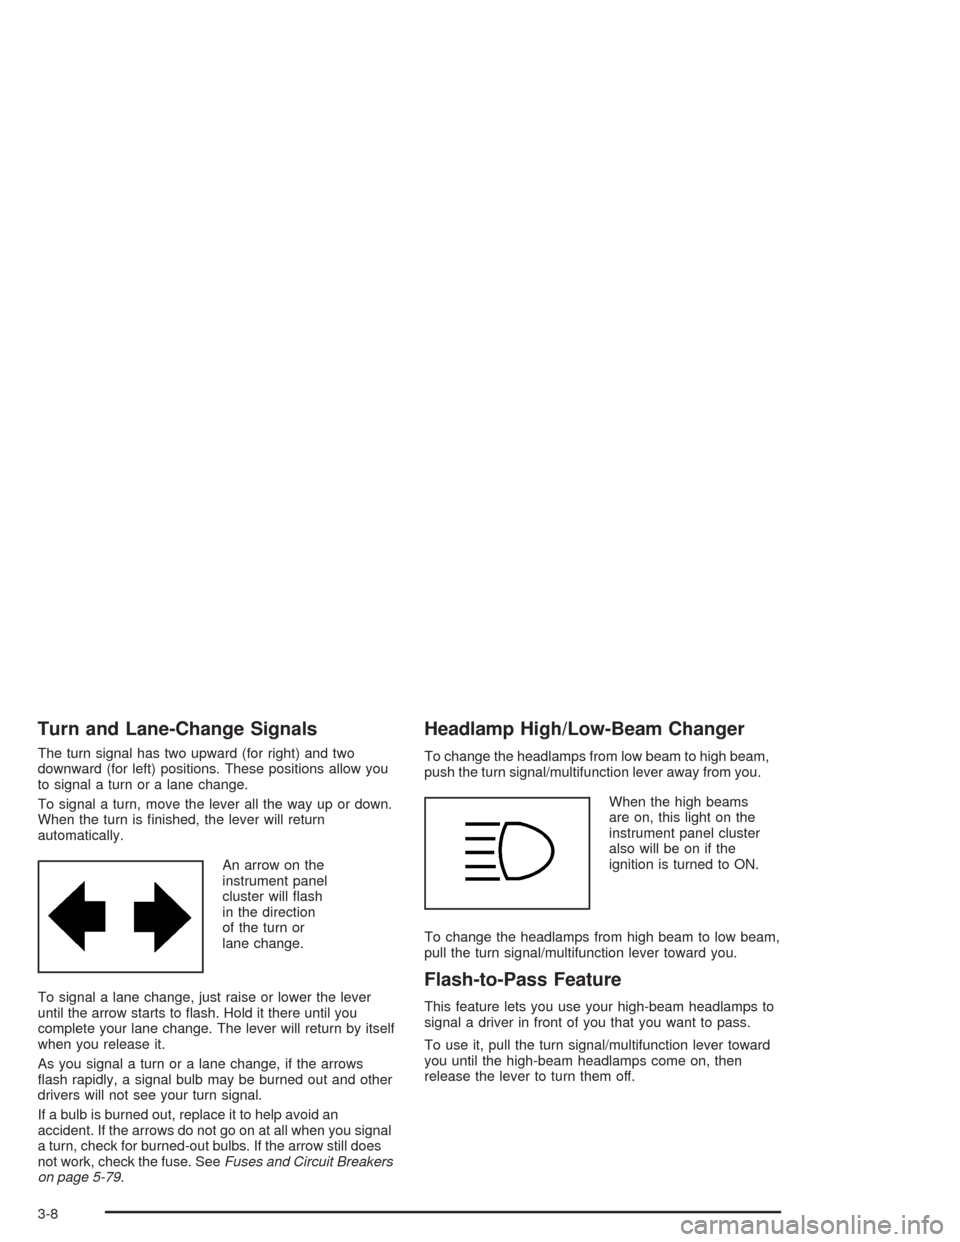
An arrow on the
instrument panel
cluster will flash
in the direction
of the turn or
lane change.
To signal a lane change, just raise or lower the lever
until the arrow starts to flash. Hold it there until you
complete your lane change. The lever will return by itself
when you release it.
As you signal a turn or a lane change, if the arrows
flash rapidly, a signal bulb may be burned out and other
drivers will not see your turn signal.
If a bulb is burned out, replace it to help avoid an
accident. If the arrows do not go on at all when you signal
a turn, check for burned-out bulbs. If the arrow still does
not work, check the fuse. SeeFuses and Circuit Breakers
on page 5-79.
Headlamp High/Low-Beam Changer
To change the headlamps from low beam to high beam,
push the turn signal/multifunction lever away from you.
When the high beams
are on, this light on the
instrument panel cluster
also will be on if the
ignition is turned to ON.
To change the headlamps from high beam to low beam,
pull the turn signal/multifunction lever toward you.
Flash-to-Pass Feature
This feature lets you use your high-beam headlamps to
signal a driver in front of you that you want to pass.
To use it, pull the turn signal/multifunction lever toward
you until the high-beam headlamps come on, then
release the lever to turn them off.
3-8
Page 113 of 338
Fog Lamps
If your vehicle has this feature, use your fog lamps for
better visibility in foggy or misty conditions.
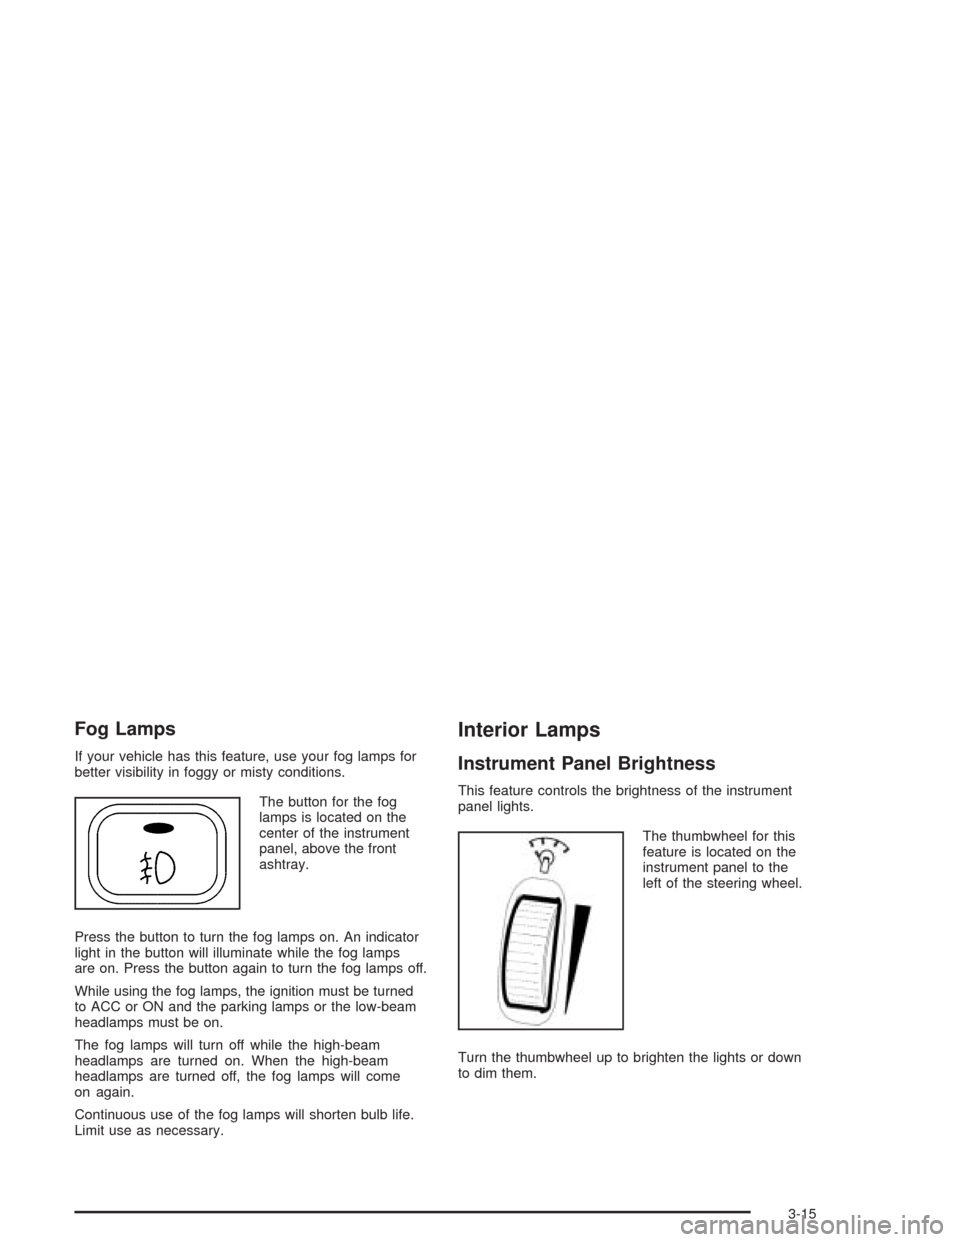
The button for the fog
lamps is located on the
center of the instrument
panel, above the front
ashtray.
Press the button to turn the fog lamps on. An indicator
light in the button will illuminate while the fog lamps
are on. Press the button again to turn the fog lamps off.
While using the fog lamps, the ignition must be turned
to ACC or ON and the parking lamps or the low-beam
headlamps must be on.
The fog lamps will turn off while the high-beam
headlamps are turned on. When the high-beam
headlamps are turned off, the fog lamps will come
on again.
Continuous use of the fog lamps will shorten bulb life.
Limit use as necessary.
Interior Lamps
Instrument Panel Brightness
This feature controls the brightness of the instrument
panel lights.
The thumbwheel for this
feature is located on the
instrument panel to the
left of the steering wheel.
Turn the thumbwheel up to brighten the lights or down
to dim them.
3-15
Page 140 of 338
Oil Pressure Light
If you have a low engine
oil pressure problem,
this light will stay on after
you start your engine,
or come on when you are
driving. This indicates
that your engine is
not receiving enough oil.
The engine could be low on oil, or could have some
other oil problem. Have it fixed immediately.
The oil light could also come on in three other situations:
•When the ignition is on but the engine is not
running, the light will come on as a test to show you
it is working. The light will go out when you turn
the ignition on. If it does not come on with the
ignition on, you may have a problem with the fuse
or bulb. Have it fixed right away.
•If you are idling at a stop sign, the light may blink
on and then off.
•If you make a hard stop, the light may come on for
a moment. This is normal.
{CAUTION:
Do not keep driving if the oil pressure is low.
If you do, your engine can become so hot that
it catches �re. You or others could be burned.
Check your oil as soon as possible and have
your vehicle serviced.
Notice:Lack of proper engine oil maintenance
may damage the engine. The repairs would not
be covered by your warranty. Always follow
the maintenance schedule in this manual for
changing engine oil.
3-42
Page 195 of 338
Service............................................................5-3
Doing Your Own Service Work.........................5-4
Adding Equipment to the Outside of
Your Vehicle..............................................5-5
Fuel................................................................5-5
Gasoline Octane............................................5-5
Gasoline Specifications....................................5-5
California Fuel...............................................5-6
Additives.......................................................5-6
Fuels in Foreign Countries...............................5-7
Filling Your Tank............................................5-7
Filling a Portable Fuel Container.....................5-10
Checking Things Under the Hood....................5-10
Hood Release..............................................5-11
Engine Compartment Overview.......................5-12
Engine Oil...................................................5-13
Engine Air Cleaner/Filter................................5-17
Automatic Transaxle Fluid..............................5-19
Engine Coolant.............................................5-19
Coolant Surge Tank Pressure Cap..................5-21
Engine Overheating.......................................5-22
Cooling System............................................5-24
Power Steering Fluid.....................................5-30
Windshield Washer Fluid................................5-31
Brakes........................................................5-32Battery........................................................5-35
Jump Starting...............................................5-36
Headlamp Aiming...........................................5-40
Bulb Replacement..........................................5-41
Halogen Bulbs..............................................5-41
Headlamps..................................................5-41
Front Turn Signal Lamps...............................5-43
Center High-Mounted Stoplamp (CHMSL).........5-44
Parking Lamps.............................................5-45
Taillamps, Turn Signal, Stoplamps and
Back-up Lamps.........................................5-46
Windshield Wiper Blade Replacement..............5-47
Tires..............................................................5-48
Inflation - Tire Pressure.................................5-53
Tire Inspection and Rotation...........................5-54
When It Is Time for New Tires.......................5-55
Buying New Tires.........................................5-56
Uniform Tire Quality Grading..........................5-57
Wheel Alignment and Tire Balance..................5-58
Wheel Replacement......................................5-59
Tire Chains..................................................5-60
If a Tire Goes Flat........................................5-61
Changing a Flat Tire.....................................5-62
Spare Tire...................................................5-68
Section 5 Service and Appearance Care
5-1
Page 235 of 338
Bulb Replacement
For any bulb changing procedures not listed in this
section, contact your dealer.
Halogen Bulbs
{CAUTION:
Halogen bulbs have pressurized gas inside and
can burst if you drop or scratch the bulb. You
or others could be injured. Be sure to read and
follow the instructions on the bulb package.
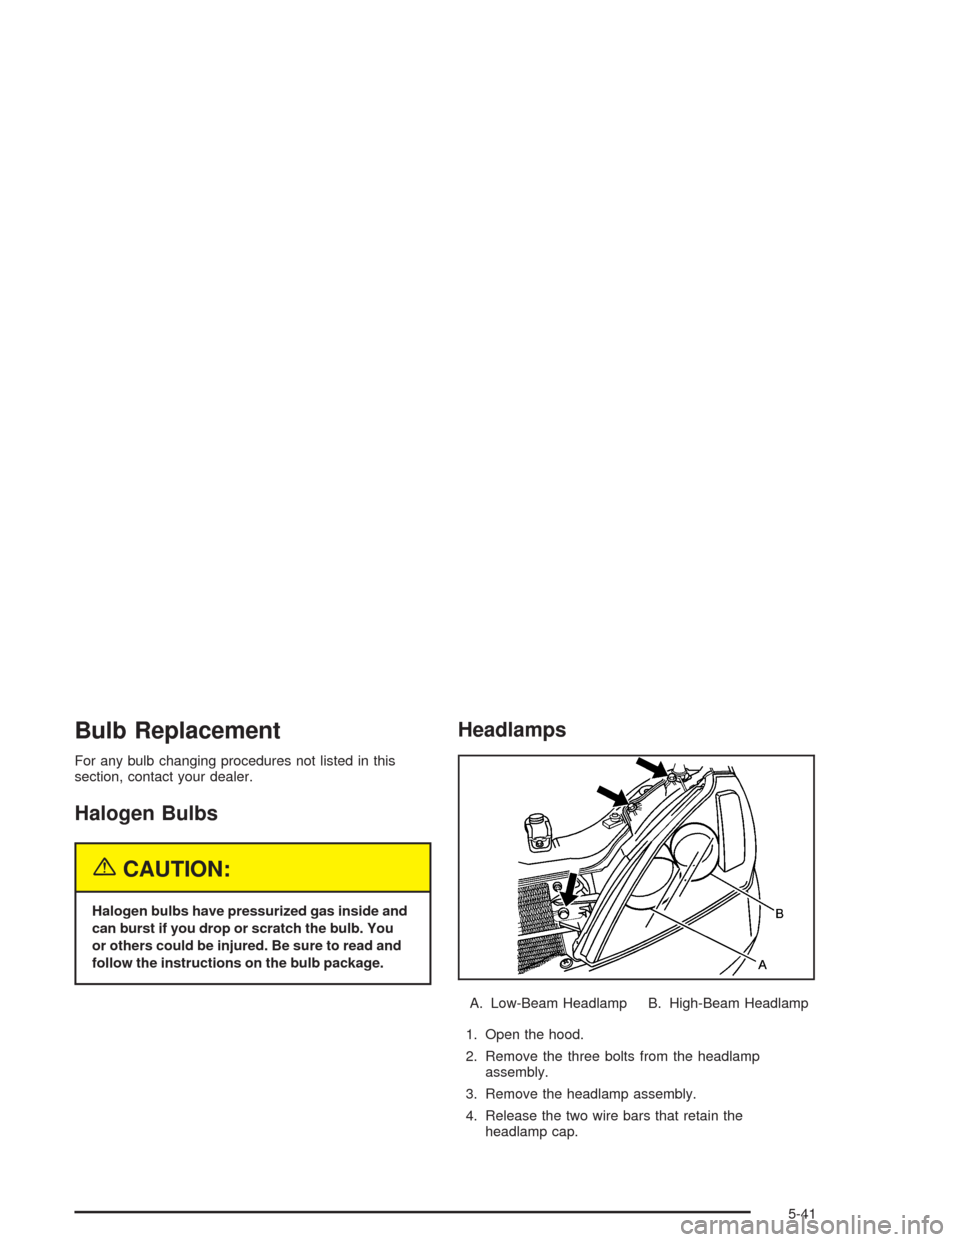
Headlamps
A. Low-Beam Headlamp B. High-Beam Headlamp
1. Open the hood.
2. Remove the three bolts from the headlamp
assembly.
3. Remove the headlamp assembly.
4. Release the two wire bars that retain the
headlamp cap.
5-41
Page 236 of 338
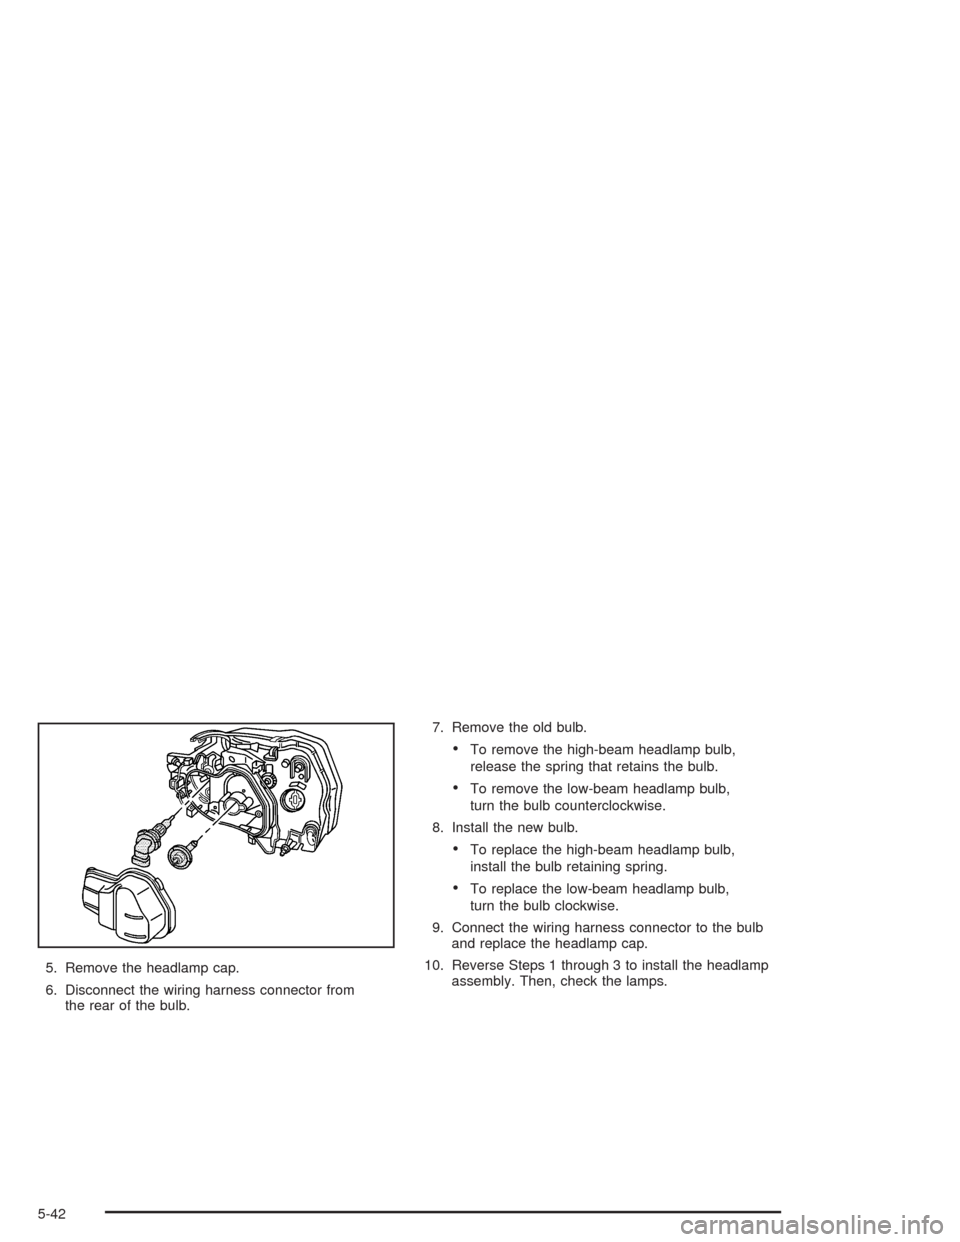
5. Remove the headlamp cap.
6. Disconnect the wiring harness connector from
the rear of the bulb.7. Remove the old bulb.
•To remove the high-beam headlamp bulb,
release the spring that retains the bulb.
•To remove the low-beam headlamp bulb,
turn the bulb counterclockwise.
8. Install the new bulb.
•To replace the high-beam headlamp bulb,
install the bulb retaining spring.
•To replace the low-beam headlamp bulb,
turn the bulb clockwise.
9. Connect the wiring harness connector to the bulb
and replace the headlamp cap.
10. Reverse Steps 1 through 3 to install the headlamp
assembly. Then, check the lamps.
5-42
Page 237 of 338
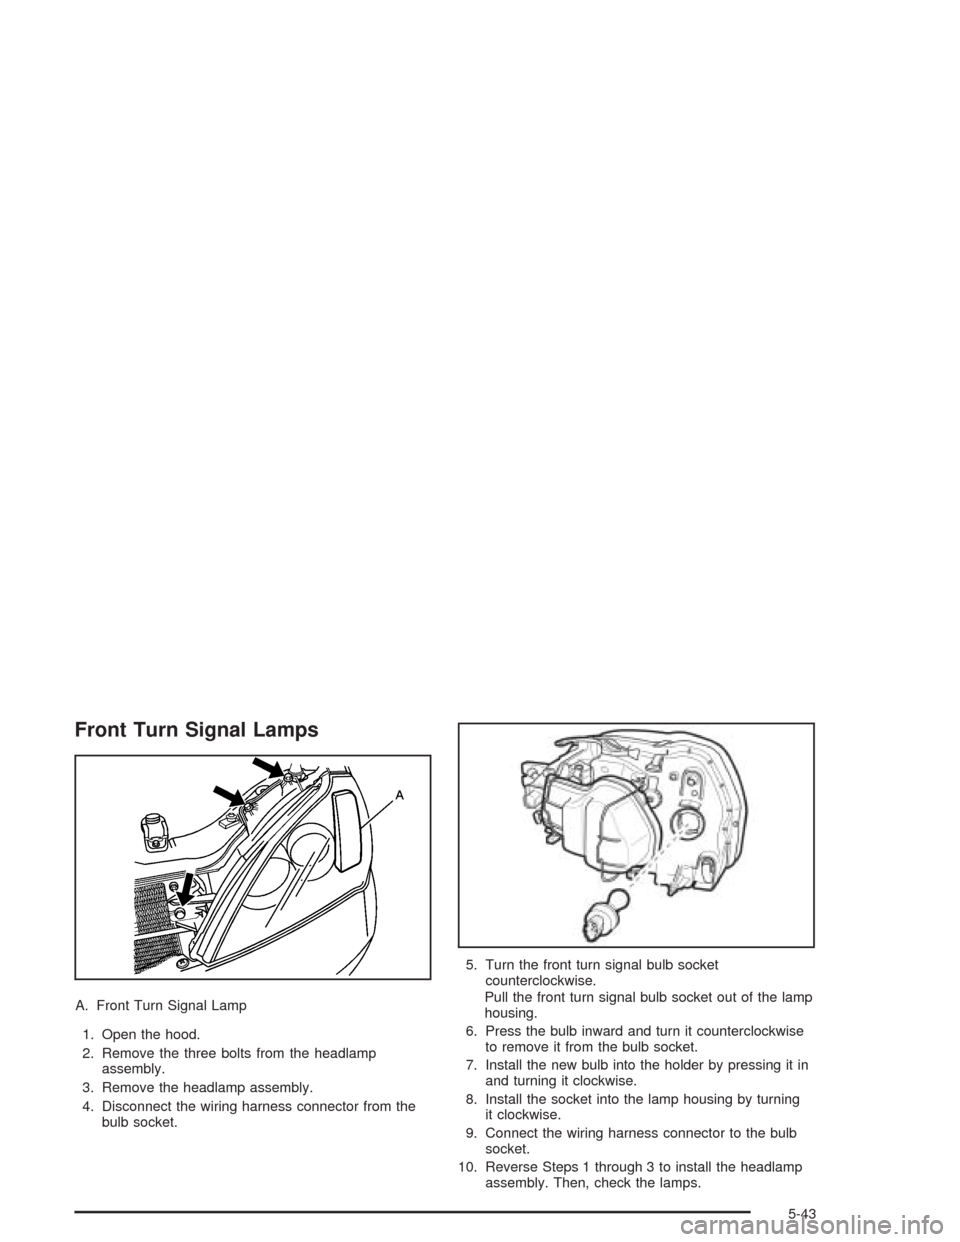
Front Turn Signal Lamps
A. Front Turn Signal Lamp
1. Open the hood.
2. Remove the three bolts from the headlamp
assembly.
3. Remove the headlamp assembly.
4. Disconnect the wiring harness connector from the
bulb socket.5. Turn the front turn signal bulb socket
counterclockwise.
Pull the front turn signal bulb socket out of the lamp
housing.
6. Press the bulb inward and turn it counterclockwise
to remove it from the bulb socket.
7. Install the new bulb into the holder by pressing it in
and turning it clockwise.
8. Install the socket into the lamp housing by turning
it clockwise.
9. Connect the wiring harness connector to the bulb
socket.
10. Reverse Steps 1 through 3 to install the headlamp
assembly. Then, check the lamps.
5-43