2004 CHEVROLET EPICA reset
[x] Cancel search: resetPage 15 of 338
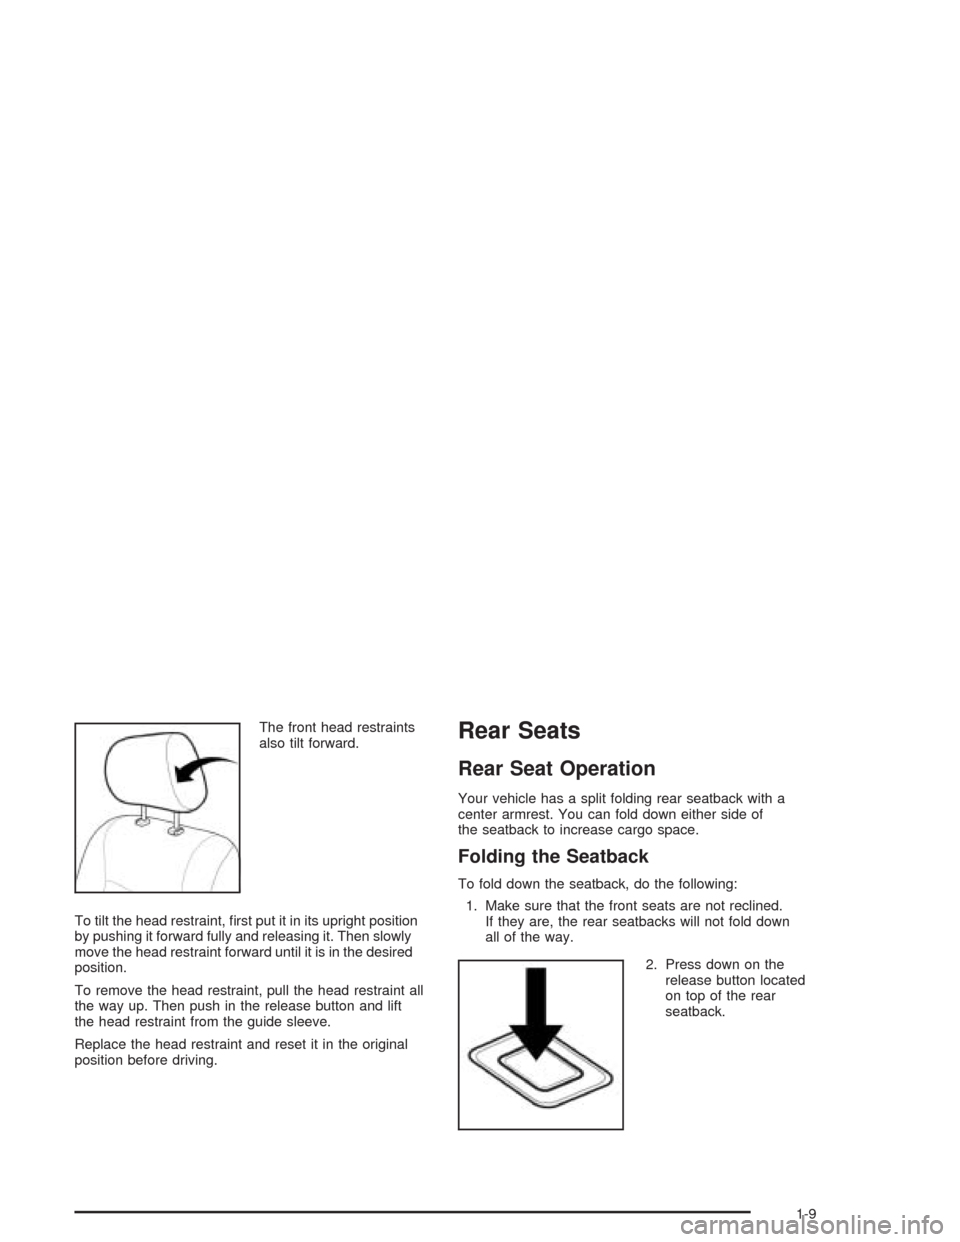
The front head restraints
also tilt forward.
To tilt the head restraint, first put it in its upright position
by pushing it forward fully and releasing it. Then slowly
move the head restraint forward until it is in the desired
position.
To remove the head restraint, pull the head restraint all
the way up. Then push in the release button and lift
the head restraint from the guide sleeve.
Replace the head restraint and reset it in the original
position before driving.Rear Seats
Rear Seat Operation
Your vehicle has a split folding rear seatback with a
center armrest. You can fold down either side of
the seatback to increase cargo space.
Folding the Seatback
To fold down the seatback, do the following:
1. Make sure that the front seats are not reclined.
If they are, the rear seatbacks will not fold down
all of the way.
2. Press down on the
release button located
on top of the rear
seatback.
1-9
Page 109 of 338
Setting Cruise Control
{CAUTION:
If you leave your cruise control on when you
are not using cruise, you might hit a button
and go into cruise when you do not want to.
You could be startled and even lose control.
Keep the cruise control switch off until you
want to use cruise control.
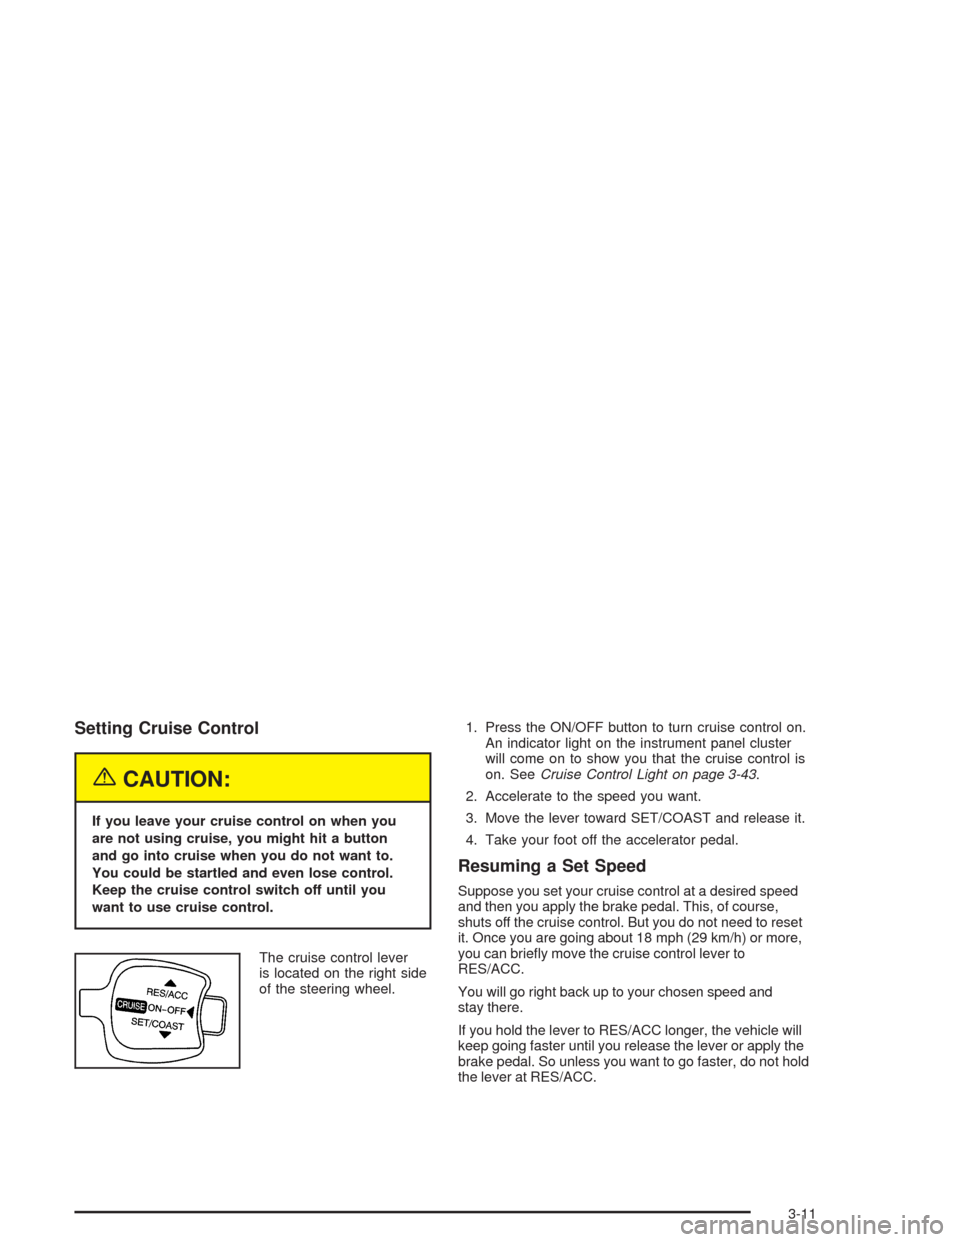
The cruise control lever
is located on the right side
of the steering wheel.1. Press the ON/OFF button to turn cruise control on.
An indicator light on the instrument panel cluster
will come on to show you that the cruise control is
on. SeeCruise Control Light on page 3-43.
2. Accelerate to the speed you want.
3. Move the lever toward SET/COAST and release it.
4. Take your foot off the accelerator pedal.
Resuming a Set Speed
Suppose you set your cruise control at a desired speed
and then you apply the brake pedal. This, of course,
shuts off the cruise control. But you do not need to reset
it. Once you are going about 18 mph (29 km/h) or more,
you can briefly move the cruise control lever to
RES/ACC.
You will go right back up to your chosen speed and
stay there.
If you hold the lever to RES/ACC longer, the vehicle will
keep going faster until you release the lever or apply the
brake pedal. So unless you want to go faster, do not hold
the lever at RES/ACC.
3-11
Page 130 of 338
Speedometer and Odometer
Your speedometer lets you see your speed in both
miles per hour (mph) and kilometers per hour (km/h).
Your odometer shows how far your vehicle has
been driven in kilometers.
Trip Odometer
The trip odometer can record the number of kilometers
traveled for up to two trips.
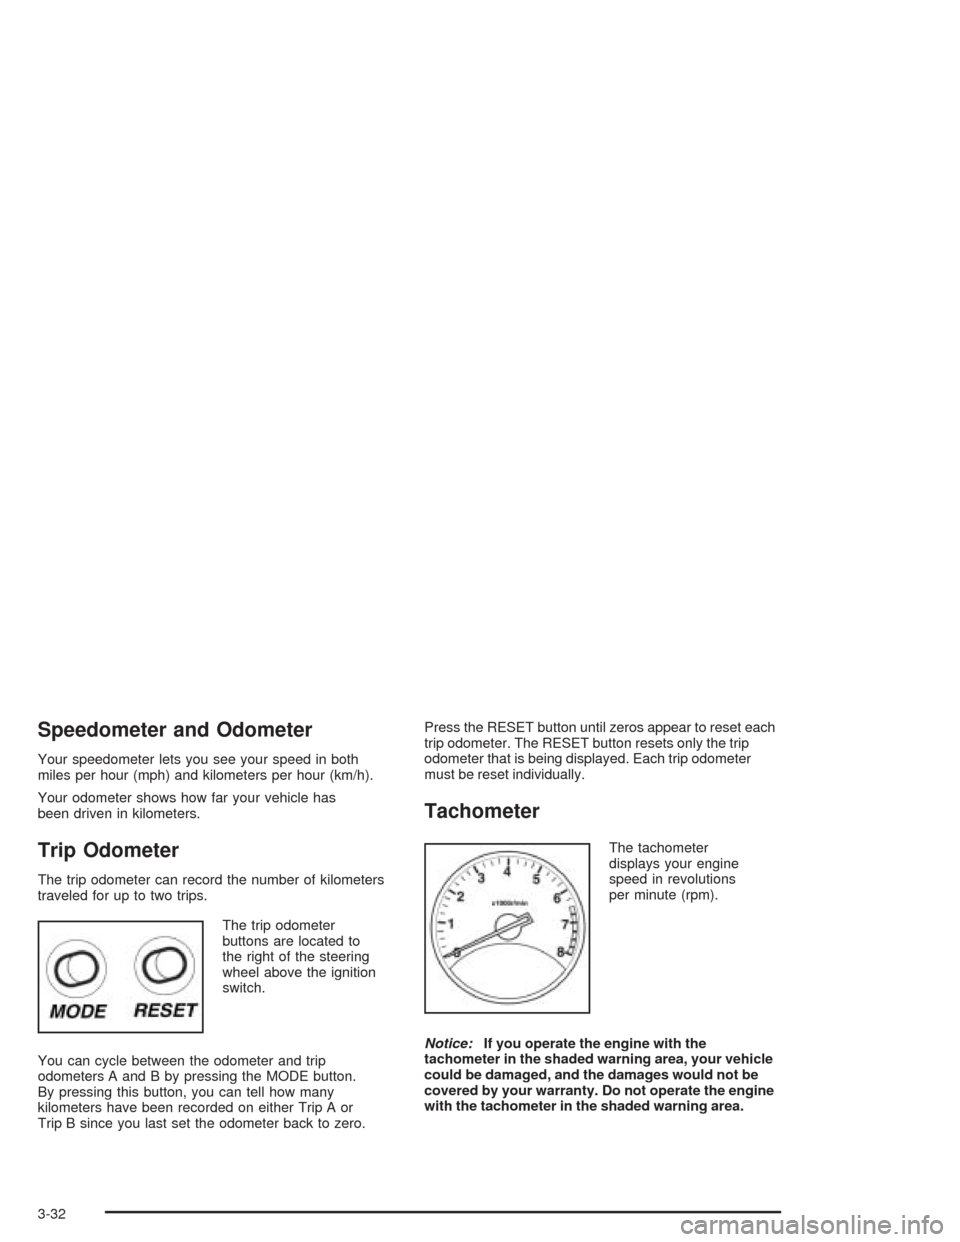
The trip odometer
buttons are located to
the right of the steering
wheel above the ignition
switch.
You can cycle between the odometer and trip
odometers A and B by pressing the MODE button.
By pressing this button, you can tell how many
kilometers have been recorded on either Trip A or
Trip B since you last set the odometer back to zero.Press the RESET button until zeros appear to reset each
trip odometer. The RESET button resets only the trip
odometer that is being displayed. Each trip odometer
must be reset individually.
Tachometer
The tachometer
displays your engine
speed in revolutions
per minute (rpm).
Notice:If you operate the engine with the
tachometer in the shaded warning area, your vehicle
could be damaged, and the damages would not be
covered by your warranty. Do not operate the engine
with the tachometer in the shaded warning area.
3-32
Page 134 of 338
Anti-Lock Brake System Warning
Light
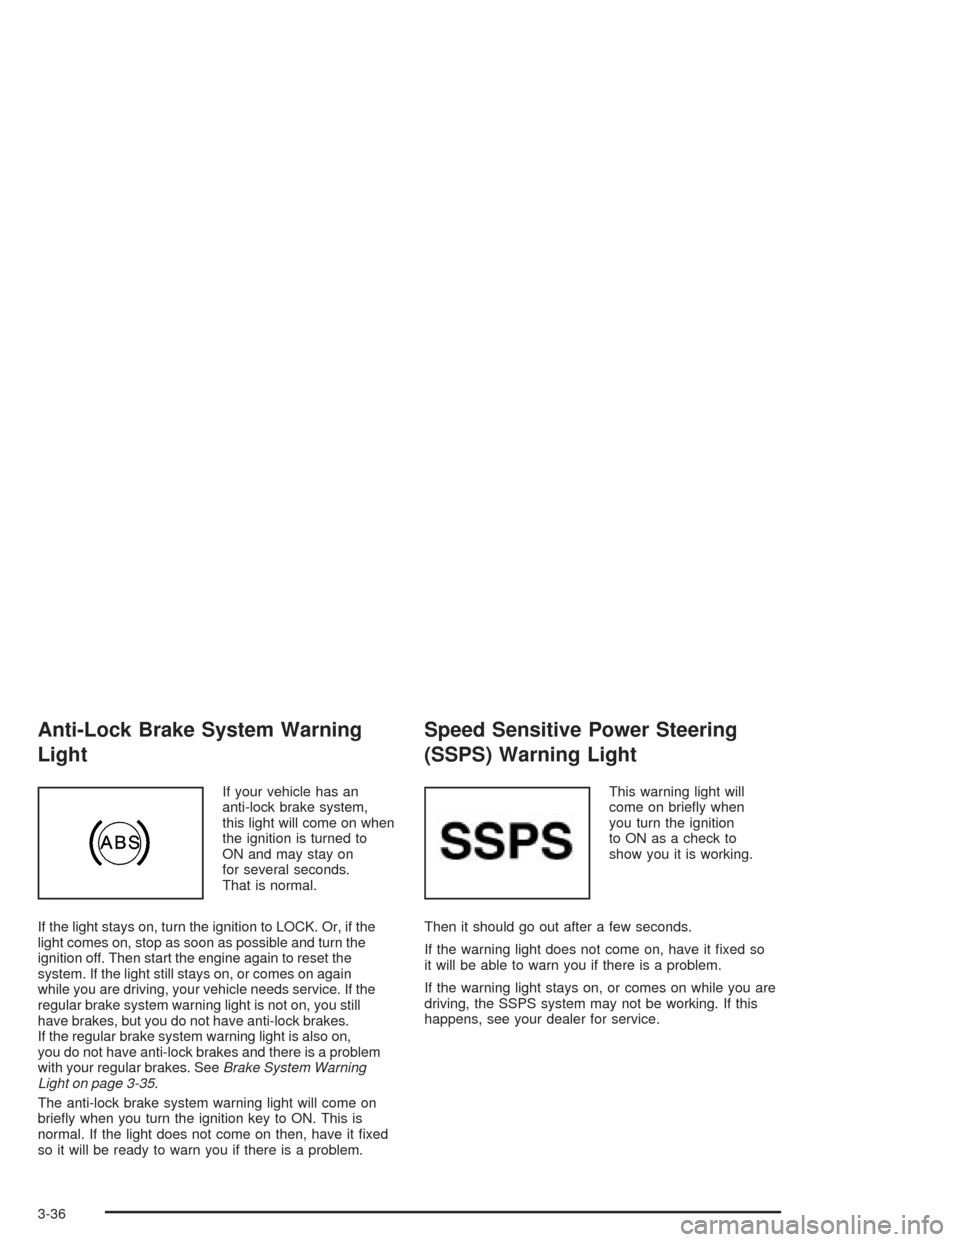
If your vehicle has an
anti-lock brake system,
this light will come on when
the ignition is turned to
ON and may stay on
for several seconds.
That is normal.
If the light stays on, turn the ignition to LOCK. Or, if the
light comes on, stop as soon as possible and turn the
ignition off. Then start the engine again to reset the
system. If the light still stays on, or comes on again
while you are driving, your vehicle needs service. If the
regular brake system warning light is not on, you still
have brakes, but you do not have anti-lock brakes.
If the regular brake system warning light is also on,
you do not have anti-lock brakes and there is a problem
with your regular brakes. SeeBrake System Warning
Light on page 3-35.
The anti-lock brake system warning light will come on
briefly when you turn the ignition key to ON. This is
normal. If the light does not come on then, have it fixed
so it will be ready to warn you if there is a problem.
Speed Sensitive Power Steering
(SSPS) Warning Light
This warning light will
come on briefly when
you turn the ignition
to ON as a check to
show you it is working.
Then it should go out after a few seconds.
If the warning light does not come on, have it fixed so
it will be able to warn you if there is a problem.
If the warning light stays on, or comes on while you are
driving, the SSPS system may not be working. If this
happens, see your dealer for service.
3-36
Page 144 of 338
Secondary Information
Center (SIC)
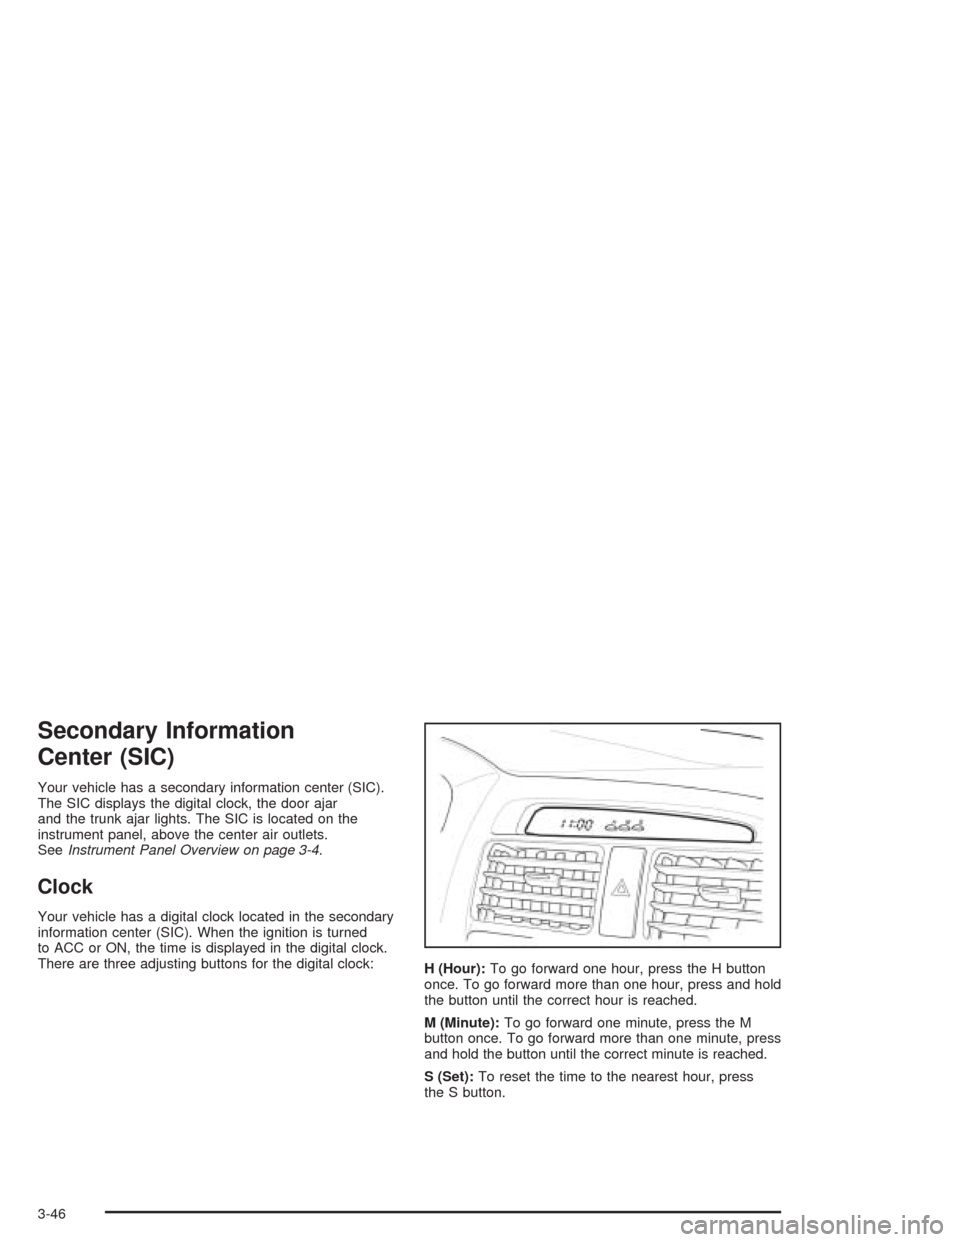
Your vehicle has a secondary information center (SIC).
The SIC displays the digital clock, the door ajar
and the trunk ajar lights. The SIC is located on the
instrument panel, above the center air outlets.
SeeInstrument Panel Overview on page 3-4.
Clock
Your vehicle has a digital clock located in the secondary
information center (SIC). When the ignition is turned
to ACC or ON, the time is displayed in the digital clock.
There are three adjusting buttons for the digital clock:
H (Hour):To go forward one hour, press the H button
once. To go forward more than one hour, press and hold
the button until the correct hour is reached.
M (Minute):To go forward one minute, press the M
button once. To go forward more than one minute, press
and hold the button until the correct minute is reached.
S (Set):To reset the time to the nearest hour, press
the S button.
3-46
Page 145 of 338
For example, if the Set button is pressed while the time
is between 8:00 and 8:29, the display is set to 8:00.
If this button is pressed while the time is between 8:30
and 8:59, the display is set to 9:00.
After disconnecting the battery or replacing the fuse,
reset the clock.
Door Ajar Light
When the ignition is on,
this light will stay on until
all doors are closed
and completely latched.
Trunk Ajar Light
This light will come on
when the trunk is not
completely closed.
3-47
Page 147 of 338
Setting Preset Stations
The six numbered pushbuttons let you return to your
favorite stations. You can set up to 18 stations (six FM1,
six FM2, and six AM), by performing the following steps:
1. Turn the radio on.
2. Press AM/FM to select FM1, FM2, or AM.
3. Tune in the desired station.
4. Press and hold one of the six numbered pushbuttons
for longer than two seconds. The pushbutton number
will flash on the display when the station has been
set. Whenever you press that numbered pushbutton,
the station you set will return.
5. Repeat the steps for each pushbutton.
Automatic Store
You can also automatically store six FM1 preset stations
with the strongest reception in the region. Press the AST
button for longer than one second. Once the stations are
stored, the radio will switch to FM1 and the first preset
station will begin to play. FM-A will appear on the display
when listening to the automatic stored stations. Press the
AM-FM button to cancel automatic store.
Setting the Tone (Bass/Treble)
SOUND (Bass/Treble):Press this button until BAS
appears on the display. Then turn the volume knob to
increase or to decrease the bass. The display will show
the bass level. When finished making your selection,
press this button to select the bass level.
Press this button until TRE appears on the display.
Then turn the volume knob to increase or to decrease
the treble. The display will show the treble level.
When finished making your selection, press this button
to select the treble level. If a station is weak or noisy,
you may want to decrease the treble.
SOUND (Equalization):Press this button until EQ OFF
appears on the display to select customized equalization
settings designed for classic, pop, rock, jazz, and voice.
Then turn the volume knob until the desired equalization
setting appears on the display. When finished making
your selection, press the SOUND button to select the
equalization setting.
To cancel an equalization setting, press the SOUND
button until EQ OFF appears on the display, turn the
volume knob until OFF appears on the display, then
press the SOUND button again to select the equalization
setting.
3-49
Page 156 of 338
CD Messages
No Maga:An empty magazine is inserted in the CD
changer. Try the magazine again with a CD loaded
in one of the trays.
If the CD is not playing correctly, for any other reason,
try a known good CD.
If any error occurs repeatedly or if an error cannot be
corrected, contact your dealer. If your radio displays an
error message, write it down and provide it to your
dealer when reporting the problem.
Theft-Deterrent Feature
The theft-deterrent system is designed to discourage
theft of your radio. When the radio and vehicle are
turned off, your radio has a blinking red light to indicate
that the theft-deterrent system is activated.
The theft-deterrent system also activates when the
audio system has been disconnected from the battery.
When this occurs, the AF code and security code
will have to be entered in order to operate your radio.
An identification card stamped with the AF code
and security code will be provided with the vehicle.
Keep it in a safe place, not in the vehicle.To enter the security code do the following:
1. Turn the ignition to ACC or ON.
2. Turn the radio on. AF or COdE will flash on the
display. If AF flashes on the display, go to Step
2. If COdE flashes on the display, go to Step 4.
3. Enter the AF code by using the preset pushbuttons.
COdE will flash on the display.
4. Enter the security code by using the preset
pushbuttons. When the complete security code is
entered, the code will flash three times.
If the security code is not entered correctly, Err will
appear on the display for a few seconds. When
COdE appears back on the display, repeat Step 4.
If the incorrect AF code is entered, an incorrect
frequency level may be chosen and the radio
reception may be affected. If this occurs, reset the
audio system by removing and re-installing the
AUDIO fuse. See “Instrument Panel Fuse Block”
underFuses and Circuit Breakers on page 5-79for
more information. Then repeat Steps 1 through 4.
3-58