2004 CHEVROLET CORVETTE tow
[x] Cancel search: towPage 1 of 384

Seats and Restraint Systems........................... 1-1
Front Seats
............................................... 1-2
Safety Belts
.............................................. 1-6
Child Restraints
.......................................1-19
Air Bag System
.......................................1-40
Restraint System Check
............................1-49
Features and Controls..................................... 2-1
Keys
........................................................ 2-3
Doors and Locks
....................................... 2-9
Windows
.................................................2-14
Theft-Deterrent Systems
............................2-16
Starting and Operating Your Vehicle
...........2-19
Mirrors
....................................................2-37
Storage Areas
.........................................2-40
Roof Panel
..............................................2-44
Convertible Top
.......................................2-50
Vehicle Personalization
.............................2-57
Instrument Panel............................................. 3-1
Instrument Panel Overview
.......................... 3-2
Climate Controls
......................................3-23
Warning Lights, Gages, and Indicators
........3-32
Driver Information Center (DIC)
..................3-48
Audio System(s)
.......................................3-69Driving Your Vehicle....................................... 4-1
Your Driving, the Road, and Your Vehicle
..... 4-2
Towing
...................................................4-33
Service and Appearance Care.......................... 5-1
Service
..................................................... 5-3
Fuel
......................................................... 5-4
Checking Things Under the Hood
...............5-10
Rear Axle
...............................................5-47
Bulb Replacement
....................................5-48
Windshield Wiper Blade Replacement
.........5-52
Tires
......................................................5-55
Appearance Care
.....................................5-82
Vehicle Identification
.................................5-91
Electrical System
......................................5-92
Capacities and Specifications
.....................5-99
Maintenance Schedule..................................... 6-1
Maintenance Schedule
................................ 6-2
Customer Assistance and Information.............. 7-1
Customer Assistance and Information
........... 7-2
Reporting Safety Defects
...........................7-10
Index................................................................ 1
2004 Chevrolet Corvette Owner ManualM
Page 27 of 384
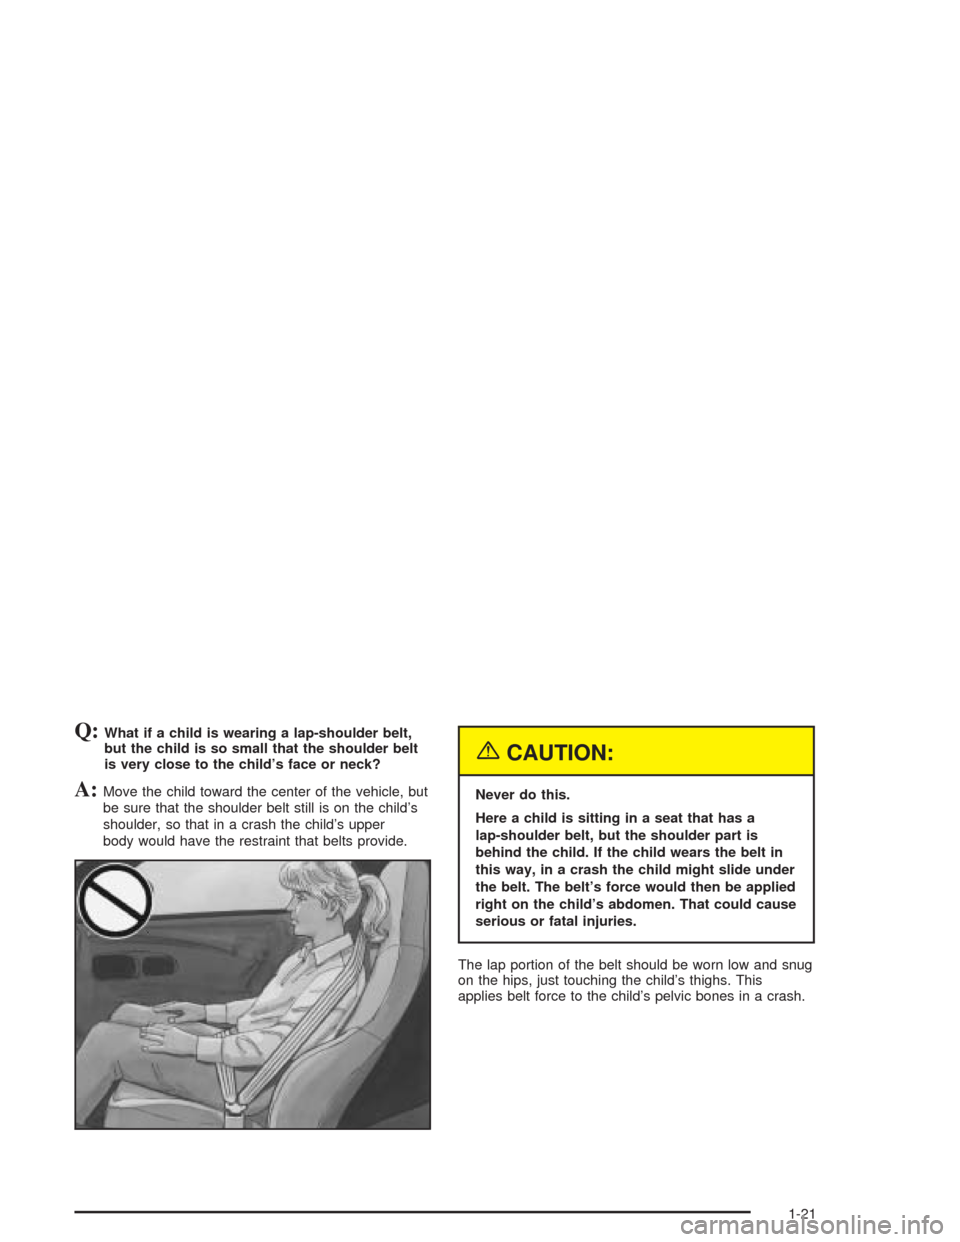
Q:What if a child is wearing a lap-shoulder belt,
but the child is so small that the shoulder belt
is very close to the child’s face or neck?
A:Move the child toward the center of the vehicle, but
be sure that the shoulder belt still is on the child’s
shoulder, so that in a crash the child’s upper
body would have the restraint that belts provide.
{CAUTION:
Never do this.
Here a child is sitting in a seat that has a
lap-shoulder belt, but the shoulder part is
behind the child. If the child wears the belt in
this way, in a crash the child might slide under
the belt. The belt’s force would then be applied
right on the child’s abdomen. That could cause
serious or fatal injuries.
The lap portion of the belt should be worn low and snug
on the hips, just touching the child’s thighs. This
applies belt force to the child’s pelvic bones in a crash.
1-21
Page 31 of 384
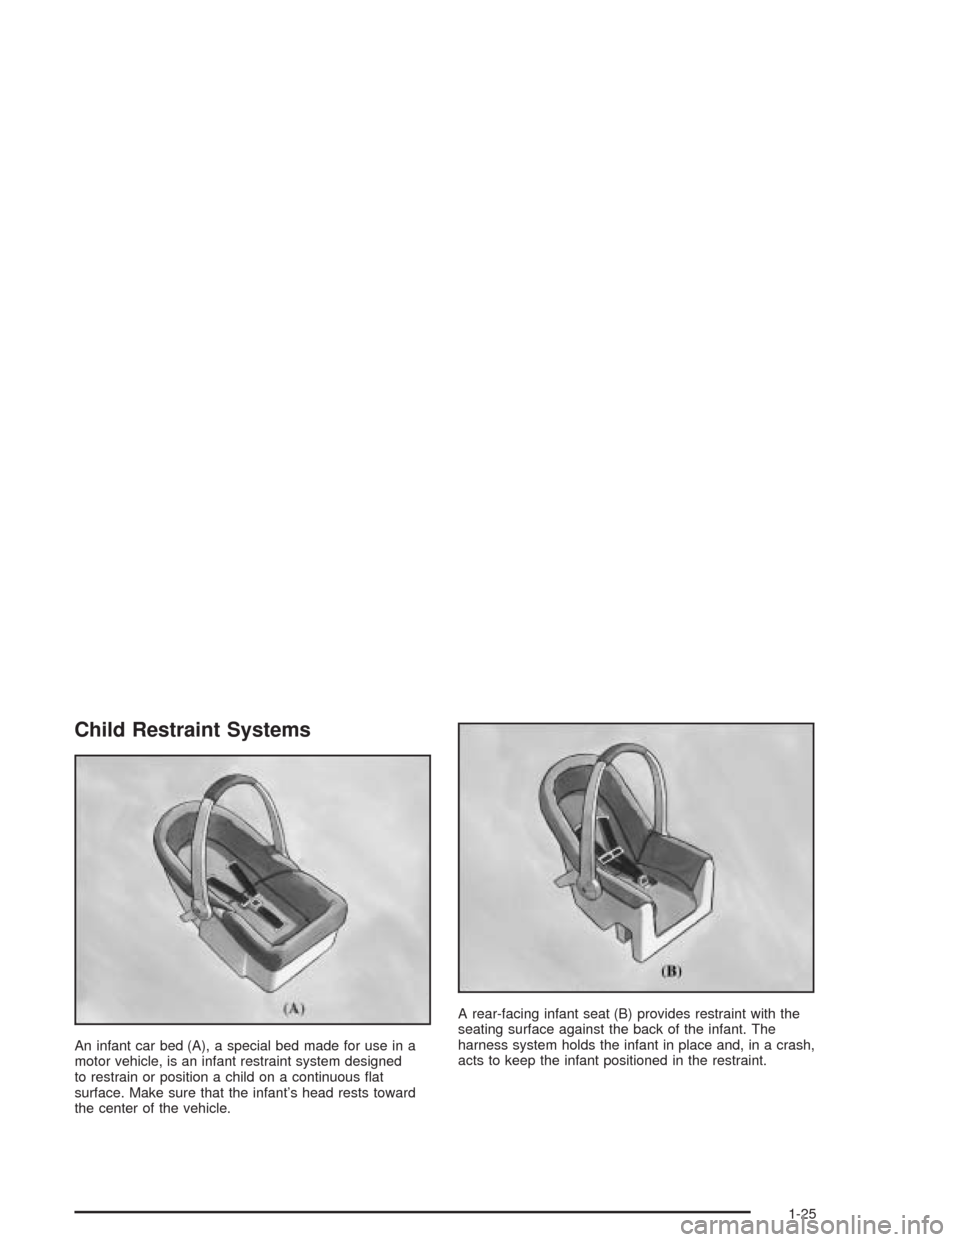
Child Restraint Systems
An infant car bed (A), a special bed made for use in a
motor vehicle, is an infant restraint system designed
to restrain or position a child on a continuous flat
surface. Make sure that the infant’s head rests toward
the center of the vehicle.A rear-facing infant seat (B) provides restraint with the
seating surface against the back of the infant. The
harness system holds the infant in place and, in a crash,
acts to keep the infant positioned in the restraint.
1-25
Page 50 of 384
How Does an Air Bag Restrain?
In moderate to severe frontal or near-frontal collisions,
even belted occupants can contact the steering wheel or
the instrument panel. Air bags supplement the
protection provided by safety belts. Air bags distribute
the force of the impact more evenly over the occupant’s
upper body, stopping the occupant more gradually.
But air bags would not help you in many types of
collisions, including rollovers, rear impacts and many
side impacts, primarily because an occupant’s motion is
not toward those air bags. Air bags should never be
regarded as anything more than a supplement to safety
belts, and then only in moderate to severe frontal or
near-frontal collisions.
What Will You See After an Air Bag
In�ates?
After the air bag inflates, it quickly deflates, so quickly
that some people may not even realize the air bag
inflated. Some components of the air bag module – the
steering wheel hub for the driver’s air bag, the instrument
panel for the passenger’s bag – will be hot for a short
time. The parts of the bag that come into contact with you
may be warm, but not too hot to touch. There will be
some smoke and dust coming from the vents in the
deflated air bags. Air bag inflation doesn’t prevent the
driver from seeing or being able to steer the vehicle, nor
does it stop people from leaving the vehicle.
{CAUTION:
When an air bag in�ates, there is dust in the
air. This dust could cause breathing problems
for people with a history of asthma or other
breathing trouble.
CAUTION: (Continued)
1-44
Page 82 of 384

You have to fully apply your regular brakes before you
can shift from PARK (P) when the ignition key is in
ON. If you cannot shift out of PARK (P), ease pressure
on the shift lever – push the shift lever all the way
into PARK (P) and release the shift lever button as you
maintain brake application. Then press the shift lever
button and move the shift lever into the gear you wish. If
you do not apply the brake after 15 seconds once the
ignition is turned on, you will receive a PRESS BRAKE
BEFORE SHIFT message in the Driver Information
Center (DIC). SeeShifting Out of Park (P) on page 2-34.
REVERSE (R):Use this gear to back up.
Notice:Shifting to REVERSE (R) while your vehicle
is moving forward could damage the transmission.
The repairs would not be covered by your warranty.
Shift to REVERSE (R) only after your vehicle is
stopped.
To rock your vehicle back and forth to get out of snow,
ice or sand without damaging your transmission,
see If You Are Stuck: In Sand, Mud, Ice or Snow on
page 4-32.NEUTRAL (N):In this position, your engine does not
connect with the wheels. To restart when you are
already moving, use NEUTRAL (N) only. Also, use
NEUTRAL (N) when your vehicle is being towed.
{CAUTION:
Shifting into a drive gear while your engine is
running at high speed is dangerous. Unless
your foot is �rmly on the brake pedal, your
vehicle could move very rapidly. You could
lose control and hit people or objects. Do not
shift into a drive gear while your engine is
running at high speed.
Notice:Shifting out of PARK (P) or NEUTRAL (N)
with the engine running at high speed may damage
the transmission. The repairs would not be
covered by your warranty. Be sure the engine is not
running at high speed when shifting your vehicle.
AUTOMATIC OVERDRIVE (
X): This position is
for normal driving.
2-26
Page 87 of 384
Notice:If you skip more than one gear when you
downshift, or if you race the engine when you
release the clutch pedal while downshifting, you
could damage the engine, clutch, driveshaft or the
transmission. Do not skip gears or race the
engine when downshifting.
The six-speed transmission has a spring that centers
the shift lever near THIRD (3) and FOURTH (4).
This spring helps you know which gear you are in when
you are shifting. Be careful when shifting from
FIRST (1) to SECOND (2) or downshifting from
SIXTH (6) to FIFTH (5). The spring will try to pull the
shift lever toward FOURTH (4) and THIRD (3).
Make sure you move the lever into SECOND (2) or
FIFTH (5). If you let the shift lever move in the direction
of the pulling, you may end up shifting from FIRST (1)
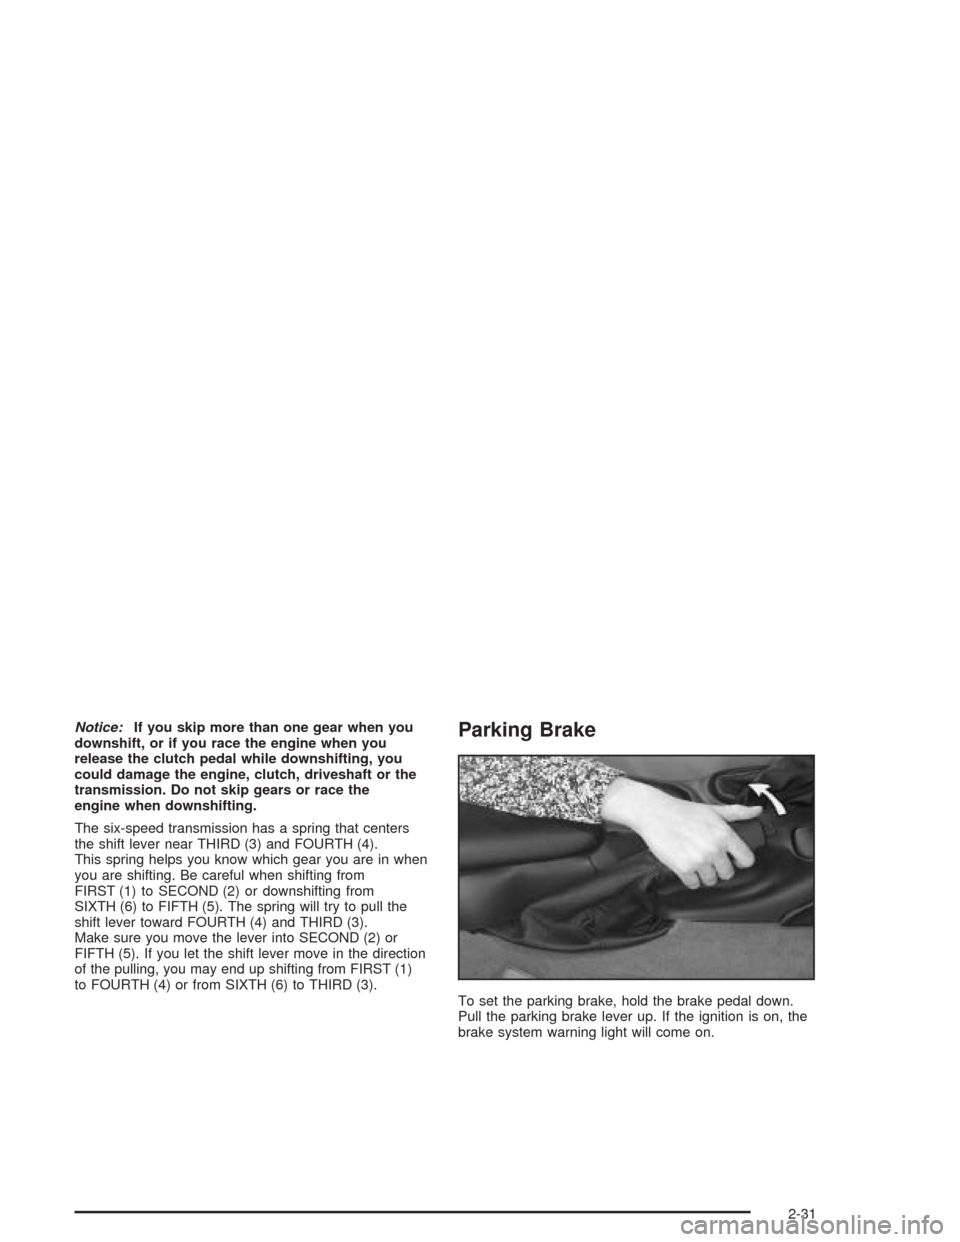
to FOURTH (4) or from SIXTH (6) to THIRD (3).Parking Brake
To set the parking brake, hold the brake pedal down.
Pull the parking brake lever up. If the ignition is on, the
brake system warning light will come on.
2-31
Page 89 of 384
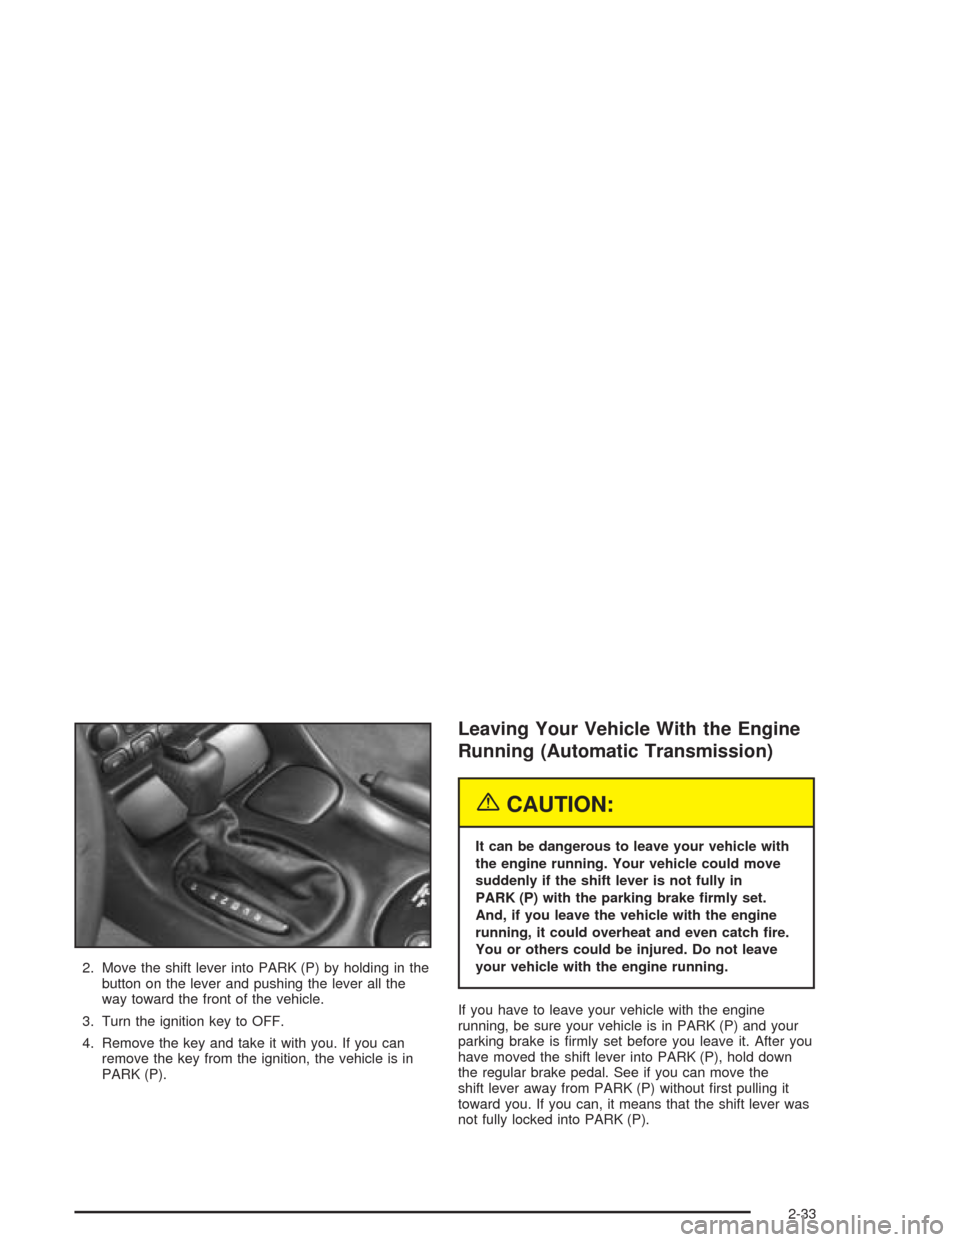
2. Move the shift lever into PARK (P) by holding in the
button on the lever and pushing the lever all the
way toward the front of the vehicle.
3. Turn the ignition key to OFF.
4. Remove the key and take it with you. If you can
remove the key from the ignition, the vehicle is in
PARK (P).
Leaving Your Vehicle With the Engine
Running (Automatic Transmission)
{CAUTION:
It can be dangerous to leave your vehicle with
the engine running. Your vehicle could move
suddenly if the shift lever is not fully in
PARK (P) with the parking brake �rmly set.
And, if you leave the vehicle with the engine
running, it could overheat and even catch �re.
You or others could be injured. Do not leave
your vehicle with the engine running.
If you have to leave your vehicle with the engine
running, be sure your vehicle is in PARK (P) and your
parking brake is firmly set before you leave it. After you
have moved the shift lever into PARK (P), hold down
the regular brake pedal. See if you can move the
shift lever away from PARK (P) without first pulling it
toward you. If you can, it means that the shift lever was
not fully locked into PARK (P).
2-33
Page 94 of 384
Automatic Dimming Rearview Mirror
Your vehicle may have an automatic dimming rearview
mirror with map lamps.
This mirror automatically changes to reduce glare from
headlamps behind you. A time delay feature prevents
rapid changing from the day to night positions while
driving under lights and through traffic.
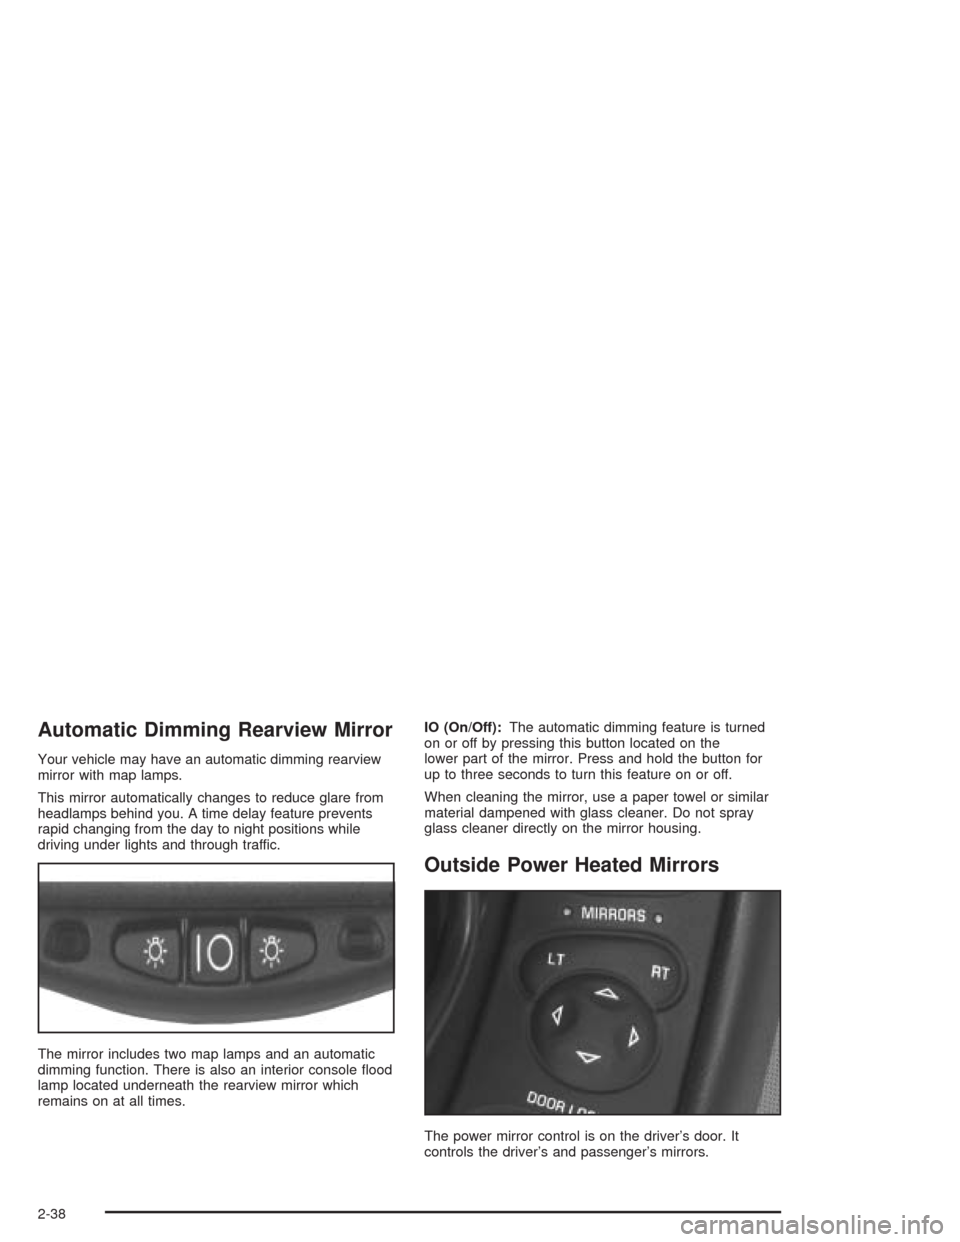
The mirror includes two map lamps and an automatic
dimming function. There is also an interior console flood
lamp located underneath the rearview mirror which
remains on at all times.IO (On/Off):The automatic dimming feature is turned
on or off by pressing this button located on the
lower part of the mirror. Press and hold the button for
up to three seconds to turn this feature on or off.
When cleaning the mirror, use a paper towel or similar
material dampened with glass cleaner. Do not spray
glass cleaner directly on the mirror housing.
Outside Power Heated Mirrors
The power mirror control is on the driver’s door. It
controls the driver’s and passenger’s mirrors.
2-38