Page 80 of 384
To Use The Engine Coolant Heater
1. Turn off the engine.
2. Open the hood and unwrap the electrical cord.
The electrical cord is attached to the generator
bracket assembly, between the generator and the
windshield washer fluid tank. With the headlamps
closed, route the cord in the opening between
the headlamp door and the fender panel on
the driver’s side of the vehicle. Do not pinch the
cord when closing the hood.
3. Plug it into a normal, grounded 110-volt AC outlet.
{CAUTION:
Plugging the cord into an ungrounded outlet
could cause an electrical shock. Also, the
wrong kind of extension cord could overheat
and cause a �re. You could be seriously
injured. Plug the cord into a properly grounded
three-prong 110-volt AC outlet. If the cord will
not reach, use a heavy-duty three-prong
extension cord rated for at least 15 amps.4. Before starting the engine, be sure to unplug and
store the cord as it was before to keep it away
from moving engine parts. If you do not it could be
damaged.
How long should you keep the coolant heater plugged
in? The answer depends on the outside temperature, the
kind of oil you have, and some other things. Instead
of trying to list everything here, we ask that you contact
your dealer in the area where you will be parking
your vehicle. The dealer can give you the best advice
for that particular area.
2-24
Page 94 of 384
Automatic Dimming Rearview Mirror
Your vehicle may have an automatic dimming rearview
mirror with map lamps.
This mirror automatically changes to reduce glare from
headlamps behind you. A time delay feature prevents
rapid changing from the day to night positions while
driving under lights and through traffic.
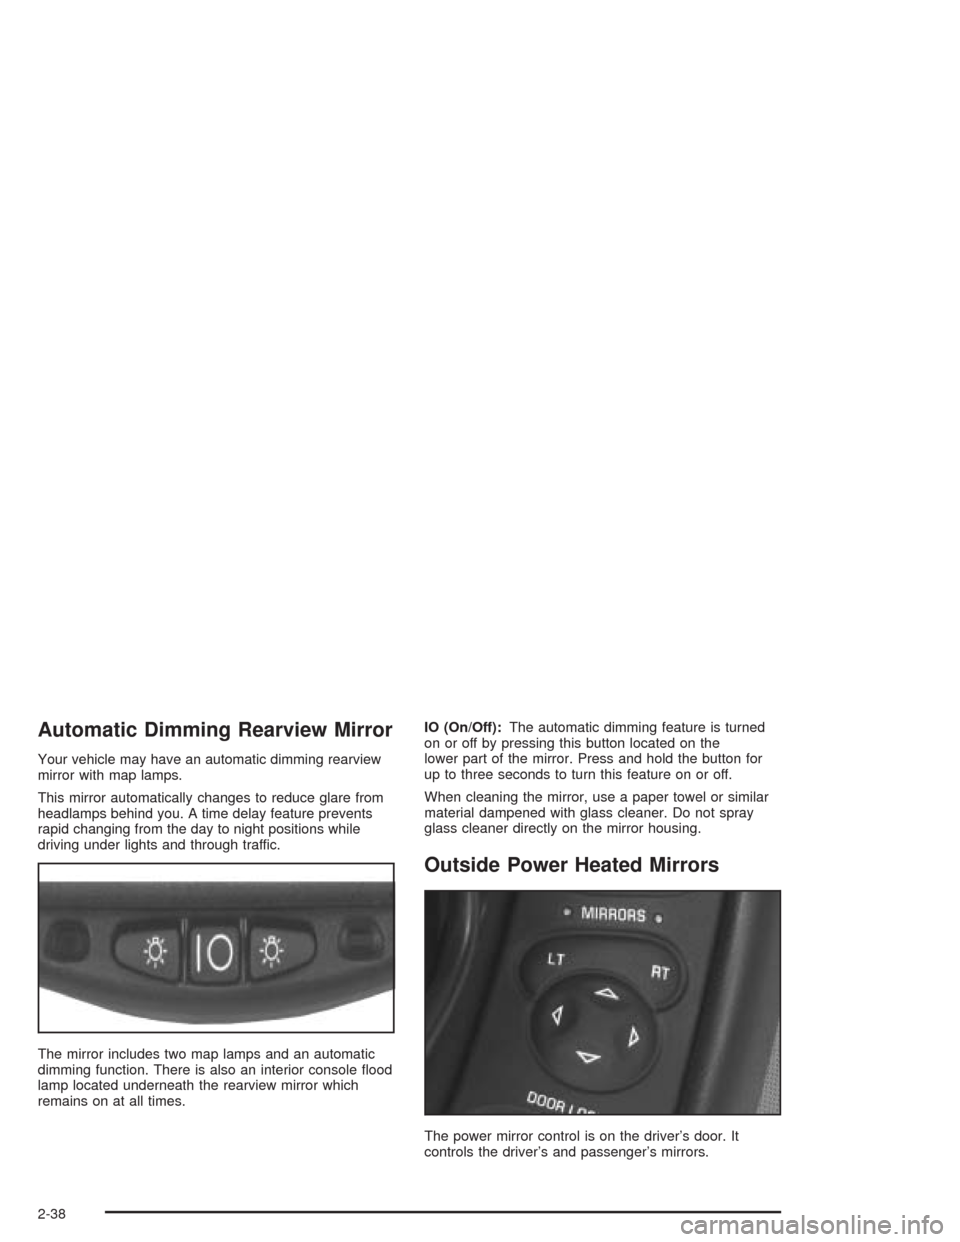
The mirror includes two map lamps and an automatic
dimming function. There is also an interior console flood
lamp located underneath the rearview mirror which
remains on at all times.IO (On/Off):The automatic dimming feature is turned
on or off by pressing this button located on the
lower part of the mirror. Press and hold the button for
up to three seconds to turn this feature on or off.
When cleaning the mirror, use a paper towel or similar
material dampened with glass cleaner. Do not spray
glass cleaner directly on the mirror housing.
Outside Power Heated Mirrors
The power mirror control is on the driver’s door. It
controls the driver’s and passenger’s mirrors.
2-38
Page 95 of 384
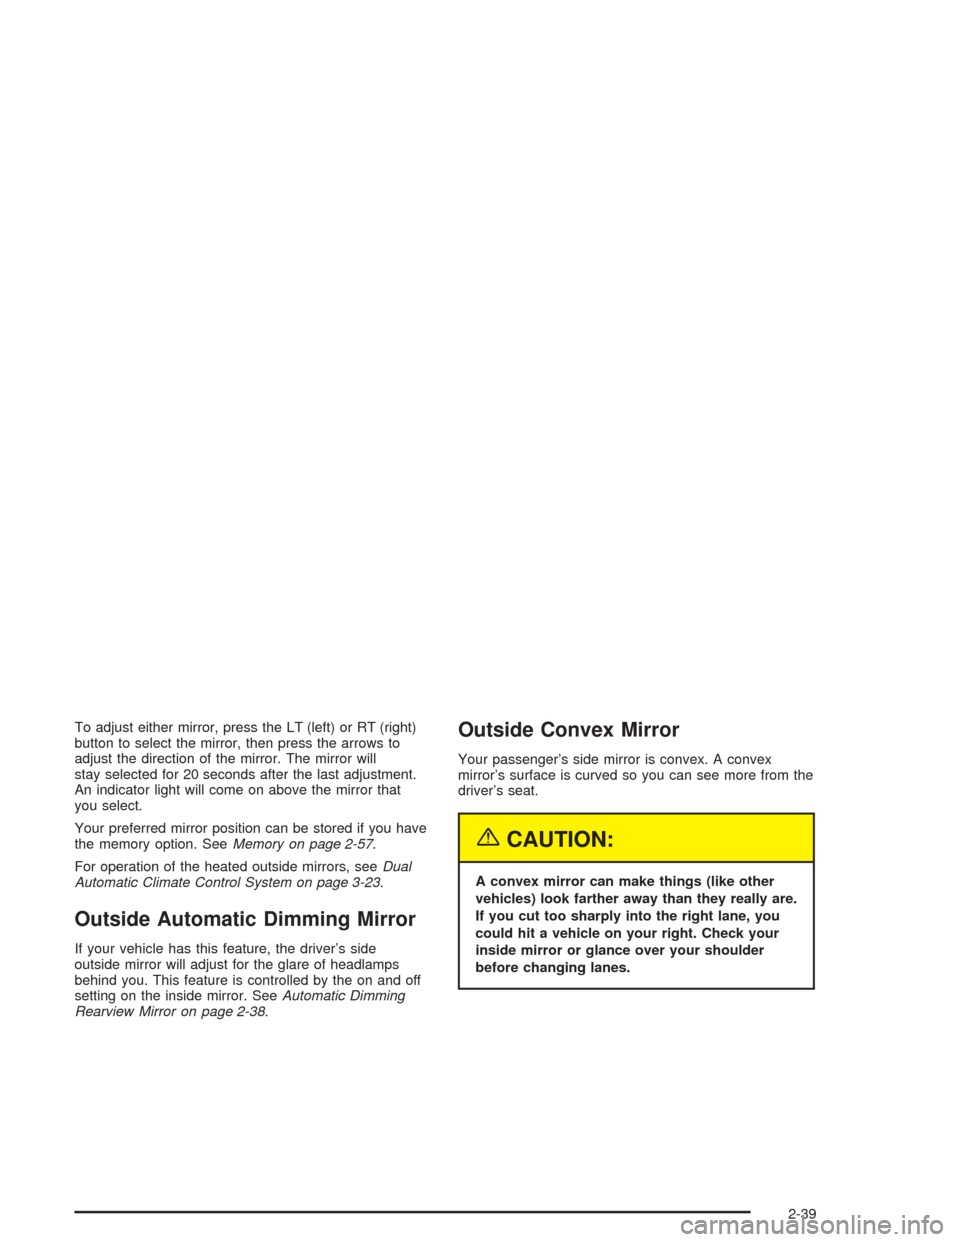
To adjust either mirror, press the LT (left) or RT (right)
button to select the mirror, then press the arrows to
adjust the direction of the mirror. The mirror will
stay selected for 20 seconds after the last adjustment.
An indicator light will come on above the mirror that
you select.
Your preferred mirror position can be stored if you have
the memory option. SeeMemory on page 2-57.
For operation of the heated outside mirrors, seeDual
Automatic Climate Control System on page 3-23.
Outside Automatic Dimming Mirror
If your vehicle has this feature, the driver’s side
outside mirror will adjust for the glare of headlamps
behind you. This feature is controlled by the on and off
setting on the inside mirror. SeeAutomatic Dimming
Rearview Mirror on page 2-38.
Outside Convex Mirror
Your passenger’s side mirror is convex. A convex
mirror’s surface is curved so you can see more from the
driver’s seat.
{CAUTION:
A convex mirror can make things (like other
vehicles) look farther away than they really are.
If you cut too sharply into the right lane, you
could hit a vehicle on your right. Check your
inside mirror or glance over your shoulder
before changing lanes.
2-39
Page 120 of 384
Telescopic Steering Column
If your vehicle has this feature, the telescopic steering
column will allow you to adjust the distance the steering
wheel is from the instrument panel.
The telescopic steering
column switch is located
on the right side of
the steering column.
To operate the telescopic steering column, push the
switch forward and the wheel will move away from you.
Pull the switch rearward and the wheel will move
toward you.
The telescopic steering column position can be stored
with your memory settings. SeeMemory on page 2-57
for more information.
Turn Signal/Multifunction Lever
The lever on the left side of the steering column
includes the following:
•Turn and Lane-Change Signals
•Headlamp High/Low-Beam Changer
•Flash-to-Pass Feature
•Cruise Control
For information on exterior lamps, seeExterior Lamps
on page 3-13.
3-6
Page 122 of 384
Headlamp High/Low-Beam Changer
To change the headlamps from low beam to high or high
to low, push the turn signal lever all the way forward.
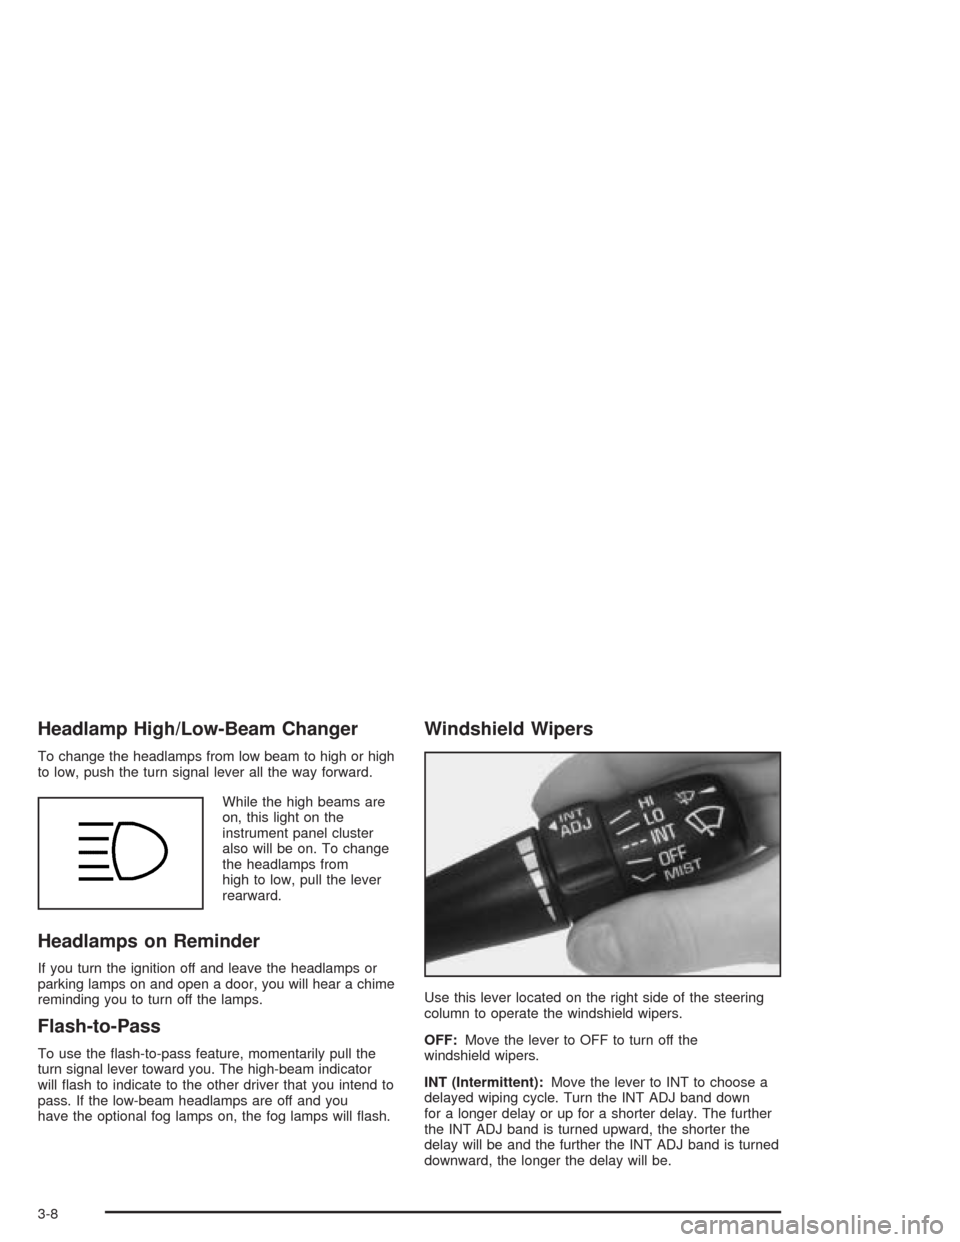
While the high beams are
on, this light on the
instrument panel cluster
also will be on. To change
the headlamps from
high to low, pull the lever
rearward.
Headlamps on Reminder
If you turn the ignition off and leave the headlamps or
parking lamps on and open a door, you will hear a chime
reminding you to turn off the lamps.
Flash-to-Pass
To use the flash-to-pass feature, momentarily pull the
turn signal lever toward you. The high-beam indicator
will flash to indicate to the other driver that you intend to
pass. If the low-beam headlamps are off and you
have the optional fog lamps on, the fog lamps will flash.
Windshield Wipers
Use this lever located on the right side of the steering
column to operate the windshield wipers.
OFF:Move the lever to OFF to turn off the
windshield wipers.
INT (Intermittent):Move the lever to INT to choose a
delayed wiping cycle. Turn the INT ADJ band down
for a longer delay or up for a shorter delay. The further
the INT ADJ band is turned upward, the shorter the
delay will be and the further the INT ADJ band is turned
downward, the longer the delay will be.
3-8
Page 127 of 384
Using Cruise Control on Hills
How well your cruise control will work on hills depends
upon your speed, load and the steepness of the
hills. When going downhill, you may have to brake or
shift to a lower gear to keep your speed down. Of
course, applying the brake takes you out of cruise
control. Many drivers find this to be too much trouble
and do not use cruise control on steep hills.
Ending Cruise Control
There are two ways to turn off the cruise control:
•Step lightly on the brake pedal or push the clutch
pedal, if you have a manual transmission vehicle.
•Move the cruise switch to OFF.
The Driver Information Center (DIC) will display the
message CRUISE DISENGAGED.
Erasing Speed Memory
When you turn off the cruise control or the ignition,
cruise control set speed memory is erased.
Exterior Lamps
The exterior lamp switch on the turn signal/multifunction
lever operates the headlamps.
The exterior lamp switch has three positions:
OFF:Turn the switch to this position to turn off all
lamps, except the Daytime Running Lamps (DRL).
;(Parking Lamps):Turn the switch to this position
to turn on the parking lamps, together with the
following:
•Taillamps
•Parking Lamps
•Sidemarker Lamps
3(Headlamps):Turn the switch to this position to
turn on the headlamps, together with the previously
listed lamps.
3-13
Page 128 of 384
Headlamps Doors
The headlamp doors are designed to open when you
turn the headlamps on, and close when you turn
the headlamps and parking lamps off. If you turn the
headlamps on, then turn back to the parking lamps
setting, the headlamp doors will stay open.You can open the doors manually using the knob next
to the headlamp assembly. Turn the knob
counterclockwise until the doors are open. Turn the
knob clockwise to close the doors manually.
The headlamp doors should be open when driving in icy
or snowy conditions to prevent the doors from freezing
closed and when washing the vehicle to help clean
the headlamps.
Notice:If the hood comes into contact with the
headlamp doors when you raise the hood, you could
damage the hood and/or the headlamp doors.
Always close the headlamp doors before opening
the hood.
3-14
Page 129 of 384
Daytime Running Lamps
Daytime Running Lamps (DRL) can make it easier for
others to see the front of your vehicle during the
day. DRL can be helpful in many different driving
conditions, but they can be especially helpful in the short
periods after dawn and before sunset. Fully functional
daytime running lamps are required on all vehicles
first sold in Canada.
The DRL system will make the front turn signal lamps
come on when the following conditions are met:
•The ignition is on,
•the exterior lamp switch is off and
•the parking brake is released.
When the DRL are on, only the front turn signal lamps
will be on. The headlamps, taillamps, sidemarker
and other lamps will not be on. Your instrument panel
will not be lit up either.
To idle the vehicle with the DRL off, set the parking
brake while the ignition is in OFF. Then start the vehicle.
The DRL, headlamps and parking lamps will stay off
until you release the parking brake.
As with any vehicle, you should turn on the regular
headlamp system when you need it.
Fog Lamps
Your vehicle may have this feature. Use the fog lamps
for better vision in foggy or misty conditions. Your
parking lamps or low-beam headlamps must be on or
the fog lamps will not work.
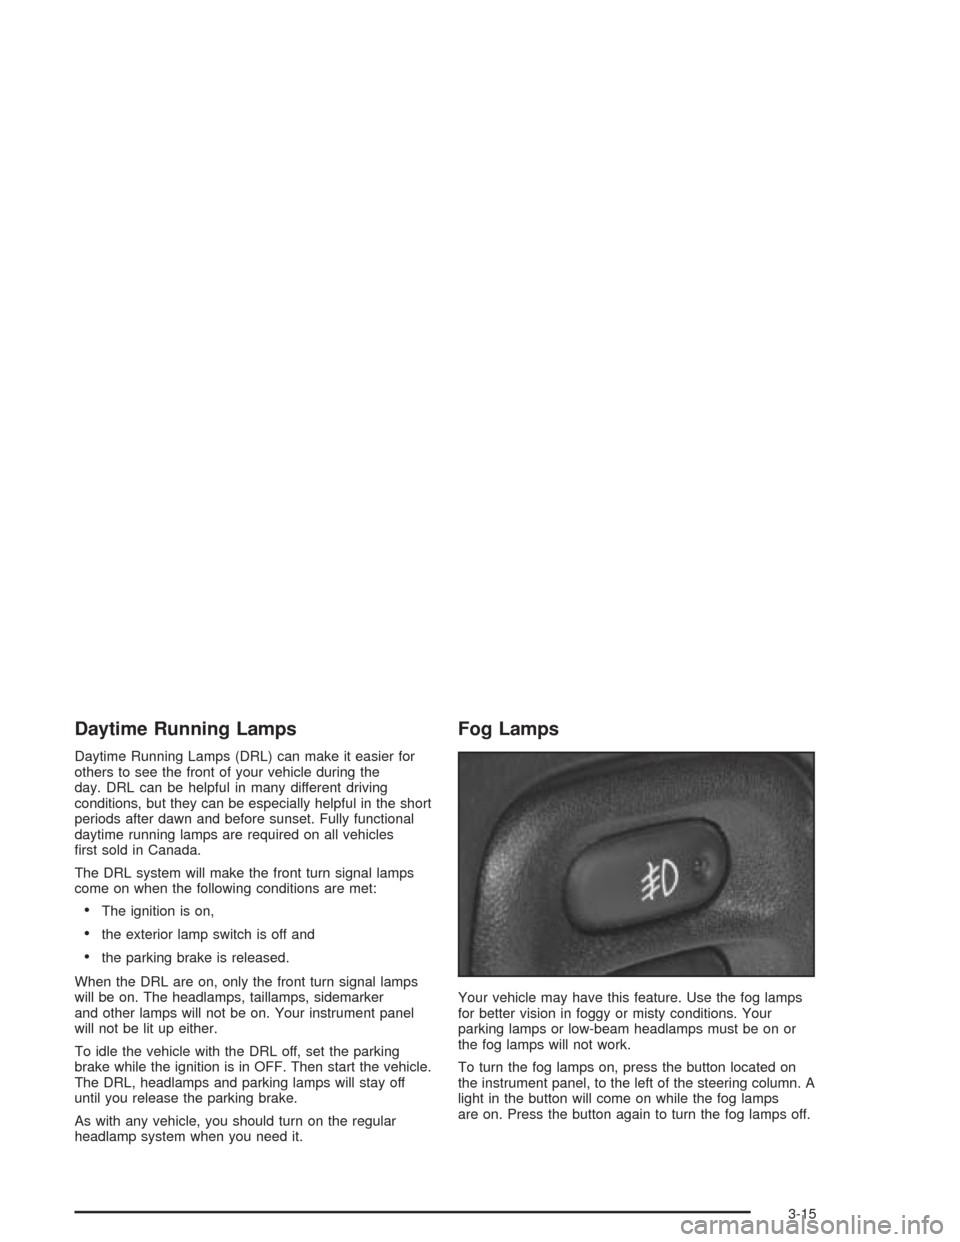
To turn the fog lamps on, press the button located on
the instrument panel, to the left of the steering column. A
light in the button will come on while the fog lamps
are on. Press the button again to turn the fog lamps off.
3-15