2004 CADILLAC SEVILLE phone
[x] Cancel search: phonePage 60 of 410
Storage Areas................................................2-49
Glove Box...................................................2-49
Cellular Telephone........................................2-49
Center Console Storage Area.........................2-49
Map Pocket.................................................2-49
Assist Handles.............................................2-49
Garment Hooks............................................2-49Umbrella Holder...........................................2-50
Floor Mats...................................................2-50
Convenience Net..........................................2-50
Sunroof.........................................................2-50
Vehicle Personalization...................................2-52
Memory Seat, Mirrors and Steering Wheel.......2-52
Section 2 Features and Controls
2-2
Page 79 of 410
Testing the Alarm
1. From inside the vehicle, roll down the window, then
get out of the vehicle, keeping the door open.
2. From outside of the vehicle, with the door open, lock
the vehicle using the power door lock or the remote
keyless entry transmitter and close the door. Wait 30
seconds until the SECURITY lamp goes off.
3. Reach in and unlock the door using the manual
lock and open the door. The horn will sound and
the hazard lights will flash.
You can turn off the alarm by unlocking the driver’s door
with your key, using the unlock button on the remote
keyless entry transmitter or by starting the car with
a valid key.
If the alarm does not sound when it should, check to
see if the horn works. The horn fuse may be blown. To
replace the fuse, seeFuses and Circuit Breakers on
page 5-97. If the fuse does not need to be replaced, you
may need to have your vehicle serviced.
To reduce the possibility of theft, always arm the
theft-deterrent system when leaving your vehicle.
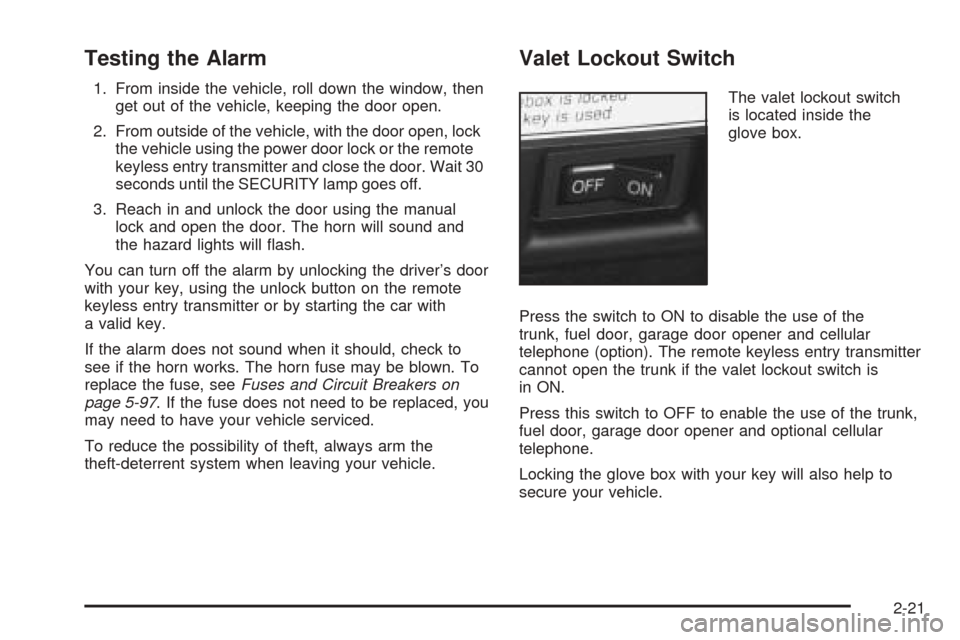
Valet Lockout Switch
The valet lockout switch
is located inside the
glove box.
Press the switch to ON to disable the use of the
trunk, fuel door, garage door opener and cellular
telephone (option). The remote keyless entry transmitter
cannot open the trunk if the valet lockout switch is
in ON.
Press this switch to OFF to enable the use of the trunk,
fuel door, garage door opener and optional cellular
telephone.
Locking the glove box with your key will also help to
secure your vehicle.
2-21
Page 83 of 410
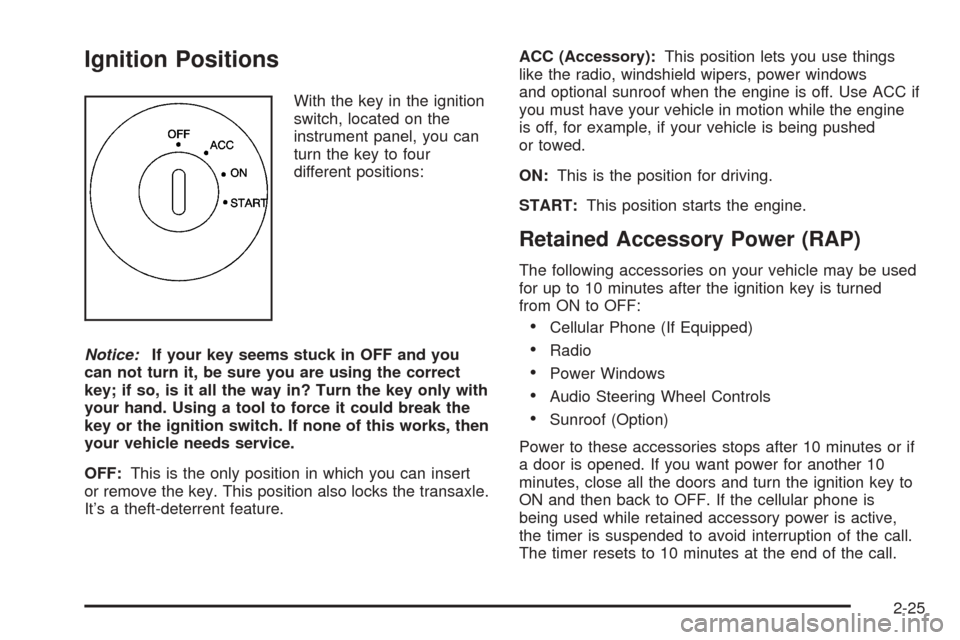
Ignition Positions
With the key in the ignition
switch, located on the
instrument panel, you can
turn the key to four
different positions:
Notice:If your key seems stuck in OFF and you
can not turn it, be sure you are using the correct
key; if so, is it all the way in? Turn the key only with
your hand. Using a tool to force it could break the
key or the ignition switch. If none of this works, then
your vehicle needs service.
OFF:This is the only position in which you can insert
or remove the key. This position also locks the transaxle.
It’s a theft-deterrent feature.ACC (Accessory):This position lets you use things
like the radio, windshield wipers, power windows
and optional sunroof when the engine is off. Use ACC if
you must have your vehicle in motion while the engine
is off, for example, if your vehicle is being pushed
or towed.
ON:This is the position for driving.
START:This position starts the engine.
Retained Accessory Power (RAP)
The following accessories on your vehicle may be used
for up to 10 minutes after the ignition key is turned
from ON to OFF:
•Cellular Phone (If Equipped)
•Radio
•Power Windows
•Audio Steering Wheel Controls
•Sunroof (Option)
Power to these accessories stops after 10 minutes or if
a door is opened. If you want power for another 10
minutes, close all the doors and turn the ignition key to
ON and then back to OFF. If the cellular phone is
being used while retained accessory power is active,
the timer is suspended to avoid interruption of the call.
The timer resets to 10 minutes at the end of the call.
2-25
Page 101 of 410
Luxury and Leisure Plan
•
All Directions and Connections Plan services
•Personal Concierge
OnStar®Personal Calling
With OnStar®Personal Calling, you have a safer way to
stay connected while driving. It’s a hands-free wireless
phone that’s integrated into your vehicle. You can place
calls nationwide using voice-activated dialing with no
contracts and no additional roaming charges. To find out
more about OnStar
®Personal Calling, refer to the
OnStar®user’s guide in your vehicle’s glove box, or call
OnStar®at 1-888-4-ONSTAR (1-888-466-7827).
OnStar®Virtual Advisor
With OnStar®Virtual Advisor you can listen to the news,
entertainment and informative topics, such as traffic
and weather reports. You are able to listen and reply to
your e-mail through your vehicle’s speakers.
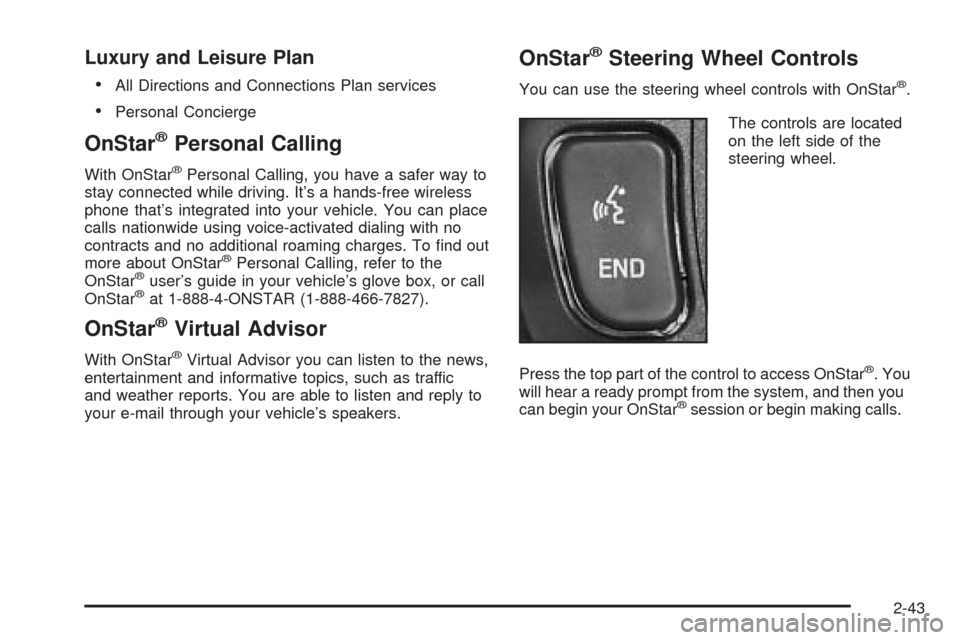
OnStar®Steering Wheel Controls
You can use the steering wheel controls with OnStar®.
The controls are located
on the left side of the
steering wheel.
Press the top part of the control to access OnStar
®. You
will hear a ready prompt from the system, and then you
can begin your OnStar
®session or begin making calls.
2-43
Page 102 of 410
If your vehicle has the optional Navigation system or
cellular phone, the ready prompt will come from
that system first. You must say the word phone to
access OnStar
®.
If your vehicle has both optional systems, the ready
prompt will come from the Navigation system first. When
you say the word phone after the ready prompt, you
will access the cellular phone.
If you prefer to use OnStar
®to make calls, you must
repeat the word phone again after the cellular
phone ready prompt.
To end a communication session, press the bottom part
of the control that says END.
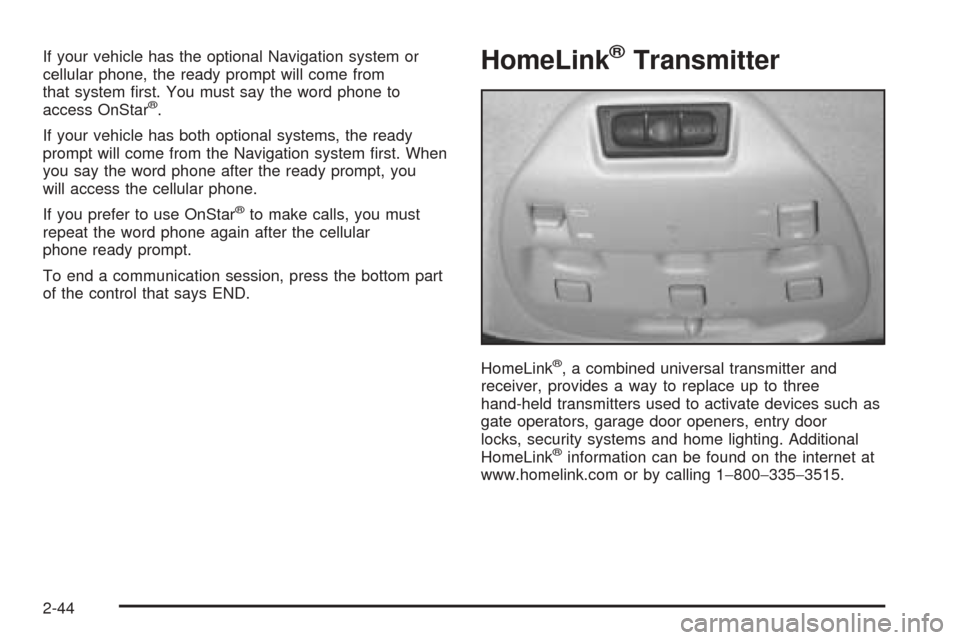
HomeLink®Transmitter
HomeLink®, a combined universal transmitter and
receiver, provides a way to replace up to three
hand-held transmitters used to activate devices such as
gate operators, garage door openers, entry door
locks, security systems and home lighting. Additional
HomeLink
®information can be found on the internet at
www.homelink.com or by calling 1−800−335−3515.
2-44
Page 107 of 410
Storage Areas
Glove Box
The glove box is located in front of the passenger’s seat
on the instrument panel. To lock the glove box door,
insert the master key into the lock cylinder and
turn it clockwise. Turn the key counterclockwise to
unlock the door.
Cellular Telephone
Your vehicle may have been prewired for dealer
installation of a portable cellular telephone system.
The system has steering wheel telephone controls and
information output through the Driver Information
Center (DIC). Voice activation with remote record and
hands-free operation are standard features. For
more information, contact your dealer. A user’s guide is
provided with the telephone.
Center Console Storage Area
The center console comes with a storage tray, a
storage compartment for CDs or tapes, a dual cupholder
that unfolds, a coinholder, an optional phone and an
armrest. The cupholder can be opened by pressing on
the surface panel located in front of the armrest and
unfolding it. Close the lid to secure it.
Map Pocket
The map/storage pockets are located on each front door
as well as on the passenger’s and driver’s seatbacks.
Assist Handles
A handle above each door can be used when getting
out of your vehicle.
Garment Hooks
For your convenience, a garment hook is attached to
each rear assist handle.
2-49
Page 117 of 410
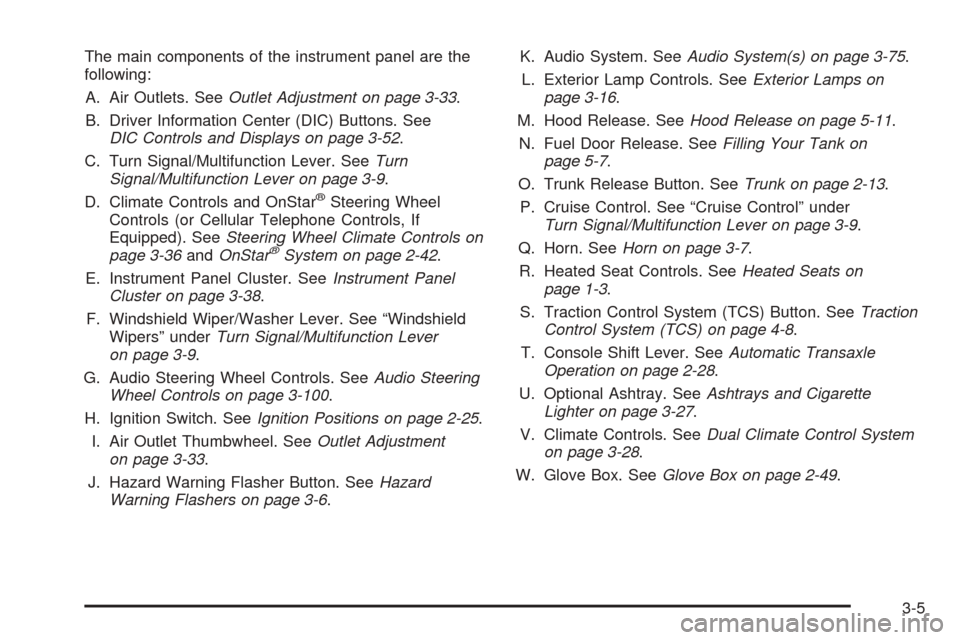
The main components of the instrument panel are the
following:
A. Air Outlets. SeeOutlet Adjustment on page 3-33.
B. Driver Information Center (DIC) Buttons. See
DIC Controls and Displays on page 3-52.
C. Turn Signal/Multifunction Lever. SeeTurn
Signal/Multifunction Lever on page 3-9.
D. Climate Controls and OnStar
®Steering Wheel
Controls (or Cellular Telephone Controls, If
Equipped). SeeSteering Wheel Climate Controls on
page 3-36andOnStar
®System on page 2-42.
E. Instrument Panel Cluster. SeeInstrument Panel
Cluster on page 3-38.
F. Windshield Wiper/Washer Lever. See “Windshield
Wipers” underTurn Signal/Multifunction Lever
on page 3-9.
G. Audio Steering Wheel Controls. SeeAudio Steering
Wheel Controls on page 3-100.
H. Ignition Switch. SeeIgnition Positions on page 2-25.
I. Air Outlet Thumbwheel. SeeOutlet Adjustment
on page 3-33.
J. Hazard Warning Flasher Button. SeeHazard
Warning Flashers on page 3-6.K. Audio System. SeeAudio System(s) on page 3-75.
L. Exterior Lamp Controls. SeeExterior Lamps on
page 3-16.
M. Hood Release. SeeHood Release on page 5-11.
N. Fuel Door Release. SeeFilling Your Tank on
page 5-7.
O. Trunk Release Button. SeeTrunk on page 2-13.
P. Cruise Control. See “Cruise Control” under
Turn Signal/Multifunction Lever on page 3-9.
Q. Horn. SeeHorn on page 3-7.
R. Heated Seat Controls. SeeHeated Seats on
page 1-3.
S. Traction Control System (TCS) Button. SeeTraction
Control System (TCS) on page 4-8.
T. Console Shift Lever. SeeAutomatic Transaxle
Operation on page 2-28.
U. Optional Ashtray. SeeAshtrays and Cigarette
Lighter on page 3-27.
V. Climate Controls. SeeDual Climate Control System
on page 3-28.
W. Glove Box. SeeGlove Box on page 2-49.
3-5
Page 138 of 410
If the URPA system is not functioning properly, the
display will flash red, indicating that there is a problem.
The light will also flash red while driving if a trailer is
attached to your vehicle, or a bicycle or object is on the
back of, or hanging out of your trunk. The light will
continue to flash until the trailer or the object is
removed and your vehicle is driven forward at least
15 mph (25 km/h).
It may also flash red if the ultrasonic sensors are not
kept clean. So be sure to keep your rear bumper free of
mud, dirt, snow, ice and slush or materials such as
paint or the system may not work properly. If after
cleaning the rear bumper and driving forward at least
15 mph (25 km/h), the display continues to flash red, see
your dealer. For cleaning instructions, seeCleaning
the Outside of Your Vehicle on page 5-90.
It may also flash red if your vehicle is moving in
REVERSE (R) at a speed greater than 3 mph (5 km/h).
Other conditions that may affect system performance
include things like the vibrations from a jackhammer or
the compression of air brakes on a very large truck.
As always, drivers should use care when backing up a
vehicle. Always look behind you, being sure to check
for other vehicles, obstructions and blind spots.Accessory Power Outlets
Your vehicle is equipped with accessory power outlets.
The outlets can be used to plug in electrical equipment
such as a cellular telephone, CB radio, etc.
The accessory power outlets are located at the rear of
the center console and on the lower inboard carpeted
panel on the passenger’s side of the vehicle.
Your vehicle may have a small cap that must be
removed to access the accessory power outlet. If it
does, when not using the outlet be sure to cover it with
the protective cap.
The accessory power outlet will only operate when the
ignition is in ACC or ON and for 10 minutes after
turning the ignition OFF. If you would like the accessory
power outlet to operate regardless of ignition position,
and for extended periods of time, see your dealer
for more information.
Notice:Leaving electrical equipment on for
extended periods will drain the battery. Always turn
off electrical equipment when not in use and do
not plug in equipment that exceeds the maximum
amperage rating.
Certain accessory power plugs may not be compatible
to the accessory power outlet and could result in
blown vehicle or adapter fuses. If you experience a
problem see your dealer for additional information on the
accessory power plugs.
3-26