2004 BMW 525I SEDAN seat adjustment
[x] Cancel search: seat adjustmentPage 18 of 220

Control Center
16
Control Center
The Control Center groups the functions of
a large number of switches. This means
that these functions can be operated from
a central position. The following section
provides an introduction to the principle of
the menu guidance. How you control the
individual functions is described in the con-
text of the relevant equipment.
Controls
1Controller: you navigate through the
menus of the Control Center and make
adjustments by turning, pressing and
moving it to the left, right, forwards or
backwards
2Opening the start menu from any menu
item
3Control Display
When you turn the controller, you feel a
clicking. This helps you to select the
desired menu item.
To avoid posing an unnecessary haz-
ard due to inattention, both to your
own vehicle's occupants and to other road users: never attempt to use the controls or
make entries unless traffic and road condi-
tions allow.<
Menu overview
You can call up all the functions in the Con-
trol Center using five menu items.
Communication
>Portable phone*
>BMW Assist* or TeleService*.
Navigation or onboard information
>Navigation system*
>Onboard information, e.g. for display of
the average fuel consumption.
Entertainment
>Radio
>CD.
Climate
>Air distribution
>Seat air conditioning
*
>Independent ventilation
*.
Menu item
>Switching off the Control Display
>Traffic information
>Sound and display settings
>Settings for your vehicle, e.g. Key
Memory
>Display of the maintenance requirement
and dates for statutory emission and
vehicle inspections.
Page 29 of 220

Controls
27Reference
At a glance
Driving tips
Communications
Navigation
Entertainment
Mobility
Examples of Key Memory functions
>Automatic adjustment of the electric
driver's seat
>Locking the vehicle after moving off
>When unlocking with the remote con-
trol, either unlock only the driver's door
or the entire vehicle
>Activating optical warning for Park Dis-
tance Control PDC
>Setting the volume.
Central locking system
The concept
The central locking system is ready for
operation whenever the driver's door is
closed. This simultaneously engages and
releases the locks on the following:
>Doors
>Luggage compartment lid
>Fuel filler door.
The central locking system can be oper-
ated from the outside
>via the remote control
>via the driver's door lock
and from inside via the button for the cen-
tral locking system.
When the system is locked from inside, the
fuel filler door remains unlocked, refer to
page 30.
The anti-theft system is automatically acti-
vated whenever you operate the central
locking system from outside the vehicle. It
prevents the doors from being unlocked
using the safety lock buttons or door han-
dles. The alarm system is armed/disarmed
at the same time.
In the event of an accident, the central
locking system automatically unlocks the
vehicle. In addition, the hazard warning
flashers and interior lamps come on.
Opening and closing: from
outside
Using the remote control
The remote control provides two additional
functions for the central locking system:
>Switching on the interior lamps, refer to
page 28.
You can also use this function to locate
your vehicle in parking garages etc.
>Opening the luggage compartment lid,
refer to page 28.
The luggage compartment lid opens,
regardless of whether it was previously
locked or unlocked.
In addition, the remote control offers you
another function:
>Panic mode
In case of danger, you can trigger an
alarm.
When you lock/unlock the vehicle, you
simultaneously activate/deactivate the
anti-theft system, arm/disarm the alarm
system, and switch the interior lamps on/
off.
Protect the remote control against
unauthorized use by handing over
only the spare key, for example when using
hotel valet parking.<
Because any persons or animals left
unattended in a parked vehicle could
lock the doors from the inside, you should
always keep the remote control with you;
this precaution ensures that you will remain
able to unlock the vehicle from the outside
at all times.<
Unlocking
Press the button.
You can set which doors are to be
unlocked for each specific key:
Control Center, for principle details, refer to
page 16:
1.Open the menu
2.Select "Vehicle settings" and press the
controller
Page 38 of 220
Adjustments
36
Adjustments
Sitting safely
The ideal sitting position can make a vital
contribution to relaxed, fatigue-free driv-
ing.The sitting position of the occupants
plays an important role together with the
safety belts and airbags in an accident. To
ensure that the safety systems operate with
optimal efficiency, we strongly urge you to
observe the instructions contained in the
following section.
For additional information on transporting
children safely, refer to page 45.
Sitting safely with airbags
Always maintain an adequate dis-
tance between yourself and the air-
bags. Always hold the steering wheel by
its rim with hands at the 9 o'clock and
3 o'clock positions, to minimize the risk of
injuries to your hands and arms in the event
of airbag deployment.
No one and nothing is to come between the
airbags and the seat occupant.
Do not use the cover of the front airbag on
the front passenger side as a storage area.
Make sure that the front passenger is cor-
rectly seated and does not rest feet or legs
on the instrument panel, otherwise leg inju-
ries can occur if the knee and front airbag
are triggered.
Never let an occupant's head rest near or
on a side airbag because the inflating air-
bag could cause a serious or fatal injury.<
Even if you adhere to all the instructions
injuries resulting from contact with airbags
cannot be fully excluded, depending on the
circumstances. The ignition and inflation
noise may provoke a mild hearing loss in
extremely sensitive individuals. This effect
is usually only temporary.
For airbag locations and additional infor-
mation on airbags, refer to page 83.
Sitting safely with safety belts
Fasten your safety belt before starting any
trip. Airbags complement the safety belt as
an additional safety device, but they do not
represent a substitute.
Your vehicle has five seats that are all
equipped with a safety belt.
At all times, occupants should sit
upright and be properly restrained Ð
infants and small children in appropriate
child-restraint systems; larger children and
adults using the safety belts.
Expectant mothers should always wear
their safety belts, taking care to position
the lap belt against the lower hips, where it
will not exert pressure against the abdomi-
nal area.
Never allow more than one person to wear
a single safety belt. Never allow infants or
small children to ride in a passenger's lap.
Do not route the belt across your neck, or
run it across sharp edges. Be sure that the
belt does not become caught or jammed.
Avoid twisting the belt while routing it firmly
across the hips and shoulder. Do not allow
the belt to rest against hard or fragile
objects. Otherwise, in the event of a frontal
impact, a loose lap belt could slide over
your hips, leading to abdominal injury.
Avoid wearing clothing that prevents the
belt from fitting properly and pull the lap
belt periodically to readjust the tension
across your shoulder in order to avoid a
reduction in the retention effect of the
safety belt.<
For instructions on operating safety belts,
refer to page 40.
Seats
Note before adjusting
Never attempt to adjust your seat
while the vehicle is moving. The seat
could respond with unexpected move-
Page 39 of 220
Controls
37Reference
At a glance
Driving tips
Communications
Navigation
Entertainment
Mobility
ment, and the ensuing loss of vehicle con-
trol could lead to an accident.
On the front passenger side as well, do not
tilt the backrest too far toward the rear
while driving. Failure to observe this pre-
caution can prevent the belt from providing
effective protection against injury, as the
passenger could slide under the belt in an
accident.
Make sure that the footwell behind the
driver's and front passenger's seat is empty
and unobstructed. If you fail to do so, any
persons or objects behind the seat could
be injured or damaged by a rearward
movement of the seat.<
Please observe the information on damage
to safety belts provided on page 41 and the
information on the active head restraints on
page 40.
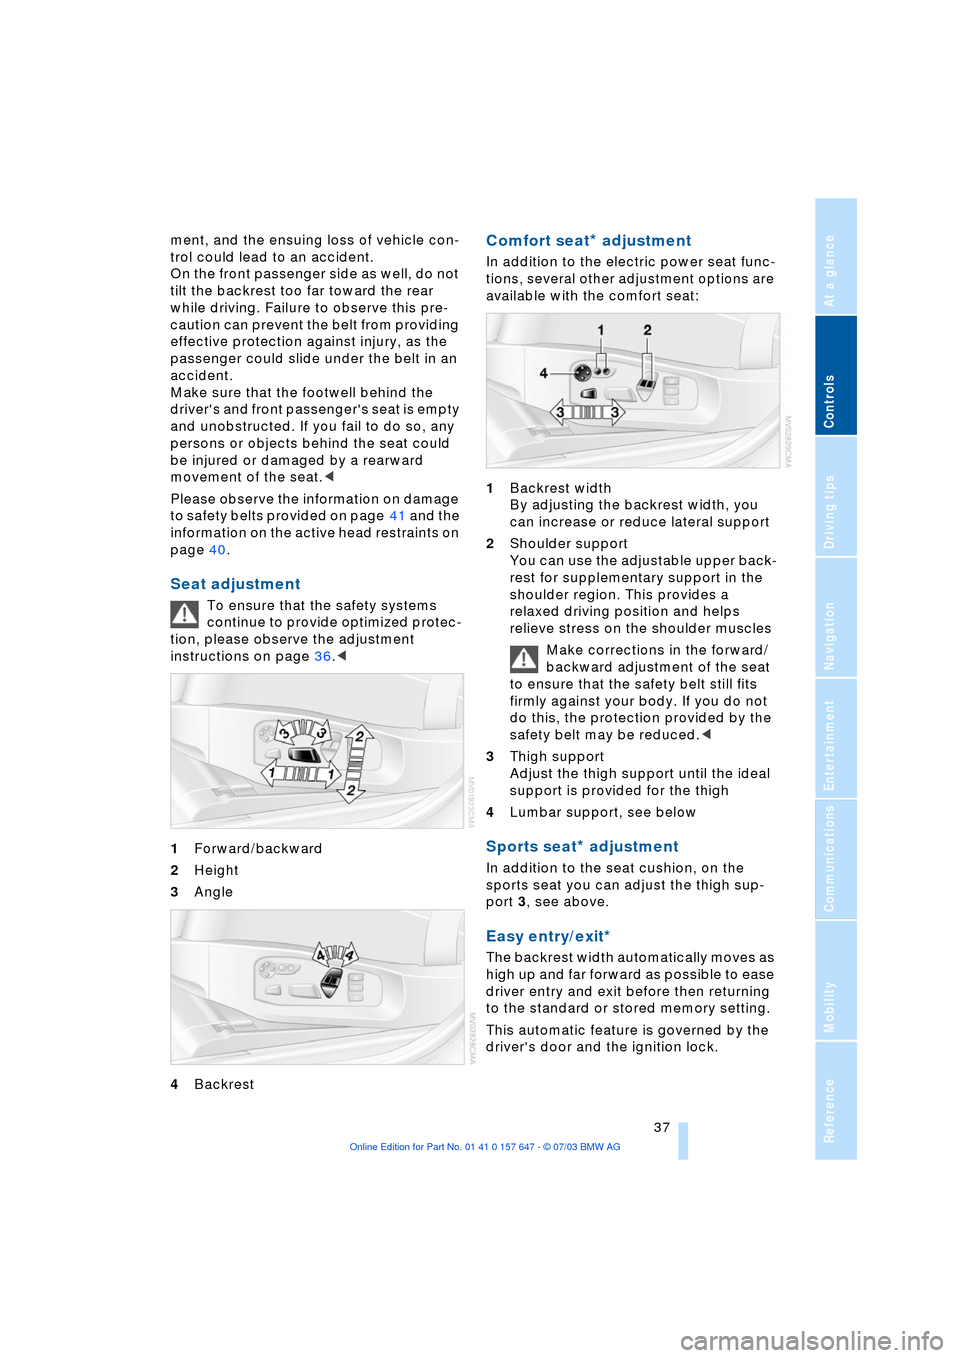
Seat adjustment
To ensure that the safety systems
continue to provide optimized protec-
tion, please observe the adjustment
instructions on page 36.<
1Forward/backward
2Height
3Angle
4Backrest
Comfort seat* adjustment
In addition to the electric power seat func-
tions, several other adjustment options are
available with the comfort seat:
1Backrest width
By adjusting the backrest width, you
can increase or reduce lateral support
2Shoulder support
You can use the adjustable upper back-
rest for supplementary support in the
shoulder region. This provides a
relaxed driving position and helps
relieve stress on the shoulder muscles
Make corrections in the forward/
backward adjustment of the seat
to ensure that the safety belt still fits
firmly against your body. If you do not
do this, the protection provided by the
safety belt may be reduced.<
3Thigh support
Adjust the thigh support until the ideal
support is provided for the thigh
4Lumbar support, see below
Sports seat* adjustment
In addition to the seat cushion, on the
sports seat you can adjust the thigh sup-
port 3, see above.
Easy entry/exit*
The backrest width automatically moves as
high up and far forward as possible to ease
driver entry and exit before then returning
to the standard or stored memory setting.
This automatic feature is governed by the
driver's door and the ignition lock.
Page 40 of 220
Adjustments
38
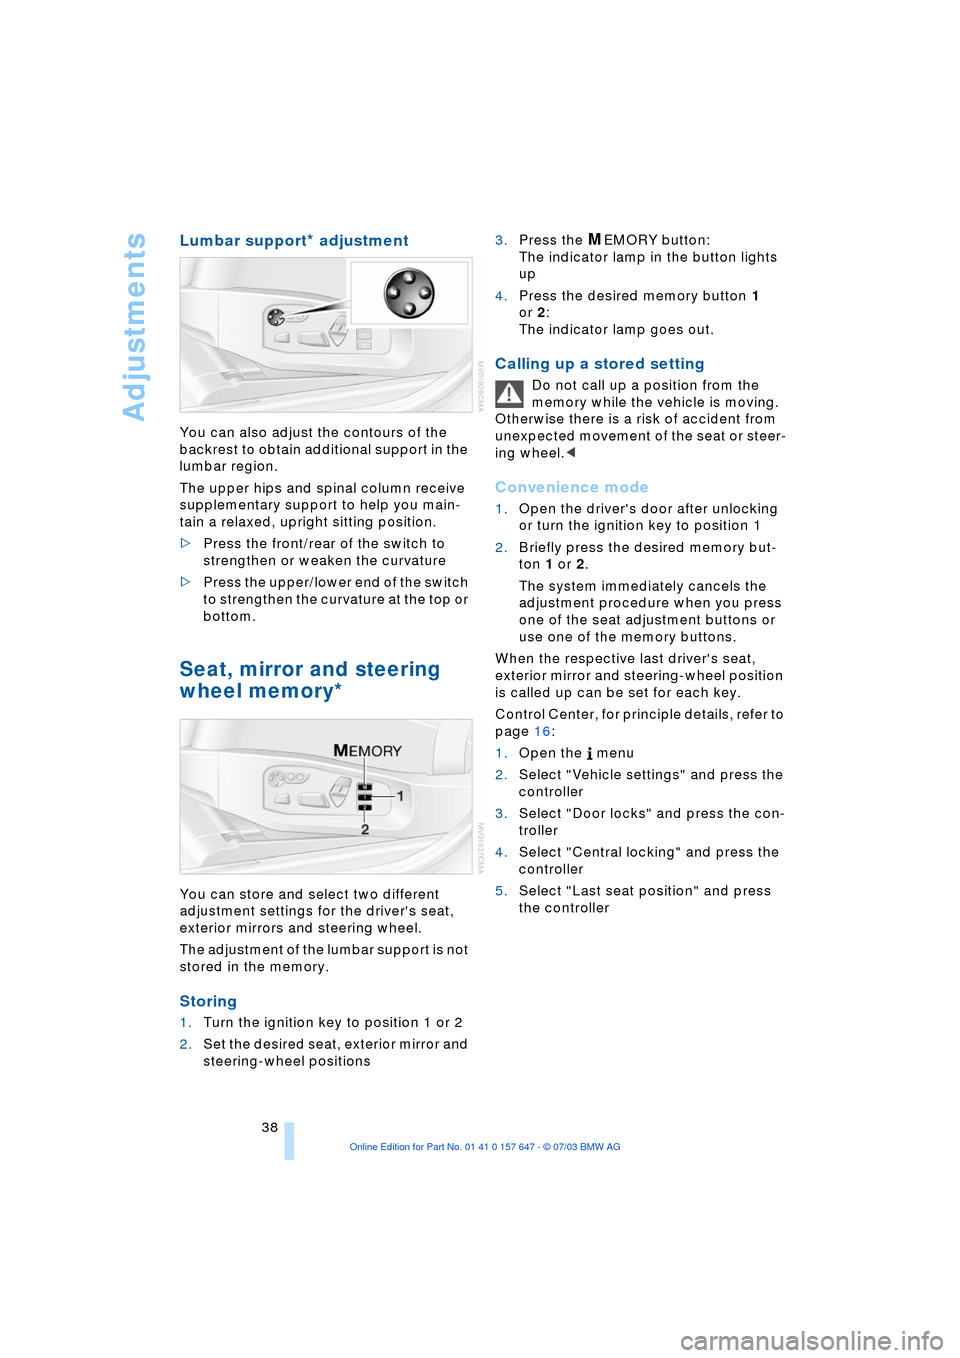
Lumbar support* adjustment
You can also adjust the contours of the
backrest to obtain additional support in the
lumbar region.
The upper hips and spinal column receive
supplementary support to help you main-
tain a relaxed, upright sitting position.
>Press the front/rear of the switch to
strengthen or weaken the curvature
>Press the upper/lower end of the switch
to strengthen the curvature at the top or
bottom.
Seat, mirror and steering
wheel memory*
You can store and select two different
adjustment settings for the driver's seat,
exterior mirrors and steering wheel.
The adjustment of the lumbar support is not
stored in the memory.
Storing
1.Turn the ignition key to position 1 or 2
2.Set the desired seat, exterior mirror and
steering-wheel positions 3.Press the
MEMORY button:
The indicator lamp in the button lights
up
4.Press the desired memory button 1
or 2:
The indicator lamp goes out.
Calling up a stored setting
Do not call up a position from the
memory while the vehicle is moving.
Otherwise there is a risk of accident from
unexpected movement of the seat or steer-
ing wheel.<
Convenience mode
1.Open the driver's door after unlocking
or turn the ignition key to position 1
2.Briefly press the desired memory but-
ton 1 or 2.
The system immediately cancels the
adjustment procedure when you press
one of the seat adjustment buttons or
use one of the memory buttons.
When the respective last driver's seat,
exterior mirror and steering-wheel position
is called up can be set for each key.
Control Center, for principle details, refer to
page 16:
1.Open the menu
2.Select "Vehicle settings" and press the
controller
3.Select "Door locks" and press the con-
troller
4.Select "Central locking" and press the
controller
5.Select "Last seat position" and press
the controller
Page 42 of 220
Adjustments
40
Comfort seat
Setting the side extensions
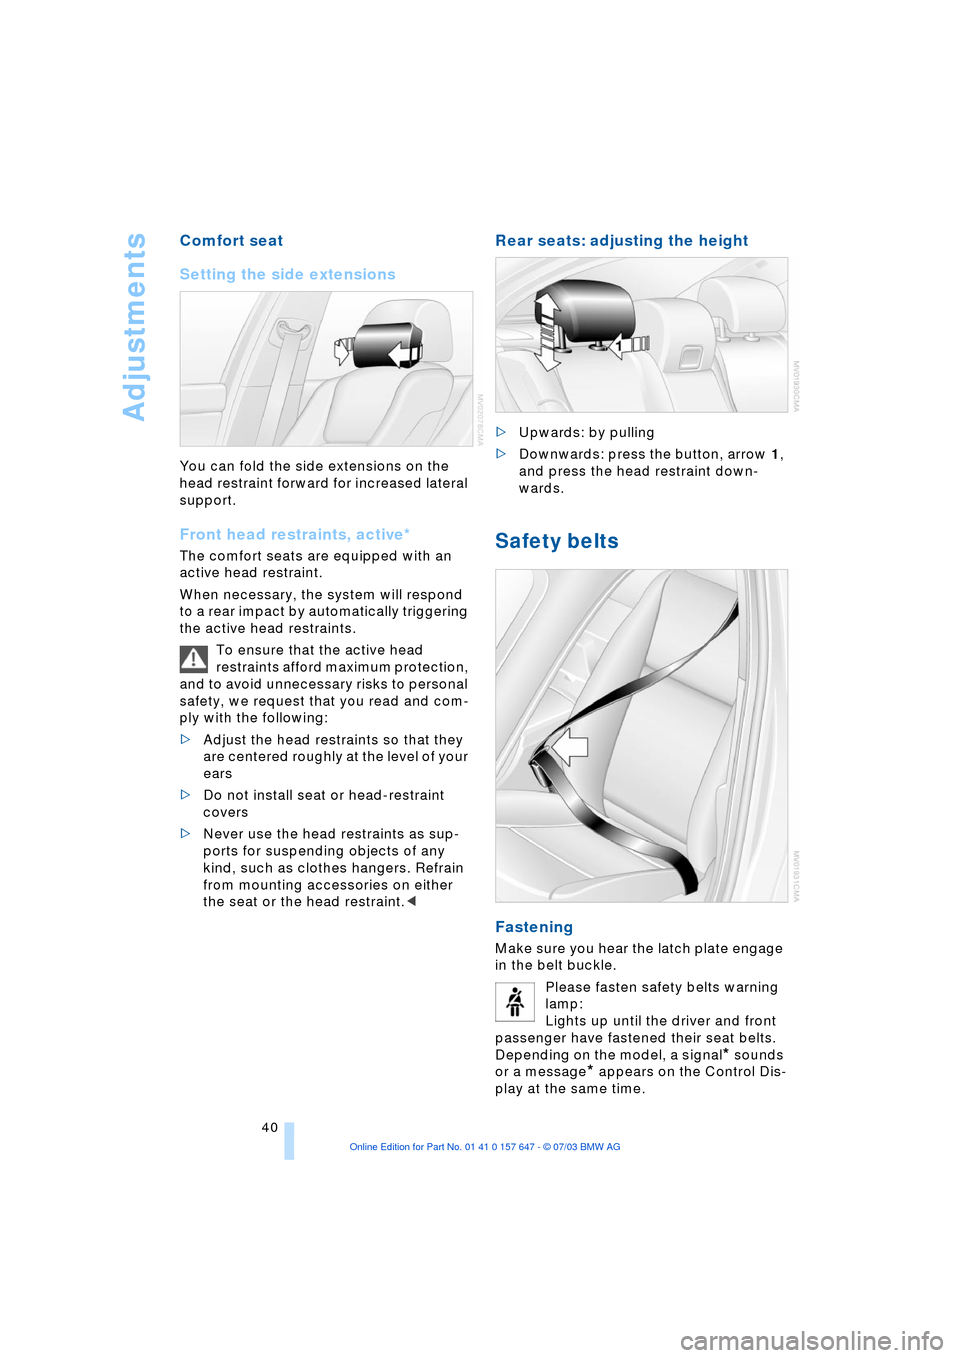
You can fold the side extensions on the
head restraint forward for increased lateral
support.
Front head restraints, active*
The comfort seats are equipped with an
active head restraint.
When necessary, the system will respond
to a rear impact by automatically triggering
the active head restraints.
To ensure that the active head
restraints afford maximum protection,
and to avoid unnecessary risks to personal
safety, we request that you read and com-
ply with the following:
>Adjust the head restraints so that they
are centered roughly at the level of your
ears
>Do not install seat or head-restraint
covers
>Never use the head restraints as sup-
ports for suspending objects of any
kind, such as clothes hangers. Refrain
from mounting accessories on either
the seat or the head restraint.<
Rear seats: adjusting the height
>Upwards: by pulling
>Downwards: press the button, arrow 1,
and press the head restraint down-
wards.
Safety belts
Fastening
Make sure you hear the latch plate engage
in the belt buckle.
Please fasten safety belts warning
lamp:
Lights up until the driver and front
passenger have fastened their seat belts.
Depending on the model, a signal
* sounds
or a message
* appears on the Control Dis-
play at the same time.
Page 44 of 220
Adjustments
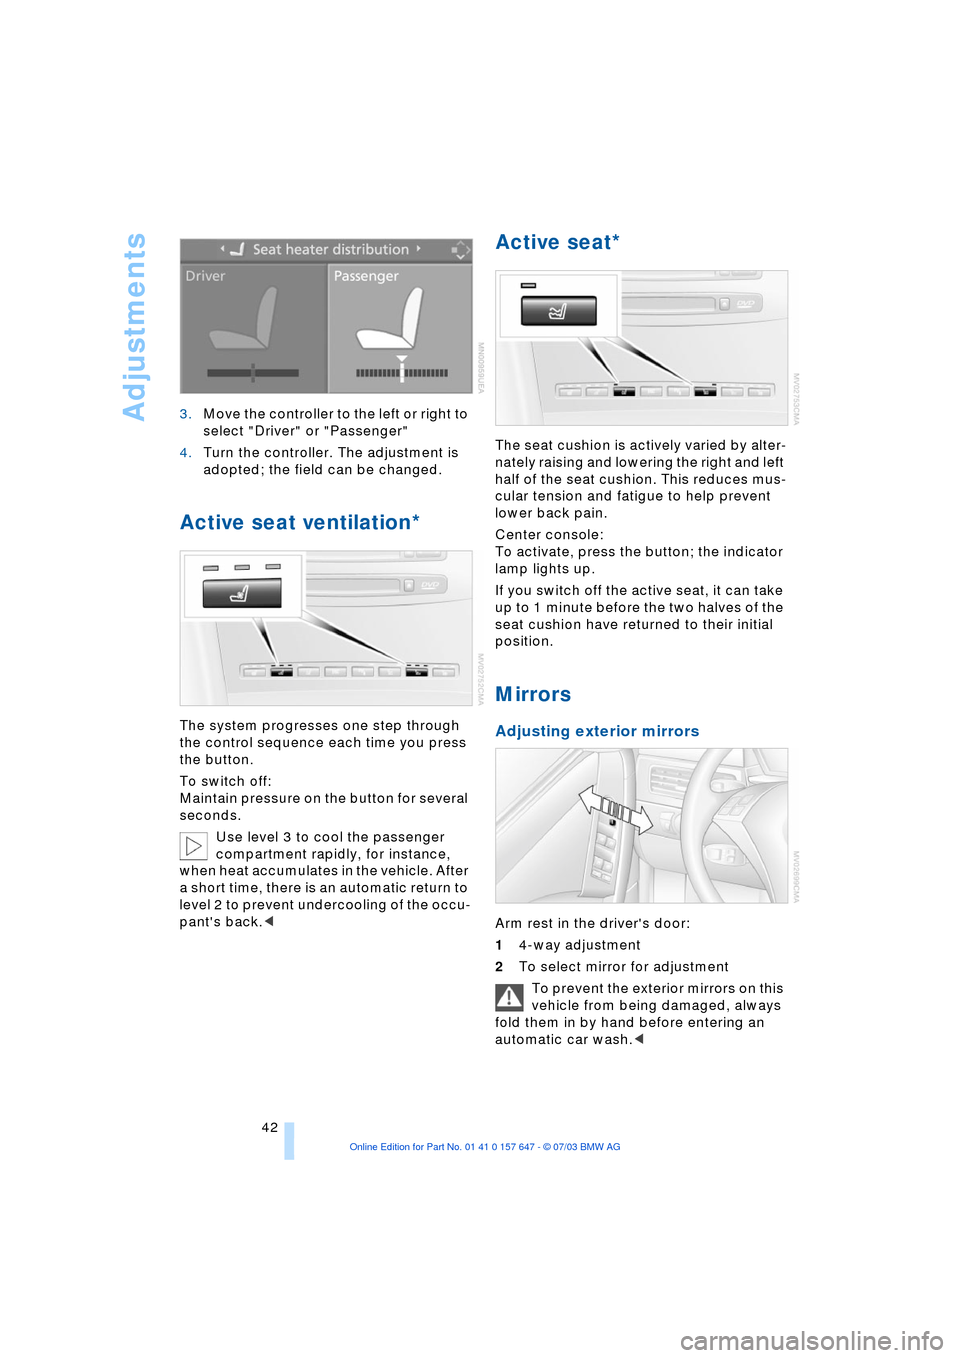
42 3.Move the controller to the left or right to
select "Driver" or "Passenger"
4.Turn the controller. The adjustment is
adopted; the field can be changed.
Active seat ventilation*
The system progresses one step through
the control sequence each time you press
the button.
To switch off:
Maintain pressure on the button for several
seconds.
Use level 3 to cool the passenger
compartment rapidly, for instance,
when heat accumulates in the vehicle. After
a short time, there is an automatic return to
level 2 to prevent undercooling of the occu-
pant's back.<
Active seat*
The seat cushion is actively varied by alter-
nately raising and lowering the right and left
half of the seat cushion. This reduces mus-
cular tension and fatigue to help prevent
lower back pain.
Center console:
To activate, press the button; the indicator
lamp lights up.
If you switch off the active seat, it can take
up to 1 minute before the two halves of the
seat cushion have returned to their initial
position.
Mirrors
Adjusting exterior mirrors
Arm rest in the driver's door:
14-way adjustment
2To select mirror for adjustment
To prevent the exterior mirrors on this
vehicle from being damaged, always
fold them in by hand before entering an
automatic car wash.<
Page 45 of 220
Controls
43Reference
At a glance
Driving tips
Communications
Navigation
Entertainment
Mobility
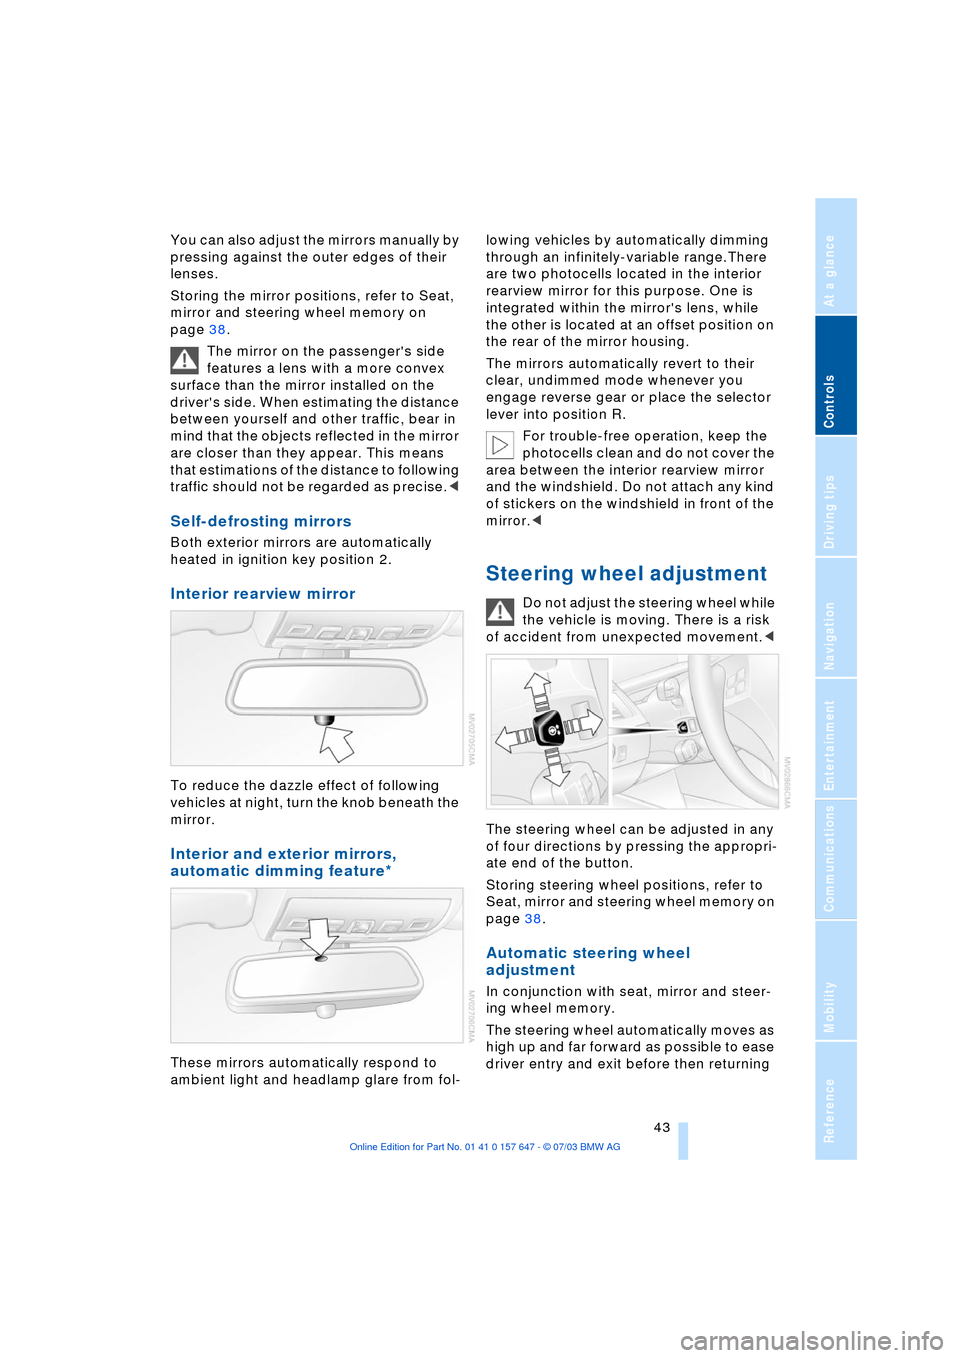
You can also adjust the mirrors manually by
pressing against the outer edges of their
lenses.
Storing the mirror positions, refer to Seat,
mirror and steering wheel memory on
page 38.
The mirror on the passenger's side
features a lens with a more convex
surface than the mirror installed on the
driver's side. When estimating the distance
between yourself and other traffic, bear in
mind that the objects reflected in the mirror
are closer than they appear. This means
that estimations of the distance to following
traffic should not be regarded as precise.<
Self-defrosting mirrors
Both exterior mirrors are automatically
heated in ignition key position 2.
Interior rearview mirror
To reduce the dazzle effect of following
vehicles at night, turn the knob beneath the
mirror.
Interior and exterior mirrors,
automatic dimming feature*
These mirrors automatically respond to
ambient light and headlamp glare from fol-lowing vehicles by automatically dimming
through an infinitely-variable range.There
are two photocells located in the interior
rearview mirror for this purpose. One is
integrated within the mirror's lens, while
the other is located at an offset position on
the rear of the mirror housing.
The mirrors automatically revert to their
clear, undimmed mode whenever you
engage reverse gear or place the selector
lever into position R.
For trouble-free operation, keep the
photocells clean and do not cover the
area between the interior rearview mirror
and the windshield. Do not attach any kind
of stickers on the windshield in front of the
mirror.<
Steering wheel adjustment
Do not adjust the steering wheel while
the vehicle is moving. There is a risk
of accident from unexpected movement.<
The steering wheel can be adjusted in any
of four directions by pressing the appropri-
ate end of the button.
Storing steering wheel positions, refer to
Seat, mirror and steering wheel memory on
page 38.
Automatic steering wheel
adjustment
In conjunction with seat, mirror and steer-
ing wheel memory.
The steering wheel automatically moves as
high up and far forward as possible to ease
driver entry and exit before then returning