2004 BMW 525I SEDAN ECO mode
[x] Cancel search: ECO modePage 8 of 220
Notes
6
For your own safety
Fuels
Use unleaded gasoline only. Fuels
containing up to and including
10% ethanol or other oxygenates with up
to 2.8% oxygen by weight Ð that is,
15% MTBE or 3% methanol plus an equiv-
alent amount of co-solvent Ð will not void
the applicable warranties with respect to
defects in materials or workmanship. Field
experience has indicated significant differ-
ences in fuel quality Ð volatility, composi-
tion, additives, etc. Ð among gasolines
offered for sale in the United States and
Canada. The use of poor-quality fuels may
result in driveability, starting and stalling
problems, especially under certain environ-
mental conditions such as high ambient
temperature and high altitude.
Should you encounter driveability prob-
lems which you suspect could be related to
the fuel you are using, we recommend that
you respond by switching to a recognized
high-quality brand.
Failure to comply with these recommenda-
tions may result in unscheduled mainte-
nance.
Follow the relevant safety rules when you
are handling gasoline.
<
Maintenance and repair
Advanced technology, e. g. the use of
modern materials and high-perform-
ance electronics, requires specially
adapted maintenance and repair methods.
Therefore, only have corresponding work
on your BMW carried out by a BMW center
or a workshop that works according to
BMW repair procedures with correspond-
ingly trained personnel. If work is carried
out improperly there is a danger of conse-
quential damage and the related safety
risks.
<
Parts and accessories
For your own safety, use genuine
parts and accessories approved by
BMW.
When you purchase accessories tested
and approved by BMW and Genuine BMW
Parts, you simultaneously acquire the
assurance that they have been thoroughly
tested by BMW to ensure optimum perfor-
mance when installed on your vehicle.
BMW warrants these parts to be free from
defects in material and workmanship.
BMW will not accept any liability for dam-
age resulting from installation of parts and
accessories not approved by BMW.
BMW cannot test every product made by
other manufacturers to verify if it can be
used on a BMW safely and without risk to
either the vehicle, its operation, or its occu-
pants.
Genuine BMW Parts, BMW Accessories
and other products approved by BMW,
together with professional advice on using
these items, are available from all BMW
centers.
Installation and operation of non-BMW
approved accessories such as alarms,
radios, amplifiers, radar detectors, wheels,
suspension components, brake dust
shields, telephones Ð including operation of
any portable phone from within the vehicle
without using an externally mounted
antenna Ð or transceiver equipment, for
instance, CBs, walkie-talkie, ham radio or
similar accessories, may cause extensive
damage to the vehicle, compromise its
safety, interfere with the vehicle's electrical
system or affect the validity of the BMW
Limited Warranty. Consult your BMW cen-
ter for additional information.
<
Maintenance, replacement, or repair
of the emission control devices and
systems may be performed by any automo-
tive repair establishment or individual using
any certified automotive part.
<
Page 9 of 220

7
Reference
At a glance
Controls
Driving tips
Communications
Navigation
Entertainment
Mobility
Service and warranty
We recommend that you read this publica-
tion thoroughly.
Your BMW is covered by the following war-
ranties:
>
New Vehicle Limited Warranty
>
Rust Perforation Limited Warranty
>
Federal Emissions System Defect
Warranty
>
Federal Emissions Performance
Warranty
>
California Emission Control System
Limited Warranty.
Detailed information about these warran-
ties is listed in the Service and Warranty
Information Booklet for US models or in the
Warranty and Service Guide Booklet for
Canadian models.
Reporting safety defects
The following only applies to vehicles
owned and operated in the US.
If you believe that your vehicle has a defect
which could cause a crash or could cause
injury or death, you should immediately
inform the National Highway Traffic Safety
Administration NHTSA in addition to notify-
ing BMW of North America, LLC, P.O. Box
1227, Westwood, New Jersey 07675-
1227, Telephone (800) 831-1117.
If NHTSA receives similar complaints, it
may open an investigation, and if it finds
that a safety defect exists in a group of
vehicles, it may order a recall and remedy
campaign. However, NHTSA cannot
become involved in individual problems
between you, your dealer, or BMW of North
America, LLC.
To contact NHTSA, you may either call the
Auto Safety Hotline toll-free at
1-800-424-9393 (or 366-0123
in Washington, D.C. area) or write to:
NHTSA, U.S. Department of Transporta-
tion, Washington, D.C. 20590. You can also
obtain other information about motor vehi-
cle safety from the Hotline.
Page 30 of 220
Opening and closing
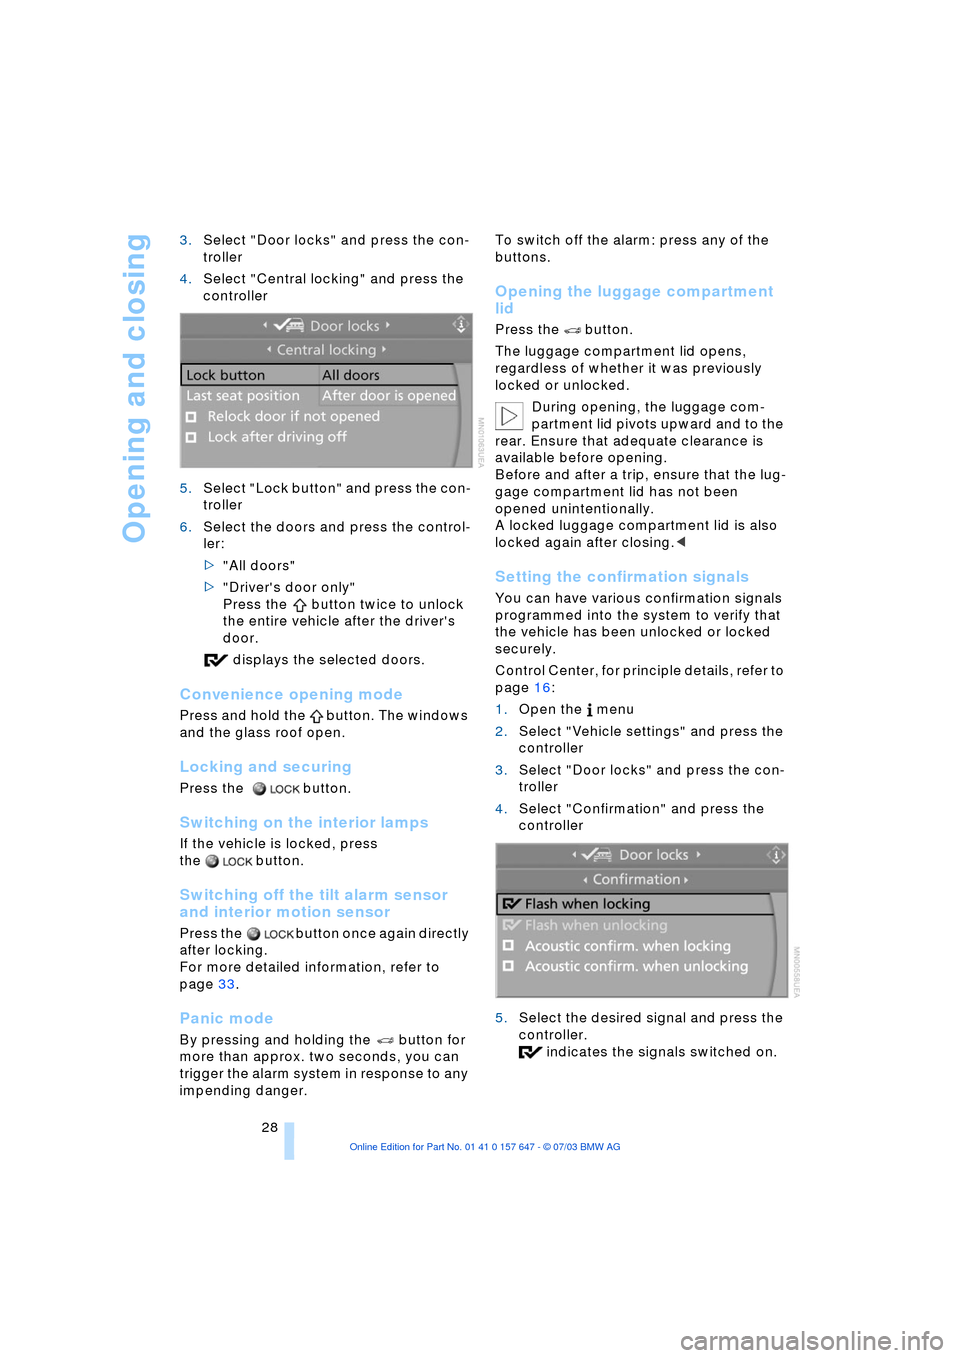
28 3.Select "Door locks" and press the con-
troller
4.Select "Central locking" and press the
controller
5.Select "Lock button" and press the con-
troller
6.Select the doors and press the control-
ler:
>"All doors"
>"Driver's door only"
Press the button twice to unlock
the entire vehicle after the driver's
door.
displays the selected doors.
Convenience opening mode
Press and hold the button. The windows
and the glass roof open.
Locking and securing
Press the button.
Switching on the interior lamps
If the vehicle is locked, press
the button.
Switching off the tilt alarm sensor
and interior motion sensor
Press the button once again directly
after locking.
For more detailed information, refer to
page 33.
Panic mode
By pressing and holding the button for
more than approx. two seconds, you can
trigger the alarm system in response to any
impending danger. To switch off the alarm: press any of the
buttons.
Opening the luggage compartment
lid
Press the button.
The luggage compartment lid opens,
regardless of whether it was previously
locked or unlocked.
During opening, the luggage com-
partment lid pivots upward and to the
rear. Ensure that adequate clearance is
available before opening.
Before and after a trip, ensure that the lug-
gage compartment lid has not been
opened unintentionally.
A locked luggage compartment lid is also
locked again after closing.<
Setting the confirmation signals
You can have various confirmation signals
programmed into the system to verify that
the vehicle has been unlocked or locked
securely.
Control Center, for principle details, refer to
page 16:
1.Open the menu
2.Select "Vehicle settings" and press the
controller
3.Select "Door locks" and press the con-
troller
4.Select "Confirmation" and press the
controller
5.Select the desired signal and press the
controller.
indicates the signals switched on.
Page 36 of 220
Opening and closing
34 To open, press the switch beyond the
resistance point.
When leaving the vehicle parked,
always remove the central key with
remote control from the ignition lock and
close the doors; this precaution prevents
children from operating the power win-
dows and injuring themselves etc.<
For information on using the convenience
operation mode at the door lock or with the
remote control, refer to page 28 or 29.
Safety feature
If the closing force rises beyond a pre-
defined threshold during closing, the sys-
tem will immediately stop moving the win-
dow prior to lowering it slightly.
Despite this safety feature you should
always inspect the window's travel
path prior to closing it, as the safety system
might fail to detect certain kinds of obstruc-
tions, such as very thin objects, and the
window would continue closing.
Pulling the switch beyond the resistance
point and holding it limits the response of
the safety feature.
Under these conditions the window will
respond to forces beyond a defined thresh-
old by only opening several inches/millime-
ters.
If you again pull the switch past the resis-
tance point and hold it in position within a
period of roughly 4 seconds, the safety fea-
ture is deactivated.<
Safety switch
With the safety switch, you can prevent the
rear windows from being opened or closed
via the switches in the rear passenger area, by children, for example. The indicator
lamp lights up when this safety feature is
activated.
Press the safety switch whenever
children are riding in the rear of the
vehicle. Careless use of the power win-
dows can lead to injury.<
You can deactivate the function again
as of ignition key position 1.<
Accessories in the window area
After installing any accessory Ð such as a
clamp-on antenna for a portable phone Ð
within the window's travel range, you will
need to have the system reinitialized for
use under the new conditions. Please con-
tact your BMW center for assistance.
Glass roof, electric*
To prevent injuries, exercise care
when closing the glass roof and keep
it in your field of vision until it is shut.
When leaving the vehicle, always remove
the remote control and close the doors to
prevent children from operating the glass
roof and injuring themselves, etc.<
Raising, opening, closing
As of ignition key position 1, press the
switch, or slide it in the desired direction up
to the resistance point.
After switching off the ignition
You can still operate the roof:
>In the radio position for a longer time
>For approx. 1 minute in position 0 or
with the ignition key removed.
Page 37 of 220
Controls
35Reference
At a glance
Driving tips
Communications
Navigation
Entertainment
Mobility
The headliner insert slides back somewhat
when you raise the glass roof. When the
glass roof is opened the headliner retracts
with it.
Do not use force to close the head-
liner insert with the glass roof in its
raised position, as damage to the mecha-
nism could result.<
For information on using the convenience
operation mode at the door lock or with the
remote control, refer to page 28 or 29.
Automatic* opening and closing
Briefly press the switch past the resistance
point and then release it.
In addition, the following movements are
also automatic:
>With the glass roof open, move the
switch towards 'Raise': the glass roof
moves to the end position of 'Raise'
>With the glass roof raised, move the
switch towards 'Open': the glass roof
moves to the end position of 'Open'.
Press the switch again in any direction to
stop the glass roof.
Safety feature
If the glass roof encounters resistance
when closing from roughly the center of the
roof opening or when closing from the
raised position, the closing action is inter-
rupted and the glass roof reopens a little.
Despite this safety feature, you
should always inspect the glass roof's
travel range prior to closing it, as the safety
feature might fail to detect certain kinds of
obstructions, such as very thin objects, and
the glass roof would continue closing.
Pressing the switch beyond the resistance
point and holding it limits the response of
the safety feature. The glass roof only
opens a short distance.
If you again press the switch past the resis-
tance point and hold it in position within a
period of roughly 2 seconds, the safety fea-
ture is deactivated.<
When you close the glass roof, it will
slow down as it approaches the end of its travel path; this is to allow the safety
feature to respond more precisely to any
obstructions encountered in this critical
area.<
Following interruptions in electrical
power supply
Following interruptions in electrical power
supply, for instance, when the battery is
disconnected, it is possible that the glass
roof will extend to its raised position, but
fail to respond to other commands. Should
this occur, please have the glass roof rein-
itialized at your BMW center.
Manual operation
In the event of an electrical malfunction,
you can operate the glass roof manually:
1.Fold the cover downwards
2.Insert the Allen wrench supplied with
the onboard tool kit, refer to page 184,
in the opening provided. Turn to slide
the glass roof in the desired direction.
Page 52 of 220
Driving
50 lever in idle position and apply the hand-
brake.
Never leave an unattended vehicle with the
engine running, as such a vehicle repre-
sents a potential safety hazard.<
Automatic transmission
1.Press the brake pedal
2.Place the selector lever in position P
or N
3.Start the engine.
To prevent the vehicle from rolling,
always select position P or N and
engage the handbrake before leaving the
vehicle with the engine running.
Never leave an unattended vehicle with the
engine running, as such a vehicle repre-
sents a potential safety hazard.<
Sequential manual transmission
SMG
1.Press the brake pedal
2.Place the selector lever in the idle posi-
tion N
3.Start the engine.
If the engine does not start, engage
the last gear selected, refer to Display
in the instrument cluster, and return the
selector lever to the idle position N.<
Before leaving the vehicle with the
engine running, place the selector
lever in position N and apply the hand-
brake.
Never leave an unattended vehicle with the
engine running, as such a vehicle repre-
sents a potential safety hazard.<
Switching off engine
Do not remove the ignition key while
the vehicle is rolling, as otherwise the
steering wheel lock would engage while
steering.
When leaving the vehicle, always remove
the ignition key and lock the steering.
When parking on downward inclines, apply
the handbrake.<
Manual transmission
Turn the ignition key to position 1 or 0.
Automatic transmission
1.Engage selector-lever position P
2.Turn the ignition key to position 1 or 0.
Sequential manual transmission
SMG
If the selector lever is in position R or in the
sequential mode and you turn the ignition
key to position 1 or 0, the gear remains
engaged automatically.
If the selector lever is in the idle position N
and you turn the ignition key to position 1
or 0, an acoustic signal and the flashing
gear indicator in the display reminds you
that the vehicle is not secured against roll-
ing away.
The warning stops sounding after approx.
9 seconds.
When parking on downward inclines,
apply the handbrake. Engaging a gear
is not sufficient to secure the vehicle from
rolling away under certain circumstances.<
Handbrake
The handbrake is primarily intended to pre-
vent the vehicle from rolling while parked; it
brakes the rear wheels.
Indicator lamp
The indicator lamp lights up with
the handbrake applied, and an
acoustic signal also sounds when
starting off.
Indicator lamp for Canadian mod-
els.
Applying
The lever locks into place automatically;
the indicator lamp in the instrument cluster
lights up in ignition key position 2.
Page 54 of 220
Driving
52 >Automatic upshifts and downshifts in
the Drive mode
>Automatic downshifts with minimum
engine speed
>Kickdown function in the Drive mode
>Acceleration assistant, refer to
page 54.
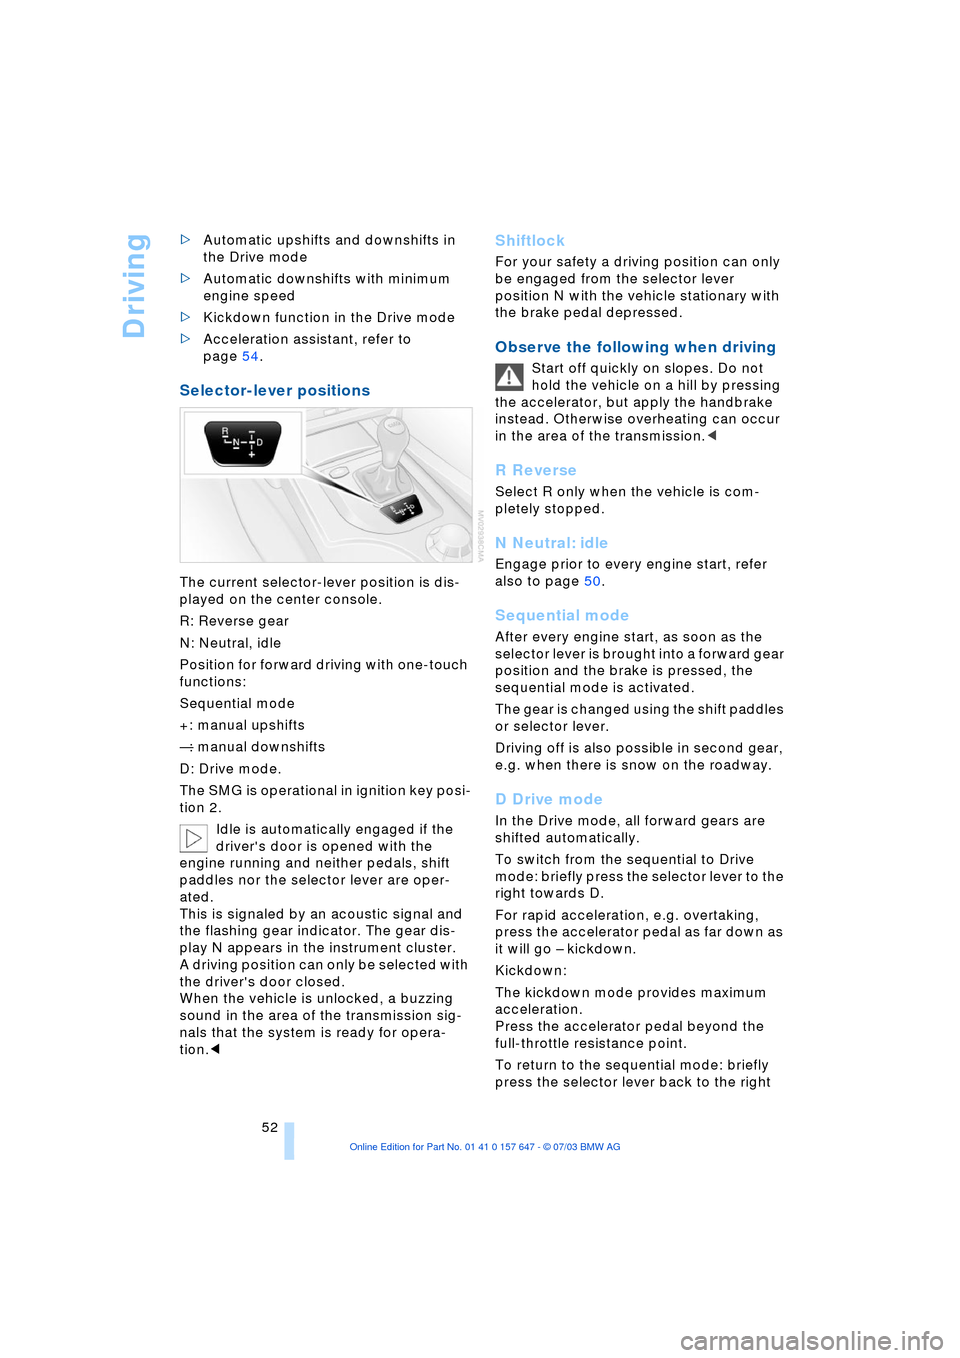
Selector-lever positions
The current selector-lever position is dis-
played on the center console.
R: Reverse gear
N: Neutral, idle
Position for forward driving with one-touch
functions:
Sequential mode
+: manual upshifts
Ñ: manual downshifts
D: Drive mode.
The SMG is operational in ignition key posi-
tion 2.
Idle is automatically engaged if the
driver's door is opened with the
engine running and neither pedals, shift
paddles nor the selector lever are oper-
ated.
This is signaled by an acoustic signal and
the flashing gear indicator. The gear dis-
play N appears in the instrument cluster.
A driving position can only be selected with
the driver's door closed.
When the vehicle is unlocked, a buzzing
sound in the area of the transmission sig-
nals that the system is ready for opera-
tion.<
Shiftlock
For your safety a driving position can only
be engaged from the selector lever
position N with the vehicle stationary with
the brake pedal depressed.
Observe the following when driving
Start off quickly on slopes. Do not
hold the vehicle on a hill by pressing
the accelerator, but apply the handbrake
instead. Otherwise overheating can occur
in the area of the transmission.<
R Reverse
Select R only when the vehicle is com-
pletely stopped.
N Neutral: idle
Engage prior to every engine start, refer
also to page 50.
Sequential mode
After every engine start, as soon as the
selector lever is brought into a forward gear
position and the brake is pressed, the
sequential mode is activated.
The gear is changed using the shift paddles
or selector lever.
Driving off is also possible in second gear,
e.g. when there is snow on the roadway.
D Drive mode
In the Drive mode, all forward gears are
shifted automatically.
To switch from the sequential to Drive
mode: briefly press the selector lever to the
right towards D.
For rapid acceleration, e.g. overtaking,
press the accelerator pedal as far down as
it will go Ð kickdown.
Kickdown:
The kickdown mode provides maximum
acceleration.
Press the accelerator pedal beyond the
full-throttle resistance point.
To return to the sequential mode: briefly
press the selector lever back to the right
Page 56 of 220
Driving
54
Dynamic Driving Control
With Dynamic Driving Control, you can
choose between a standard and a sport
program.
Sport program
>The engine responds more spontane-
ously to accelerator pedal movements
>The steering becomes more direct and
provides even better road contact.
In addition, with SMG and an automatic
transmission:
>The shifting times are shorter
>The engine speed range is used opti-
mally in the Drive mode.
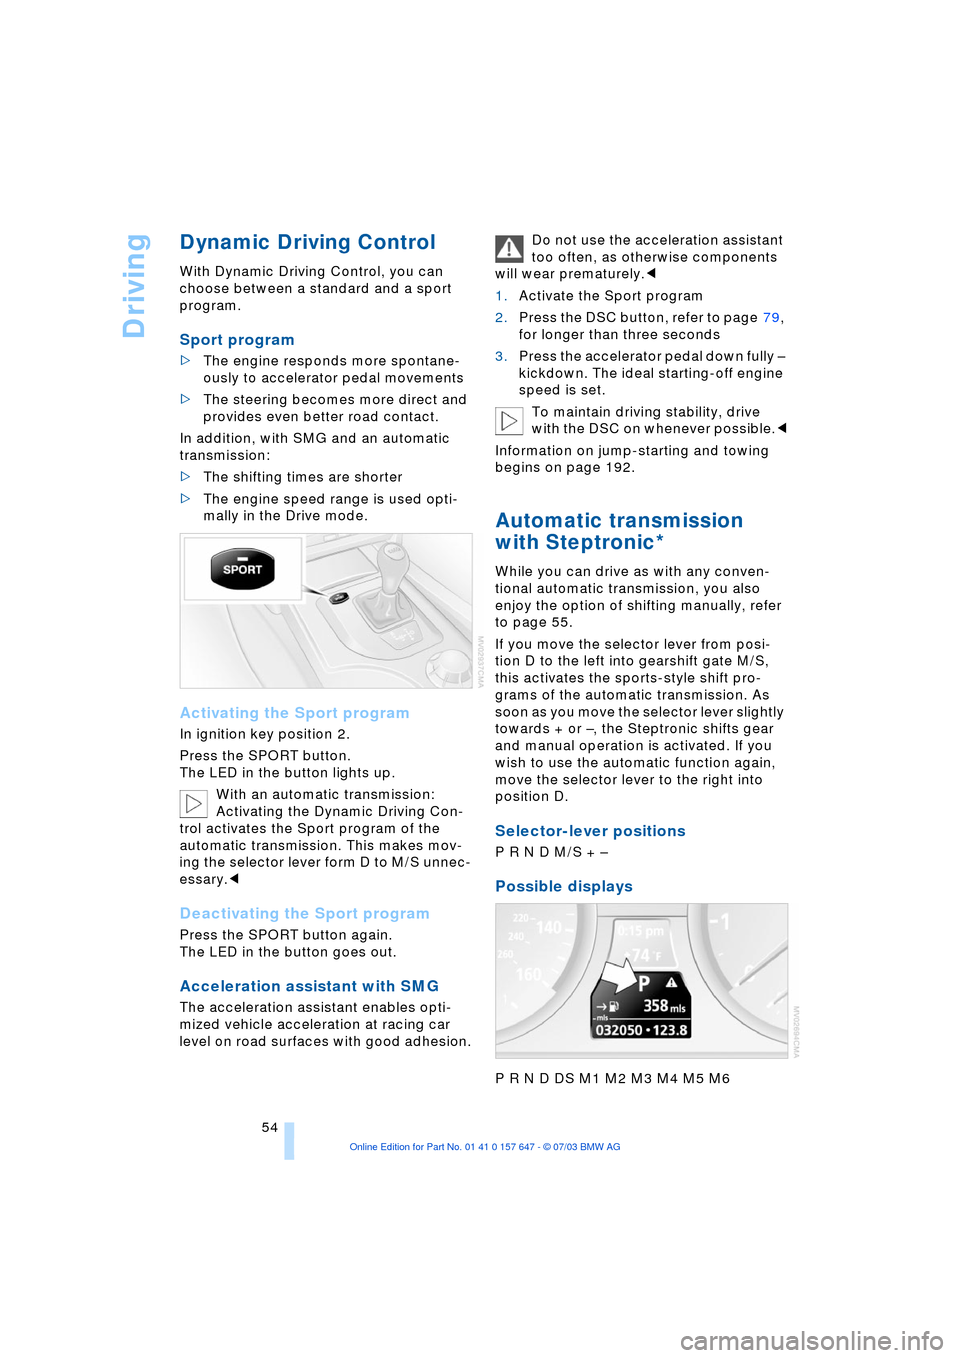
Activating the Sport program
In ignition key position 2.
Press the SPORT button.
The LED in the button lights up.
With an automatic transmission:
Activating the Dynamic Driving Con-
trol activates the Sport program of the
automatic transmission. This makes mov-
ing the selector lever form D to M/S unnec-
essary.<
Deactivating the Sport program
Press the SPORT button again.
The LED in the button goes out.
Acceleration assistant with SMG
The acceleration assistant enables opti-
mized vehicle acceleration at racing car
level on road surfaces with good adhesion.Do not use the acceleration assistant
too often, as otherwise components
will wear prematurely.<
1.Activate the Sport program
2.Press the DSC button, refer to page 79,
for longer than three seconds
3.Press the accelerator pedal down fully Ð
kickdown. The ideal starting-off engine
speed is set.
To maintain driving stability, drive
with the DSC on whenever possible.<
Information on jump-starting and towing
begins on page 192.
Automatic transmission
with Steptronic*
While you can drive as with any conven-
tional automatic transmission, you also
enjoy the option of shifting manually, refer
to page 55.
If you move the selector lever from posi-
tion D to the left into gearshift gate M/S,
this activates the sports-style shift pro-
grams of the automatic transmission. As
soon as you move the selector lever slightly
towards + or Ð, the Steptronic shifts gear
and manual operation is activated. If you
wish to use the automatic function again,
move the selector lever to the right into
position D.
Selector-lever positions
P R N D M/S + Ð
Possible displays
P R N D DS M1 M2 M3 M4 M5 M6