2004 BMW 525I SEDAN window
[x] Cancel search: windowPage 36 of 220
Opening and closing
34 To open, press the switch beyond the
resistance point.
When leaving the vehicle parked,
always remove the central key with
remote control from the ignition lock and
close the doors; this precaution prevents
children from operating the power win-
dows and injuring themselves etc.<
For information on using the convenience
operation mode at the door lock or with the
remote control, refer to page 28 or 29.
Safety feature
If the closing force rises beyond a pre-
defined threshold during closing, the sys-
tem will immediately stop moving the win-
dow prior to lowering it slightly.
Despite this safety feature you should
always inspect the window's travel
path prior to closing it, as the safety system
might fail to detect certain kinds of obstruc-
tions, such as very thin objects, and the
window would continue closing.
Pulling the switch beyond the resistance
point and holding it limits the response of
the safety feature.
Under these conditions the window will
respond to forces beyond a defined thresh-
old by only opening several inches/millime-
ters.
If you again pull the switch past the resis-
tance point and hold it in position within a
period of roughly 4 seconds, the safety fea-
ture is deactivated.<
Safety switch
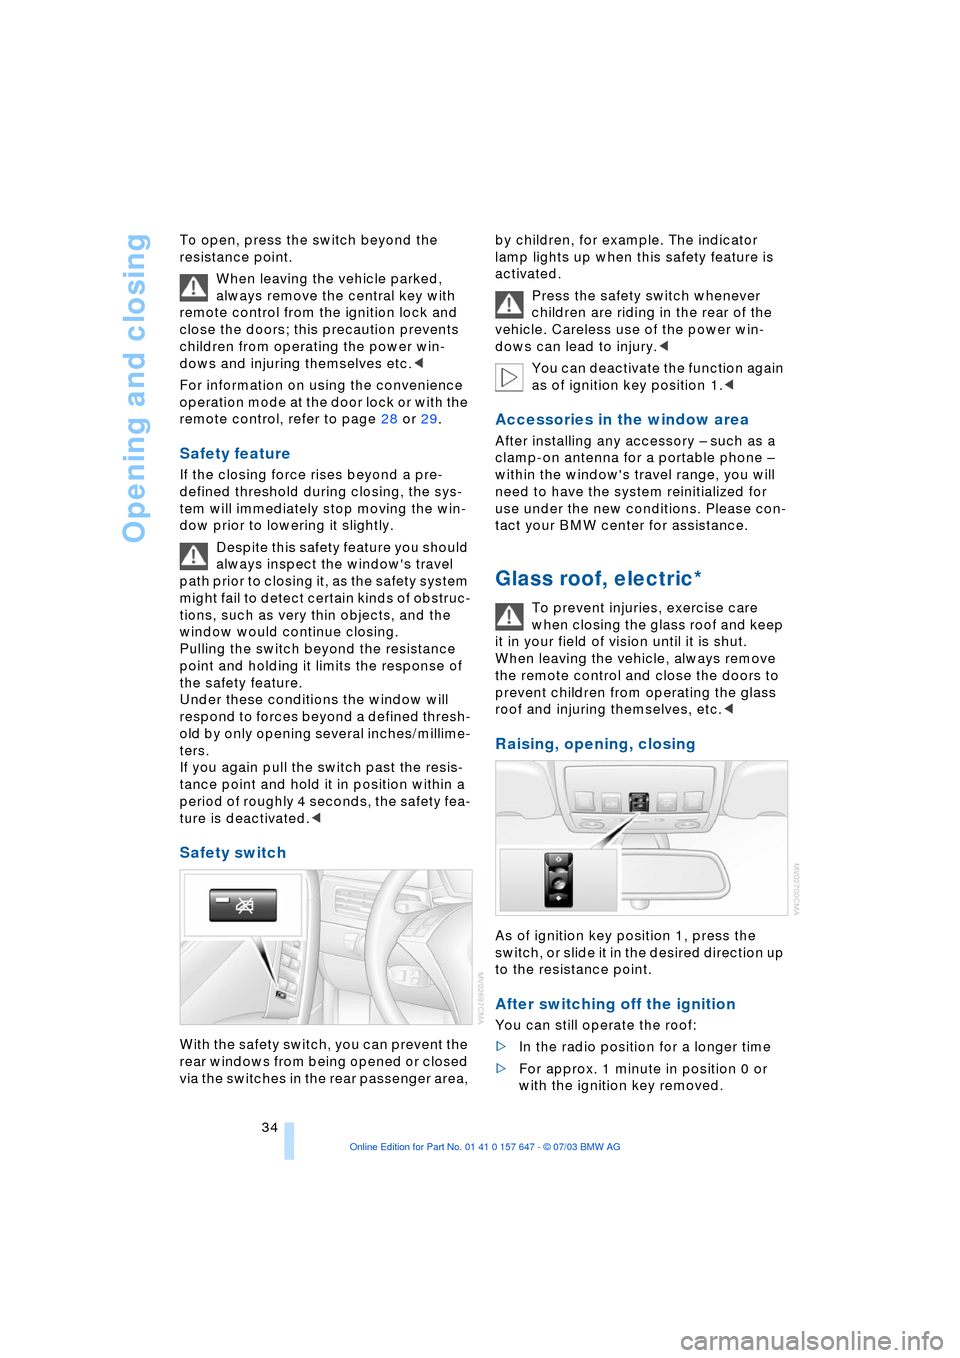
With the safety switch, you can prevent the
rear windows from being opened or closed
via the switches in the rear passenger area, by children, for example. The indicator
lamp lights up when this safety feature is
activated.
Press the safety switch whenever
children are riding in the rear of the
vehicle. Careless use of the power win-
dows can lead to injury.<
You can deactivate the function again
as of ignition key position 1.<
Accessories in the window area
After installing any accessory Ð such as a
clamp-on antenna for a portable phone Ð
within the window's travel range, you will
need to have the system reinitialized for
use under the new conditions. Please con-
tact your BMW center for assistance.
Glass roof, electric*
To prevent injuries, exercise care
when closing the glass roof and keep
it in your field of vision until it is shut.
When leaving the vehicle, always remove
the remote control and close the doors to
prevent children from operating the glass
roof and injuring themselves, etc.<
Raising, opening, closing
As of ignition key position 1, press the
switch, or slide it in the desired direction up
to the resistance point.
After switching off the ignition
You can still operate the roof:
>In the radio position for a longer time
>For approx. 1 minute in position 0 or
with the ignition key removed.
Page 74 of 220
Everything under control
72 With the destination guidance
switched on, the distance is entered
automatically.<
Assistance window for computer and
trip computer
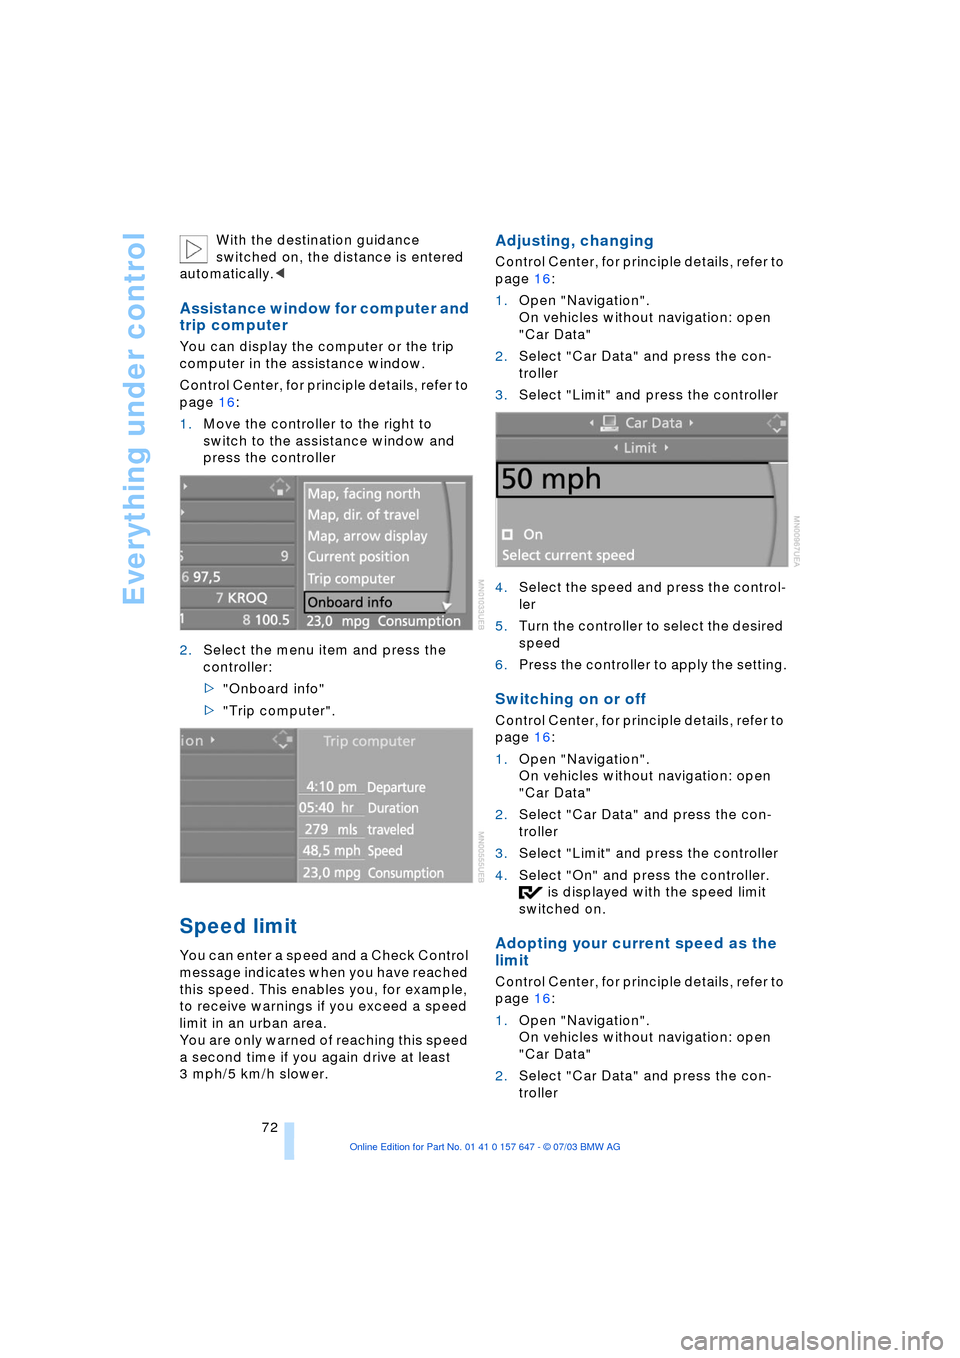
You can display the computer or the trip
computer in the assistance window.
Control Center, for principle details, refer to
page 16:
1.Move the controller to the right to
switch to the assistance window and
press the controller
2.Select the menu item and press the
controller:
>"Onboard info"
>"Trip computer".
Speed limit
You can enter a speed and a Check Control
message indicates when you have reached
this speed. This enables you, for example,
to receive warnings if you exceed a speed
limit in an urban area.
You are only warned of reaching this speed
a second time if you again drive at least
3 mph/5 km/h slower.
Adjusting, changing
Control Center, for principle details, refer to
page 16:
1.Open "Navigation".
On vehicles without navigation: open
"Car Data"
2.Select "Car Data" and press the con-
troller
3.Select "Limit" and press the controller
4.Select the speed and press the control-
ler
5.Turn the controller to select the desired
speed
6.Press the controller to apply the setting.
Switching on or off
Control Center, for principle details, refer to
page 16:
1.Open "Navigation".
On vehicles without navigation: open
"Car Data"
2.Select "Car Data" and press the con-
troller
3.Select "Limit" and press the controller
4.Select "On" and press the controller.
is displayed with the speed limit
switched on.
Adopting your current speed as the
limit
Control Center, for principle details, refer to
page 16:
1.Open "Navigation".
On vehicles without navigation: open
"Car Data"
2.Select "Car Data" and press the con-
troller
Page 84 of 220
Technology for comfort, convenience and safety
82
System malfunctions
Indicator lamp
The symbol in the instrument clus-
ter lights up yellow and a message
appears on the Control Display.
Please contact your BMW center.
Please note any supplementary information
that appears on the Control Display.
Active steering*
The concept
The active steering is a system that actively
varies the steering angle of the front wheels
in relation to the steering wheel move-
ments.
When you are driving in the low road speed
range, e.g. in a town or when parking, the
steering angle is reinforced, i.e. the steer-
ing becomes very direct and significantly
improves the handling capability of your
BMW.
In the higher road speed range, on the
other hand, the steering angle is reduced,
also optimizing the handling capability.
In critical situations, the system can make
targeted changes to the steering angle pro-
vided by the driver and thus stabilize the
vehicle before the driver intervenes.
Indicator lamp
The indicator lamp lights up perma-
nently: malfunction in the system.
Please have the system inspected
at your BMW center.
Conventional steering efficiency remains
available without limitations.
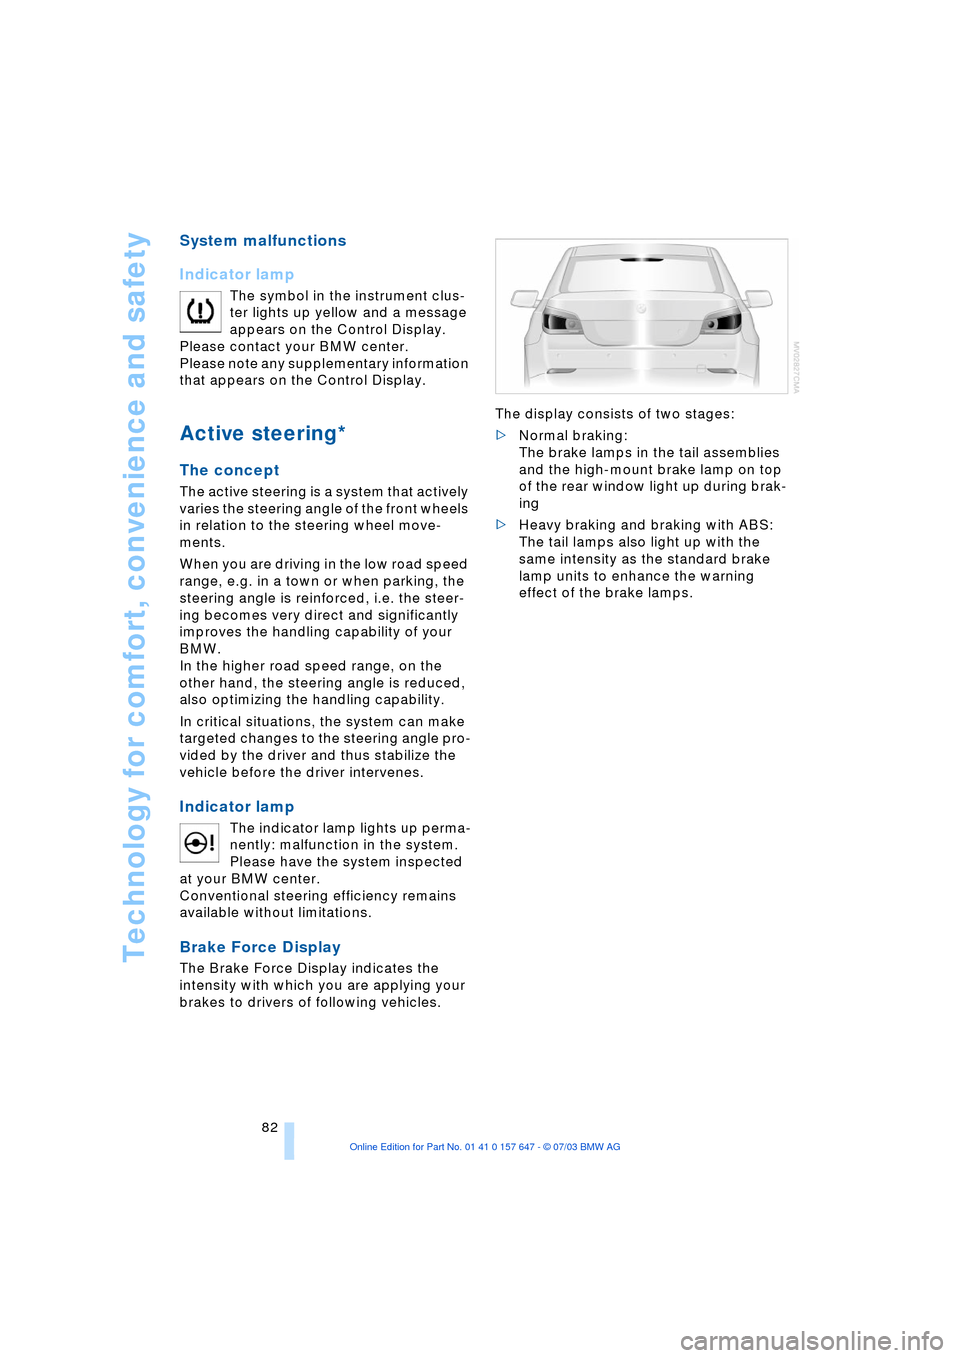
Brake Force Display
The Brake Force Display indicates the
intensity with which you are applying your
brakes to drivers of following vehicles. The display consists of two stages:
>Normal braking:
The brake lamps in the tail assemblies
and the high-mount brake lamp on top
of the rear window light up during brak-
ing
>Heavy braking and braking with ABS:
The tail lamps also light up with the
same intensity as the standard brake
lamp units to enhance the warning
effect of the brake lamps.
Page 92 of 220
A congenial climate
90
A congenial climate
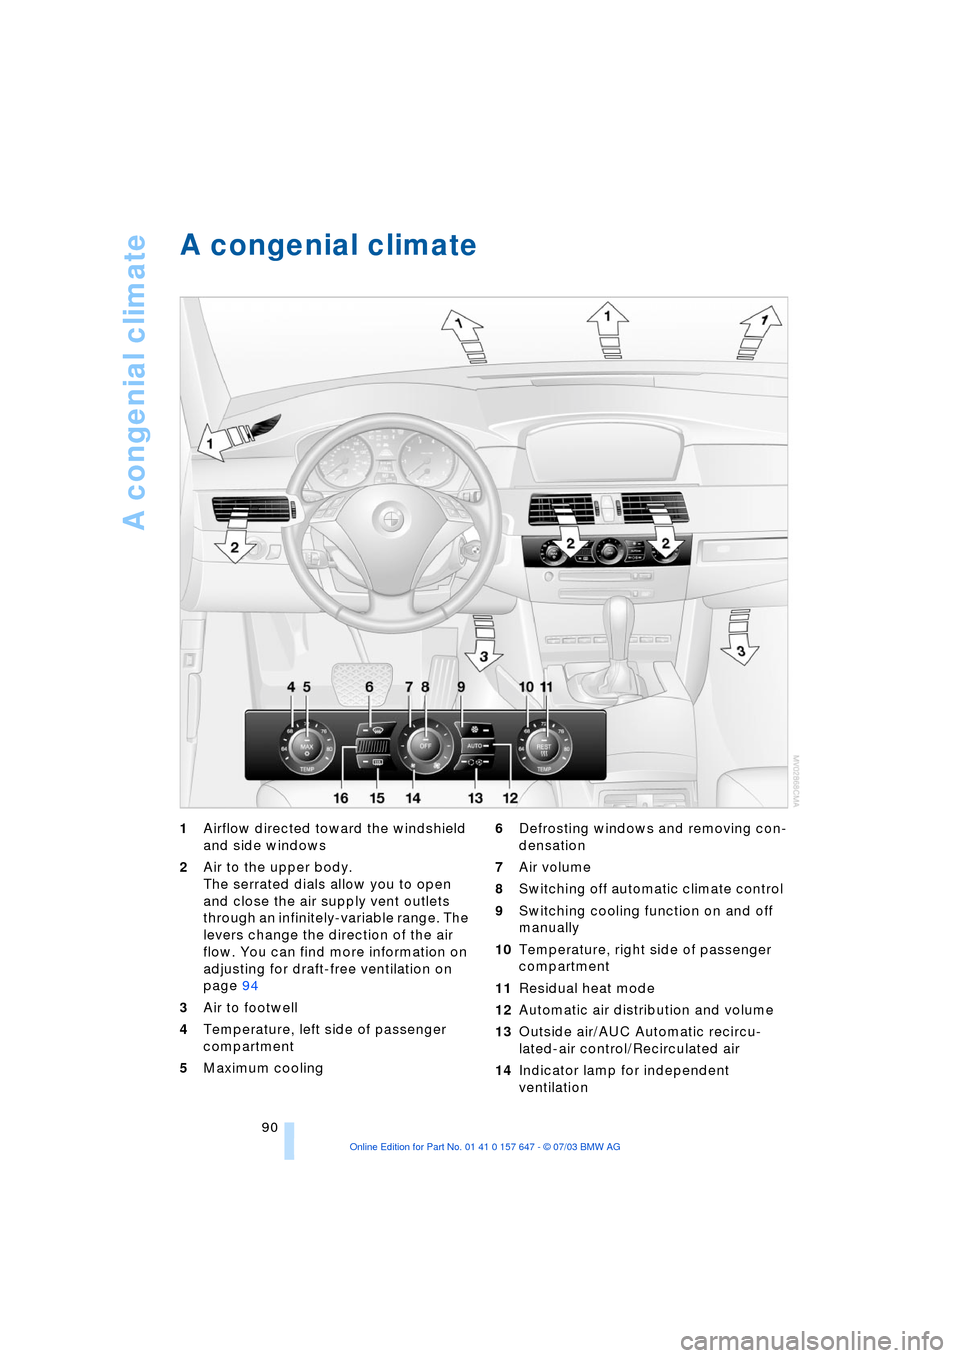
1Airflow directed toward the windshield
and side windows
2Air to the upper body.
The serrated dials allow you to open
and close the air supply vent outlets
through an infinitely-variable range. The
levers change the direction of the air
flow. You can find more information on
adjusting for draft-free ventilation on
page 94
3Air to footwell
4Temperature, left side of passenger
compartment
5Maximum cooling 6Defrosting windows and removing con-
densation
7Air volume
8Switching off automatic climate control
9Switching cooling function on and off
manually
10Temperature, right side of passenger
compartment
11Residual heat mode
12Automatic air distribution and volume
13Outside air/AUC Automatic recircu-
lated-air control/Recirculated air
14Indicator lamp for independent
ventilation
Page 93 of 220
Controls
91Reference
At a glance
Driving tips
Communications
Navigation
Entertainment
Mobility
>Activation time set:
The indicator lamp lights up
>Independent ventilation switched
on:
The indicator lamp flashes
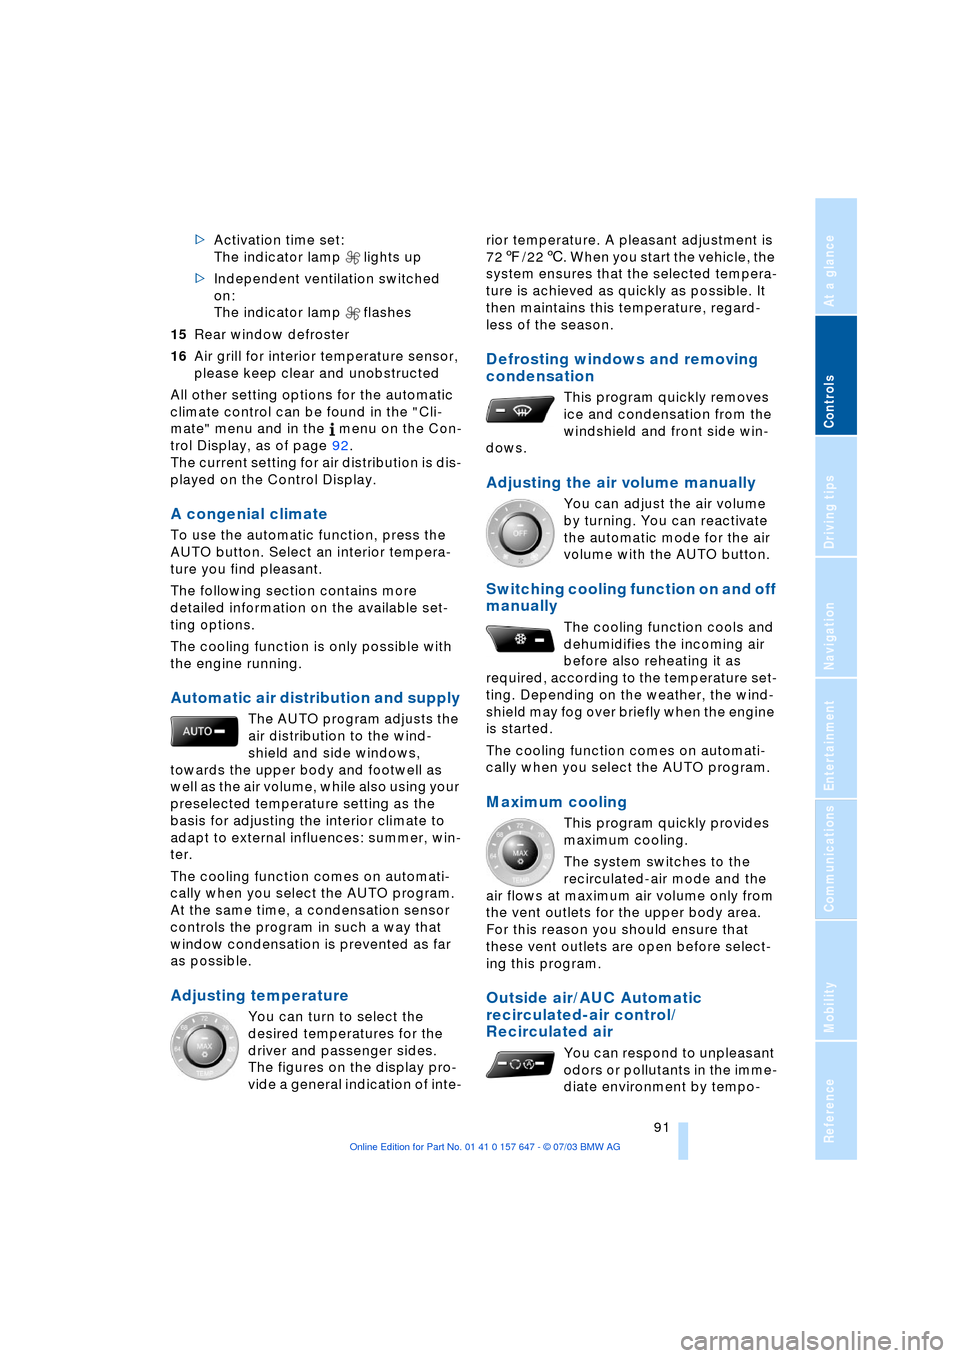
15Rear window defroster
16Air grill for interior temperature sensor,
please keep clear and unobstructed
All other setting options for the automatic
climate control can be found in the "Cli-
mate" menu and in the menu on the Con-
trol Display, as of page 92.
The current setting for air distribution is dis-
played on the Control Display.
A congenial climate
To use the automatic function, press the
AUTO button. Select an interior tempera-
ture you find pleasant.
The following section contains more
detailed information on the available set-
ting options.
The cooling function is only possible with
the engine running.
Automatic air distribution and supply
The AUTO program adjusts the
air distribution to the wind-
shield and side windows,
towards the upper body and footwell as
well as the air volume, while also using your
preselected temperature setting as the
basis for adjusting the interior climate to
adapt to external influences: summer, win-
ter.
The cooling function comes on automati-
cally when you select the AUTO program.
At the same time, a condensation sensor
controls the program in such a way that
window condensation is prevented as far
as possible.
Adjusting temperature
You can turn to select the
desired temperatures for the
driver and passenger sides.
The figures on the display pro-
vide a general indication of inte-rior temperature. A pleasant adjustment is
727/226. When you start the vehicle, the
system ensures that the selected tempera-
ture is achieved as quickly as possible. It
then maintains this temperature, regard-
less of the season.
Defrosting windows and removing
condensation
This program quickly removes
ice and condensation from the
windshield and front side win-
dows.
Adjusting the air volume manually
You can adjust the air volume
by turning. You can reactivate
the automatic mode for the air
volume with the AUTO button.
Switching cooling function on and off
manually
The cooling function cools and
dehumidifies the incoming air
before also reheating it as
required, according to the temperature set-
ting. Depending on the weather, the wind-
shield may fog over briefly when the engine
is started.
The cooling function comes on automati-
cally when you select the AUTO program.
Maximum cooling
This program quickly provides
maximum cooling.
The system switches to the
recirculated-air mode and the
air flows at maximum air volume only from
the vent outlets for the upper body area.
For this reason you should ensure that
these vent outlets are open before select-
ing this program.
Outside air/AUC Automatic
recirculated-air control/
Recirculated air
You can respond to unpleasant
odors or pollutants in the imme-
diate environment by tempo-
Page 94 of 220
A congenial climate
92 rarily suspending the supply of outside air.
The system then recirculates the air cur-
rently within the vehicle. AUC executes this
function automatically.
Press the button repeatedly to run through
the following control sequence:
>Indicator lamps off: outside air flows in
>Right indicator lamp on, AUC mode: the
system detects pollutants in the outside
air and responds by blocking the supply
of outside air when required. The sys-
tem then recirculates the air currently
within the vehicle.
Depending upon air quality require-
ments, in the automatic mode the sys-
tem alternates between its outside-air
and recirculated-air modes
>Left indicator lamp on, recirculated-air
mode: the supply of outside air is per-
manently blocked. The system then
recirculates the air currently within the
vehicle.
If condensation starts to form on the
inside window surfaces during opera-
tion in the recirculated-air mode, you
should switch it off while also increasing
the air volume as required.
The recirculated-air mode should not be
used over a sustained longer period of
time, as the air quality inside the vehicle
deteriorates continuously.<
Residual heat mode
The system uses the warmth
stored in the engine to heat the
interior when the ignition is off,
for instance, while the vehicle is
stopped at a school to pick up a
child.
You can adjust the automatic climate con-
trol settings in ignition key position 1.
Provided that the engine has warmed
to its normal operating temperature
and the battery is charged, you can use this
function for up to 15 minutes after switch-
ing off the ignition. The LED within the but-
ton lights up to confirm compliance with
these conditions.<
Switching automatic climate control
off
The air volume, the heater and
the cooling function are all
switched off. You can restart
the automatic climate control
by pressing any of its buttons
except the REST button.
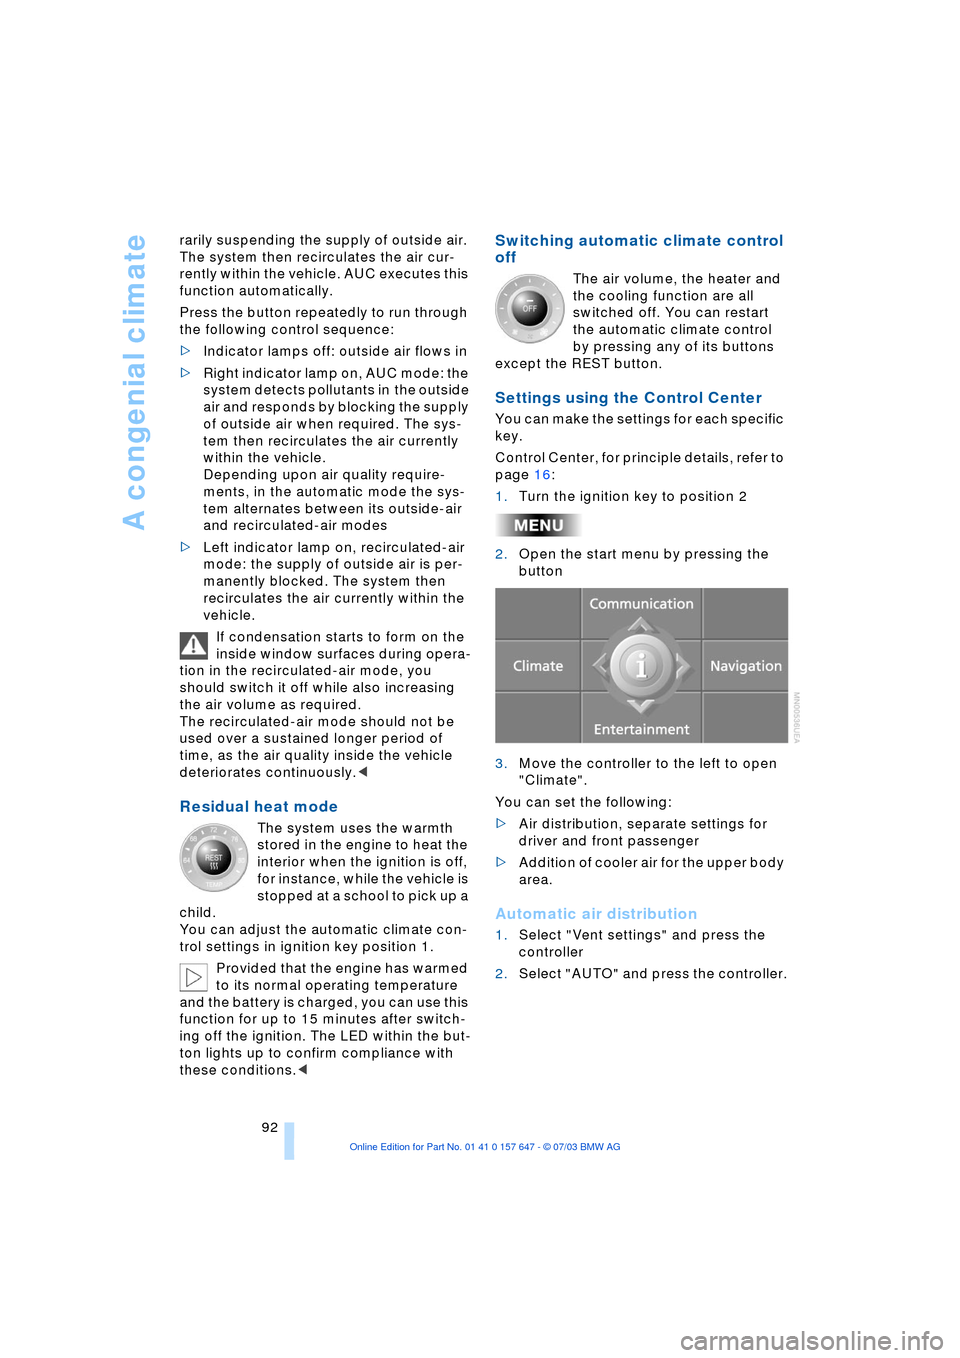
Settings using the Control Center
You can make the settings for each specific
key.
Control Center, for principle details, refer to
page 16:
1.Turn the ignition key to position 2
2.Open the start menu by pressing the
button
3.Move the controller to the left to open
"Climate".
You can set the following:
>Air distribution, separate settings for
driver and front passenger
>Addition of cooler air for the upper body
area.
Automatic air distribution
1.Select "Vent settings" and press the
controller
2.Select "AUTO" and press the controller.
Page 95 of 220
Controls
93Reference
At a glance
Driving tips
Communications
Navigation
Entertainment
Mobility
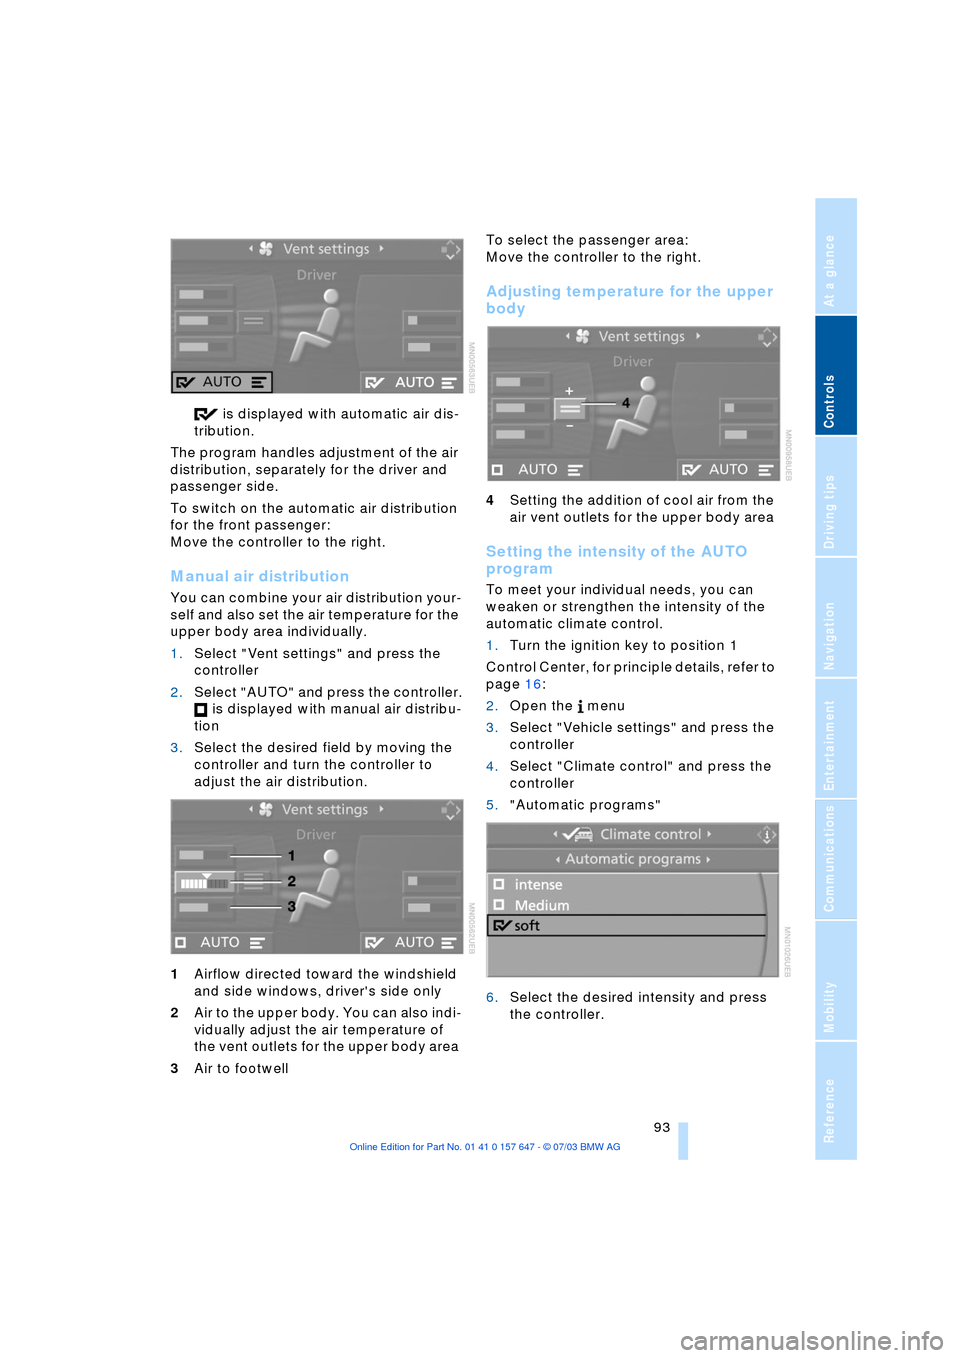
is displayed with automatic air dis-
tribution.
The program handles adjustment of the air
distribution, separately for the driver and
passenger side.
To switch on the automatic air distribution
for the front passenger:
Move the controller to the right.
Manual air distribution
You can combine your air distribution your-
self and also set the air temperature for the
upper body area individually.
1.Select "Vent settings" and press the
controller
2.Select "AUTO" and press the controller.
is displayed with manual air distribu-
tion
3.Select the desired field by moving the
controller and turn the controller to
adjust the air distribution.
1Airflow directed toward the windshield
and side windows, driver's side only
2Air to the upper body. You can also indi-
vidually adjust the air temperature of
the vent outlets for the upper body area
3Air to footwell To select the passenger area:
Move the controller to the right.
Adjusting temperature for the upper
body
4Setting the addition of cool air from the
air vent outlets for the upper body area
Setting the intensity of the AUTO
program
To meet your individual needs, you can
weaken or strengthen the intensity of the
automatic climate control.
1.Turn the ignition key to position 1
Control Center, for principle details, refer to
page 16:
2.Open the menu
3.Select "Vehicle settings" and press the
controller
4.Select "Climate control" and press the
controller
5."Automatic programs"
6.Select the desired intensity and press
the controller.
Page 99 of 220
Controls
97Reference
At a glance
Driving tips
Communications
Navigation
Entertainment
Mobility
The equipment can be used as of ignition
key position 2.
If the device cannot be used even
after repeated programming, check
whether the original hand-held transmitter
is equipped with an alternating-code sys-
tem. Here, either read the instructions for
the original hand-held transmitter or hold
down the programmed memory button 1 of
the integrated universal remote control. If
the indicator lamp 2 on the integrated uni-
versal remote control flashes rapidly for a
short time then lights up for approx. 2 sec-
onds, this indicates that the original hand-
held transmitter uses an alternating-code
system. In the case of an alternating-code
system, program the memory buttons 1 as
described at Alternating-code hand-held
transmitters.<
Alternating-code hand-held
transmitters
To program the integrated universal remote
control, consult the operating instructions
for the equipment to be set. You will find
information there on the possibilities for
synchronization.
When programming hand-held transmitters
that employ an alternating code, please
observe the following supplementary
instructions:
Programming will be easier with the
aid of a second person.<
1.Park your vehicle within the range of the
remote-controlled device
2.Program the integrated universal
remote control as described above at
Fixed-code hand-held transmitters
3.Locate the button at the receiver of the
equipment to be set, e.g. on the drive
4.Press the button on the receiver of the
device you want to set up. After step 4,
you have approx. 30 seconds for step 5
5.Press the programmed memory
button 1 of the integrated universal
remote control three times. The corresponding memory button 1 is now
programmed with the signal of the original
hand-held transmitter.
If you have any additional questions,
please contact your BMW center.<
Clearing the memory buttons
Press both outer buttons 1 of the inte-
grated universal remote control for approx.
20 seconds until the indicator lamp 2
flashes. All memory buttons will be cleared.
The memory of individual memory
buttons 1 cannot be cleared.
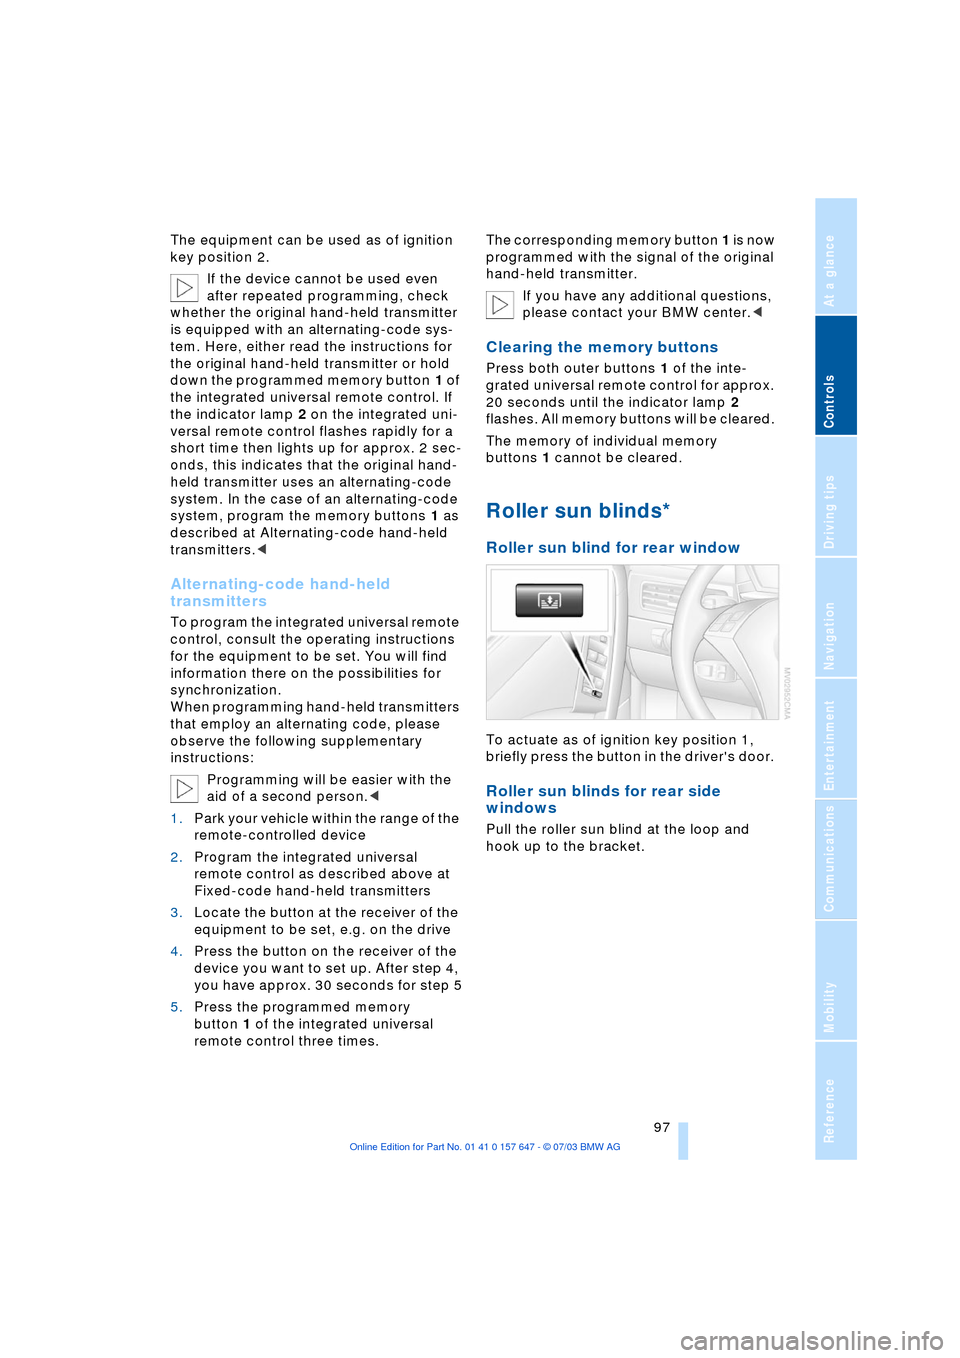
Roller sun blinds*
Roller sun blind for rear window
To actuate as of ignition key position 1,
briefly press the button in the driver's door.
Roller sun blinds for rear side
windows
Pull the roller sun blind at the loop and
hook up to the bracket.