2004 BMW 525I SEDAN mirror
[x] Cancel search: mirrorPage 12 of 220
Cockpit
10
Cockpit
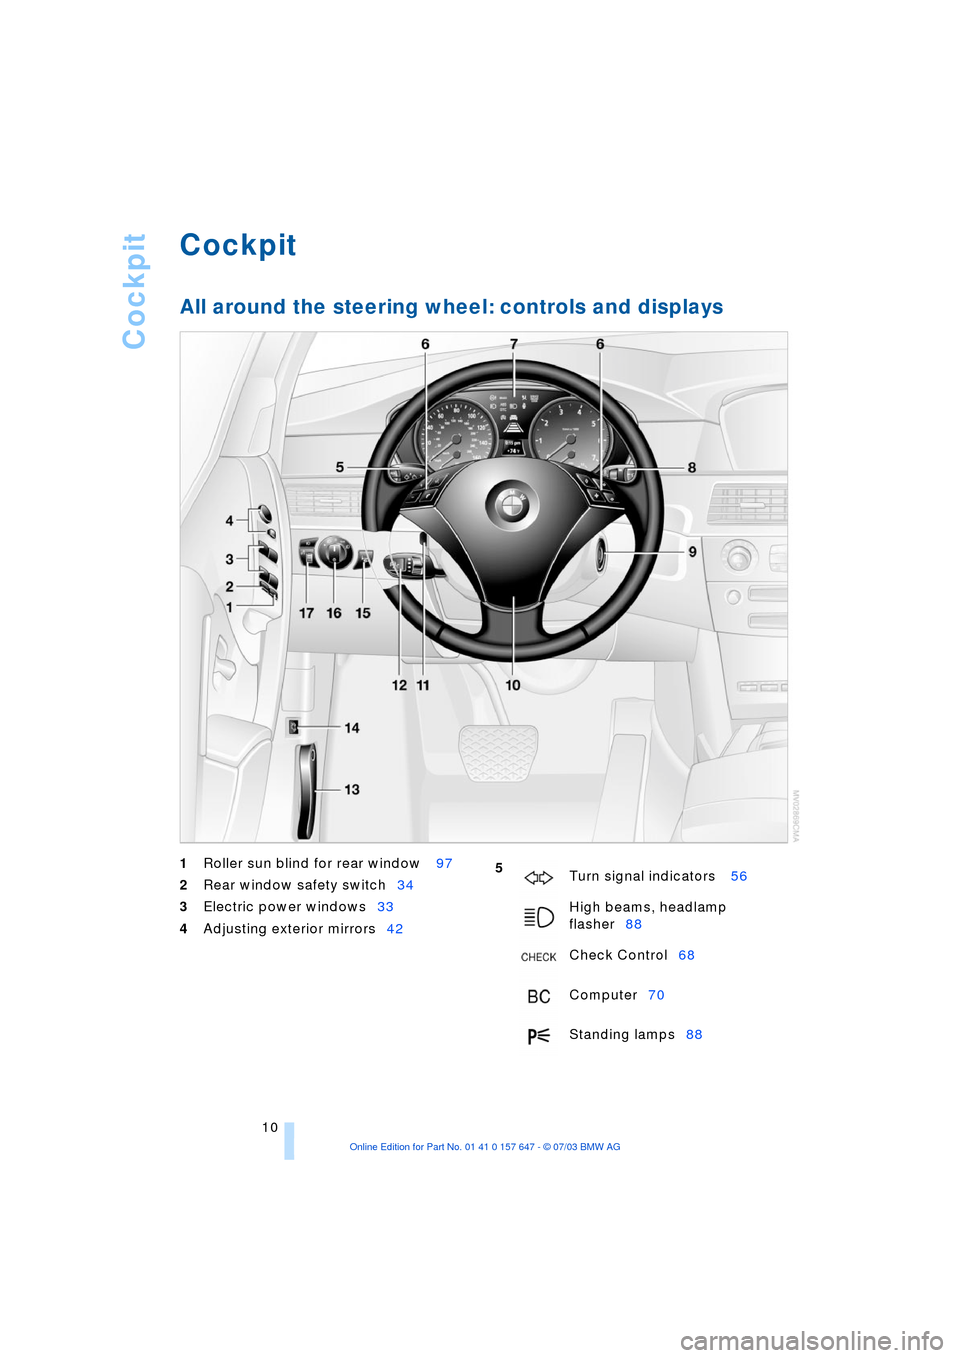
All around the steering wheel: controls and displays
1
Roller sun blind for rear window 97
2
Rear window safety switch34
3
Electric power windows33
4
Adjusting exterior mirrors42
5
Turn signal indicators 56
High beams, headlamp
flasher88
Check Control68
Computer70
Standing lamps88
Page 24 of 220
Voice command system
22
Notes
Do not use the voice command sys-
tem in emergency situations. In stress
situations, voice and pitch can change.
Instead, use the emergency call button
near the interior rearview mirror.<
At the time of going to press, the
voice command system was available
in English. Other languages are currently
not available.
The telephone can also be operated using
voice control, refer to page 157.<
Important for voice commands
Issue the commands fluently and at normal
volume, avoiding excessing emphasis and
pauses.
The voice command system uses a special
hands-free microphone located in the front
of your vehicle's headliner. On vehicles
with telephone, two vehicle microphones
are fitted. Although the system is designed
to filter out ambient noise, you can help
ensure that your commands will be under-
stood by observing the following instruc-
tions:
>Keep the doors, windows and glass
roof closed to prevent interference from
ambient noise
>Avoid other sources of noise in the
vehicle while speaking, and ask other
vehicle occupants to refrain from talk-
ing while you are using the system
>Without a telephone, the vehicle micro-
phone is directed at the driver. This
means that the system might not be
able to register the voices of other vehi-
cle occupants properly.
Page 35 of 220
Controls
33Reference
At a glance
Driving tips
Communications
Navigation
Entertainment
Mobility
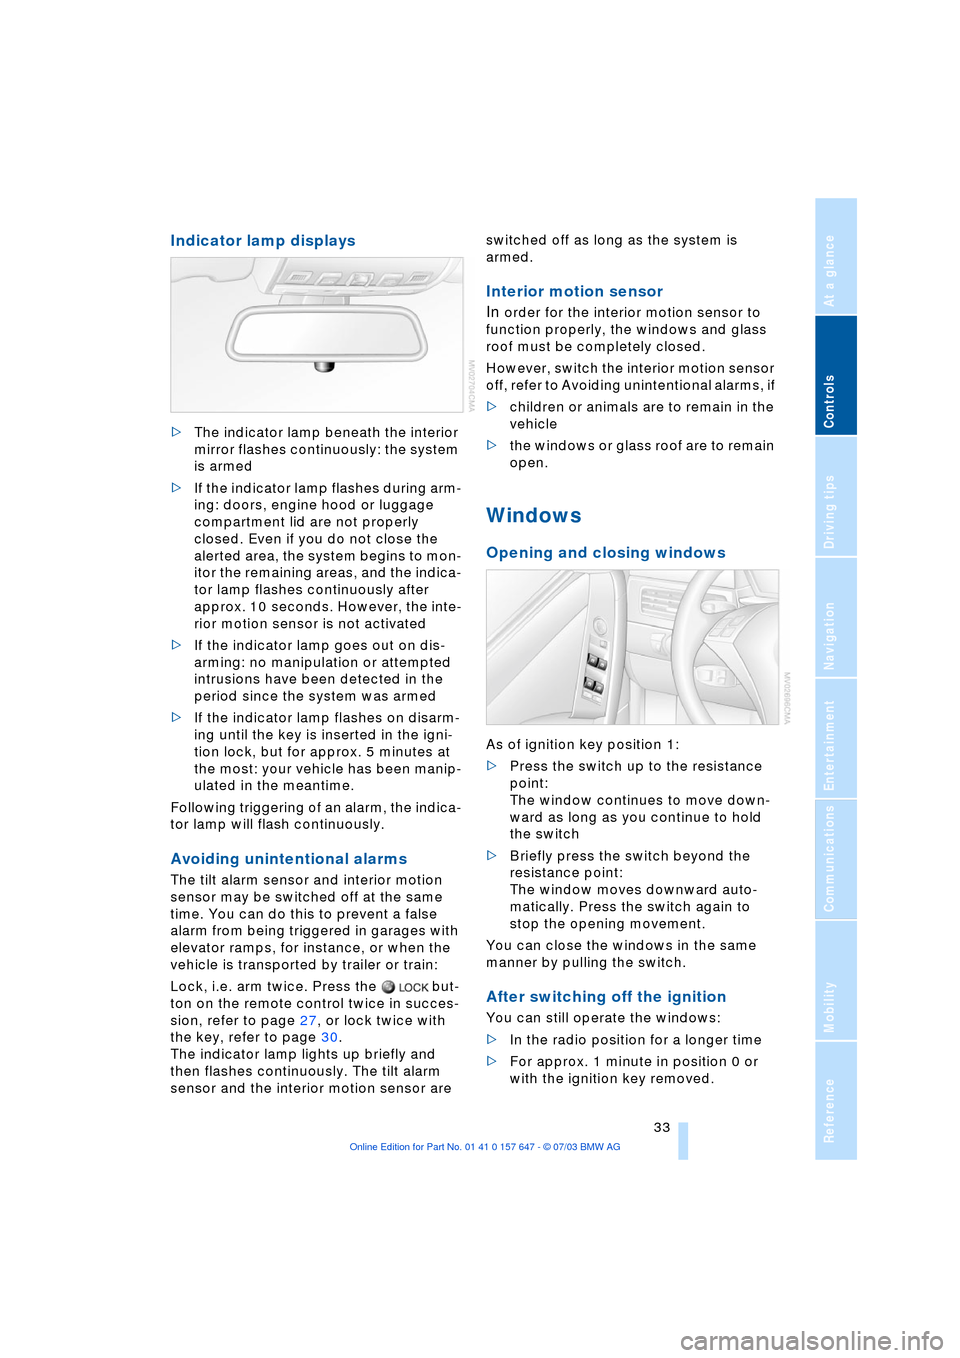
Indicator lamp displays
>The indicator lamp beneath the interior
mirror flashes continuously: the system
is armed
>If the indicator lamp flashes during arm-
ing: doors, engine hood or luggage
compartment lid are not properly
closed. Even if you do not close the
alerted area, the system begins to mon-
itor the remaining areas, and the indica-
tor lamp flashes continuously after
approx. 10 seconds. However, the inte-
rior motion sensor is not activated
>If the indicator lamp goes out on dis-
arming: no manipulation or attempted
intrusions have been detected in the
period since the system was armed
>If the indicator lamp flashes on disarm-
ing until the key is inserted in the igni-
tion lock, but for approx. 5 minutes at
the most: your vehicle has been manip-
ulated in the meantime.
Following triggering of an alarm, the indica-
tor lamp will flash continuously.
Avoiding unintentional alarms
The tilt alarm sensor and interior motion
sensor may be switched off at the same
time. You can do this to prevent a false
alarm from being triggered in garages with
elevator ramps, for instance, or when the
vehicle is transported by trailer or train:
Lock, i.e. arm twice. Press the but-
ton on the remote control twice in succes-
sion, refer to page 27, or lock twice with
the key, refer to page 30.
The indicator lamp lights up briefly and
then flashes continuously. The tilt alarm
sensor and the interior motion sensor are switched off as long as the system is
armed.
Interior motion sensor
In
order for the interior motion sensor to
function properly, the windows and glass
roof must be completely closed.
However, switch the interior motion sensor
off, refer to Avoiding unintentional alarms, if
>children or animals are to remain in the
vehicle
>the windows or glass roof are to remain
open.
Windows
Opening and closing windows
As of ignition key position 1:
>Press the switch up to the resistance
point:
The window continues to move down-
ward as long as you continue to hold
the switch
>Briefly press the switch beyond the
resistance point:
The window moves downward auto-
matically. Press the switch again to
stop the opening movement.
You can close the windows in the same
manner by pulling the switch.
After switching off the ignition
You can still operate the windows:
>In the radio position for a longer time
>For approx. 1 minute in position 0 or
with the ignition key removed.
Page 40 of 220
Adjustments
38
Lumbar support* adjustment
You can also adjust the contours of the
backrest to obtain additional support in the
lumbar region.
The upper hips and spinal column receive
supplementary support to help you main-
tain a relaxed, upright sitting position.
>Press the front/rear of the switch to
strengthen or weaken the curvature
>Press the upper/lower end of the switch
to strengthen the curvature at the top or
bottom.
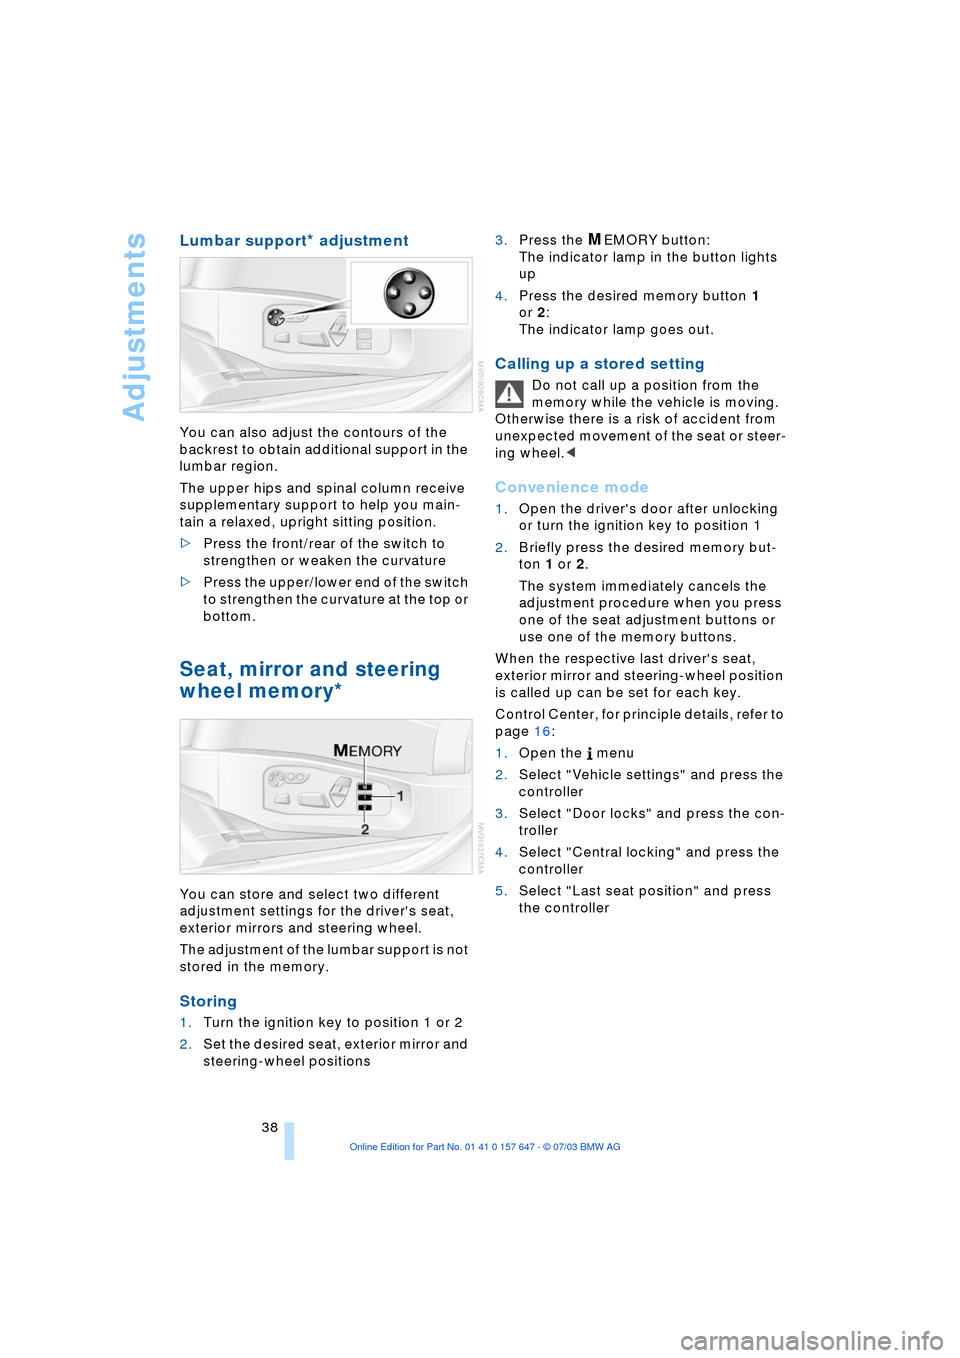
Seat, mirror and steering
wheel memory*
You can store and select two different
adjustment settings for the driver's seat,
exterior mirrors and steering wheel.
The adjustment of the lumbar support is not
stored in the memory.
Storing
1.Turn the ignition key to position 1 or 2
2.Set the desired seat, exterior mirror and
steering-wheel positions 3.Press the
MEMORY button:
The indicator lamp in the button lights
up
4.Press the desired memory button 1
or 2:
The indicator lamp goes out.
Calling up a stored setting
Do not call up a position from the
memory while the vehicle is moving.
Otherwise there is a risk of accident from
unexpected movement of the seat or steer-
ing wheel.<
Convenience mode
1.Open the driver's door after unlocking
or turn the ignition key to position 1
2.Briefly press the desired memory but-
ton 1 or 2.
The system immediately cancels the
adjustment procedure when you press
one of the seat adjustment buttons or
use one of the memory buttons.
When the respective last driver's seat,
exterior mirror and steering-wheel position
is called up can be set for each key.
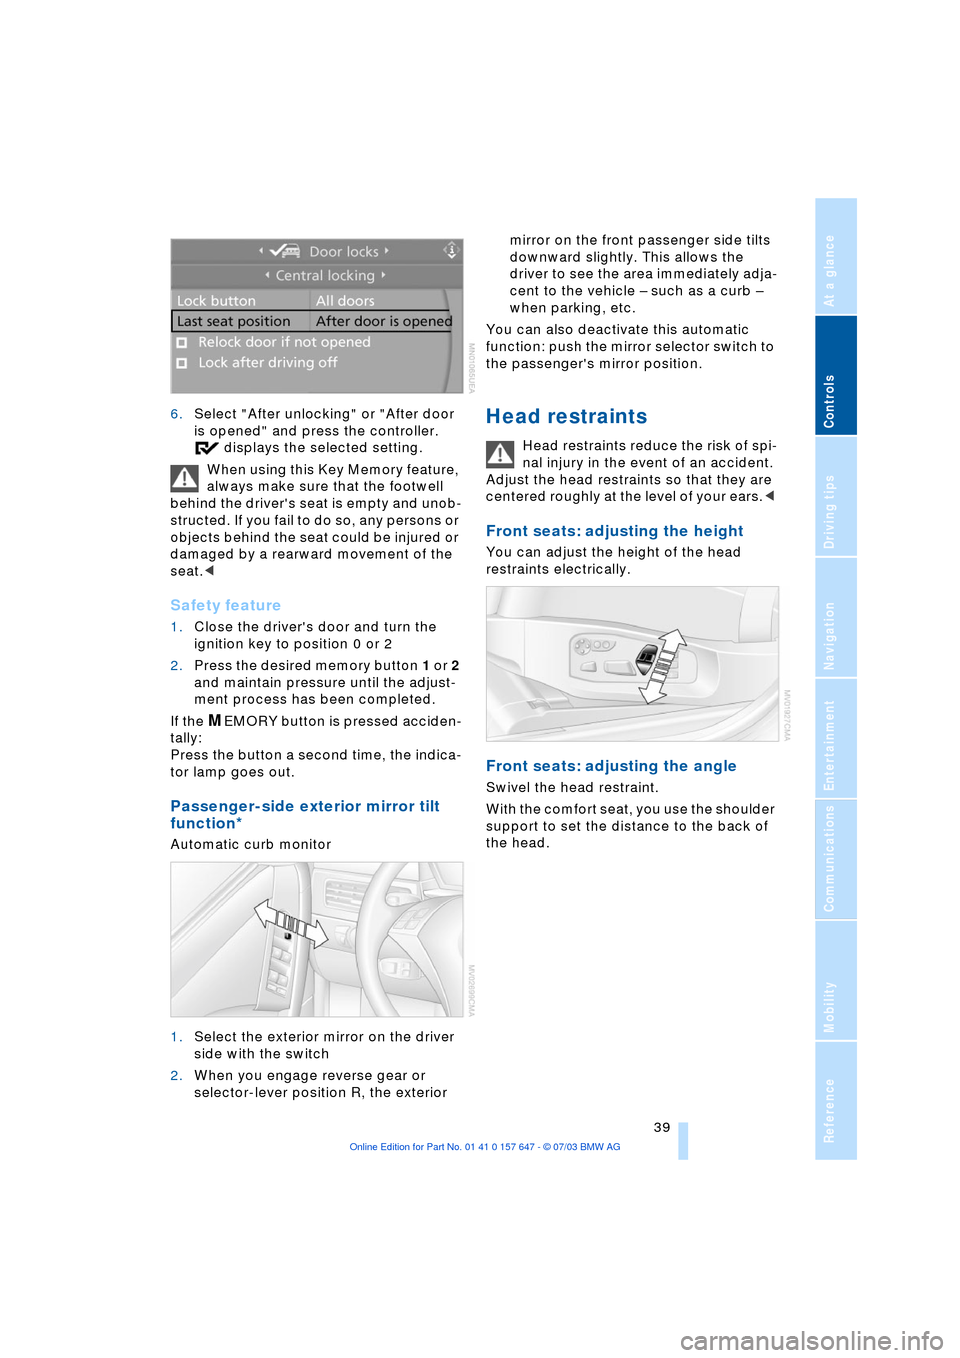
Control Center, for principle details, refer to
page 16:
1.Open the menu
2.Select "Vehicle settings" and press the
controller
3.Select "Door locks" and press the con-
troller
4.Select "Central locking" and press the
controller
5.Select "Last seat position" and press
the controller
Page 41 of 220
Controls
39Reference
At a glance
Driving tips
Communications
Navigation
Entertainment
Mobility
6.Select "After unlocking" or "After door
is opened" and press the controller.
displays the selected setting.
When using this Key Memory feature,
always make sure that the footwell
behind the driver's seat is empty and unob-
structed. If you fail to do so, any persons or
objects behind the seat could be injured or
damaged by a rearward movement of the
seat.<
Safety feature
1.Close the driver's door and turn the
ignition key to position 0 or 2
2.Press the desired memory button 1 or 2
and maintain pressure until the adjust-
ment process has been completed.
If the
MEMORY button is pressed acciden-
tally:
Press the button a second time, the indica-
tor lamp goes out.
Passenger-side exterior mirror tilt
function*
Automatic curb monitor
1.Select the exterior mirror on the driver
side with the switch
2.When you engage reverse gear or
selector-lever position R, the exterior mirror on the front passenger side tilts
downward slightly. This allows the
driver to see the area immediately adja-
cent to the vehicle Ð such as a curb Ð
when parking, etc.
You can also deactivate this automatic
function: push the mirror selector switch to
the passenger's mirror position.
Head restraints
Head restraints reduce the risk of spi-
nal injury in the event of an accident.
Adjust the head restraints so that they are
centered roughly at the level of your ears.<
Front seats: adjusting the height
You can adjust the height of the head
restraints electrically.
Front seats: adjusting the angle
Swivel the head restraint.
With the comfort seat, you use the shoulder
support to set the distance to the back of
the head.
Page 44 of 220
Adjustments
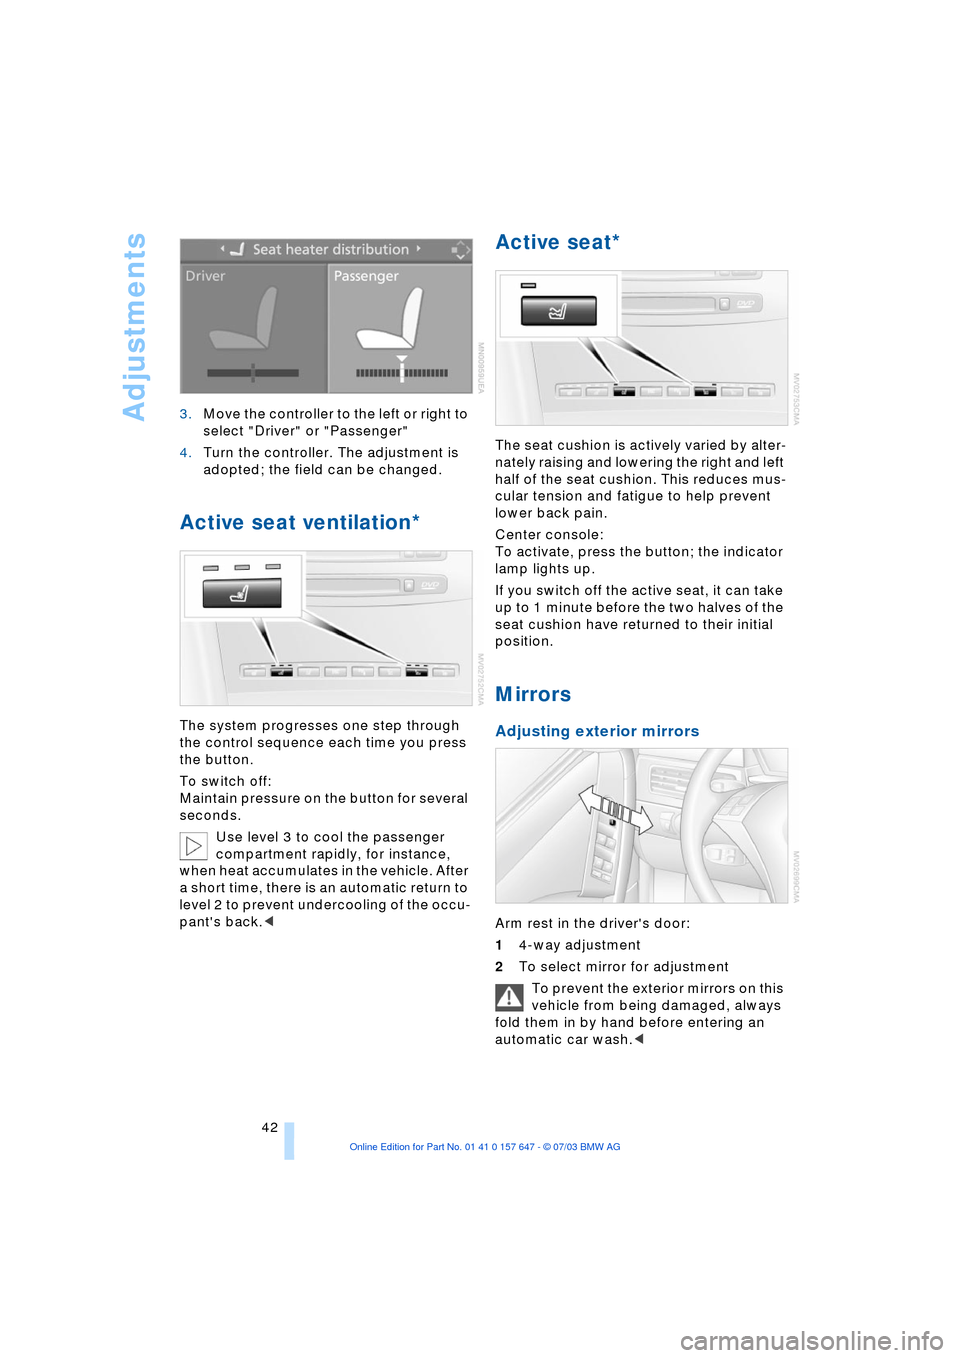
42 3.Move the controller to the left or right to
select "Driver" or "Passenger"
4.Turn the controller. The adjustment is
adopted; the field can be changed.
Active seat ventilation*
The system progresses one step through
the control sequence each time you press
the button.
To switch off:
Maintain pressure on the button for several
seconds.
Use level 3 to cool the passenger
compartment rapidly, for instance,
when heat accumulates in the vehicle. After
a short time, there is an automatic return to
level 2 to prevent undercooling of the occu-
pant's back.<
Active seat*
The seat cushion is actively varied by alter-
nately raising and lowering the right and left
half of the seat cushion. This reduces mus-
cular tension and fatigue to help prevent
lower back pain.
Center console:
To activate, press the button; the indicator
lamp lights up.
If you switch off the active seat, it can take
up to 1 minute before the two halves of the
seat cushion have returned to their initial
position.
Mirrors
Adjusting exterior mirrors
Arm rest in the driver's door:
14-way adjustment
2To select mirror for adjustment
To prevent the exterior mirrors on this
vehicle from being damaged, always
fold them in by hand before entering an
automatic car wash.<
Page 45 of 220
Controls
43Reference
At a glance
Driving tips
Communications
Navigation
Entertainment
Mobility
You can also adjust the mirrors manually by
pressing against the outer edges of their
lenses.
Storing the mirror positions, refer to Seat,
mirror and steering wheel memory on
page 38.
The mirror on the passenger's side
features a lens with a more convex
surface than the mirror installed on the
driver's side. When estimating the distance
between yourself and other traffic, bear in
mind that the objects reflected in the mirror
are closer than they appear. This means
that estimations of the distance to following
traffic should not be regarded as precise.<
Self-defrosting mirrors
Both exterior mirrors are automatically
heated in ignition key position 2.
Interior rearview mirror
To reduce the dazzle effect of following
vehicles at night, turn the knob beneath the
mirror.
Interior and exterior mirrors,
automatic dimming feature*
These mirrors automatically respond to
ambient light and headlamp glare from fol-lowing vehicles by automatically dimming
through an infinitely-variable range.There
are two photocells located in the interior
rearview mirror for this purpose. One is
integrated within the mirror's lens, while
the other is located at an offset position on
the rear of the mirror housing.
The mirrors automatically revert to their
clear, undimmed mode whenever you
engage reverse gear or place the selector
lever into position R.
For trouble-free operation, keep the
photocells clean and do not cover the
area between the interior rearview mirror
and the windshield. Do not attach any kind
of stickers on the windshield in front of the
mirror.<
Steering wheel adjustment
Do not adjust the steering wheel while
the vehicle is moving. There is a risk
of accident from unexpected movement.<
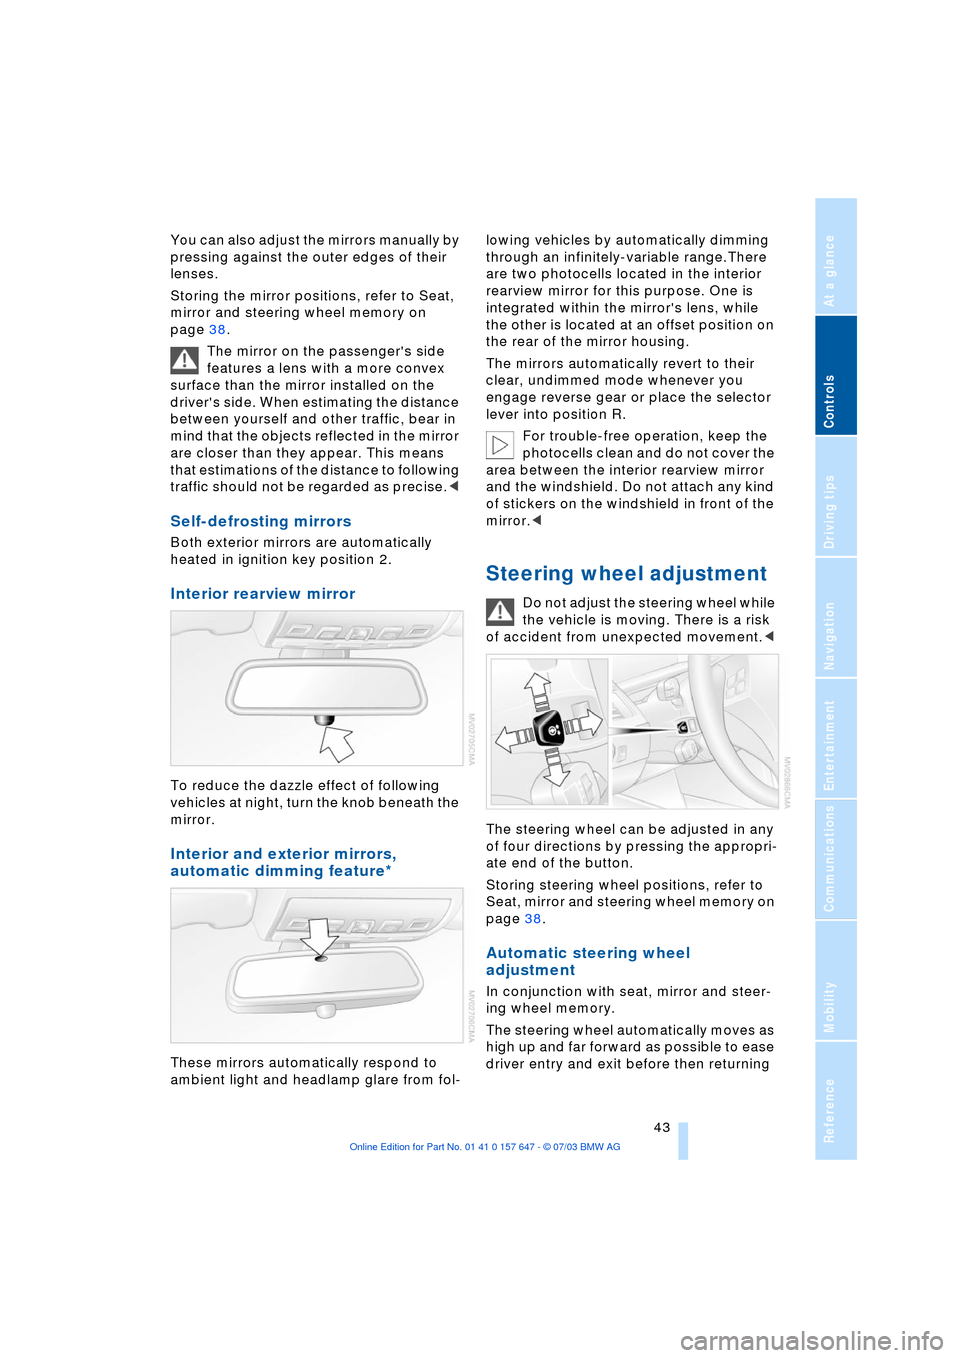
The steering wheel can be adjusted in any
of four directions by pressing the appropri-
ate end of the button.
Storing steering wheel positions, refer to
Seat, mirror and steering wheel memory on
page 38.
Automatic steering wheel
adjustment
In conjunction with seat, mirror and steer-
ing wheel memory.
The steering wheel automatically moves as
high up and far forward as possible to ease
driver entry and exit before then returning
Page 47 of 220
Controls
45Reference
At a glance
Driving tips
Communications
Navigation
Entertainment
Mobility
Transporting children safely
The right place for children
Children always in the rear
Accident research shows that the safest
place for children in a vehicle is in the rear
seat.
Older children should be tightly secured
with a safety belt, after they have outgrown
a booster seat that is appropriate for their
age, height and weight.
A child sitting in the rear seat and not
properly restrained may place his or
her head on or near the airbag, if so
equipped. For example, a child Ñ even
though belted Ñ may fall asleep with his or
her head against the side airbag. It may be
difficult for a driver to ensure that children
in the rear seat will remain properly posi-
tioned at all times and do not place their
heads on or near the side airbag. There-
fore, we recommend that the rear side air-
bags, if provided, be deactivated if you plan
to transport children in the rear seat.<
Deactivating the rear seat side
airbags
The rear seat side airbags may already
have been deactivated by a BMW center.
Labels in the rear door opening should indi-
cate the status of your rear seat side air-
bags. If you are uncertain of their status, or
wish to have the airbags activated or deac-
tivated, please contact your BMW center.
Child-restraint system in the rear
Children under 13 years of age and
children less than 5 ft/150 cm tall
should always ride in the rear and the
restraint systems should be secured with
the vehicle's safety belts.<
Younger children should be secured in an
appropriate forward-facing child-restraint
system that has first been properly
restrained. We strongly urge you to care-
fully read and comply with the instructions for installation and use provided by the
child restraintÕs manufacturer whenever
you use such a device.
All rear sitting positions in your vehicle
meet the recommendations of SAE J1819,
an industry-recommended practice for
securing child-restraint systems in motor
vehicles.
Exception for the front passenger
seat
Should it become necessary to use a
child-restraint system on the front
passenger seat, the airbags on the passen-
ger's side must be deactivated. The pas-
senger airbag indicator lamp above the
interior rearview mirror must light up con-
tinuously. Otherwise, the front passenger
airbags remain active and there is consid-
erable risk of injury to children if the airbags
are triggered, even with a child-restraint
system. In this case, children should be
seated in the rear and the system should be
checked at your BMW center.<
Never install a rearward-facing child-
restraint system in the front passen-
ger seat of this vehicle if the passenger air-
bag is not deactivated. If you do so, the
child could be severely injured when the
airbag is triggered.
Your vehicle is equipped with an airbag
supplemental restraint system for the front
passenger. Because the backrest on any
rearward-facing child-restraint system Ð of
the kind designed for infants under 1 year
and 20 Ibs./9 kg Ð would be within the air-
bag's deployment range, you should never
mount such a system in the front passenger
seat, since the impact of the airbag against
the child restraint's backrest could lead to
serious or fatal injuries.<
More information on automatic deactiva-
tion of the front passenger airbags, refer to
page 83.