Page 298 of 444
8-33 1. Engine oil filler cap
2. Engine oil dipstick
1. Bouchon de remplissage d’huile de moteur
2. Jauge d’huile
1. Tapa de relleno de aceite de motor
2. Varilla de medición del aceite de motor
EBU01099
Engine oil
Engine oil level measurement
1. Remove panel F. (See page 8-31 for panel
removal and installation procedures.)
2. Place the ATV on a level surface and warm
up the engine for several minutes.
3. Stop the engine.
4. Remove the engine oil filler cap and wipe off
the dipstick with a clean rag.
5. Insert the dipstick in the filler hole without
screwing it in.NOTE:_ Wait a few minutes until the oil level settles before
checking. _
U5KM61.book Page 33 Friday, July 26, 2002 11:13 AM
Page 300 of 444
8-35 1. Maximum level mark 2. Minimum level mark
1. Repère de niveau maximum 2. Repère de niveau minimum
1. Marca de nivel máximo 2. Marca de nivel mínimo
6. The oil level should be between the maxi-
mum and minimum marks. If the level is low,
fill the engine with sufficient oil to reach the
specified level.
Engine oil and oil filter cartridge replacement
1. Remove panels E and F. (See page 8-29 for
panel removal and installation procedures.)
2. Warm up the engine for several minutes.
3. Stop the engine. Place an oil pan under the
engine to collect the used oil, and then re-
move the engine oil filler cap.
U5KM61.book Page 35 Friday, July 26, 2002 11:13 AM
Page 302 of 444
8-37 1. Engine oil drain bolt
1. Boulon de vidange de l’huile
1. Perno de drenaje del aceite de motor
4. Remove the drain bolt and drain the oil.
U5KM61.book Page 37 Friday, July 26, 2002 11:13 AM
Page 304 of 444
8-39 1. Engine oil filter cartridge
2. Oil filter wrench
1. Cartouche du filtre à huile moteur
2. Clé pour filtre à huile
1. Cartucho del filtro de aceite de motor
2. Llave para filtros de aceite
5. Remove the oil filter cartridge by using an oil
filter wrench.NOTE:_ An oil filter wrench is available at a nearby
Yamaha dealer. _
U5KM61.book Page 39 Friday, July 26, 2002 11:13 AM
Page 306 of 444
8-41 1. Torque wrench
1. Clé dynamométrique
1. Llave de apriete
6. Install the drain bolt and tighten it to the spec-
ified torque.
7. Apply a light coat of engine oil to the O-ring of
the new oil filter cartridge.NOTE:_ Make sure the O-ring is seated properly. _8. Install the oil filter cartridge, and then tighten
it to the specified torque with a torque
wrench. Tightening torque:
Drain bolt:
30 Nm (3.0 m·kgf)
Tightening torque:
Oil filter cartridge:
17 Nm (1.7 m·kgf)
U5KM61.book Page 41 Friday, July 26, 2002 11:13 AM
Page 308 of 444
8-43
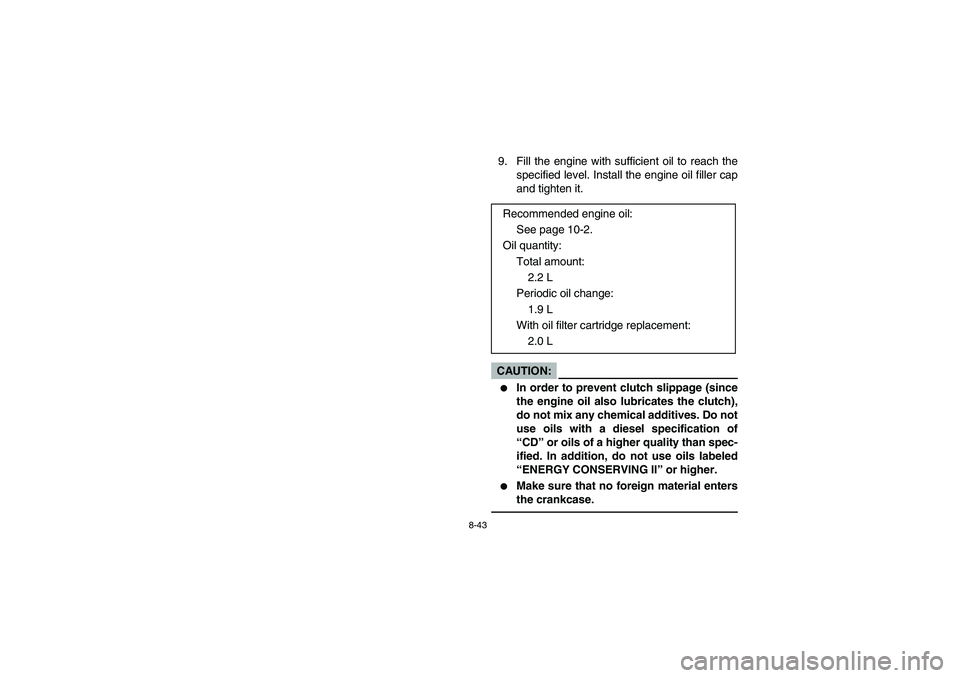
9. Fill the engine with sufficient oil to reach the
specified level. Install the engine oil filler cap
and tighten it.CAUTION:_ �
In order to prevent clutch slippage (since
the engine oil also lubricates the clutch),
do not mix any chemical additives. Do not
use oils with a diesel specification of
“CD” or oils of a higher quality than spec-
ified. In addition, do not use oils labeled
“ENERGY CONSERVING II” or higher.
�
Make sure that no foreign material enters
the crankcase.
_
Recommended engine oil:
See page 10-2.
Oil quantity:
Total amount:
2.2 L
Periodic oil change:
1.9 L
With oil filter cartridge replacement:
2.0 L
U5KM61.book Page 43 Friday, July 26, 2002 11:13 AM
Page 310 of 444
8-45
‘1. Final gear oil drain bolt
1. Boulon de vidange de l’huile de couple conique arrière
1. Perno de drenaje de aceite de la transmisión final
10. Start the engine and warm it up for several
minutes. While warming up, check for oil
leakage. If oil leakage is found, stop the en-
gine immediately and check for the cause.
11. Install the panels.
EBU00880
Final gear oil
The final gear case must be checked for oil leak-
age before each ride. If any leakage is found, have
a Yamaha dealer check and repair the ATV.
Final gear oil replacement
1. Place the machine on a level place.
2. Place a container under the final gear case to
collect the used oil.
3. Remove the oil filler bolt and the drain bolt to
drain the oil.
U5KM61.book Page 45 Friday, July 26, 2002 11:13 AM
Page 322 of 444
8-57 1. Coolant reservoir tank cap
2. Maximum level mark
3. Minimum level mark
1. Bouchon du vase d’expansion
2. Repère de niveau maximum
3. Repère de niveau minimum
1. Tapa del depósito de refrigerante
2. Marca de nivel máximo
3. Marca de nivel mínimo
EBU01000
Cooling system
1. Check the coolant level in the reservoir when
the engine is cold as the coolant level will
vary with engine temperature. The coolant
level should be between the maximum and
minimum marks.
2. If the level is low, remove panel D. (See page
8-17 for panel removal and installation proce-
dures.)
U5KM61.book Page 57 Friday, July 26, 2002 11:13 AM
 8-33 1. Engine oil filler cap
2. Engine oil dipstick
1. Bouchon de remplissage d’huile de moteur
2. Jauge d’huile
1. Tapa de relleno de aceite de motor
2. Varilla de medición del aceite de motor")
 8-35 1. Maximum level mark 2. Minimum level mark
1. Repère de niveau maximum 2. Repère de niveau minimum
1. Marca de nivel máximo 2. Marca de nivel mínimo
6. The oil level should be between the ma")
 8-37 1. Engine oil drain bolt
1. Boulon de vidange de l’huile
1. Perno de drenaje del aceite de motor
4. Remove the drain bolt and drain the oil.
U5KM61.book Page 37 Friday, July 26, 2002 11:13 A")
 8-39 1. Engine oil filter cartridge
2. Oil filter wrench
1. Cartouche du filtre à huile moteur
2. Clé pour filtre à huile
1. Cartucho del filtro de aceite de motor
2. Llave para filtros de aceite
5")
 8-41 1. Torque wrench
1. Clé dynamométrique
1. Llave de apriete
6. Install the drain bolt and tighten it to the spec-
ified torque.
7. Apply a light coat of engine oil to the O-ring of
the new oil f")
 8-45
‘1. Final gear oil drain bolt
1. Boulon de vidange de l’huile de couple conique arrière
1. Perno de drenaje de aceite de la transmisión final
10. Start the engine and warm it up for several")
 8-57 1. Coolant reservoir tank cap
2. Maximum level mark
3. Minimum level mark
1. Bouchon du vase d’expansion
2. Repère de niveau maximum
3. Repère de niveau minimum
1. Tapa del depósito de refri")