2003 PONTIAC GRAND PRIX instrument cluster
[x] Cancel search: instrument clusterPage 91 of 378

How long should you keep the coolant heater plugged
in? The answer depends on the outside temperature, the
kind of oil you have, and some other things. Instead
of trying to list everything here, we ask that you contact
your dealer in the area where you’ll be parking your
vehicle. The dealer can give you the best advice for that
particular area.
Automatic Transaxle Operation
Maximum engine speed is limited when your vehicle is
in PARK
(P) or NEUTRAL (N) to protect driveline
components from improper operation.
There are several different positions for the shift lever.
PARK (P): This position locks the front wheels. It’s
the best position to
use when you start the engine
because the vehicle can’t move easily.
The automatic transaxle has a shift lever on the console
between the seats. There is also a display of the gear
positions on the instrument panel cluster near the
speedometer and tachometer.
It is dangerous to get out of your vehicle if the
shift lever is not fully in PARK (P) with the
parking brake firmly set. Your vehicle can roll.
Don’t leave your vehicle when the engine is
running unless you have to. If you have left the
engine running,
the vehicle can move suddenly.
You
or others could be injured. To be sure your
vehicle won’t move, even when you’re on fairly
level ground, always set your parking brake and
move the
shift lever to PARK (P). See “Shifting
Into Park (P)”
in the Index. If you’re pulling a
trailer, see “Towing a Trailer”
in the Index.
2-24
Page 122 of 378

Section 3 Instrument Panel
Instrument Panel Overview .......................... -3-2
Hazard Warning Flashers
-3-3
Other Warning Devices ................................... 3.4
Horn
............................................................. 3.4
Tilt Wheel
..................................................... 3.4
Turn Signal/Multifunction Lever
......................... 3.5
Exterior Lamps
............................................. 3.10
Interior Lamps
.............................................. 3.12
Head-Up Display (HUD)
................................. 3-15
Accessory Power Outlets
............................... 3.18
Auxiliary Power Connection (Power Drop)
......... 3.19
Ashtrays and Cigarette Lighter
........................ 3-19
Climate Controls ............................................ 3.20
Dual Climate Control System
.......................... 3.20
Outlet Adjustment
......................................... 3.22
Warning Lights, Gages and Indicators ............. 3.23
Instrument Panel Cluster
................................ 3.24
Speedometer and Odometer
........................... 3.25
Tachometer
................................................. 3.25
Safety Belt Reminder Light
............................. 3.26
Air Bag Readiness Light
................................ 3-26
Charging System Light
.................................. 3.27
Brake System Warning Light
......................... -3-28
Anti-Lock Brake System Warning Light
............. 3.29
Traction Control System (TCS) Warning Light
...... 3.29
Enhanced Traction System Warning Light
........ -3-30
.. ...............................
Low Traction Light ....................................... -3-30
Engine Coolant Temperature Gage
.................. 3-31
Malfunction Indicator Lamp
............................ -3-32
Oil Pressure Light
........................................ -3-35
Security Light
............................................... 3-36
Fuel Gage
................................................... 3-37
Low Fuel Warning Light
................................. 3-37
Driver Information Center (DE) ....................... 3-38
Trip Computer ................................... ..... 3-40
Control Buttons
............................................ 3-42
Functions
.................................................... 3-42
Audio System(s) ............................................. 3-44
Setting the Time
........................................... 3-44
Radio with Cassette
...................................... 3-45
Radio with CD (Base Level)
........................... 3-48
Radio with CD
(Up Level) .............................. 3-51
Theft-Deterrent Feature
.................................. 3-54
Engine
Coolant Temperature 'Warning Light
...... 3.31
Low Oil Level Light ....................................... 3-36
Audio Steering Wheel Controls
....................... 3-56
Understanding Radio Reception
...................... 3-57
Care of Your Cassette Tape Player
................. 3-58
Care
of Your CDs ......................................... 3-59
Care of Your CD Player
................................ 3-59
Backglass Antenna
....................................... 3-59
3-
1
Page 124 of 378

The main components of the instrument panel are
the following:
A. Side Window Defogger Outlets
B. Fog Lamps Switch
C. Turn SignaVMultifunction Lever
D. Instrument Panel Cluster
E. Hazard Warning Button
F. Horn
G. Trip Computer (If Equipped) and/or Driver
Information Center (DIC)
H. Instrument Panel Outlets
I. Interior Lamps Control
J. Exterior Lamps Control
K. Tilt Steering Wheel Control
L. Audio Steering Controls
(If Equipped)
M. Head Up Display (HUD) Controls (Option)
N. Climate Controls
0. Ashtray and Cigarette Lighter
P. Audio System
Q. Glove Box
R. Instrument Panel Fuse Block
Hazard Warning Flashers
Your hazard warning flashers let you warn others. They
also let police know you have a problem. Your front
and rear turn signa! !amps
will flash or! and off.
The hazard warning
flasher button is
located on top of the
steering column.
The hazard warning flashers work no matter what
position your key is in, and even
if the key isn’t in.
Press the button to make your front and rear turn signal
lamps flash on and
off. Press the button again to turn
the flashers
off.
When the hazard warning flashers are on, your turn
signals and brake lamps won’t work.
3-3
Page 126 of 378

Turn SignaVMultifunction Lever
a
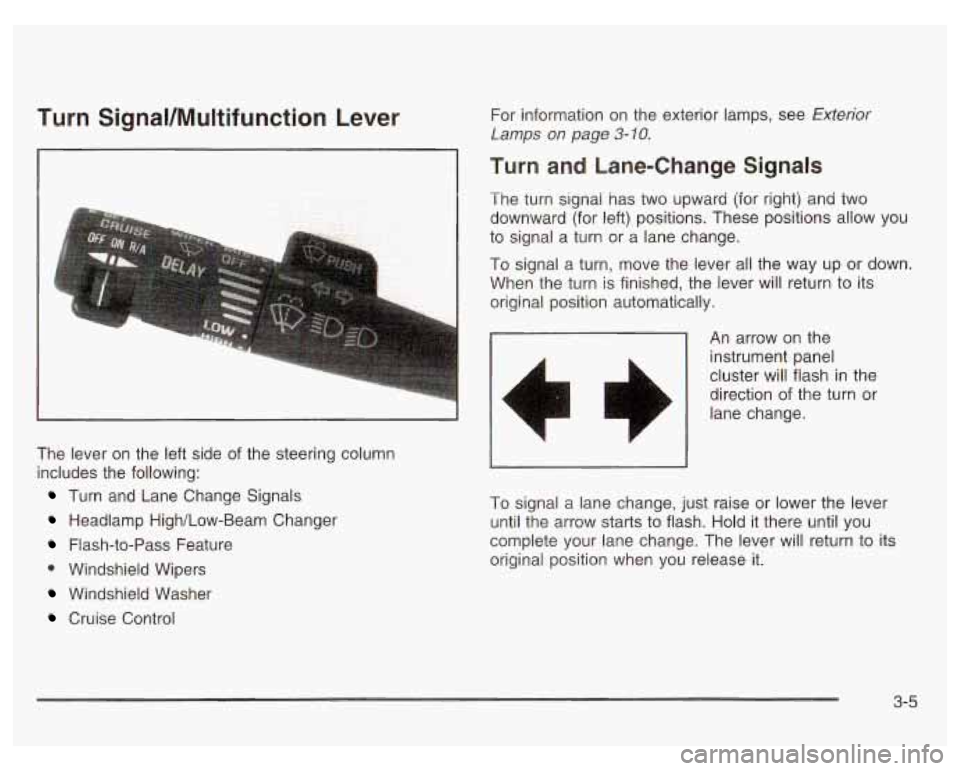
The lever on the left side of the steering column
includes the following:
Turn and Lane Change Signals
Headlamp High/Low-Beam Changer
Flash-to-Pass Feature
0 Windshield Wipers
Windshield Washer
Cruise Control For information
on the exterior lamps, see
Exterior
Lamps on page 3-10.
Turn and Lane-Change Signals
The turn signal has two upward (for right) and two
downward (for left) positions. These positions allow you
to signal a turn or a lane change.
To signal a turn, move the lever all the way up or down.
When the turn is finished, the lever will return to its
original position automatically.
An arrow on the
instrument panel
cluster
will flash in the
direction of the turn or
lane change.
To signal a lane change, just raise or lower the lever
until the arrow starts to flash. Hold it there until you
complete your lane change. The lever will return to its
original position when you release it.
3-5
Page 127 of 378

As you signal a turn or a lane change, if the arrow
flashes faster than normal, a signal bulb may be burned
out and other drivers won’t see your turn signal.
If a bulb is burned out, replace it to help avoid an
accident.
If the arrows don’t go on at all when you signal
a turn, check for burned-out bulbs and then check the
fuse. See Fuses and Circuit Breakers
on page 5-97.
A chime will sound if you leave the turn signal on
for more than
3/4 mile (1.2 km).
Headlamp High/Low-Beam Changer
To change the headlamps from low-beam to high-beam,
or high to low, pull the multifunction lever
all the way
toward you. Then release it.
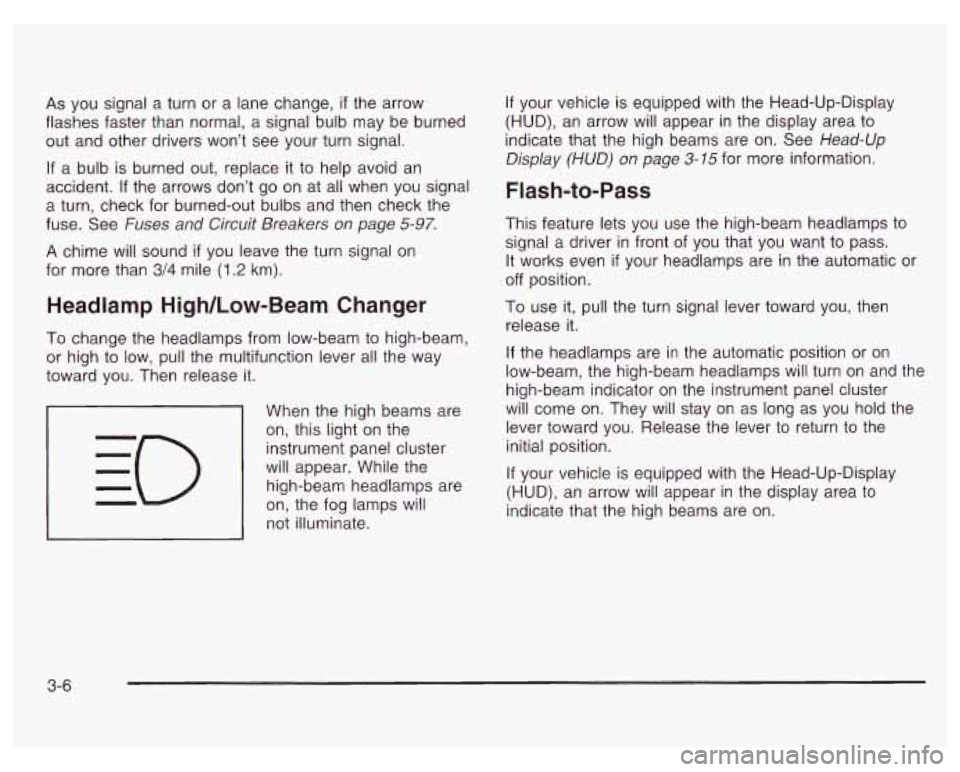
When the high beams are
on, this light on the
instrument panel cluster
will appear. While the high-beam headlamps are
on, the fog lamps will
not illuminate.
If your vehicle is equipped with the Head-Up-Display
(HUD), an arrow will appear in the display area to
indicate that the high beams are on. See Head-Up
Display
(HUD) on page 3-75 for more information.
Flash-to-Pass
This feature lets you use the high-beam headlamps to
signal a driver in front of you that you want to pass.
It works even
if your headlamps are in the automatic or
off position.
To use it, pull the turn signal lever toward you, then
release it.
If the headlamps are in the automatic position or on
low-beam, the high-beam headlamps will turn on and the
high-beam indicator on the instrument panel cluster
will come on. They will stay on as long as you hold the
lever toward you. Release the lever to return to the
initial position.
If your vehicle is equipped with the Head-Up-Display
(HUD), an arrow will appear in the display area to
indicate that the high beams are on.
3-6
Page 133 of 378

Fog Lamps
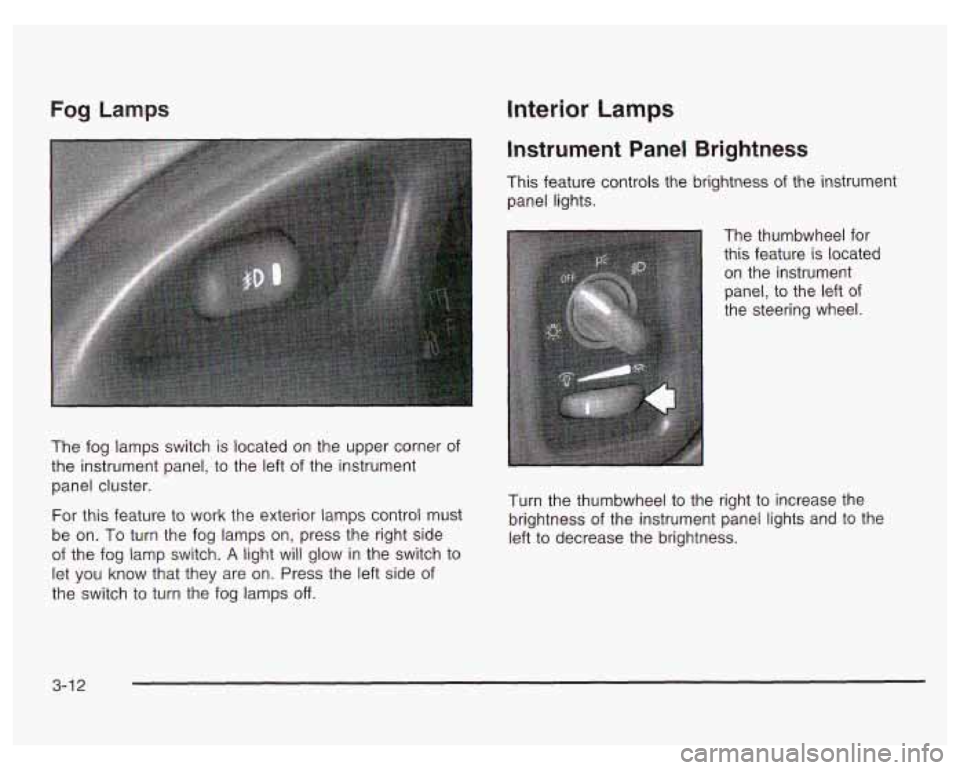
The fog lamps switch is located on the upper corner of
the instrument panel, to the left of the instrument
panel cluster.
For this feature to work the exterior
lamps control must
be on. To turn the fog lamps on, press the right side
of the fog lamp switch.
A light will glow in the switch to
let you know that they are on. Press the left side of
the switch to turn the fog lamps
off.
Interior Lamps
Instrument Panel Brightness
This feature controls the brightness of the instrument
panel lights.
The thumbwheel for
this feature
is located
on the instrument
panel, to the left of
the steering wheel.
Turn the thumbwheel to the right to increase the
brightness of the instrument panel lights and to the
left to decrease the brightness.
3-1 2
Page 137 of 378

The HUD also shows the following lights when they are
lit on the instrument panel cluster:
Turn Signal Indicators
High-Beam Indicator Symbol
Low Fuel Symbol
The HUD will display CHECK GAGES when the
following items are lit on the instrument panel cluster:
Oil Warning Symbol
Coolant Temperature Symbol
Charging System Symbol
When the ignition key is turned to RUN, the entire HUD
image will come on. Then the Head-Up Display will
operate normally.
Notice: Although the HUD image appears to be
near the front
of the vehicle, do not use it as
a parking aid. The
HUD was not designed for that
purpose.
If you try to use it as such, you may
misjudge the distance and damage your vehicle.
When the HUD is on, the speedometer reading will be
displayed continually. The current radio station
or
CD track number will only be displayed for three
seconds after the radio or CD track status changes.
This will happen whenever one of the radio controls is
pressed, either on the radio itself or on the optional
steering wheel controls. To
adjust the HUD
so you can see it properly do the
following:
1. Adjust your seat, if necessary, to a comfortable
position.
2. Start the engine and adjust the HUD controls
located on the instrument panel, to the right
of
the steering wheel. Move the DIM thumbwheel up
or down to adjust brightness.
3-1 6
Page 145 of 378

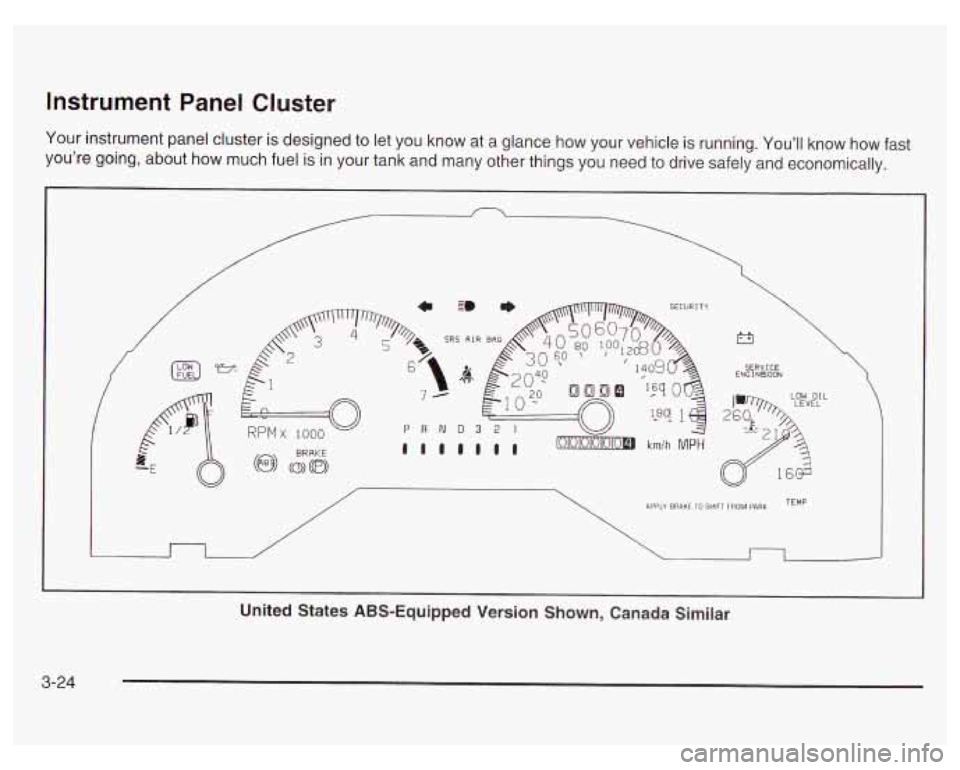
Instrument Panel Cluster
Your instrument panel cluster is designed to let you know at a glance how your vehicle is running. You’ll know how fast
you’re going, about how much fuel
is in your tank and many other things you need to drive safely and economically.
c 3 * SECURI TY
SRS AIR e,
/
r3
SERVICE ENG I NBOON
>>L LOW OIL
n /
APPLY BRAKE 10 SHIFT FROM PARK TEMP
I
United States ABS-Equipped Version Shown, Canada Similar
3-24