2003 PONTIAC GRAND PRIX brakes
[x] Cancel search: brakesPage 223 of 378
Turn Signals When Towing a Trailer
When you tow a trailer, your vehicle may need a
different turn signal flasher and/or extra wiring. Check
with your dealer. The arrows on your instrument
panel will flash whenever you signal a turn or lane
change. Properly hooked up, the trailer lamps will also
flash, telling other drivers you’re about to turn,
change lanes or stop.
When towing a trailer, the arrows on your instrument
panel will flash for turns even
if the bulbs on the trailer
are burned out. Thus, you may think drivers behind
you are seeing your signal when they are not. It’s
important to check occasionally to be sure the trailer
bulbs are still working.
Your vehicle has bulb warning lights. When you plug a
trailer lighting system into your vehicle’s lighting
system, its bulb warning lights may not let you know
if
one of your lamps goes out. So, when you have a trailer
lighting system plugged in, be sure to check your
vehicle and trailer lamps from time to time to be sure
they’re all working. Once you disconnect the trailer
lamps, the bulb warning lights again can tell you
if one
of your vehicle lamps is out.
Driving On Grades
Reduce speed and shift to a lower gear before you start
down a long or steep downgrade.
If you don’t shift
down, you might have to use your brakes
so much that
they would get hot and no longer work well.
On a long uphill grade, shift down and reduce your
speed to around
45 mph (70 km/h) to reduce the
possibility of engine and transaxle overheating.
If you have overdrive, you may have to drive in
THIRD (3) instead of AUTOMATIC OVERDRIVE (D).
Parking on Hills
1 -J really should not ,,rk yo^, wG,kle, with a
trailer attached, on a hill.
If something goes
wrong, your rig could start to move. People
can be injured, and both your vehicle and the
trailer can be damaged.
4-42
Page 224 of 378

But if you ever have to park your rig on a hill, here’s
how to do it:
1.
2.
3.
4.
5.
Apply your regular brakes, but don’t shift into
PARK
(P) yet.
Have someone place chocks under the trailer
wheels.
When the wheel chocks are in place, release the
regular brakes until the chocks absorb the load.
Reapply the regular brakes. Then apply your
parking brake, and then shift to PARK
(P).
Release the regular brakes.
When You Are Ready to Leave After
Parking on a
Hill
1. Apply your regular brakes and hold the pedal down
while you:
start your engine,
0 shift into a gear, and
0 release the parking brake. 2. Let
up on the brake pedal.
3. Drive slowly until the trailer is clear of the chocks.
4. Stop and have someone pick up and store the
chocks.
Maintenance When Trailer Towing
Your vehicle will need service more often when you’re
pulling a trailer. See Part
A: Scheduled Maintenance
Services on page
6-4 for more information. Things that
are especially important in trailer operation are
automatic transaxle fluid (don’t overfill), engine oil, drive
belts, cooling system and brake system. Each of
these is covered in this manual, and the Index will help
you find them quickly.
If you’re trailering, it’s a good
idea to review this information before you start your trip.
Check periodically
to see that all hitch nuts and bolts
are tight.
Engine Cooling When Trailer Towing
Your cooling system may temporarily overheat during
severe operating conditions. See Engine Overheating
on page
5-33.
4-43
Page 226 of 378

Section 5 Service and Appearance Care
Service ............................................................ 5.3
Doing Your
Owr? Service Work ......................... 5-4
Adding Equipment to the Outside of
Your Vehicle
.............................................. 5-4
Fuel ................................................................ 5-5
Gasoline Octane
............................................ 5-5
Gasoline Specifications
.................................... 5-5
California Fuel
............................................... 5-6
Additives
....................................................... 5-6
Fuels in Foreign Countries
............................... 5-7
Filling Your Tank
............................................ 5-7
Filling a Portable Fuel Container
....................... 5-9
Checking Things Under the Hood .................... 5-10
Hood Release
.............................................. 5-10
Engine Compartment Overview
....................... 5-12
Engine Oil
................................................... 5-18
Supercharger Oil
.......................................... 5-24
Engine Air CleanedFilter
................................ 5-25
Automatic Transaxle Fluid
.............................. 5-27
Engine Coolant
............................................. 5-30
Radiator Pressure Cap
.................................. 5-33
Cooling System
........................................... -5-36
Power Steering Fluid
..................................... 5-46
Windshield Washer Fluid
................................ 5-48
Engine Overheating
....................................... 5-33 Brakes
........................................................ 5.49
Battery
........................................................ 5.52
Jump Starting
............................................... 5-53
Bulb Replacement .......................................... 5-60
Halogen Bulbs
.............................................. 5-60
Headlamps
.................................................. 5-60
Front Turn Signal and Sidemarker Lamps
........ 5-62
Center High-Mounted Stoplamp (CHMSL)
......... 5-63
Taillamps, Sidemarker and Back-up Lamps
...... 5-64
Replacement Bulbs
....................................... 5-66
Windshield Wiper Blade Replacement .............. 5-67
Tires ............................................................. -5-68
Inflation
-- Tire Pressure ................................ 5-68
Tire Inspection and Rotation
........................... 5-69
When It
Is Time for New Tires ....................... 5-70
Buying New Tires
......................................... 5-71
Uniform Tire Quality Grading
.......................... 5-72
Wheel Replacement
...................................... 5-73
Headlamp Aiming ........................................... 5-59
Wheel Alignment and Tire Balance
.................. 5-73
Tire Chains
.................................................. 5-75
If a Tire Goes Flat ........................................ 5-76
Changing a Flat Tire
..................................... 5-76
Compact Spare Tire
...................................... 5-87
5- 1
Page 274 of 378
Brakes
Brake Fluid
I
A L
r DOT3
7
L
normal brake lining wear. When new linings are put in,
the fluid level goes back up. The other reason
is
that fluid is leaking out of the brake system. If it is, you
should have your brake system fixed, since a leak
means that sooner
or later your brakes won’t work well,
or won’t work at all.
So, it isn’t a good idea to “top off’ your brake fluid.
Adding brake fluid won’t correct a leak. If you add fluid
when your linings are worn, then you’ll have too
much fluid when you get new brake linings. You should
add (or remove) brake fluid, as necessary, only when
work is done on the brake hydraulic system.
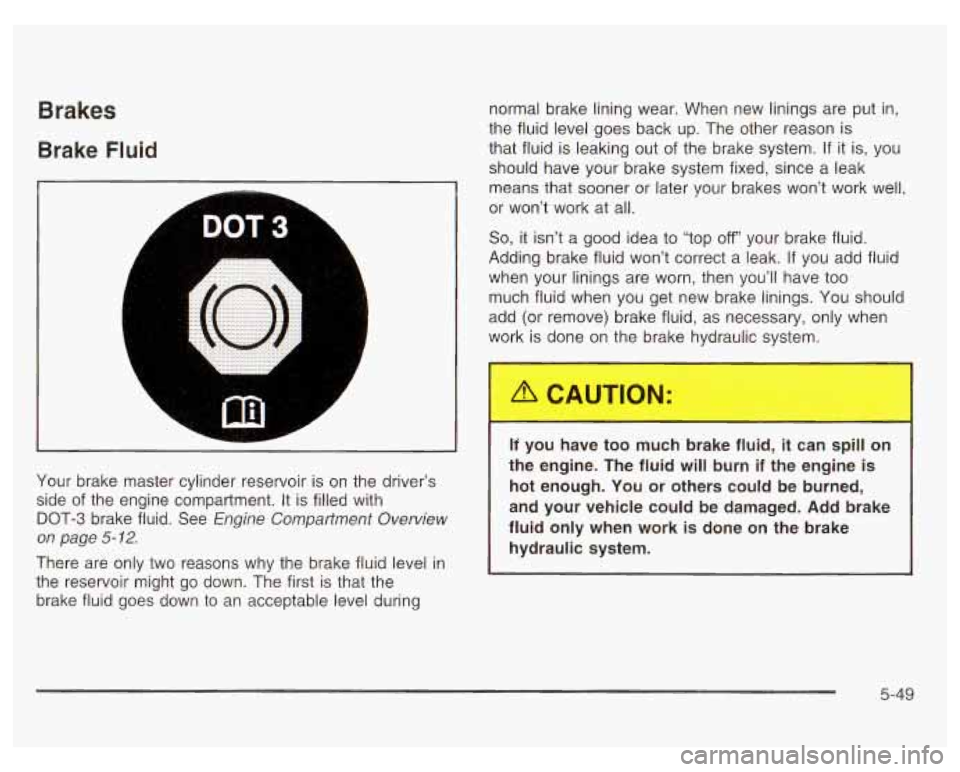
Your brake master cylinder reservoir is on the driver’s
side of the engine compartment. It is filled with
DOT-3 brake fluid. See Engine Compartment Overview
on page 5- 12.
There are only two reasons why the brake fluid level in
the reservoir might go down. The first is that the
brake fluid goes down
to an acceptable level during
If you have too much brake fluid, it can spill on
the engine. The fluid
will burn if the engine is
hot enough. You
or others could be burned,
and your vehicle could be damaged. Add brake
fluid only when work is done on the brake
hydraulic system.
5-49
Page 275 of 378
United States
~~
Canada
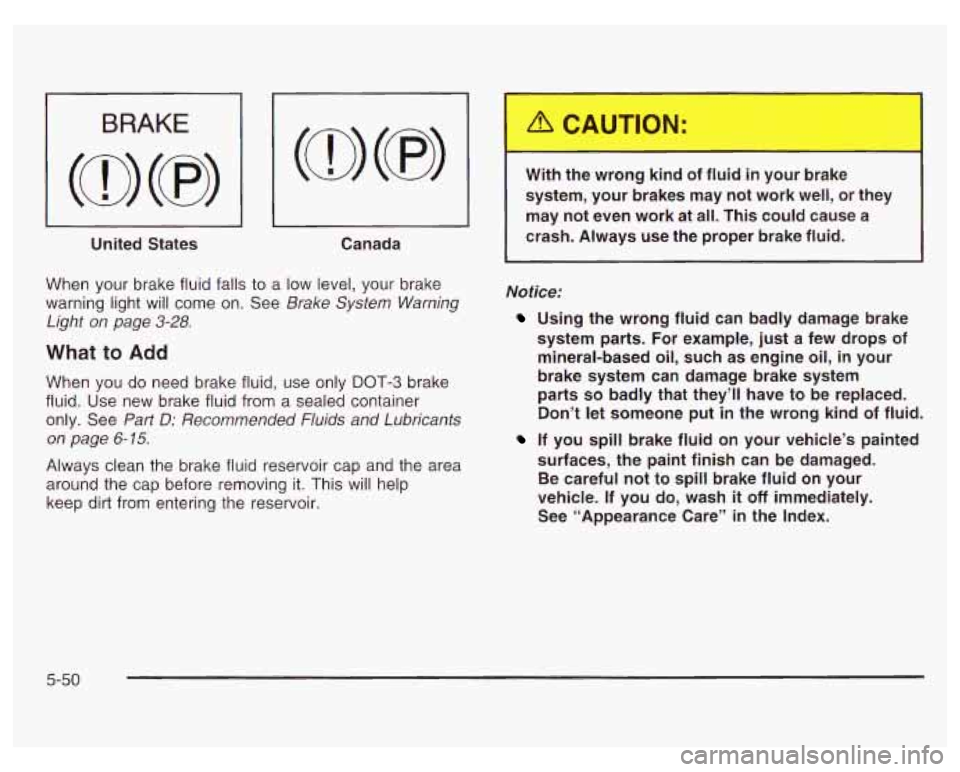
When your brake fluid falls to a low level, your brake
warning light will come on. See Brake System Warning
Light on page
3-28.
What to Add
When you do need brake fluid, use only DOT-3 brake
fluid. Use new brake fluid from a sealed container
only. See Part D: Recommended Fluids and Lubricants
on page
6- 15.
Always clean the brake fluid reservoir cap and the area
around the cap before removing it. This will help
keep
dirt from entering the reservoir.
r
With the wrong kind of fluid in your brake
system, your brakes may not work well, or they
may not even work at all. This could cause a
crash. Always
use the proper brake fluid.
Notice:
Using the wrong fluid can badly damage brake
system parts. For example, just a few drops of mineral-based oil, such as engine oil, in your
brake system can damage brake system
parts
so badly that they’ll have to be replaced.
Don’t let someone put in the wrong kind of fluid.
If you spill brake fluid on your vehicle’s painted
surfaces, the paint finish can be damaged.
Be careful not to spill brake fluid on your
vehicle. If you do, wash
it off immediately.
See “Appearance Care” in the Index.
5-50
Page 277 of 378
Replacing Brake System Parts
The braking system on a vehicle is complex. Its many
parts have to be of top quality and work well together
if
the vehicle is to have really good braking. Your
vehicle was designed and tested with top-quality
GM
brake parts. When you replace parts of your braking
system
- for example, when your brake linings
wear down and you need new ones put in
- be sure
you get new approved
GM replacement parts. If
you don’t, your brakes may no longer work properly.
For example,
if someone puts in brake linings that are
wrong for your vehicle, the balance between your
front and rear brakes can change
- for the worse.
The braking performance you’ve come to expect can
change in many other ways
if someone puts in the
wrong replacement brake parts.
Battery
Your new vehicle comes with a maintenance free
ACDelco@ battery. When it’s time for a new battery, get
one that has the replacement number shown on the
original battery’s label. We recommend an ACDelco@
battery. See Engine Compartment Overview on
page
5- 12 for battery location.
Warning: Battery posts, terminals and related
accessories contain lead and lead compounds,
chemicals known to the State of California to cause
cancer and reproductive harm. Wash hands after
handling.
If your battery has a very low charge or is dead, you
may not be able to remove the ignition key from
the ignition switch or shift out of Park (P). Refer to
Shifting Out of Park
(P) on page 2-30.
5-52
Page 300 of 378
Tire Chains
If your vehicle is an SE model with P225/60R16
size tires, don’t use tire chains, there’s not
enough clearance.
Tire chains used on a vehicle without the proper amount of clearance can cause damage
to the brakes, suspension or other vehicle
parts. The area damaged by the tire chains
could cause you to lose control of your vehicle
and you or others may be injured in a crash.
Use another type of traction device only if
its
manufacturer recommends it for use on your
vehicle and tire size combination and road
conditions.
Follow that manufacturer’s
CAUTION: (Continued) instructions. To help avoid damage to your
vehicle, drive slowly, readjust or remove the
device if
it’s contacting your vehicle, and don’t
spin your wheels.
If you do find traction devices that will fit,
install them on the front tires.
Notice; If your vehicle is a GT model, a GTP model,
or if you have an
SE model without P225/60R16
size tires, use tire chains only where legal and only
when you must. Use only SAE Class
”S” type
chains that are the proper size for your tires. Install
them on the front tires and tighten them as tightly as possible with the ends securely fastened.
Drive slowly and follow the chain manufacturer’s
instructions. If you can hear the chains contacting
your vehicle, stop and retighten them.
If the contact
continues, slow down
until it stops. Driving too
fast or spinning the wheels with chains on will
damage your vehicle.
5-75
Page 334 of 378
Scheduled Maintenance
The services shown in this schedule up to 100,000 miles
(1 66
000 km) should be repeated after 100,000 miles
(1 66 000 km) at the same intervals for the life of
this vehicle. The services shown at 150,000 miles
(240
000 km) should be repeated at the same interval
after 150,000 miles
(240 000 km) for the life of this
vehicle.
See Part B: Owner Checks and Services on page
6-9
and Part C: Periodic Maintenance Inspections on
page
6- 13.
Footnotes
t The U.S. Environmental Protection Agency or the
California Air Resources Board has determined that the
failure to perform this maintenance item will not nullify
the emission warranty or limit recall liability prior to
the completion of the vehicle’s useful life. We, however,
urge that all recommended maintenance services be
performed at the indicated intervals and the
maintenance be recorded.
+A good time to check your brakes is during tire
rotation. See Brake System Inspection on page
6-14,
Engine Oil Scheduled Maintenance
Change engine oil and filter as indicated by the GM
Oil Life SystemTM (or every 12 months, whichever
occurs first). Reset the system.
Your vehicle has a computer system that lets you know
when to change the engine oil and filter. This is
based on engine revolutions and engine temperature,
and not on mileage. Based on driving conditions,
the mileage at which an oil change will be indicated can
vary considerably. For the oil life system to work
properly, you must reset the system every time the oil is
changed.
When the system has calculated that oil life has been
diminished,
it will indicate that an oil change is
necessary.
A CHANGE OIL SOON light will come on.
Change your oil as soon as possible within the next two
times you stop for fuel. It is possible that,
if you are
driving under the best conditions, the oil life system may
not indicate that an oil change is necessary for over a
year. However, your engine oil and filter must be
changed at least once a year and at this time the system
must be reset.
It is also important to check your oil
regularly and keep it at the proper level.
6-5