2003 PONTIAC GRAND PRIX window
[x] Cancel search: windowPage 108 of 378

Assist Handles
An assist handle with a reading lamp is located over
each rear side window. The handle can be used to help
you get in or out
of the vehicle. Press the reading
lamp to turn it on. Press
it again to turn it off.
Purse or Litter Bag Holder
On the front of the center console, to the right of the
accessory power outlet, there is a hook that can be used
to hold a purse or litter bag.
Rear Storage Area
If you have a trunk access panel, you will also have a
pull down armrest that contains an open storage bin and
two cupholders.
Convenience Net
The vehicle may have a convenience net. You’ll see it
on the back wall of the trunk.
Put small loads, like grocery bags, behind the net. It can
help keep them from falling over during sharp turns or
quick starts and stops. The
net isn’t for larger, heavier loads, which should be
stored
in the trunk as far forward as possible.
You can unhook the net
so that it will lie flat when
you’re not using it.
Trunk Access Panel
If the vehicle has rear seat armrests, you will also have
a trunk access panel.
This feature allows access to the trunk from the rear
seat area. To use the trunk access panel, pull the rear
armrest down, unlock the access panel with the
ignition key and pull it down.
2-41
Page 124 of 378

The main components of the instrument panel are
the following:
A. Side Window Defogger Outlets
B. Fog Lamps Switch
C. Turn SignaVMultifunction Lever
D. Instrument Panel Cluster
E. Hazard Warning Button
F. Horn
G. Trip Computer (If Equipped) and/or Driver
Information Center (DIC)
H. Instrument Panel Outlets
I. Interior Lamps Control
J. Exterior Lamps Control
K. Tilt Steering Wheel Control
L. Audio Steering Controls
(If Equipped)
M. Head Up Display (HUD) Controls (Option)
N. Climate Controls
0. Ashtray and Cigarette Lighter
P. Audio System
Q. Glove Box
R. Instrument Panel Fuse Block
Hazard Warning Flashers
Your hazard warning flashers let you warn others. They
also let police know you have a problem. Your front
and rear turn signa! !amps
will flash or! and off.
The hazard warning
flasher button is
located on top of the
steering column.
The hazard warning flashers work no matter what
position your key is in, and even
if the key isn’t in.
Press the button to make your front and rear turn signal
lamps flash on and
off. Press the button again to turn
the flashers
off.
When the hazard warning flashers are on, your turn
signals and brake lamps won’t work.
3-3
Page 141 of 378

Climate Controls
Dual Climate Control System
f;' (Vent): This mode directs air to the instrument
panel outlets.
+2 (Bi-Level): This mode directs half of the air to the
instrument panel outlets, and then directs the
With this system you can control the heating, cooling
and ventilation for your vehicle. remaining air
to the floor outlets. Some air may be
directed toward the windshield. Cooler air is directed to
the upper outlets and warmer air to the floor outlets.
(Floor): This mode directs most of the air to
the floor outlets with some air directed toward the
outboard outlets (for the side windows) and a little air
directed to the windshield.
The mode knob can also be used to select defog or
defrost mode. Information on defogging and defrosting,
see "Defogging and Defrosting" later in this section.
3f (Fan): Turn the knob located on the left of
the climate control panel clockwise or counterclockwise
Use the mode knob located on the right side of the to increase or decrease the fan speed.
climate control panel to select the following modes:
Driver or Passenger (Temperature Levers): Slide the
2 MAX (Maximum): This mode recirculates much of
the air inside your vehicle and sends it through the
instrument panel outlets. The air conditioning
compressor will run automatically in this setting unless
the temperature is at or below freezing. lever(s)
up or down to increase or decrease the
temperature.
3-20
Page 142 of 378
A/C (Air Conditioning): Press this button to turn the
air-conditioning system on or
off. When A/C is pressed,
an indicator light above the button will come on to let
you know that
A/C is active. The instrument brightness
control may have to be adjusted to
the highest setting
during the daytime in order to see the indicator light.
On hot days, open the windows to let hot inside
air escape; then close them. This helps to reduce the
time it takes for your vehicle to cool down. It also helps
the system to operate more efficiently.
For quick cool down
on hot days:
1. Select the MAX recirculation mode.
2. Select A/C.
3. Select the coolest temperature.
4. Select the highest fan speed.
Using these settings together for long periods of time
may cause the air inside your vehicle to become too dry.
To prevent this from happening, after the air in your
vehicle has cooled, change the mode from MAX
to another mode such as bi-level.
The air-conditioning system removes moisture from the
air,
so you may sometimes notice a small amount of
water dripping underneath your vehicle while idling
or after turning
off the engine. This is normal.
Defogging and Defrosting
There are two modes to clear fog from your windshield.
Use the floor/defog mode
to clear the windows of fog
or moisture and warm the passengers. Use the defrost
mode to remove fog or frost from the windshield
more quickly.
Turn the mode knob to select the defog or defrost mode.
,2 (Floor/Defog): This mode directs the air equally
between the windshield and the floor outlets. When you
select this mode, the system turns on the
air-conditioning compressor unless the outside
temperature is at or below freezing.
9 FRONT (Defrost): Pressing FRONT directs most
of the air to the windshield and the side window
outlets, with some air directed to the floor outlets. In this
mode, the system will automatically run the
air-conditioning compressor, unless the outside
temperature is at or below freezing.
3-21
Page 143 of 378
Rear Window Defogger
The rear window defogger uses a warming grid to
remove fog or frost from the rear window.
The rear window defogger will only work when the
ignition is in
RUN.
REAR: Press this button to turn the rear window
defogger on or
off. When this button is pressed an
indicator light above the button will come on to show that
the rear window defogger is active. The instrument
brightness control may have to be adjusted to the
highest setting during the daytime in order to see the
indicator light.
Be sure to clear as much snow from the rear window
as possible.
The rear window defogger will turn
off approximately
15 minutes after the button is pressed. If turned on
again, the defogger will only run for approximately seven
and one-half minutes before turning
off. The defogger
can also be turned
off by pressing the button again or by
turning
off the engine.
Notice: Don’t use a razor blade or something else
sharp on the inside of the rear window.
If you
do, you could cut or damage the defogger and the
repairs would not be covered by your warranty.
Do not attach a temporary vehicle license, tape, a
decal or anything similar to the defogger grid.
3-22
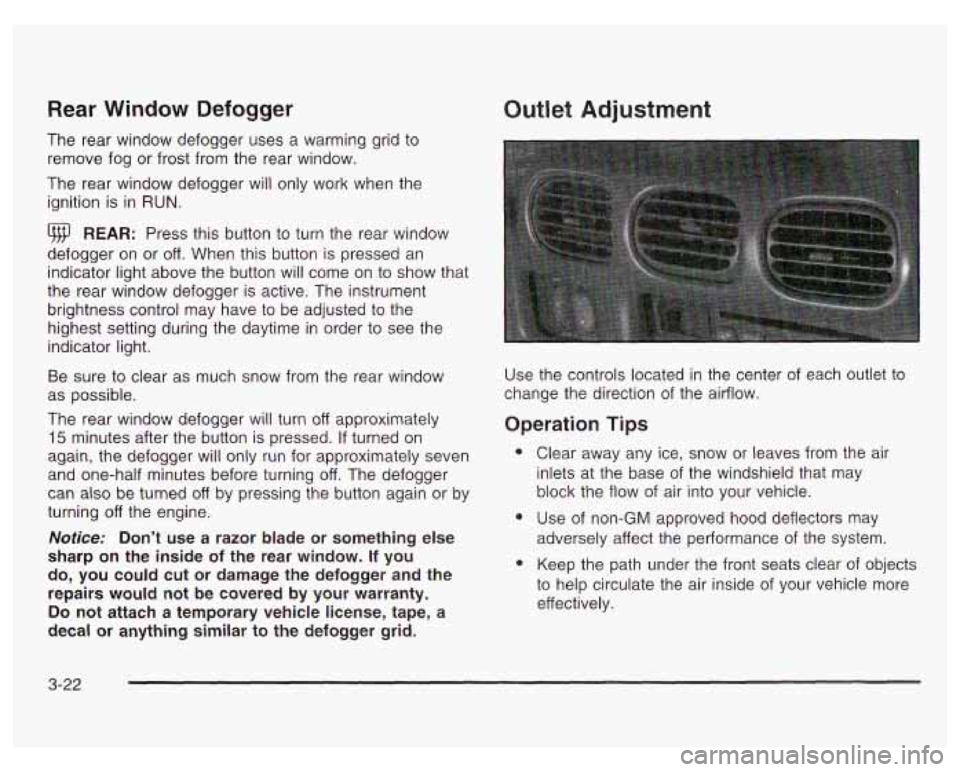
Outlet Adjustment
Use the controls located in the center of each outlet to
change the direction
of the airflow.
Operation Tips
e
e
Clear away any ice, snow or leaves from the air
inlets at the base of the windshield that may
block the flow of air into your vehicle.
Use of non-GM approved hood deflectors
may
adversely affect the performance of the system.
Keep the path under the front seats clear of objects
to help circulate the air inside
of your vehicle more
effectively.
Page 180 of 378
Cassettes are subject to wear and the sound quality
may degrade over time. Always make sure the cassette
tape is in good condition before you have your tape
player serviced.
Care of Your CDs
Handle discs carefully. Store them in their original cases
or other protective cases and away from direct sunlight
and dust.
If the surface of a disc is soiled, dampen
a clean, soft cloth in a mild, neutral detergent solution
and clean it, wiping from the center to the edge.
Be sure never to touch the side without writing when
handling discs. Pick up discs by grasping the outer
edges or the edge of the hole and the outer edge.
Care of Your CD Player
The use of CD lens cleaner discs is not advised, due to
the risk
of contaminating the lens of the CD optics
with lubricants internal to the CD mechanism.
Backglass Antenna
The AM-FM antenna is integrated with the rear window
defogger, located in the rear window. Be sure that
the inside surface of the rear window is not scratched
and that the lines on the glass are not damaged.
If the inside surface is damaged, it could interfere with
radio reception. Also, for proper radio reception,
the antenna connector at the top-center of the rear
window needs to be properly attached to the post on
the glass.
Notice; Do not try to clear frost or other material
from the inside of the rear window with a razor blade
or anything else that
is sharp. This may damage
the rear defogger grid and affect your radio’s ability
to pick up stations clearly. The repairs wouldn’t
be covered by your warranty.
Because this antenna is built into your rear window,
there is a reduced risk of damage caused by car washes
and vandals.
If you choose
to add a cellular telephone to your
vehicle, and the antenna needs to be attached
to the
glass, be sure that you do not damage the grid lines for
the AM-FM antenna. There is enough space between
the lines
to attach a cellular telephone antenna
without interfering with radio reception
Do not apply aftermarket glass tinting to the back glass.
The metallic film in some tinting materials will interfere
with or distort the incoming radio reception. Care
must be taken when cleaning the rear window because
it breaks in the resistive material heating element
and will adversely affect radio and defogger
performance. See your dealer for details.
3-59
Page 205 of 378
Once you are moving on the freeway, make certain you
allow a reasonable following distance.
Expect to move slightly slower at night.
When you want to leave the freeway, move to the
proper lane well in advance.
If you miss your exit, do
not, under any circumstances, stop and back up. Drive
on to the next exit.
The exit ramp can be curved, sometimes quite sharply.
The exit speed is usually posted. Reduce your speed
according to your speedometer, not to your sense
of motion. After driving for any distance at higher
speeds, you may tend to think you are going slower
than you actually are.
Before Leaving on a Long Trip
Make sure you’re ready. Try to be well rested. If you
must start when you’re not fresh
- such as after a day’s
work
- don’t plan to make too many miles that first
part of the journey. Wear comfortable clothing and shoes
you can easily drive in.
Is your vehicle ready for a long trip? If you keep it
serviced and maintained, it’s ready to
go. If it
needs service, have it done before starting out.
Of course, you’ll find experienced and able service
experts in dealerships all across North America. They’ll
be ready and willing to help
if you need it.
Here are some things you can check before a trip:
Windshield Washer Fluid:
Is the reservior full?
Are all windows clean inside and outside?
Wiper Blades: Are they in good shape?
Fuel, Engine Oil, Other Fluids: Have you checked
all levels?
Lamps: Are they all working? Are the lenses clean?
Tires: They are vitally important to a safe,
trouble-free trip.
Is the tread good enough for
long-distance driving? Are the tires all inflated to the
recommended pressure?
Weather Forecasts: What’s the weather outlook
along your route? Should you delay your trip a
short time to avoid a major storm system?
Maps:
Do you have up-to-date maps?
4-24
Page 212 of 378
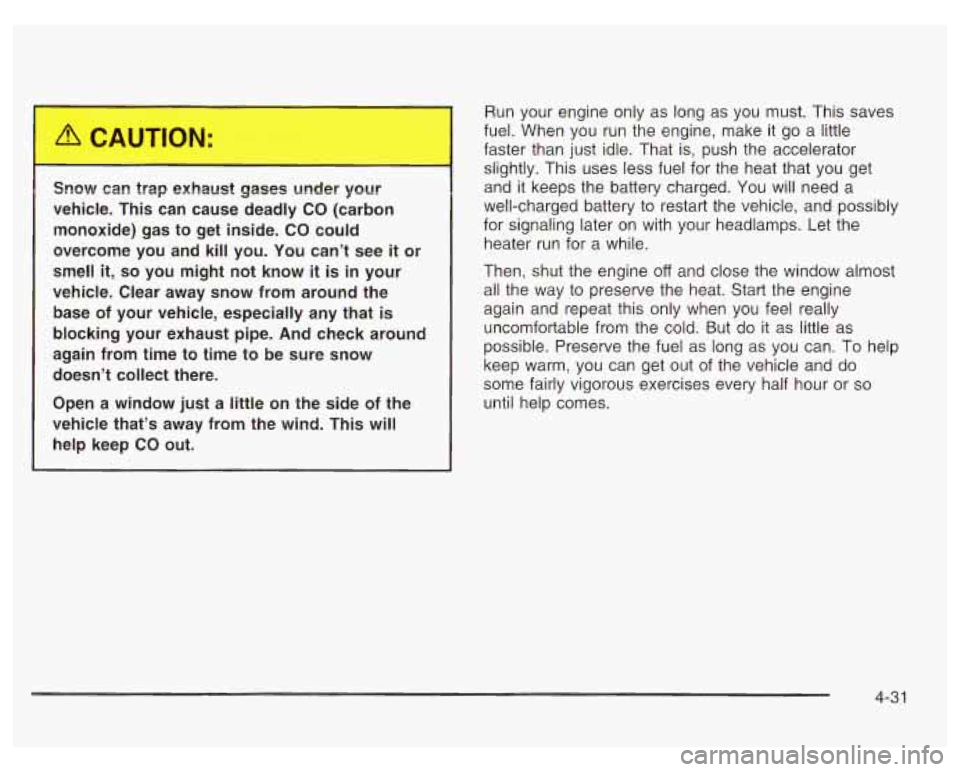
vehicle. This can cause deadly CO (carbon
monoxide) gas to get inside. CO could
overcome you and kill you. You can’t see
it or
smell
it, so you might not know it is in your
vehicle. Clear away snow from around the
base
of your vehicle, especially any that is
blocking your exhaust pipe. And check around
again from time to time to be sure snow
doesn’t collect there.
Open a window just a little on the side of the
vehicle that’s away from the wind. This will
help keep
CO out. I
Run your engine only as long as you must. This saves
fuel. When you run the engine, make it go a little
faster than just idle. That is, push the accelerator
slightly. This uses less fuel for the heat that you get
and it keeps the battery charged. You will need a
well-charged battery to restart the vehicle, and possibly
for signaling later on with your headlamps. Let the
heater run for a while.
Then, shut the engine
off and close the window almost
all the way to preserve the heat. Start the engine
again and repeat this only when you feel really
uncomfortable from the cold. But do it as little as
possible. Preserve the fuel as long as you can.
To help
keep warm, you can get out of the vehicle and do
some fairly vigorous exercises every half hour or
so
until help comes.
4-3 1