Page 212 of 378

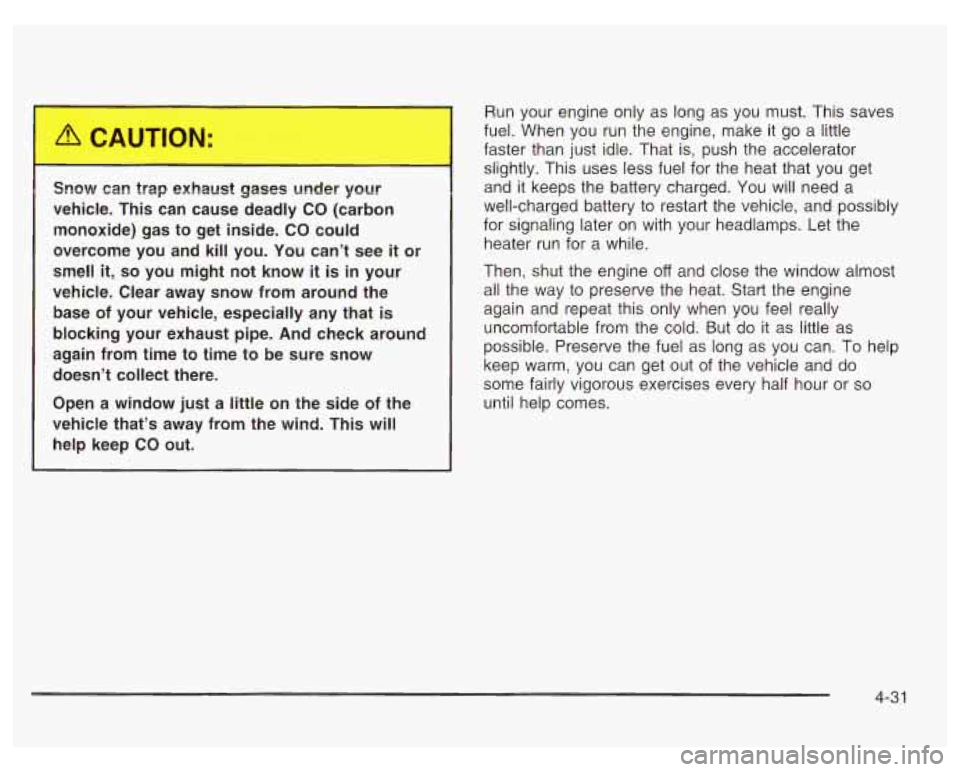
vehicle. This can cause deadly CO (carbon
monoxide) gas to get inside. CO could
overcome you and kill you. You can’t see
it or
smell
it, so you might not know it is in your
vehicle. Clear away snow from around the
base
of your vehicle, especially any that is
blocking your exhaust pipe. And check around
again from time to time to be sure snow
doesn’t collect there.
Open a window just a little on the side of the
vehicle that’s away from the wind. This will
help keep
CO out. I
Run your engine only as long as you must. This saves
fuel. When you run the engine, make it go a little
faster than just idle. That is, push the accelerator
slightly. This uses less fuel for the heat that you get
and it keeps the battery charged. You will need a
well-charged battery to restart the vehicle, and possibly
for signaling later on with your headlamps. Let the
heater run for a while.
Then, shut the engine
off and close the window almost
all the way to preserve the heat. Start the engine
again and repeat this only when you feel really
uncomfortable from the cold. But do it as little as
possible. Preserve the fuel as long as you can.
To help
keep warm, you can get out of the vehicle and do
some fairly vigorous exercises every half hour or
so
until help comes.
4-3 1
Page 226 of 378

Section 5 Service and Appearance Care
Service ............................................................ 5.3
Doing Your
Owr? Service Work ......................... 5-4
Adding Equipment to the Outside of
Your Vehicle
.............................................. 5-4
Fuel ................................................................ 5-5
Gasoline Octane
............................................ 5-5
Gasoline Specifications
.................................... 5-5
California Fuel
............................................... 5-6
Additives
....................................................... 5-6
Fuels in Foreign Countries
............................... 5-7
Filling Your Tank
............................................ 5-7
Filling a Portable Fuel Container
....................... 5-9
Checking Things Under the Hood .................... 5-10
Hood Release
.............................................. 5-10
Engine Compartment Overview
....................... 5-12
Engine Oil
................................................... 5-18
Supercharger Oil
.......................................... 5-24
Engine Air CleanedFilter
................................ 5-25
Automatic Transaxle Fluid
.............................. 5-27
Engine Coolant
............................................. 5-30
Radiator Pressure Cap
.................................. 5-33
Cooling System
........................................... -5-36
Power Steering Fluid
..................................... 5-46
Windshield Washer Fluid
................................ 5-48
Engine Overheating
....................................... 5-33 Brakes
........................................................ 5.49
Battery
........................................................ 5.52
Jump Starting
............................................... 5-53
Bulb Replacement .......................................... 5-60
Halogen Bulbs
.............................................. 5-60
Headlamps
.................................................. 5-60
Front Turn Signal and Sidemarker Lamps
........ 5-62
Center High-Mounted Stoplamp (CHMSL)
......... 5-63
Taillamps, Sidemarker and Back-up Lamps
...... 5-64
Replacement Bulbs
....................................... 5-66
Windshield Wiper Blade Replacement .............. 5-67
Tires ............................................................. -5-68
Inflation
-- Tire Pressure ................................ 5-68
Tire Inspection and Rotation
........................... 5-69
When It
Is Time for New Tires ....................... 5-70
Buying New Tires
......................................... 5-71
Uniform Tire Quality Grading
.......................... 5-72
Wheel Replacement
...................................... 5-73
Headlamp Aiming ........................................... 5-59
Wheel Alignment and Tire Balance
.................. 5-73
Tire Chains
.................................................. 5-75
If a Tire Goes Flat ........................................ 5-76
Changing a Flat Tire
..................................... 5-76
Compact Spare Tire
...................................... 5-87
5- 1
Page 227 of 378

Section 5 Service and Appearance Care
Appearance Care ............................................ 5.88
Cleaning the Inside of Your Vehicle ................. 5-88
Weatherstrips ............................................... 5-91
Sheet Metal Damage
..................................... 5-93
Finish Damage
............................................. 5-93
Underbody Maintenance
................................ 5-93
Chemical Paint Spotting
................................. 5-94
GM Vehicle CarelAppearance Materials
......... -5-94
Vehicle Identification ...................................... 5-96
Vehicle Identification Number (VIN)
................. 5-96
Service Parts Identification Label
..................... 5-96
Care
of Safety Belts
...................................... 5-91
Cleaning the Outside of Your Vehicle
.............. 5-91
Electrical System .................................... 5.97
Add-on Electrical Equipment
.......................... 5.97
Headlamp Wiring
......................................... 5-97
Windshield Wiper Fuses
................................ 5.97
Power Windows and Other Power Options
....... 5-97
Fuses and Circuit Breakers
........................... 5-97
Capacities and Specifications ........................ 5.102
Capacities and Specifications
........................ 5.102
Normal Maintenance Replacement Parts ......... 5.104
Normal Maintenance Replacement Parts
......... 5.104
5-2
Page 284 of 378
Headlamp Aiming
The aim of your vehicle’s headlamps can be adjusted
by using aim tips located on the outer surface of
the
lens. The aim has been pre-set at the factory and
should need
no further adjustment.
If your vehicle is damaged in an accident, the headlamp
aim may be affected. Aim adjustment to the
low beam
may be necessary
if it is difficult to see lane markers
(for horizontal aim), or
if oncoming drivers flash
their high beams at you (for vertical aim). If you believe
your headlamps need to be re-aimed, it
is recommended
that you take your vehicle to the dealer for assistance.
5-59
Page 285 of 378
Bulb Replacement
For the proper type of replacement bulb, see
Replacement
Bulbs on page 5-66.
For any bulb changing procedure not listed in this
section, contact your dealer.
Halogen Bulbs
Headlamps
1. Open the hood.
Halogen bulbs have pressurized gas inside
and can burst
if you drop or scratch the bulb.
You or others could be injured. Be sure to read
and
follow the instructions on the bulb
package.
2. Remove the two bolts from the top
of the
headlamp assembly.
5-60
Page 286 of 378
3. Carefully remove the headlamp assembly from the
vehicle. Be careful to avoid scratching or chipping
the paint
on the vehicle while removing.
4. Lift the plastic tab on the electrical connector and
pull the connector out.
5. Turn the lamp socket ring a quarter turn
counterclockwise to remove it from the headlamp
assembly. Pull the old bulb from the socket.
5-61
Page 287 of 378
Front Turn Signal and Sidemarker
6. Place the new bulb into the socket.
7. Turn the bulb socket one-quarter turn clockwise to
reinstall it.
8. Turn the lamp socket ring a quarter turn clockwise
to place it back into the headlamp assembly.
9. Lift the plastic tab on the electrical connector and
reinstall the connector.
10. Carefully reinstall the headlamp assembly. Be
careful to avoid scratching or chipping the paint
on the vehicle while reinstalling the assembly.
11. Reinstall the two bolts on the top of the headlamp
assembly.
Lamps
1. Open the hood.
2. Remove the two bolts from the top of the headlamp
assembly.
3. Remove the headlamp assembly from the vehicle.
Be careful to avoid scratching or chipping the paint
on the vehicle while removing
it.
counterclockwise to remove.
4. Turn the front sidemarker bulb socket a quarter turn
5-62
Page 288 of 378
5. Remove the old bulb from the socket.
6. Place the new bulb into the socket.
7. Turn the bulb socket a quarter turn clockwise to
8. Carefully reinstall the headlamp assembly. Be
reinstall
it.
careful to avoid scratching or chipping the paint
on the vehicle.
9. Reinstall the two bolts on the top of the headlamp
assembly.
Center High-Mounted Stoplamp
(CHMSL)
1. Open the trunk.
2. Reach through the access opening in the trunk
and remove the slotted vent by squeezing the
ends and pulling down.
5-63