Page 229 of 378
Doing Your Own Service Work
If you want to do some of your own service work, you’ll
want to use the proper service manual. It tells you
much more about how
to service your vehicle than this
manual can. To order the proper service manual,
see Service Publications Ordering information on
page 7-10.
Your vehicle has an air bag system. Before attempting
to do your own service work, see Servicing
Your Air
Bag-Equipped Vehicle on page 1-57.
You should keep a record with all parts receipts and list
the mileage and the date of any service work you
perform. See Part
E: Maintenance Record on page 6-16.
- --I can be jured and your v icle coul Be
damaged
if you try to do service work on a
vehicle without knowing enough about
it.
Be sure you have sufficient knowledge,
experience, the proper replacement parts and tools before you attempt any vehicle
maintenance task.
Be sure to use the proper nuts, bolts and
other fasteners. “English” and “metric”
fasteners can be easily confused. If
you
use the wrong fasteners, parts can later
break or fall off.
You could be hurt.
Adding Equipment to the Outside of
Your Vehicle
Things you might add to the outside of your vehicle can
affect the airflow around it. This may cause wind noise
and affect windshield washer performance. Check with
your dealer before adding equipment to the outside of
your vehicle.
5-4
Page 249 of 378
What to Do with Used Oil
Used engine oil contains certain elements that may be
unhealthy for your skin and could even cause cancer.
Don't let used oil stay on your skin for very long. Clean
your skin and nails with soap and water, or a good
hand cleaner. Wash or properly dispose of clothing or
rags containing used engine oil. See the manufacturer's
warnings about the use and disposal of oil products.
Used oil can be a threat to the environment. If you
change your own oil, be sure to drain all the oil from the
filter before disposal. Never dispose of oil by putting it
in the trash, pouring it on the ground, into sewers, or into
streams or bodies of water. Instead, recycle it by
taking
it to a place that collects used oil. If you have a
problem properly disposing of your used oil, ask
your dealer, a service station or a local recycling
center for help.
Supercharger Oil
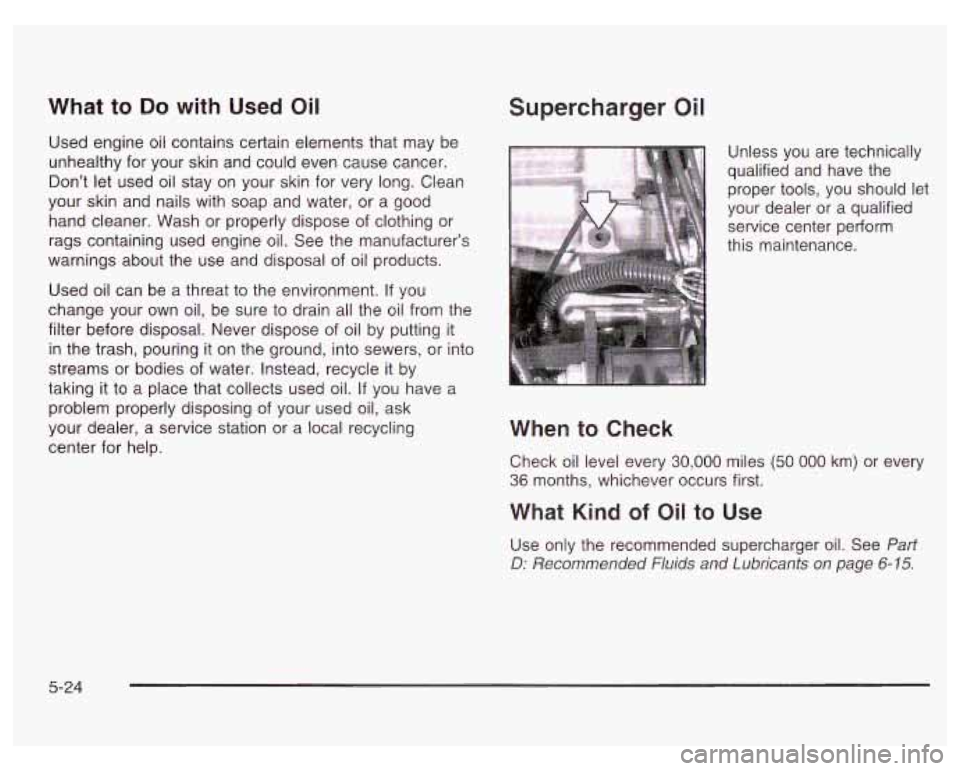
Unless you are technically
qualified and have the
proper tools, you should let
your dealer or a qualified
service center perform
this maintenance.
When to Check
Check oil level every 30,000 miles (50 000 km) or every
36 months, whichever occurs first.
What Kind of Oil to Use
Use only the recommended supercharger oil. See Part
D: Recommended Fluids and Lubricants on page 6-15.
5-24
Page 251 of 378

3. Pull out the filter.
4. Check or install a new engine air cleanerbiker. See
Normal Maintenance Replacement Parts on
page
5- 104.
5. To reinstall the cover, position the tabs through the
slots on the housing.
A notch on the sides of the
filter cover will indicate the correct engagement.
Reinstall the two clips on the top of the housing
when you are finished.
Refer to the Maintenance Schedule to determine when
to replace the air filter.
See Part A: Scheduled Maintenance Services on
page
6-4.
Operating t--. engine with the air cleaner/filter
off can cause you or others to be burned. The
air cleaner not only cleans the air,
it stops
flame if the engine backfires. If
it isn’t there
and the engine backfires, you could be burned. Don’t drive with
it off, and be careful working
on the engine with the air cleanedfilter
off.
Nofice: If the air cleaner/filter is off, a backfire can
cause a damaging engine fire. And, dirt can easily get
into your engine, which will damage
it. Always have
the air cleanedfilter in place when you’re driving.
5-26
Page 252 of 378
Automatic Transaxle Fluid
When to Check and Change
A good time to check your automatic transaxle fluid
level is when the engine oil is changed.
Change both the fluid and filter every 50,000 miles
(83
000 km) if the vehicle is mainly driven under one or
more of these conditions:
In heavy city traffic where the outside temperature
0 In hilly or mountainous terrain.
0 When doing frequent trailer towing.
0 Uses such as found in taxi, police or delivery service.
regularly reaches
90°F (32°C)
or higher.
If you do not use your vehicle under any of these
conditions, change the fluid and filter at
100,000 miles (166 000 km).
See Part
A: Scheduled Maintenance Services on
page
6-4.
How to Cheek
Because this operation can be a little difficult, you may
choose to have this done at the dealership service
department.
If you do it yourself, be sure to follow all the instructions
here, or you could get a false reading on the dipstick.
Nofice: Too much or too little fluid can damage
your transaxle.
Too much can mean that some of the
fluid could come out and fall on hot engine or
exhaust system parts, starting a fire.
Too little fluid
could cause the transaxle to overheat. Be sure
to get an accurate reading
if you check your
transaxle fluid.
Wait at least 30 minutes before checking the transaxle
fluid level
if you have been driving:
When outside temperatures are above
90°F (32°C).
At high speed for quite a while.
In heavy traffic
- especially in hot weather.
While pulling a trailer.
5-27
Page 254 of 378
3100 V6 Engine
3.
4.
3800 V6 or 3800 V6 Supercharged Engine
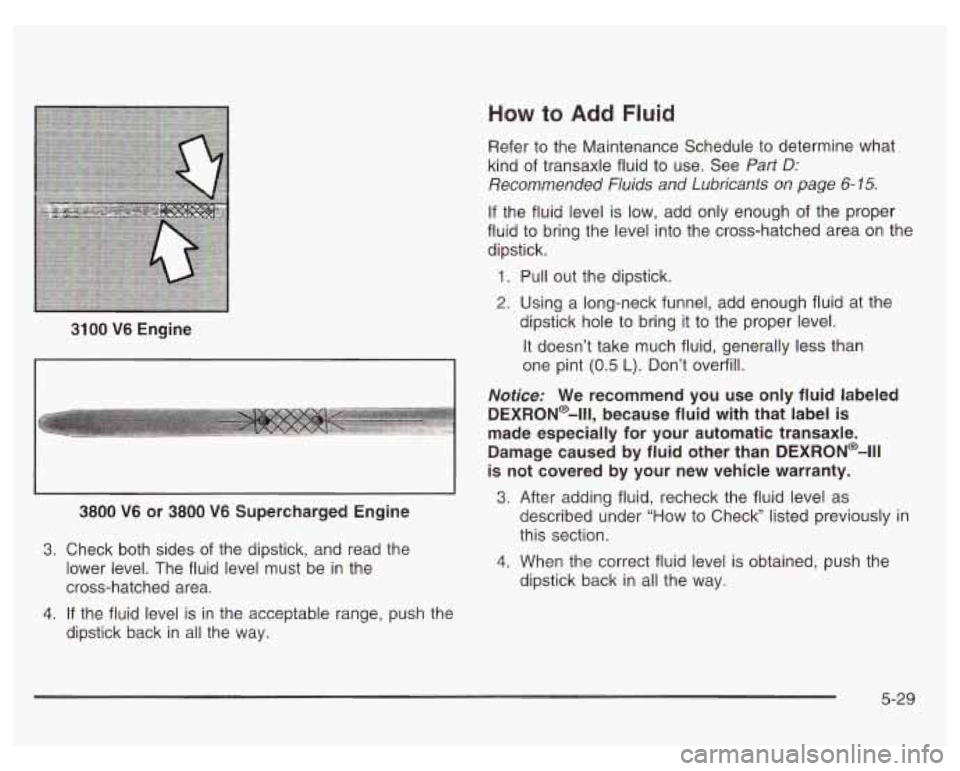
Check both sides of the dipstick, and read the
lower level. The fluid level must be in the
cross-hatched area.
If the fluid level is in the acceptable range, push the
dipstick back in all the way.
How to Add Fluid
Refer to the Maintenance Schedule to determine what
kind of transaxle fluid to use. See Part
D:
Recommended Fluids and Lubricants on page 6-15.
If the fluid level is low, add only enough of the proper
fluid to bring the level into the cross-hatched area on the
dipstick.
1. Pull out the dipstick.
2. Using a long-neck funnel, add enough fluid at the
dipstick hole to bring it to the proper level.
It doesn’t take much fluid, generally less than
one pint
(0.5 L). Don’t overfill.
Notice: We recommend you use only fluid labeled
DEXRON@-Ill, because fluid with that label is
made especially for your automatic transaxle.
Damage caused by fluid other than DEXRON@-Ill
is not covered by your new vehicle warranty.
3.
4.
After adding fluid, recheck the fluid level as
described under “How to Check” listed previously in
this section.
When the correct fluid level is obtained, push the
dipstick back in all the way.
5-29
Page 277 of 378
Replacing Brake System Parts
The braking system on a vehicle is complex. Its many
parts have to be of top quality and work well together
if
the vehicle is to have really good braking. Your
vehicle was designed and tested with top-quality
GM
brake parts. When you replace parts of your braking
system
- for example, when your brake linings
wear down and you need new ones put in
- be sure
you get new approved
GM replacement parts. If
you don’t, your brakes may no longer work properly.
For example,
if someone puts in brake linings that are
wrong for your vehicle, the balance between your
front and rear brakes can change
- for the worse.
The braking performance you’ve come to expect can
change in many other ways
if someone puts in the
wrong replacement brake parts.
Battery
Your new vehicle comes with a maintenance free
ACDelco@ battery. When it’s time for a new battery, get
one that has the replacement number shown on the
original battery’s label. We recommend an ACDelco@
battery. See Engine Compartment Overview on
page
5- 12 for battery location.
Warning: Battery posts, terminals and related
accessories contain lead and lead compounds,
chemicals known to the State of California to cause
cancer and reproductive harm. Wash hands after
handling.
If your battery has a very low charge or is dead, you
may not be able to remove the ignition key from
the ignition switch or shift out of Park (P). Refer to
Shifting Out of Park
(P) on page 2-30.
5-52
Page 292 of 378
Windshield Wiper Blade Replacement
Windshield wiper blades should be inspected at least
twice a year for wear or cracking. See “Wiper Blade
Check” under
At Least Twice a Year on page 6-10 for
more information.
To remove the wiper blade do the following:
Replacement blades come in different types and are
removed in different ways. For the proper type and
length, see Normal Maintenance Replacement Parts on
page
5- 104.
1. Pull the windshield wiper arm away from the
2. Push the release lever and slide the wiper assembly
3. Install a new blade by reversing Steps 1 and 2.
windshield.
toward the driver’s side of the vehicle.
5-67
Page 294 of 378

Bad wear
0 Bad handling
Bad fuel economy
If your tires have too much air (overinflation),
you can get the following:
Unusual wear
Bad handling
Rough ride
Needless damage from road hazards
When to Check
Check your tires once a month or more.
Don’t forget your compact spare tire. It should be
at
60 psi (420 kPa).
How to Check
Use a good quality pocket-type gage to check tire
pressure. You can’t tell
if your tires are properly inflated
simply by looking at them. Radial tires may look
properly inflated even when they’re underinflated.
Be sure to put the valve caps back on the valve stems.
They help prevent leaks by keeping out dirt and
moisture.
Tire Inspection and Rotation
Tires should be rotated every 7,500 miles (1 2 500 km).
Any time you notice unusual wear, rotate your tires
as soon as possible and check wheel alignment.
Also
check for damaged tires or wheels. See When It Is Time
for New Tires on page
5-70 and Wheel Replacement
on page 5-73 for more information.
The purpose of regular rotation is to achieve more
uniform wear for all tires on the vehicle. The first rotation
is the most important. See “Part A: Scheduled
Maintenance Services,’’ in Section
6, for scheduled
rotation intervals.
1
When rotating your tires, always use the correct rotation
pattern shown here.
5-69