2003 PONTIAC GRAND PRIX hood open
[x] Cancel search: hood openPage 279 of 378

Notice: If the other system isn’t a 12-volt system
with a negative ground, both vehicles can be
damaged.
1. Check the other vehicle. It must have a 12-volt
battery with a negative ground system.
2. Get the vehicles close enough so the jumper cables
can reach, but be sure the vehicles aren’t touching
each other. If they are, it could cause a ground
connection you don’t want. You wouldn’t be able to
start your vehicle, and the bad grounding could
damage the electrical systems.
To avoid the possibility of the vehicles rolling, set
the parking brake firmly on both vehicles involved in
the jump start procedure. Put an automatic
transaxle in PARK
(P) or a manual transaxle in
NEUTRAL before setting the parking brake.
Notice: If you leave your radio on, it could be badly
damaged. The repairs wouldn’t be covered by
your warranty.
3. Turn off the ignition on both vehicles. Unplug
unnecessary accessories plugged into the cigarette
lighter or in the accessory power outlet. Turn
off
the radio and all lamps that aren’t needed. This will
avoid sparks and help save both batteries. And it
could save your radio!
4. Open the hoods and locate the batteries. Find the
positive
(+) and negative (-) terminal locations on
each vehicle. You will not need to access your
battery for jump starting. Your vehicle has
a remote
positive
(+) jump starting terminal for that purpose.
The terminal is located in the engine compartment
on the passenger’s side of the vehicle, near
the diagonal cross brace. See Engine Compartment
Ovewiew
on page 5-72 for more information on
location.
5-54
Page 285 of 378

Bulb Replacement
For the proper type of replacement bulb, see
Replacement
Bulbs on page 5-66.
For any bulb changing procedure not listed in this
section, contact your dealer.
Halogen Bulbs
Headlamps
1. Open the hood.
Halogen bulbs have pressurized gas inside
and can burst
if you drop or scratch the bulb.
You or others could be injured. Be sure to read
and
follow the instructions on the bulb
package.
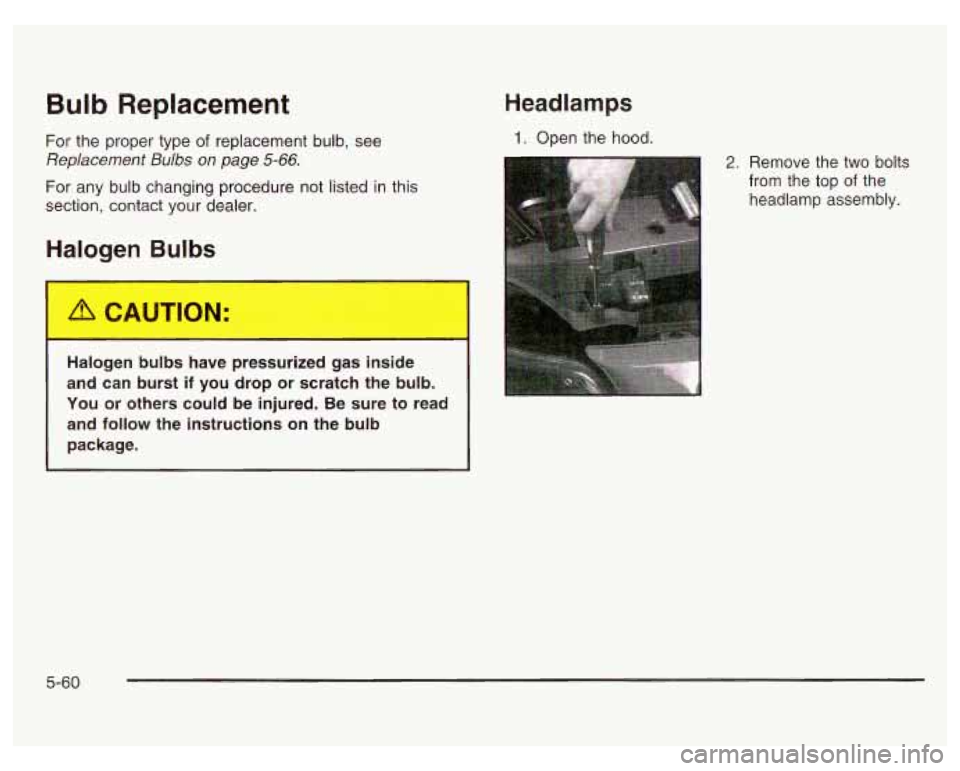
2. Remove the two bolts from the top
of the
headlamp assembly.
5-60
Page 287 of 378

Front Turn Signal and Sidemarker
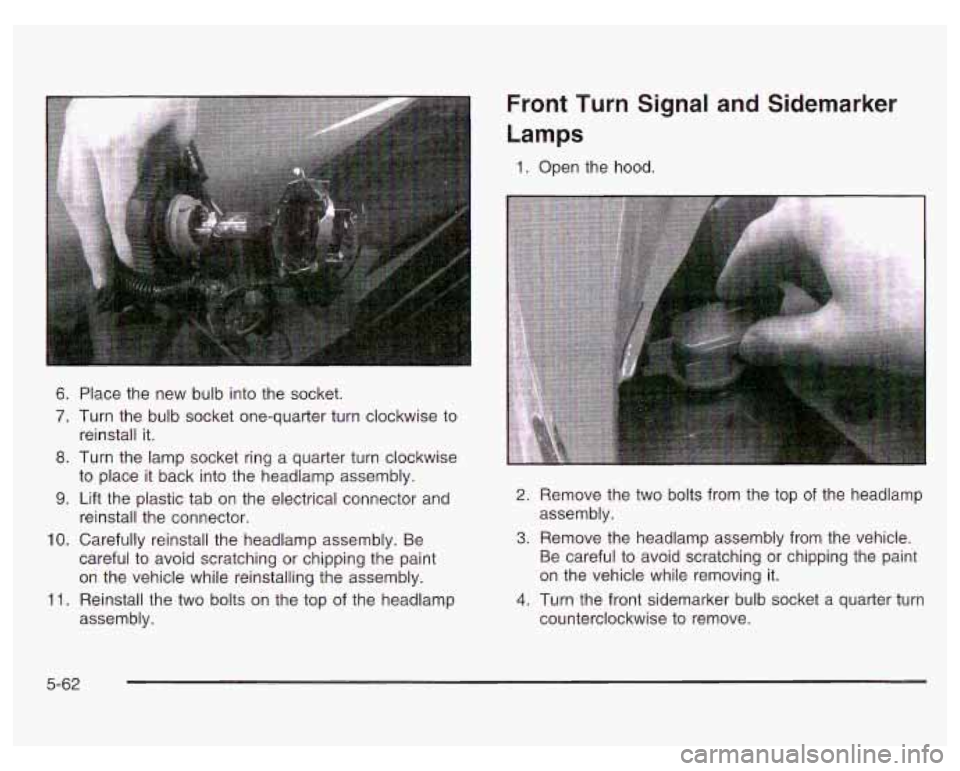
6. Place the new bulb into the socket.
7. Turn the bulb socket one-quarter turn clockwise to
reinstall it.
8. Turn the lamp socket ring a quarter turn clockwise
to place it back into the headlamp assembly.
9. Lift the plastic tab on the electrical connector and
reinstall the connector.
10. Carefully reinstall the headlamp assembly. Be
careful to avoid scratching or chipping the paint
on the vehicle while reinstalling the assembly.
11. Reinstall the two bolts on the top of the headlamp
assembly.
Lamps
1. Open the hood.
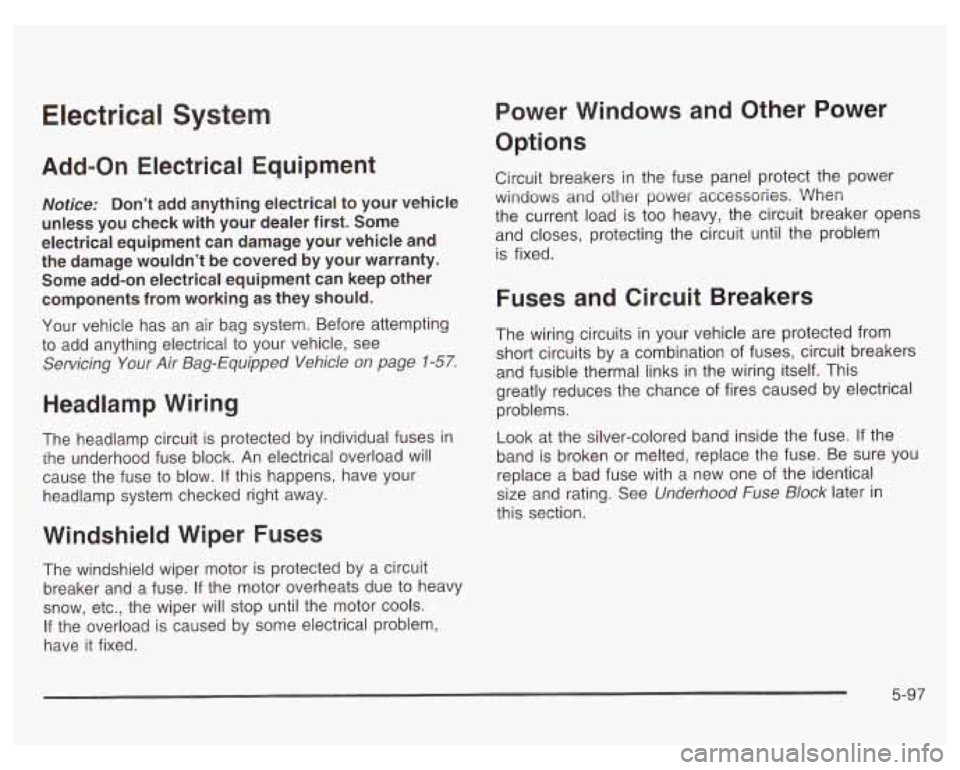
2. Remove the two bolts from the top of the headlamp
assembly.
3. Remove the headlamp assembly from the vehicle.
Be careful to avoid scratching or chipping the paint
on the vehicle while removing
it.
counterclockwise to remove.
4. Turn the front sidemarker bulb socket a quarter turn
5-62
Page 322 of 378

Electrical System
Add-on Electrical Equipment
Notice: Don’t add anything electrical to your vehicle
unless you check with your dealer first. Some
electrical equipment can damage your vehicle and
the damage wouldn’t be covered by your warranty.
Some add-on electrical equipment can keep other
components from working as they should.
Your vehicle has an air bag system. Before attempting
to add anything electrical to your vehicle, see
Servicing Your Air Bag-Equipped Vehicle on page
1-57.
Headlamp Wiring
The headlamp circuit is protected by individual fuses in
the underhood fuse block. An electrical overload will
cause the fuse to blow. If this happens, have your
headlamp system checked right away.
Windshield Wiper Fuses
The windshield wiper motor is protected by a circuit
breaker and
a fuse. If the motor overheats due to heavy
snow, etc., the wiper will stop until the motor cools.
If the overload is caused by some electrical problem,
have it fixed.
Power Windows and Other Power
Options
Circuit breakers in the fuse panel protect the power
windows
and other power accessories. When
the current load is too heavy, the circuit breaker opens
and closes, protecting the circuit until the problem
is fixed.
Fuses and Circuit Breakers
The wiring circuits in your vehicle are protected from
short circuits by a combination of fuses, circuit breakers
and fusible thermal links in the wiring itself. This
greatly reduces the chance of fires caused by electrical
problems.
Look at the silver-colored band inside the fuse. If the
band is broken or melted, replace the fuse. Be sure you
replace a bad fuse with a new one of the identical
size and rating. See Underhood Fuse Block later in
this section.
5-97
Page 339 of 378

At Least Twice a Year
Restraint System Check
Make sure the safety belt reminder light and all your belts,
buckles, latch plates, retractors and anchorages are
working properly. Look for any other loose or damaged
safety belt system parts. If you see anything that might
keep a safety belt system from doing its job, have it
repaired. Have any torn or frayed safety belts replaced.
Also look for any opened or broken air bag coverings,
and have them repaired or replaced. (The air bag
system does not need regular maintenance.)
Wiper Blade Check
Inspect wiper blades for wear or cracking. Replace
blade inserts that appear worn or damaged or that
streak or miss areas of the windshield.
Also see
“Windshield Wiper and Wiper Blades” under Cleaning
the Outside
of Your Vehicle on page 5-9 1.
Weatherstrip Lubrication
Silicone grease on weatherstrips will make them last
longer, seal better, and not stick or squeak. Apply
silicone grease with a clean cloth. During very cold, damp weather more frequent
application may be
required. See Part
D: Recommended Fluids and
Lubricants on page
6- 15.
Automatic Transaxle Check
Check the transaxle fluid level; add if needed. See
Automatic Transaxle Fluid on page
5-27. A fluid loss
may indicate a problem. Check the system and repair
if needed.
At Least Once a Year
Key Lock Cylinders Service
Lubricate the key lock cylinders with the lubricant
specified in Part D.
Body Lubrication Service
Lubricate all hood hinges, hood latch assembly,
secondary latch, pivots, spring anchor, release pawl,
door hinges, rear compartment, glove box door, console
door and any folding seat hardware. Part D tells you
what to use. More frequent lubrication may be required
when exposed to a corrosive environment.
6-1 0
Page 365 of 378

Fuel (cont.)
Gasoline Specifications
................
Low Warning Light ........ , ....
System Inspection .............
Functions ......................................
Fuses
Fuses and Circuit Breakers
....
Windshield Wiper ..............
.........
..........
..........
...........
........
...... 5-5
..... 3-37
..... 6-13
..... 3-39
..... 5-97
..... 5-97
G
Gage
Engine Coolant Temperature
......................... 3-31
Fuel
.......................................................... 3-37
Speedometer
.............................................. 3-25
Tachometer
................................................. 3-25
Garage Door Opener Compartment
................... 2-40
Gasoline Octane
........................................................ 5-5
Specifications ............................................... 5-5
Glass Surfaces
............................................... 5-90
Glove Box ..................................................... 2-40
GM Mobility Program for Persons with
Disabilities
................................... .. 7-5
Hazard Warning Flashers
................................... 3-3
Head Restraints
............................................... 1-6 Headlamp
Aiming
....................................................... 5-59
Headlamp Wiring
............................................ 5-97
Headlamps
.................................................... 5-60
Bulb Replacement
....................................... 5-60
Front Turn Signal and Sidemarker Lamps
....... 5-62
Halogen Bulbs
............................................ 5-60
Head-Up Display (HUD)
................................... 3-15
Heated Seats
................................................... 1-4
Highway Hypnosis
........................................... 4-25
Hill and Mountain Roads
.................................. 4-25
Hitches
.......................................................... 4-40
Hood Checking Things Under
................................ 5-10
Release
..................................................... 5-10
Horn
............................................................... 3-4
How to Add Coolant
to the Coolant
Recovery Tank
............................................ 5-38
How to Add Coolant
to the Radiator .................. 5-41
How to Add Fluid
............................................ 5-29
How to Check
........................................ 5-27, 5-69
How to Check and Add Oil
............................... 5-25
How to Check Power Steering Fluid .................. 5-47
How to Use This Manual ...................................... ii
How to Wear Safety Belts Properly ................... 1-12
Headlamp High/Low-Beam Changer
.................... 3-6
Hydroplaning
.................................................. 4-20
6