2003 PONTIAC GRAND PRIX Battery
[x] Cancel search: BatteryPage 139 of 378
If You Can’t See the HUD Image When
the Ignition
Is On
Is anything covering the HUD unit?
Is the HUD dimmer setting bright enough?
Is the HUD image adjusted to the proper height?
Still no HUD image? Check the fuse in the
instrument panel fuse block. See Fuses and
Circuit
Breakers on page 5-97.
If the HUD Image Is Not Clear
Is the HUD image too bright?
Are the windshield and HUD lens clean?
The windshield is part of the HUD system.
If you ever
need a new windshield, be sure to get one designed for
HUD.
If you don’t, the HUD image may look blurred
and out of focus.
Accessory Power Outlets
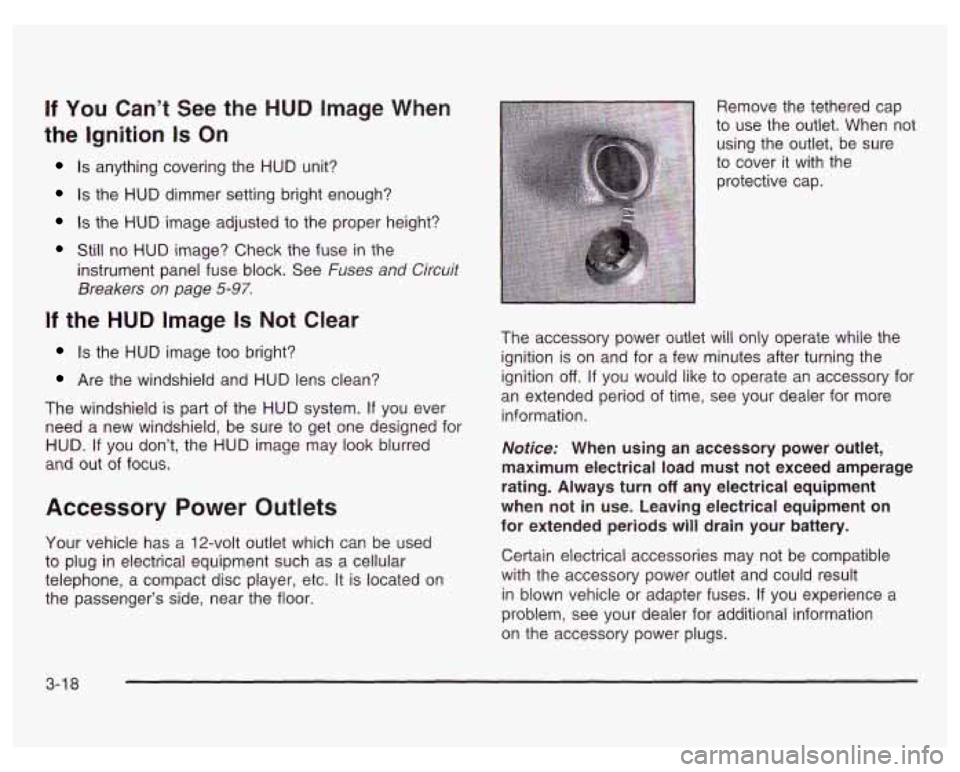
Your vehicle has a 12-volt outlet which can be used
to plug in electrical equipment such as a cellular
telephone, a compact disc player, etc. It is located on
the passenger’s side, near the floor. Remove the tethered cap
to use the outlet. When not
using the outlet, be sure
to cover it with the
protective cap.
The accessory power outlet will only operate while the
ignition is on and for a few minutes after turning the
ignition
off. If you would like to operate an accessory for
an extended period of time, see your dealer for more
information.
Notice: When using an accessory power outlet,
maximum electrical load must not exceed amperage
rating. Always turn
off any electrical equipment
when not in use. Leaving electrical equipment on
for extended periods will drain your battery.
Certain electrical accessories may not be compatible
with the accessory power outlet and could result
in blown vehicle or adapter fuses.
If you experience a
problem, see your dealer for additional information
on the accessory power plugs.
3-1 8
Page 148 of 378
If the air bag readiness light stays on after you start the
vehicle or comes on when you are driving, your air
bag system may not work properly. Have your vehicle
serviced right away.
If the air bag reai.---less light
s 1s on after you
start your vehicle,
it means the air bag system
may not be working properly. The air bags
in
your vehicle may not inflate in a crash, or they
could even inflate without a crash. To help
avoid injury to yourself or others, have your
vehicle serviced right away if the air bag readiness light stays on after you start
your vehicle.
The air bag readiness light should flash for a few
seconds when you turn the ignition key to
RUN. If the
light doesn’t come on then, have
it fixed so it will
be ready to warn you
if there is a problem.
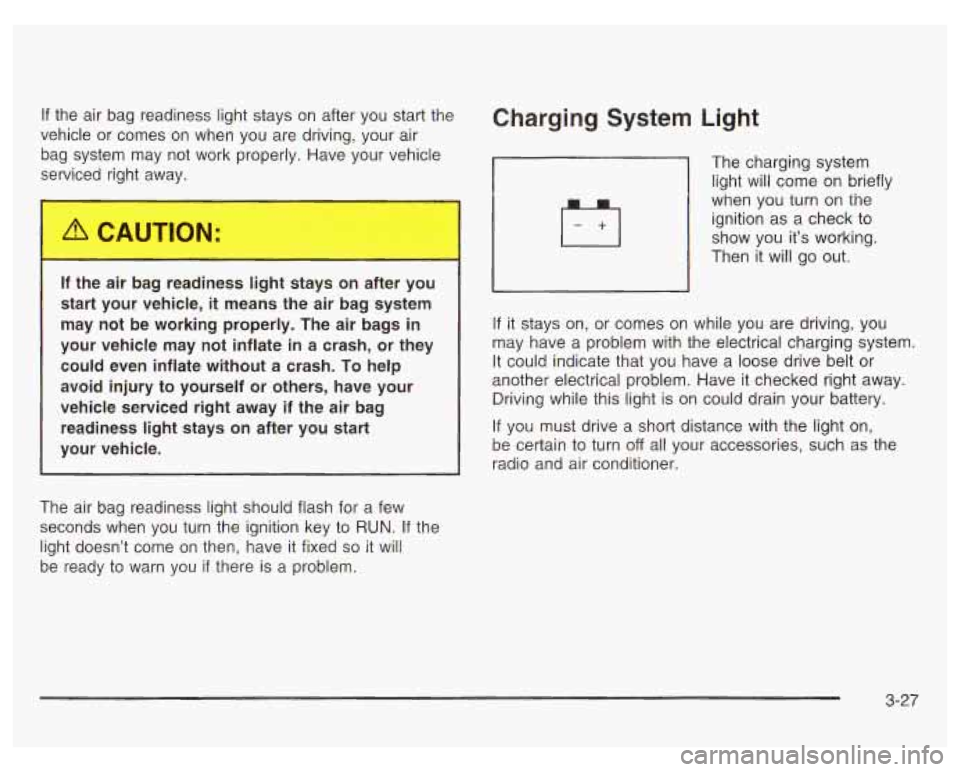
Charging System Light
The
charging system
light will come on briefly
when you turn on the
ignition as a check to
show you it’s working.
Then it will go out.
If it stays on, or comes on while you are driving, you
may have a problem with the electrical charging system.
It could indicate that you have a loose drive belt or
another electrical problem. Have
it checked right away.
Driving while this light is on could drain your battery.
If you must drive a short distance with the light on,
be certain to turn
off all your accessories, such as the
radio and air conditioner.
3-27
Page 155 of 378
Are you low on fuel?
As your engine starts to run out of fuel, your engine
may not run as efficiently as designed since small
amounts of air are sucked into the fuel line causing
misfire. The system can detect this. Adding fuel should
correct this condition. Make sure to install the fuel
cap properly. See filling
Your Tank on page 5-7. It will
take a few driving trips to turn the light
off.
Have you recently changed brands of fuel?
If
so, be sure to fuel your vehicle with quality fuel. See
Gasoline Ocfane on page
5-5. Poor fuel quality will
cause your engine not to run as efficiently as designed.
You may notice this as stalling after start-up, stalling
when you put the vehicle into gear, misfiring, hesitation
on acceleration or stumbling on acceleration. (These
conditions may go away once the engine is warmed up.)
This will be detected by the system and cause the
light to turn on.
If you experience one or more of these conditions,
change the fuel brand you use. It will require at least
one full tank of the proper fuel to turn the light off.
If none of the above steps have made the light turn
off,
have your dealer or qualified service center check
the vehicle. Your dealer has the proper test equipment
and diagnostic tools to fix any mechanical or electrical
problems that may have developed.
Emissions Inspection and Maintenance
Programs
Some state/provincial and local governments have or
may begin programs to inspect the emission control
equipment on your vehicle. Failure to pass this
inspection could prevent you from getting a vehicle
registration.
Here are some things you need to know to help your
vehicle pass an inspection:
Your vehicle will not pass this inspection
if the SERVICE
ENGINE SOON or CHECK ENGINE light is on or not
working properly.
Your vehicle will not pass this inspection
if the OBD
(on-board diagnostic) system determines that critical
emission control systems have not been completely
diagnosed by the system. The vehicle would be
considered not ready for inspection. This can happen
if
you have recently replaced your battery or if your
battery has run down. The diagnostic system is
designed to evaluate critical emission control systems
during normal driving. This may take several days
of routine driving.
If you have done this and your vehicle
still does not pass the inspection for lack of
OBD
system readiness, see your dealer or qualified service
center to prepare the vehicle for inspection.
3-34
Page 175 of 378
CD/PLAY: Press this button to play a CD when
listening to the radio.
EJECT: Press this button to stop a CD when it is
playing or to remove a CD when it is not playing.
The EJECT button will work with the radio
off.
Compact Disc Messages
E (Error): If this message and a number appears on
the radio display or
if the disc comes out, it could be for
one of the following reasons:
You’re driving on a very rough road. When the road
becomes smoother, the disc should play.
It’s very hot. When the temperature returns to
normal, the disc should play.
The disc is dirty, scratched, wet or upside down.
The air is very humid. If so, wait about an hour and
try again.
If the CD is not playing correctly, for any other reason,
try a known good
CD.
If any error occurs repeatedly or if an error can’t be
corrected, contact your dealer.
If your radio displays an
error number, write it down and provide it to your
dealer when reporting the problem.
Theft-Deterrent Feature
THEFTLOCK@ is designed to discourage theft of your
radio. It works by using a secret code to disable all radio
functions whenever battery power is interrupted.
The THEFTLOCK feature for the radio may be used or
ignored.
If ignored, the system plays normally and
the radio is not protected by the feature. If THEFTLOCK
is activated, your radio will not operate
if stolen.
When THEFTLOCK is activated, the radio will display
LOC to indicate a locked condition anytime battery
power is removed. If your battery loses power for any
reason, you must unlock the radio with the secret
code before it will operate.
Activating the Theft-Deterrent Feature
The instructions which follow explain how to enter
your secret code to activate the THEFTLOCK system.
Read through all nine steps before starting the
procedure.
If you allow more than 15 seconds to elapse between
any steps, the radio automatically reverts to time
and you must start the procedure over at Step 4.
1. Write down any three or four-digit number from 000
to 1999 and keep it in a safe place separate from
the vehicle.
3-54
Page 177 of 378
Disabling the Theft-Deterrent Feature
Enter your secret code as follows; pause no more than
15 seconds between steps:
1. Turn the ignition on.
2. Turn the radio off.
3. Press the 1 and 4 pushbuttons at the same time.
Hold them down until
SEC shows on the display.
4. Press MIN and 000 will appear on the display.
5. Press MIN again to make the last two digits agree
with your code.
6. Press HR to make the first one or two digits agree
with your code.
7. Press AM/FM after you have confirmed that the
code matches the secret code you have written
down. The display will show
---, indicating that the
radio is no longer secured.
If the code entered is incorrect,
SEC will appear on the
display. The radio will remain secured until the correct
code is entered.
When battery power is removed and later applied to
a
secured radio, the radio won’t turn on and LOC will
appear on the display.
To unlock a secured radio, see “Unlocking the
Theft-Deterrent Feature After a Power
Loss” earlier in
this section.
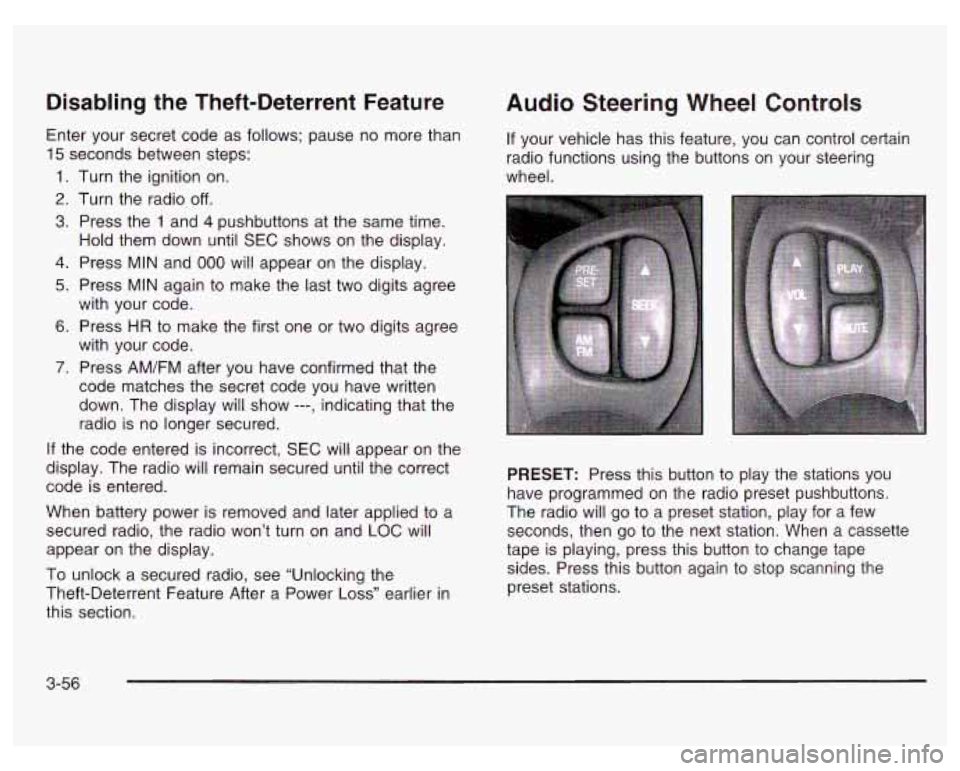
Audio Steering Wheel Controls
If your vehicle has this feature, you can control certain
radio functions using the buttons on your steering
wheel.
PRESET: Press this button to play the stations you
have programmed on the radio preset pushbuttons.
The radio will go to a preset station, play for a few
seconds, then go to the next station. When a cassette
tape is playing, press this button to change tape
sides. Press this button again to stop scanning the
preset stations.
3-56
Page 212 of 378
vehicle. This can cause deadly CO (carbon
monoxide) gas to get inside. CO could
overcome you and kill you. You can’t see
it or
smell
it, so you might not know it is in your
vehicle. Clear away snow from around the
base
of your vehicle, especially any that is
blocking your exhaust pipe. And check around
again from time to time to be sure snow
doesn’t collect there.
Open a window just a little on the side of the
vehicle that’s away from the wind. This will
help keep
CO out. I
Run your engine only as long as you must. This saves
fuel. When you run the engine, make it go a little
faster than just idle. That is, push the accelerator
slightly. This uses less fuel for the heat that you get
and it keeps the battery charged. You will need a
well-charged battery to restart the vehicle, and possibly
for signaling later on with your headlamps. Let the
heater run for a while.
Then, shut the engine
off and close the window almost
all the way to preserve the heat. Start the engine
again and repeat this only when you feel really
uncomfortable from the cold. But do it as little as
possible. Preserve the fuel as long as you can.
To help
keep warm, you can get out of the vehicle and do
some fairly vigorous exercises every half hour or
so
until help comes.
4-3 1
Page 226 of 378

Section 5 Service and Appearance Care
Service ............................................................ 5.3
Doing Your
Owr? Service Work ......................... 5-4
Adding Equipment to the Outside of
Your Vehicle
.............................................. 5-4
Fuel ................................................................ 5-5
Gasoline Octane
............................................ 5-5
Gasoline Specifications
.................................... 5-5
California Fuel
............................................... 5-6
Additives
....................................................... 5-6
Fuels in Foreign Countries
............................... 5-7
Filling Your Tank
............................................ 5-7
Filling a Portable Fuel Container
....................... 5-9
Checking Things Under the Hood .................... 5-10
Hood Release
.............................................. 5-10
Engine Compartment Overview
....................... 5-12
Engine Oil
................................................... 5-18
Supercharger Oil
.......................................... 5-24
Engine Air CleanedFilter
................................ 5-25
Automatic Transaxle Fluid
.............................. 5-27
Engine Coolant
............................................. 5-30
Radiator Pressure Cap
.................................. 5-33
Cooling System
........................................... -5-36
Power Steering Fluid
..................................... 5-46
Windshield Washer Fluid
................................ 5-48
Engine Overheating
....................................... 5-33 Brakes
........................................................ 5.49
Battery
........................................................ 5.52
Jump Starting
............................................... 5-53
Bulb Replacement .......................................... 5-60
Halogen Bulbs
.............................................. 5-60
Headlamps
.................................................. 5-60
Front Turn Signal and Sidemarker Lamps
........ 5-62
Center High-Mounted Stoplamp (CHMSL)
......... 5-63
Taillamps, Sidemarker and Back-up Lamps
...... 5-64
Replacement Bulbs
....................................... 5-66
Windshield Wiper Blade Replacement .............. 5-67
Tires ............................................................. -5-68
Inflation
-- Tire Pressure ................................ 5-68
Tire Inspection and Rotation
........................... 5-69
When It
Is Time for New Tires ....................... 5-70
Buying New Tires
......................................... 5-71
Uniform Tire Quality Grading
.......................... 5-72
Wheel Replacement
...................................... 5-73
Headlamp Aiming ........................................... 5-59
Wheel Alignment and Tire Balance
.................. 5-73
Tire Chains
.................................................. 5-75
If a Tire Goes Flat ........................................ 5-76
Changing a Flat Tire
..................................... 5-76
Compact Spare Tire
...................................... 5-87
5- 1
Page 238 of 378
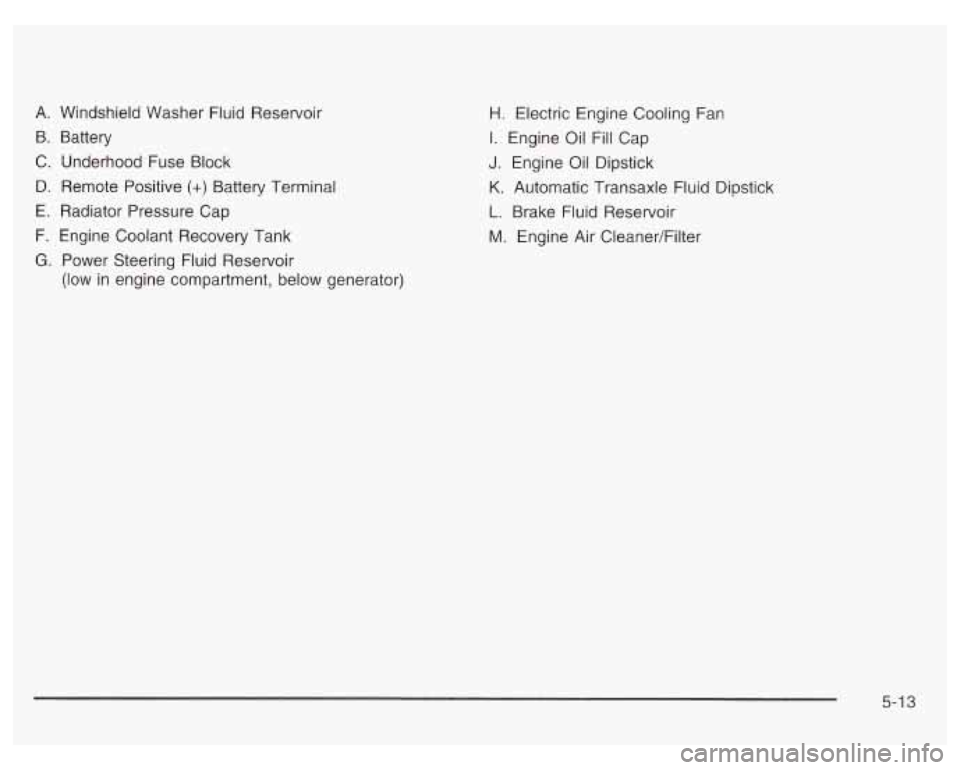
A. Windshield Washer Fluid Reservoir
B. Battery
C. Underhood Fuse Block
B. Remote Positive (+) Battery Terminal
E. Radiator Pressure Cap
F. Engine Coolant Recovery Tank
G. Power Steering Fluid Reservoir
(low in engine compartment, below generator)
H. Electric Engine Cooling Fan
I. Engine Oil Fill Cap
J. Engine Oil Dipstick
K. Automatic Transaxle Fluid Dipstick
L. Brake Fluid Reservoir
M. Engine Air CleanedFilter
5-1 3