2003 PONTIAC BONNEVILLE service reset
[x] Cancel search: service resetPage 158 of 418
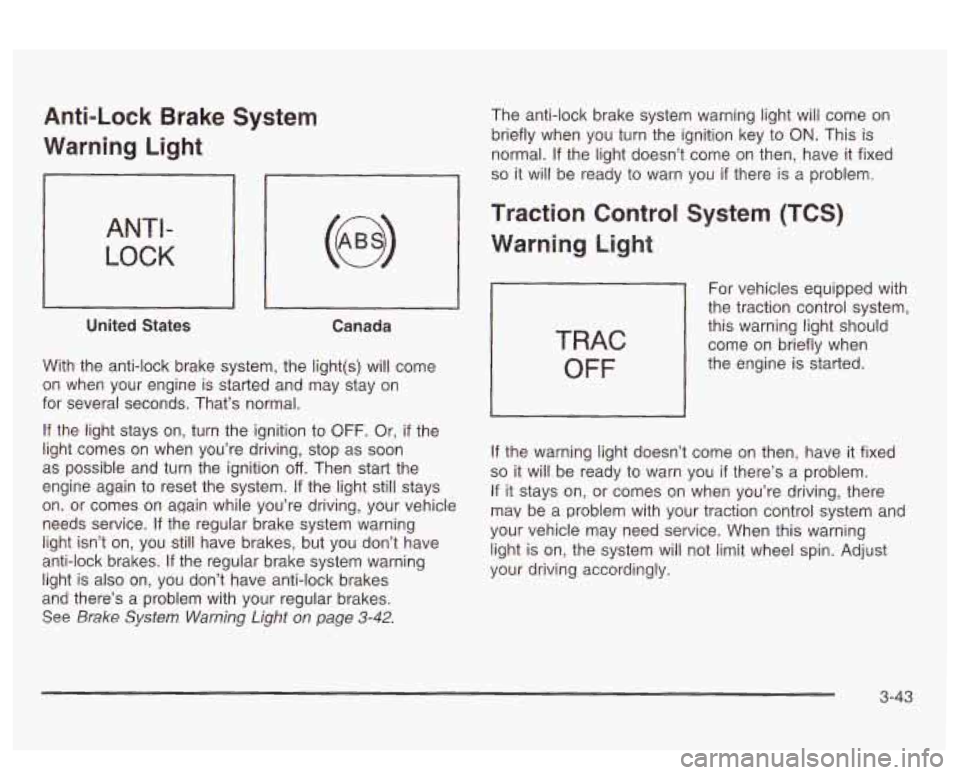
Anti-Lock Brake System
Warning Light
ANTI-
LOCK
United States Canada
With the anti-lock brake system, the light(s) will come
on when your engine
is starled and x2y stay on
for several seconds. That’s normal.
If the light stays on, turn the ignition to OFF. Or, if the
light comes on when you’re driving, stop as soon
as possible and turn the ignition
off. Then start the
engine again to reset the system.
If the light still stays
on. or comes on again while you’re driving, your vehicle
needs service. If the regular brake system warning
light isn’t on, you still have brakes, but
you don’t have
anti-lock brakes. If the regular brake system warning
light is also on, you don’t have anti-lock brakes
and there’s a problem with your regular brakes.
See Brake System Warning Light on page 3-42.
The anti-lock brake system warning light will come on
briefly when you turn the ignition key to
ON. This is
normal.
If the light doesn’t come on then, have it fixed
so it will be ready to warn you if there is a problem.
Traction Control System (TCS)
Warning Light
TRAC
OFF
For vehicles equipped with
the traction control system,
this warning light should
come on briefly when
the engine is started.
If the warning light doesn’t come on then, have it fixed
so it will be ready to warn you if there’s a problem.
If it stays on, or comes on when you’re driving, there
may be a problem with your traction control system and
your vehicle may need service. When this warning
light is on, the system will not limit wheel spin. Adjust
your driving accordingly.
3-43
Page 161 of 418
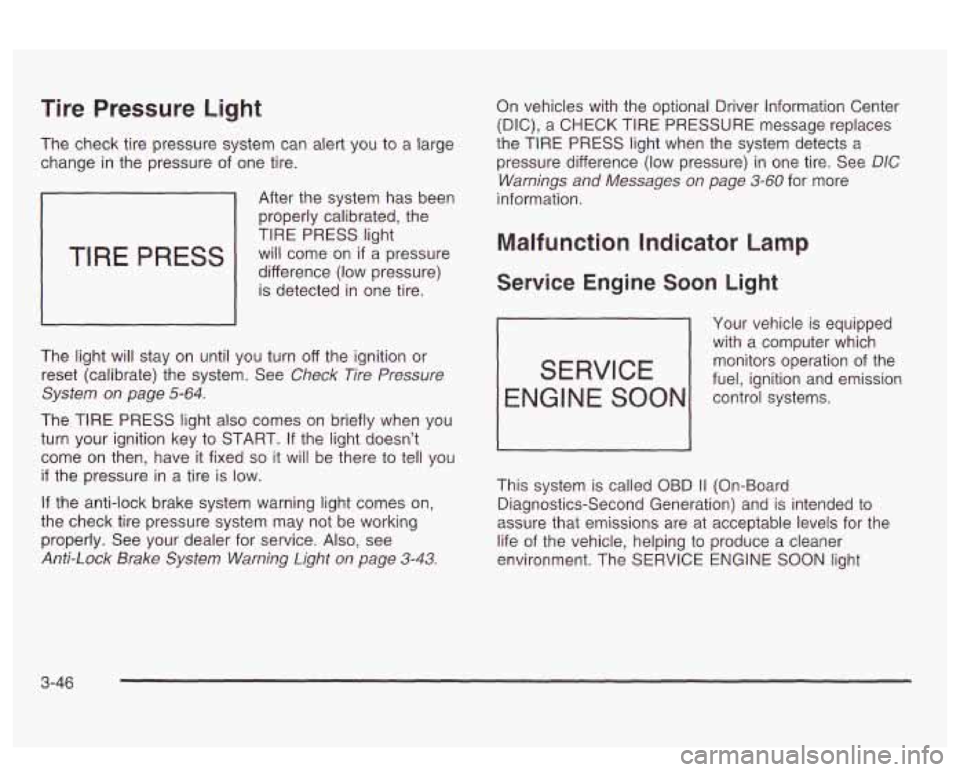
Tire Pressure Light
The check tire pressure system can alert you to a large
change in the pressure of one tire.
TIRE PRESS
After the system has been
properly calibrated, the
TIRE PRESS light
will come on
if a pressure
difference (low pressure) is detected in one tire.
The light will stay on until you turn off the ignition or
reset (calibrate) the system. See
Check Tire Pressure
System on page
5-64.
The TIRE PRESS light also comes on briefly when you
turn your ignition key to START.
If the light doesn’t
come
on then, have it fixed so it will be there to tell you
if the pressure in a tire is low.
If the anti-lock brake system warning light comes on,
the check tire pressure system may not be working
properly. See your dealer for service. Also, see
Anti-Lock Brake System Warning Light on page 3-43.
On vehicles with the optional Driver Information Center
(DIC), a
CHECK TIRE PRESSURE message replaces
the TIRE
PRESS light when the system detects a
pressure difference (low pressure) in one tire. See
DIC
Warnings and Messages on page 3-60 for more
information.
Malfunction Indicator Lamp
Service Engine Soon Light
Your vehicle is equipped
with a computer which
monitors operation of the
fuel, ignition and emission
SERVICE
ENGl NE SOON control systems.
This system is called OBD
I1 (On-Board
Diagnostics-Second Generation) and is intended to
assure that emissions are at acceptable levels for the
life of the vehicle, helping to produce a cleaner
environment. The SERVICE
ENGINE SOON light
3-46
Page 176 of 418
SERVICE STABILITY SYSTEM - 54: If you ever see
the SERVICE STABILITY SYSTEM message,
it
means there may be a problem with your stability
enhancement system.
If you see this message, try to
reset the system (stop; turn
off the engine; then start the
engine again).
If the SERVICE STABILITY SYSTEM
message still comes on, it means there is a problem.
You should see your dealer for service. Reduce
your speed and drive accordingly.
STABILITY SYSTEM ACTIVE - 55: You may see the
STABILITY SYSTEM ACTIVE message on the Driver
Information Center. It means that an advanced,
computer-controlled system has come on to help your
vehicle cmtinue to
go in the direction in which you’re
steering. This stability enhancement system activates
when the computer senses that your vehicle
is just
starting to spin, as it might
if you hit a patch of ice or
other slippery spot
on the road. When the system is on,
you may hear a noise or feel a vibration in the brake
pedal. This is normal.
When the STABILITY SYSTEM ACTIVE message
is on,
you should continue to steer in the direction you want
to go. The system is designed to help you in bad
weather or other difficult driving situations by making the
most
of whatever road conditions will permit. If the
STABiLiiY SYSTEM ACTIVE message comes on, you’!!
know that something has caused your vehicle to start
to spin,
so you should consider slowing down.
Tire Pressure Status - 144: If you see the CHECK
TIRE PRESSURE message, you should stop as soon as
you can and check all your tires for damage. (If a tire
is flat, see
If a Tire Goes Flat on page 5-72.) Also check
the tire pressure in all four tires as soon as you can.
See
inflation -- lire Pressure on page 5-62 and Check
Tire Pressure System
on page 5-64.
Driver Identifier DIC Display
This feature allows two different drivers to store and
recall their own preferred display mode. The
personalization settings displayed
on the DIC are
determined by the transmitter used to enter the vehicle.
After the uniock button
on a remote keyless entry
transmitter (if equipped) is pressed and the ignition is
in
ON, the DIC will display the identified driver. The
settings can also be changed by briefly pressing one of
the MEMORY buttons located on the driver’s door.
The DIC is used to program information for DRIVER
#I
UNKNOWN DRIVER if they are neither DRIVER #I nor
DRIVER
#2.
1 --a* .un TI^ nbfi ... :II :A~...+;$., ,-,~orp.,n Qc ~[IU unlvcn ft~. I IIZ UIU vvII1 luGltrl~y S r)bld-aI --
3-61
Page 188 of 418
Set the volume at the desired level. Press this button to
select MIN, MED or MAX. Each higher choice allows
for more volume compensation at faster vehicle speeds.
Then, as you drive, SCV automatically increases the
volume, as necessary, to overcome noise at any speed.
The volume level should always sound the same to
you as you drive.
If you don’t want to use SCV,
select
OFF.
RCL (Recall): Push this knob to switch the display
between the radio station frequency and the time.
Pushing this knob with the ignition off will display the
time.
For
XMTM (USA only, if your radio is equipped with
XMTM Satellite Radio Service), pressing this button while
in XMTM mode to retrieve various pieces of information
related to the current song or channel. By pressing
and releasing the RCL knob, you may retrieve
four different categories of information: Artist, Song
Title, Category or PTY, Channel Number/ Cnannei hame.
To change the default on the display, push the knob
until you see the display you want, then hold the knob
until the display flashes. The selected display will
now be the default.
Finding a Station
BAND: Press this button to switch between AM, FM,
FM2, or XMI, XM2 (USA only,
if your radio is equipped
with XMTM Satellite Radio Service). The display will
show your selection.
TUNE: Turn this knob to choose radio stations.
A SEEK v : Press the up or the down arrow to go to
the next or to the previous station and stay there.
The radio will seek only to stations that are in the
selected band and only to those with a strong signal.
SCAN v : Press and hold one of the SCAN arrows
for two seconds until SCAN appears on the display
and you hear a beep. The radio will go to a station, play
for a few seconds, then go on to the next station.
Press one of the SCAN arrows again to stop scanning.
To scan preset stations, press and hold one of the
SCAN arrows for more man Tour seconas uniii FSGAi<
and the preset number appear on the display. You
will hear a double beep. The radio will go to the first
preset station stored on your pushbuttons, play for a few
seconds, then go on to the next preset station. Press
one of the SCAN arrows again to stop scanning presets.
The radio will scan only to stations that are
in the
selected band and only to those with a strong signal.
3-73
Page 189 of 418
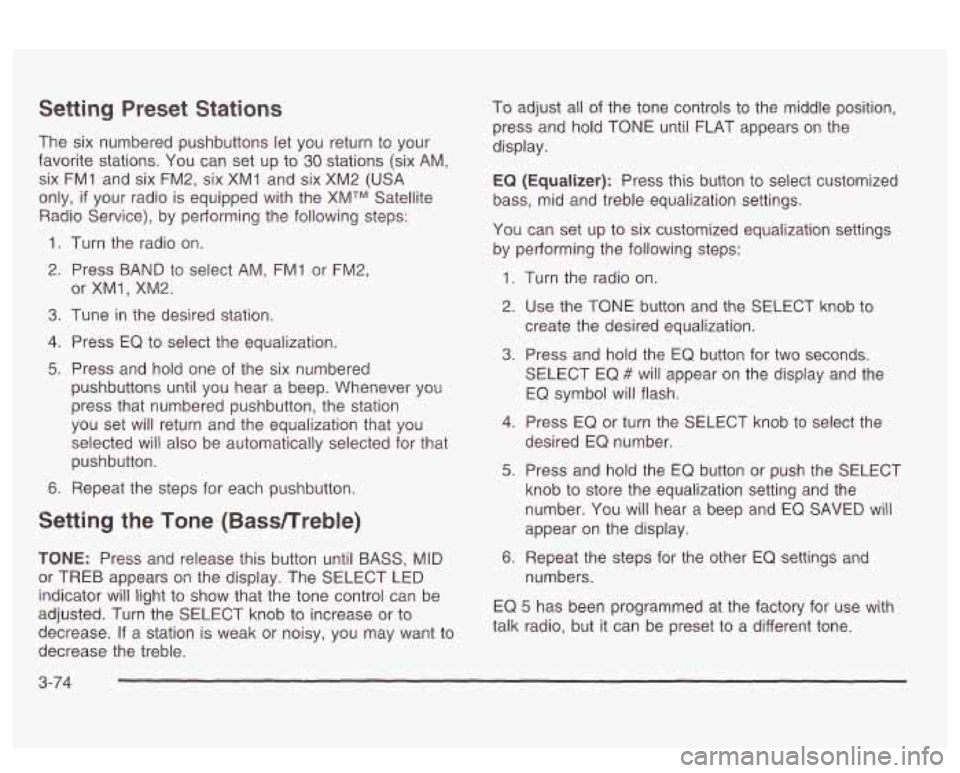
Setting Preset Stations
The six numbered pushbuttons let you return to your
favorite stations. You can set up to
30 stations (six AM,
six FM1 and six FM2, six XM1 and six XM2
(USA
only, if your radio is equipped with the XMTM Satellite
Radio Service), by pedorming the following steps:
1. Turn the radio on.
2. Press BAND to select AM, FMI or FM2,
3. Tune in the desired station.
4. Press EQ to select the equalization.
5. Press and hold one of the six numbered
or
XMl, XM2.
pushbuttons until you hear a beep. Whenever you
press that numbered pushbutton, the station
you set
will return and the equalization that you
selected will also be automatically selected for that
pushbutton.
6. Repeat the steps for each pushbutton.
Setting the Tone (Bassnreble)
TONE: Press and release this button until BASS, MID
or TREB appears on the display. The SELECT LED
indicator
will light to show that the tone control can be
adjusted. Turn the SELECT knob to increase or
to
decrease. If a station is weak or noisy, you may want to
decrease the treble. To
adjust all of the tone controls
to the middle position,
press and hold TONE until FLAT appears on the
display.
EQ (Equalizer): Press this button to select customized
bass, mid and treble equalization settings.
You can set up to six customized equalization settings
by performing the following steps:
1.
2.
3.
4.
5.
6. Turn
the radio on.
Use the TONE button and the SELECT knob to
create the desired equalization.
Press and hold the
EQ button for two seconds.
SELECT EQ
# will appear on the display and the
EQ symbol will flash.
Press EQ or turn the
SELECT knob to select the
desired EQ number.
Press and hold the EQ button or push the SELECT
knob
to store the equalization setting and the
number. You will hear
a beep and EQ SAVED will
appear on the display.
Repeat the steps for the other
EQ settings and
numbers.
EQ
5 has been programmed at the factory for use with
talk radio, but it can be preset
to a different tone.
3-74
Page 194 of 418
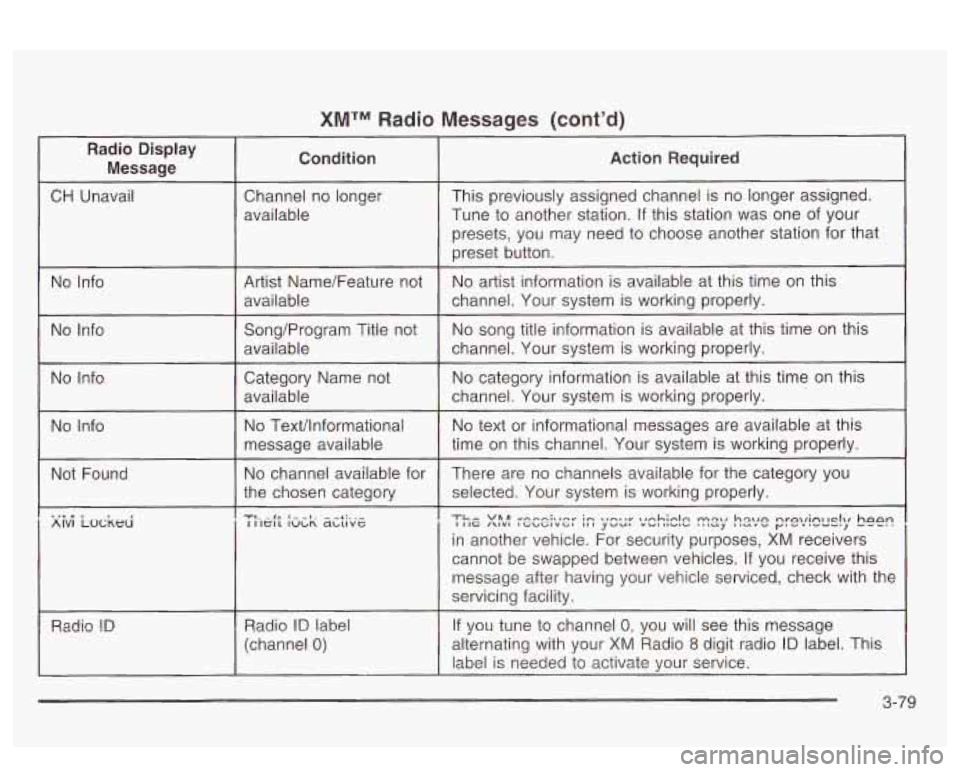
XMTM Radio Messages (cont'd)
Radio Display Message Condition Action Required
CH
Unavail Channel no longer This previously assigned channel is no longer assigned.
Tune to another station. If this station was one of your
presets,
YOU may need to choose another station for that
AlVl LOCKHI I IIG /\IVl IGbGIVGl ,,I yvu, "UIllVl" '""J llcIL"" y"'".-", I IIGIL IULR abuvc
in another vehicle. For security purposes, XM receivers
cannot be swapped between vehicles.
If you receive this
message after having your vehicle serviced, check with the
servicing facility.
RadIC?
!D If you tune to channel 0: you will see this message Radio ID label
(channel 0) alternating with your XM Radio 8 digit radio ID label. This
label is needed to activate your service.
3-79
Page 198 of 418
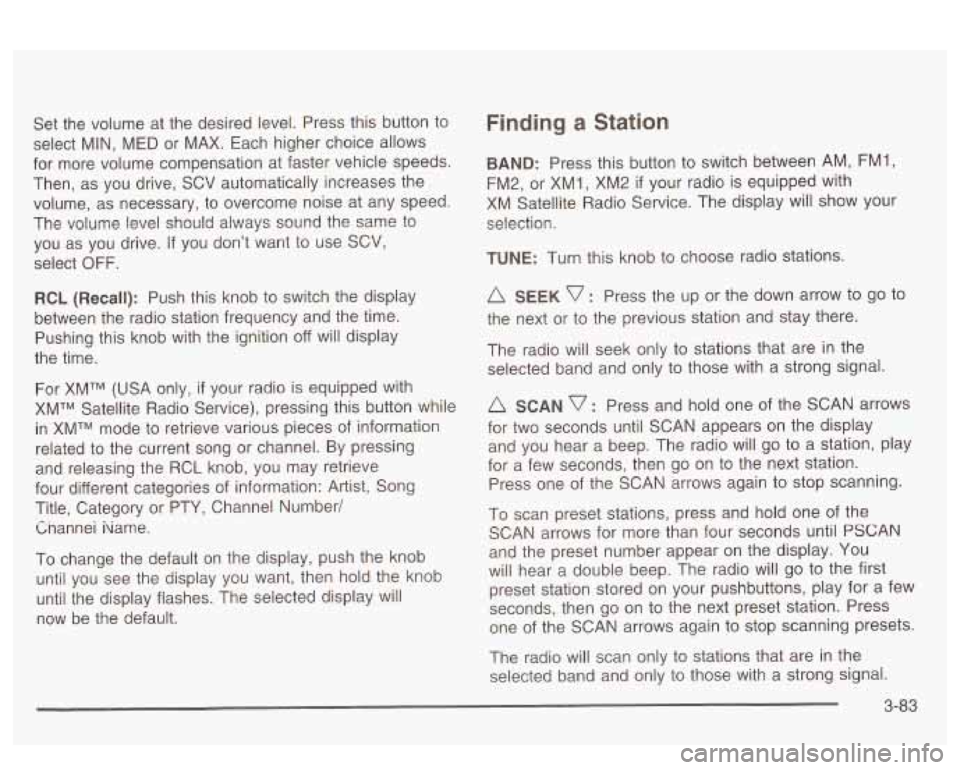
Set the volume at the desired level. Press this button to
select MIN,
MED or MAX. Each higher choice allows
for more volume compensation at faster vehicle speeds.
Then, as you drive,
SCV automatically increases the
volume, as necessary, to overcome noise at any speed.
The volume level should always sound the same to
you as you drive.
If you don’t want to use SCV,
select OFF.
RCL (Recall): Push this knob to switch the display
between the radio station frequency and the time.
Pushing this knob with the ignition off will display
the time.
For XMTM (USA only, if your radio is equipped with
XMTM Satellite Radio Service), pressing this button while
in XMTM mode to retrieve various pieces of information
related to the current song or channel. By pressing
and releasing the RCL knob, you may retrieve
four different categories of information: Artist, Song
Title, Category or PTY, Channel Number/
Cnannei iiame.
To change the default on the display, push the knob
until you see the display you want, then hold the knob
until the display flashes. The selected display will
now be the default.
Finding a Station
BAND: Press this button to switch between AM, FM1,
FM2, or XM1,
XM2 if your radio is equipped with
XM Satellite Radio Service. The display will show your
selection.
TUNE: Turn this knob to choose radio stations.
A SEEK v : Press the up or the down arrow to go to
the next or to the previous station and stay there.
The radio will seek only to stations that are in the
selected band and only to those with a strong signal.
A SCAN v : Press and hold one of the SCAN arrows
for two seconds until SCAN appears on the display
and you hear a beep. The radio will
go to a station, play
for a few seconds, then go on to the next station.
Press one of the SCAN arrows again to stop scanning.
To scan preset stations, press and hold one of the
SCAN arrows for more than four seconds until
PSCAN
and the preset number appear on the display. You
will hear a double beep. The radio will go to the first
preset station stored on your pushbuttons, play for
a few
seconds, then go on to the next preset station. Press
one of the SCAN arrows again to stop scanning presets.
The radio will scan only to stations that are in the
selected band and only to those with a strong signal.
3-83
Page 199 of 418
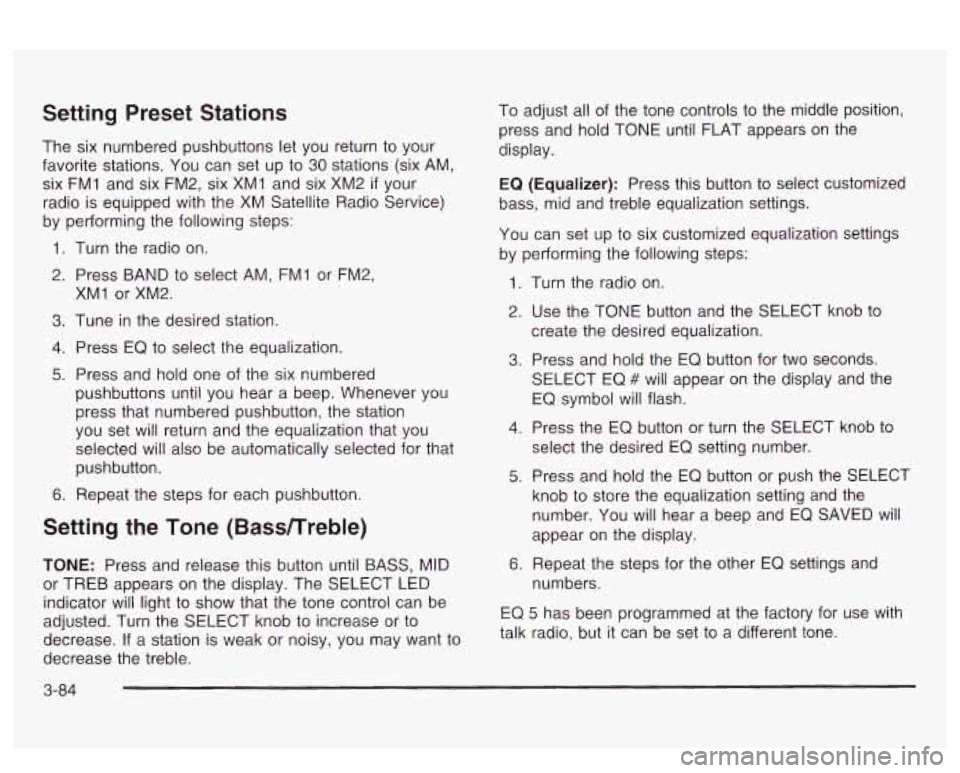
Setting Preset Stations
The six numbered pushbuttons let you return to your
favorite stations. You can set up to
30 stations (six AM,
six FMI and six FM2, six XMI and six XM2
if your
radio is equipped with the XM Satellite Radio Service)
by performing the following steps:
1. Turn the radio on.
2. Press BAND to select AM, FMI or FM2,
3. Tune in the desired station.
4. Press EQ to select the equalization.
5. Press and hold one of the six numbered
XMI
or XM2.
pushbuttons until you hear a beep. Whenever you
press that numbered pushbutton, the station
you set will return and the equalization that you
selected will also be automatically selected for that
pushbutton.
6. Repeat the steps for each pushbutton.
Setting the Tone (Bassnreble)
TONE: Press and release this button until BASS, MID
or TREB appears on the display. The SELECT LED
indicator will light to show that the tone control can be
adjusted. Turn the SELECT knob to increase or to
decrease.
If a station is weak or noisy, you may want to
decrease the treble. To
adjust all of the tone controls to the middle position,
press and hold TONE until FLAT appears on the
display.
EQ
(Equalizer): Press this button to select customized
bass, mid and treble equalization settings.
You can set
up to six customized equalization settings
by performing the following steps:
1.
2.
3.
4.
5.
6.
Turn the radio on.
Use the TONE button and the SELECT knob to
create the desired equalization.
Press and hold the EQ button for two seconds.
SELECT EQ
# will appear on the display and the
EQ symbol will flash.
Press the
EQ button or turn the SELECT knob to
select the desired EQ setting number.
Press and hold the EQ button or push the SELECT
knob to store the equalization setting and the
number. You will hear a beep and EQ SAVED
will
appear on the display.
Repeat the steps for the other EQ settings and
numbers.
EQ 5 has been programmed at the factory for use with
talk radio, but it can be set to a different tone.
3-84