2003 PONTIAC BONNEVILLE tire pressure
[x] Cancel search: tire pressurePage 236 of 418
Hydroplaning
Hydroplaning is dangerous. So much water can build up
under your tires that they can actually ride on the
water. This can happen
if the road is wet enough and
you’re going fast enough. When your vehicle is
hydroplaning, it has little or
no contact with the road.
Hydroplaning doesn’t happen often. But it can
if
your tires do not have much tread or if the pressure in
one or more is low. It can happen
if a lot of water is
standing on the road. If you can see reflections
from trees, telephone poles or other vehicles, and
raindrops “dimple” the water’s surface, there could be
hydroplaning.
Hydroplaning usually happens at higher speeds. There
just isn’t a hard and fast rule about hydroplaning.
The best advice
is to slow down when it is raining.
Driving Through Deep Standing Water
Notice: If you drive too quickly through deep
puddles or standing water, water can come
in
through your engine’s air intake and badly damage
your engine. Never drive through water that is
slightly lower than the underbody of your vehicle.
water, drive through them very slowly.
!f you can’t avoid deep puddles or standing
Driving Through Flowing Water
Flowing or rushing water creates strong
forces. If you try to drive through flowing
water, as you might at a low water crossing,
your vehicle can be carried away.
As little as
six inches of flowing water can carry away a
smaller vehicle. If this happens, you and other
vehicle occupants could drown. Don’t ignore
police warning signs, and otherwise be very
cautious about trying to drive through
flowing water.
Some Other Rainy Weather Tips
Rnc-idnc- c-ln\*,;nn rlnnarn qlln
, c-nrnn nvtrq fnllntA(inn Y”o,u”o UlVYIll’y UV“”, I, UllVl” ow, I I” ”A&,- IVIaVIIII ‘3
distance. And be especially careful when you
pass another vehicle. Allow yourself more clear
room ahead, and be prepared to have your
view restricted by road spray.
Have
good tires with proper tread depth. See Tires
on page 5-62.
4-1 9
Page 239 of 418
Once you are moving on the freeway, make certain you
allow a reasonable following distance.
Expect to move slightly slower at night.
When you want to leave the freeway, move to the
proper lane well in advance.
If you miss your exit, do
not, under any circumstances, stop and back up. Drive
on to the next exit.
The exit ramp can be curved, sometimes quite sharply.
The exit speed is usually posted. Reduce your speed
according to your speedometer, not to your sense
of motion. After driving for any distance at higher
speeds, you may tend to think you are going slower
than you actually are. Of
course, you’ll find experienced and able service
experts in dealerships all across North America. They’ll
be ready and willing to help
if you need it.
Here are some things you can check before a trip:
a
Before Leaving on a Long Trip
Make sure you’re ready. Try to be well rested. If you
must start when you’re not fresh
- such as after a day’s
work
- don’t plan to make too many miles that first
part of the journey. Wear comfortable clothing and shoes
you can easily drive in.
Is your vehicle ready for a long trip? If you keep
it serviced and maintained, it’s ready to go. If it
needs service, have it done before starting out.
Windshield Washer Fluid: Is the reservior full? Are
all windows clean inside and outside?
Wiper Blades: Are they in good shape?
Fuel, Engine Oil, Other Fluids: Have you checked
all levels?
Lamps: Are they all working? Are the lenses clean?
Tires: They are vitally important to a safe,
trouble-free trip.
Is the tread good enough for
long-distance driving? Are the tires all inflated
to the
recommended pressure?
Weather Forecasts: What’s the weather outlook
along your route? Should you delay your trip a
short time to avoid a major storm system?
Maps: Do you have up-to-date maps?
4-22
Page 251 of 418
Loading Your Vehicle
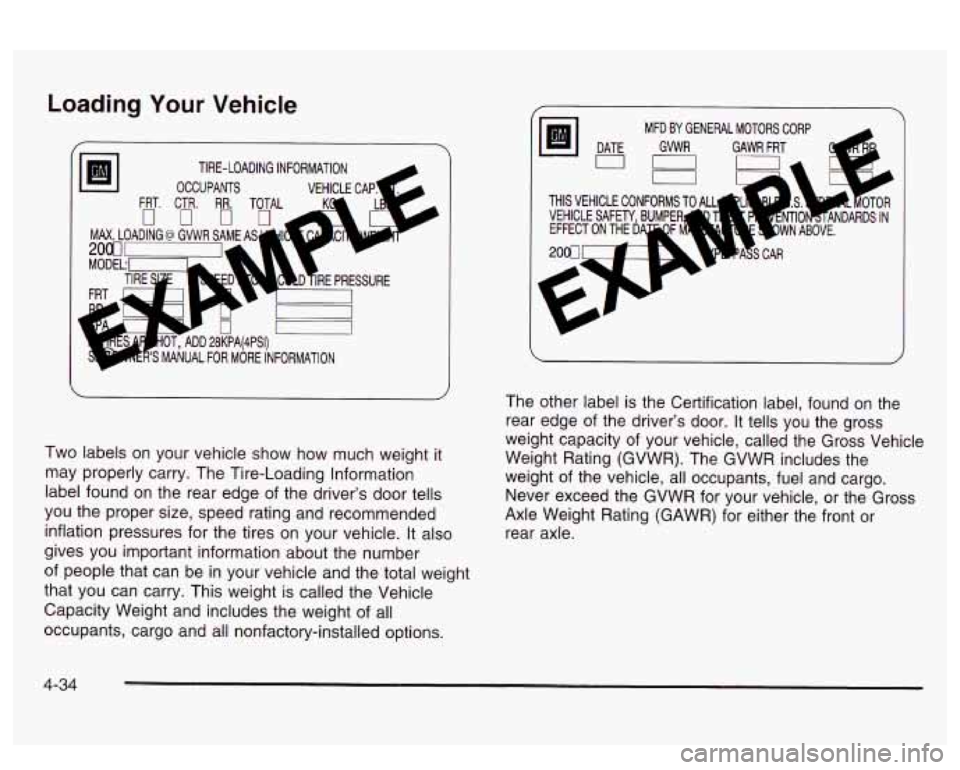
Two labels on your vehicle show how much weight it
may properly carry. The Tire-Loading information
label found on the rear edge of the driver’s door tells
you the proper size, speed rating and recommended
inflation pressures for the tires on your vehicle. It also
gives you important information about the number
of people that can be in your vehicle and the total weight
that you can carry. This weight is called the Vehicle
Capacity Weight and includes the weight of all
occupants, cargo and all nonfactory-installed options.
THIS VEHICLE CONFORMS
VEHICLE
SAFETY BUMPER
The other label is the Certification label, found on the
rear edge of the driver’s door. It tells you the gross
weight capacity of your vehicle, called the Gross Vehicle
Weight Rating (GVWR). The GVWR includes the
weight of the vehicle, all occupants, fuel and cargo.
Never exceed the GVWR for your vehicle, or the Gross
Axle Weight Rating (GAWR) for either the front or
rear axle.
4-34
Page 261 of 418
Section 5 Service and Appearance Care
Windshield Wiper Blade Replacement ............. 5-61
Tires .............................................................. 5.62
Inflation
.. Tire Pressure ................................ 5.62
Check Tire Pressure System
.......................... 5.64
Tire Inspection and Rotation
........................... 5.65
When It
Is Time for New Tires ....................... 5-67
Buying New Tires
........................................ 5-67
Uniform Tire Quality Grading
.......................... 5.68
Wheel Replacement
...................................... 5.69
Tire Chains
.................................................. 5-71
Accessory Inflator
......................................... 5.72
If a Tire Goes Flat ........................................ 5.72
Changing a Flat Tire
..................................... 5.73
Compact Spare Tire
..................................... 5-81
Appearance Care ............................................ 5.82
Wheel
Alignment and Tire Balance
.................. 5-69
Cleaning the Inside of Your Vehicle
................. 5-82
Care of Safety Belts
...................................... 5-85
Weatherstrips ............................................... 5.85
Cleaning the Outside of Your Vehicle .............. 5-85
Sheet Metal Damage
..................................... 5.87
Finish Damage
............................................. 5.87
Underbody Maintenance
................... ...... 5.87
Chemical Paint Spotting
................................. 5.88
Vehicle Identification ..................................... 5-90
Vehicle Identification Number (VIN)
...... ., ...... 5-90
Service Parts Identification Label
........ ...... 5-90
Electrical System ............................... ...... 5-91
Add-on Electrical Equipment
................ , ...... 5-91
Headlamp Wiring
.......................................... 5-91
Windshield Wiper Fuses
................................ 5-91
Power Windows and Other Power Options
....... 5-91
Fuses and Circuit Breakers
............................ 5-92
Removing the Rear Seat Cushion
................... 5-95
Capacities and Specifications ........................ 5-100
Normal Maintenance Replacement Parts ......... 5-101
GM Vehicle Care/Appearance Materials .......... 5.88
5-2
Page 321 of 418
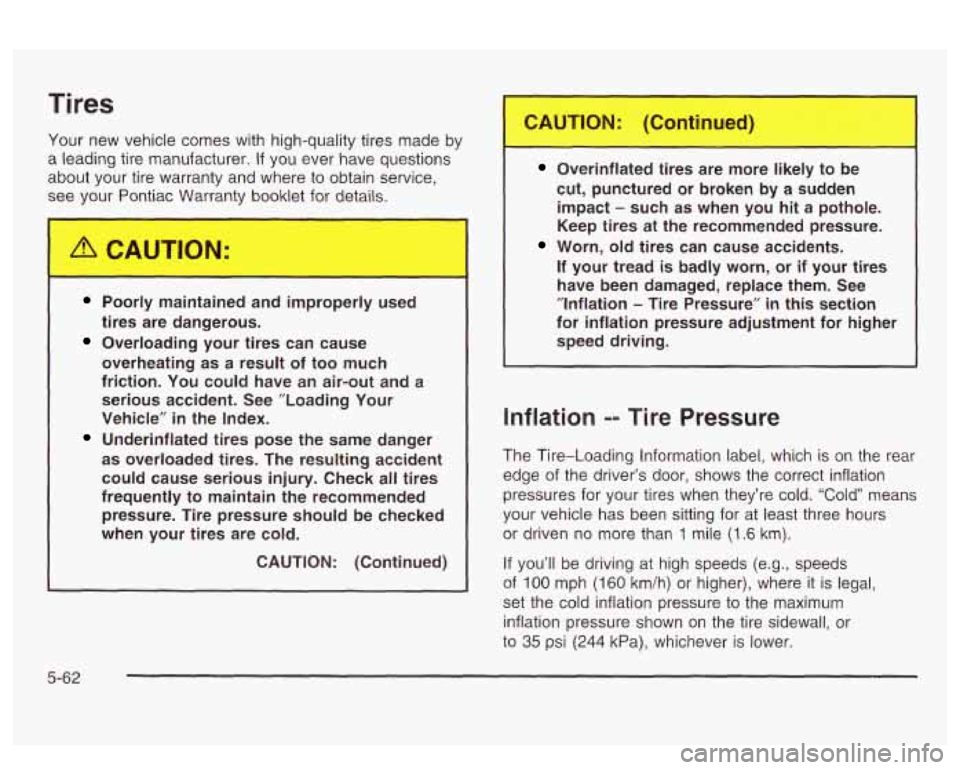
Tires
Your new vehicle comes with high-quality tires made by
a leading tire manufacturer.
If you ever have questions
about your tire warranty and where to obtain service,
see your
P tiac Warranty booklet for details.
Poorly maintained and improperly used
Overloading your tires can cause
tires are dangerous.
overheating as a result of too much
friction. You could have an air-out and a
serious accident. See ”Loading Your
Vehicle”
in the Index.
Underinflated tires pose the same danger
as overloaded tires. The resulting accident
could cause serious injury. Check all tires
frequently to maintain the recommended
pressure. Tire pressure should be checked
when your tires are cold.
CAUTION: (Continued)
Overinflated tires are more likely be
cut, punctured or broken by a sudden impact
- such as when you hit a pothole.
Keep tires at the recommended pressure.
If your tread is badly worn, or if your tires
have been damaged, replace them. See
”Inflation
- Tire Pressure” in this section
for inflation pressure adjustment for higher
speed driving.
Worn, old tires can cause accidents.
Inflation -- Tire Pressure
The Tire-Loading Information label, which is on the rear
edge of the driver’s door, shows the correct inflation
pressures for your tires when they’re cold.
“Cold” means
your vehicle has been sitting for at least three hours
or driven no more than
1 mile (1.6 km).
If you’ll be driving at high speeds (e.g., speeds
of
100 mph (160 km/h) or higher), where it is legal,
set the cold inflation pressure to the maximum
inflation pressure shown on the tire sidewall, or
to
35 psi (244 kPa), whichever is lower.
5-62
Page 322 of 418
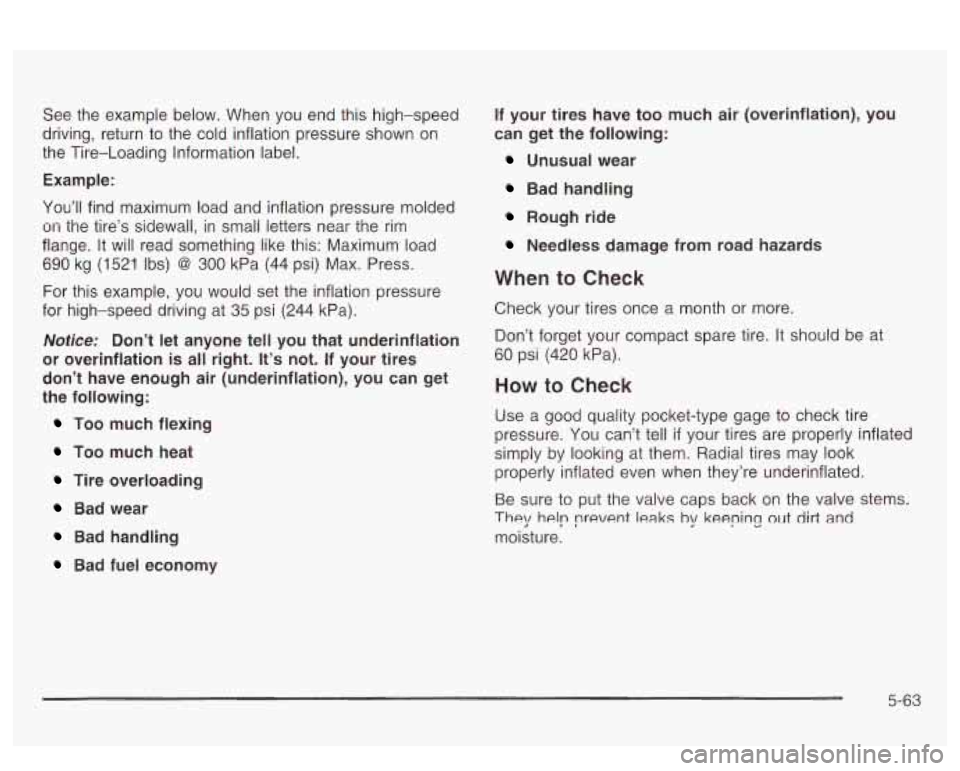
See the example below. When you end this high-speed
driving, return to the cold inflation pressure shown on
the Tire-Loading Information label.
Example:
You’ll find maximum load and inflation pressure molded
on the tire’s sidewall, in small letters near the rim
flange. It will read something like this: Maximum load
690
kg (1521 Ibs) @ 300 kPa (44 psi) Max. Press.
For this example, you would set the inflation pressure
for high-speed driving at
35 psi (244 kPa).
Notice: Don’t let anyone tell you that underinflation
or overinflation
is all right. It’s not. If your tires
don’t have enough air (underinflation), you can get
the following:
Too much flexing
Too much heat
Tire overloading
Bad wear
Bad handling
Bad fuel economy
If your tires have too much air (overinflation), you
can get the following:
Unusual wear
Bad handling
Rough ride
Needless damage from road hazards
When to Check
Check your tires once a month or more.
Don’t forget your compact spare tire. It should be at
60 psi (420 kPa).
How to Check
Use a good quality pocket-type gage to check tire
pressure. You can’t tell
if your tires are properly inflated
simply by looking at them. Radial tires may look
properly inflated even when they’re underinflated.
Be sure to put the valve caps back
on the valve stems.
They help prevent leaks by keenin9 out dirt and
moisture.
5-63
Page 323 of 418
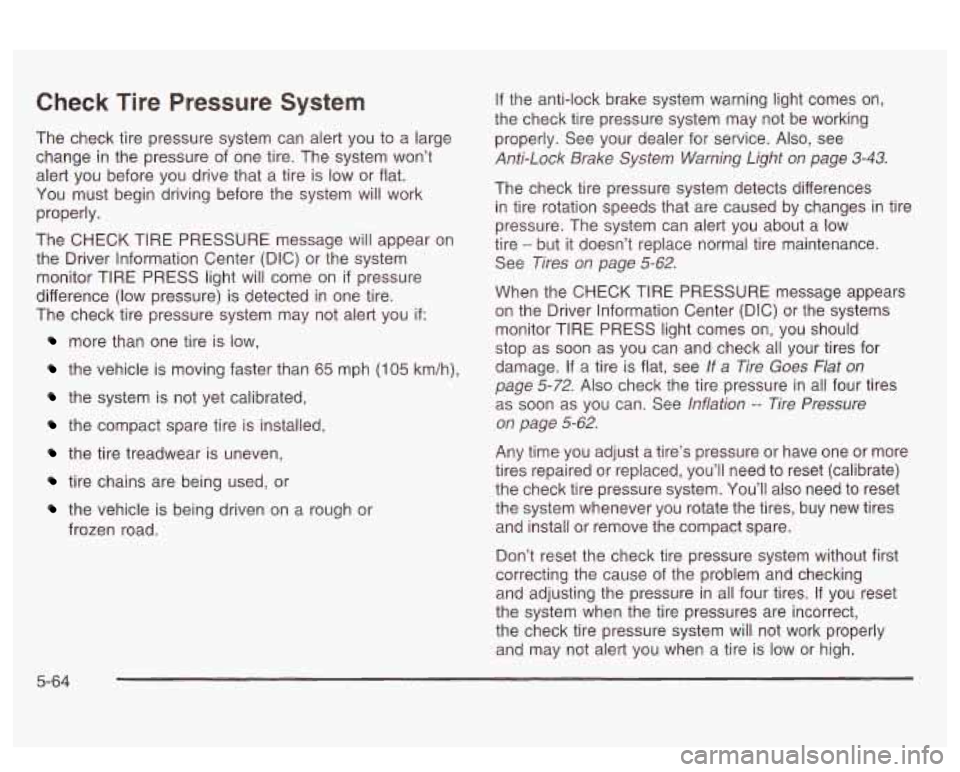
Check Tire Pressure System
The check tire pressure system can alert you to a large
change in the pressure of one tire. The system won’t
alert you before you drive that a tire is low or flat.
You must begin driving before the system will work
properly.
The CHECK TIRE PRESSURE message will appear on
the Driver Information Center (DIC) or the system
monitor TIRE PRESS light will come on
if pressure
difference (low pressure) is detected in one tire.
The check tire pressure system may not alert you
if:
more than one tire is low,
the vehicle is moving faster than 65 mph (105 km/h),
the system is not yet calibrated,
the compact spare tire is installed,
the tire treadwear is uneven,
tire chains are being used, or
the vehicle is being driven on a rough or
frozen road. If
the anti-lock brake system warning light comes on,
the check tire pressure system may not be working
properly. See your dealer for service. Also, see
Anti-Lock Brake System Warning Light on page 3-43.
The check tire pressure system detects differences
in tire rotation speeds that are caused by changes in tire
pressure. The system can alert you about a low
tire
- but it doesn’t replace normal tire maintenance.
See
Tires on page 5-62.
When the CHECK TIRE PRESSURE message appears
on the Driver Information Center (DIC) or the systems
monitor TIRE PRESS light comes on, you should
stop as soon as you can and check all your tires for
damage. If a tire is flat, see
If a Tire Goes Flat on
page
5-72. Also check the tire pressure in all four tires
as soon as you can. See
Inflation -- Tire Pressure
on page
5-62.
Any time you adjust a tire’s pressure or have one or more
tires repaired or replaced, you’ll need to reset (calibrate)
the check tire pressure system. You’ll also need to reset
the system whenever you rotate the tires, buy new tires
and install or remove the compact spare.
Don’t reset the check tire pressure system without first
correcting the cause of the problem and checking
and adjusting the pressure in all four tires.
If you reset
the system when the tire pressures are incorrect,
the check tire pressure system will not work properly
and may not alert you when a tire is low
or high.
5-64
Page 324 of 418
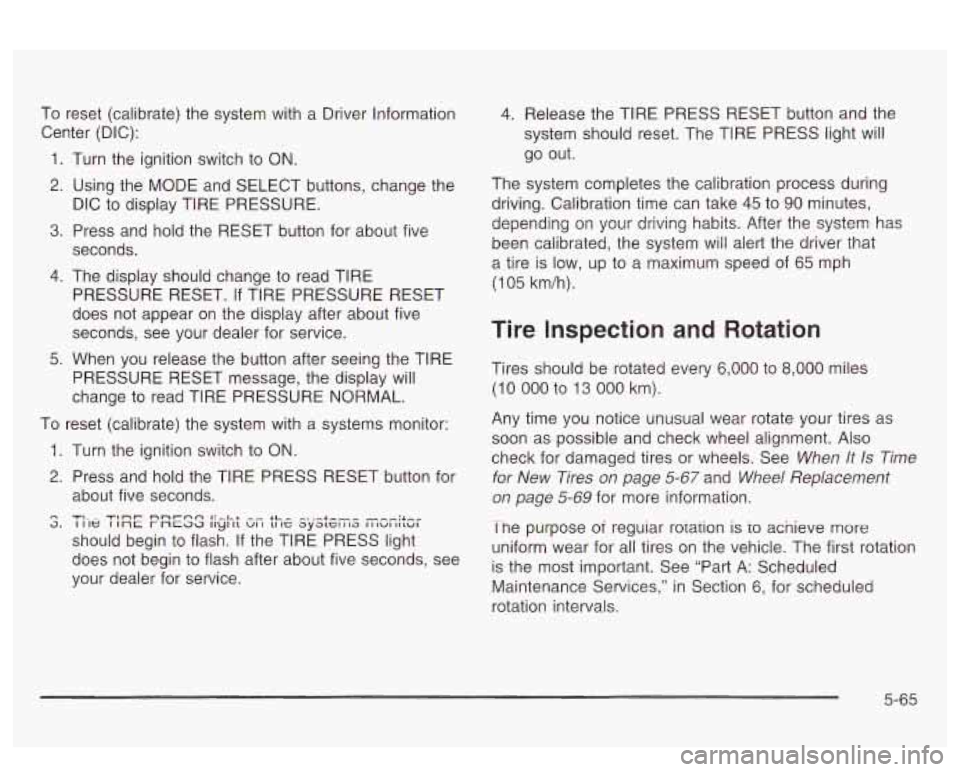
To reset (calibrate) the system with a Driver Information
Center (DIC):
1.
2.
3.
4.
5.
Turn the ignition switch to ON.
Using the MODE and SELECT buttons, change the The system Completes
the calibration process during
DIC to display TIRE PRESSURE. driving. Calibration time
can take
45 to 90 minutes, ..,
Press and hold the RESET button for about five
seconds.
The display should change to read TIRE
PRESSURE RESET. If TIRE PRESSURE RESET
does not appear on the display after about five
seconds, see your dealer for service.
When you release the button after seeing the TIRE
PRESSURE RESET message, the display will
change to read TIRE PRESSURE NORMAL.
1.
2.
4. Release the TIRE PRESS RESET button and the
system should reset. The TIRE PRESS light will
go out.
To reset (calibrate) the system with a systems monitor:
n 3.
Turn the ignition switch to ON.
Press and hold the TIRE PRESS RESET button for
about five seconds.
should begin to flash.
If the TIRE PRESS light
does not begin to flash after about five seconds, see
your dealer for service.
TIL- TI~T nnr-nn I:-.LL -- LL- -..-.I.--- I I le I 1nc r ncaa II~I 11 VI I 11 IC ayatcl I 13 I I IUI IILUI
depending on your driving habits. After the system has
been calibrated, the system will alert the driver that
a tire is low, up to a maximum speed of
65 mph
(1 05 km/h).
Tire Inspection and Rotation
Tires should be rotated every 6,000 to 8,000 miles
(10 000 to 13 000 km).
Any time you notice unusual wear rotate your tires as
soon as possible and check wheel alignment. Also
check for damaged tires or wheels. See
When It Is Time
for New Tires on page 5-67 and Wheel Replacement
on page 5-69 for more information.
Tne purpose
oi reguiar rorarion is io acnieve more
uniform wear for all tires on the vehicle. The first rotation
is the most important. See “Part A: Scheduled
Maintenance Services,” in Section
6, for scheduled
rotation intervals.
5-65