2003 PONTIAC BONNEVILLE power window
[x] Cancel search: power windowPage 135 of 418
Inadvertent Power Battery Saver
This feature is designed to protect your vehicle’s battery
against drainage from the interior lamps, trunk lamp,
glove box lamp or cigarette lighters. When the ignition is
turned
off, the power to these features will automatically
turn
off after 10 minutes. Power will be restored for
an additional
10 minutes if any door is opened, the trunk
is opened or the courtesy lamps are turned on. To
restore power back to the cigarette lighters the ignition
must be turned back to
ON.
Battery Load Management
The battery load management feature is designed to
monitor the vehicle’s electrical load and determine when
the battery is in a heavy discharge condition. During
times of high electrical loading, the engine may idle at
higher revolutions per minute (rpm) than normal to
make sure the battery charges. High electrical loads
may occur when several
of the following are on:
headlamps, high beams, fog lamps, rear window
defogger, fan on high speed, heated seats and engine
cooling fans.
If your vehicle’s battery remains in a heavy discharge
condition for a long period of time, the fan, rear
defogger, heated seats and heated mirrors will be
disabled and the DIC will display BATTERY SAVER
ACTIVE. This can happen either under long periods of
idling or low speed driving with high electrical loading,
or in the event of a charging system fault.
Monitor the battery voltage when in the BATTERY
SAVER ACTIVE mode.
If the voltmeter remains in the shaded area (below
11 volts) when driving then have the charging
system serviced immediately.
If the voltage increases above 12 volts then the
battery needs to be recharged.
Try driving on
the highway with as few electrical accessories on
as possible.
3-20
Page 180 of 418
Window Lock Out
The number of passenger windows locked out by the
window LOCK switch can be programmed through
the DIC.
If you choose R + PASS, all three passenger window
switches will be inactive when the window LOCK switch
is enabled.
If you choose REAR, only the two rear passenger
window switches will be locked out when the window
LOCK switch is enabled.
To change modes do the following:
1. Move the arrow on the display between R + PASS
and REAR by pressing the RESET button.
2. Once you have made your selection, press the
SELECT button. Your choice will be retained in
memory.
For more information on this feature, see “Window Lock
Out” under
Power Windows on page 2-20.
Security Feedback
By choosing different combinations of these selections,
you can choose the type
of transmitter activated
feedback when locking and unlocking your vehicle with
your transmitter. Each time you make a selection by
pressing the RESET button, press the SELECT button
to record your choice.
@ KEYLESS FEEDBACK - OFF/ON
LIGHTS FEEDBACK - OFF/ON
HORN FEEDBACK - OFF/ON
If you choose
ON for KEYLESS FEEDBACK you will
also need to choose LIGHTS and/or HORN FEEDBACK.
You can select the following modes:
If you choose OFF for KEYLESS FEEDBACK, you
will receive no security feedback when locking or
unlocking your vehicle.
If you choose ON for KEYLESS FEEDBACK and
ON for LIGHTS FEEDBACK, the exterior lamps
will flash twice when unlocking your venicie
and once when locking your vehicle.
3-65
Page 185 of 418
Calibrating the Compass
All electronic compasses need to know the magnetic
profile of your vehicle. This is called calibration and
is done automatically by your compass. However, if you
would like
to manually calibrate the compass, the
following instructions will show you how.
Sometimes, strong magnetic fields can affect the
compass.
If the compass display does not show a
direction, and CALIBRATE COMPASS is displayed on
the DIC, try calibrating the compass as follows:
1. Drive the vehicle to an open, flat area.
2. Press MODE to display COMPASS CALIBRATION.
3. Press SELECT to display PRESS RESET TO
RECALIBRATE and then press the RESET
button.
4. The display will change to SLOWLY DRIVE IN
SMALL CIRCLES. Drive the vehicle in small
circles. Don’t drive faster than
10 mph (1 6 km/h).
5. Continue to drive in circles until the CALIBRATION
COMPLETE message is displayed on the DIC and
a direction is shown for the compass.
Compass Accuracy
Your compass may show different headings around
bridges, power lines, large metal objects and steep hills.
This is normal and
is true of compasses in general.
If you put large metal objects like golf clubs in the trunk
they could affect accuracy.
If the affect is minimal,
the compass will adapt to these objects over time.
If you use an antenna with a magnetic base, it is best to
mount it away from the center of the trunk near the
rear window.
The rear defog system can affect accuracy, and the
compass corrects for the rear defog. However,
if the rear
defog is turned on while making sharp turns, the
accuracy may be off. When you turn the rear defog off
again, the accuracy returns
to normal.
Be aware that metal objects are sometimes buried in
the ground. They can affect accuracy and you may not
know they are there. As an example, many concrete
roads have metal reinforcements inside.
Also,
if you drive with the trunk open, this could affect
accuracy and could decalibrate the compass.
Your compass should be calibrated. You will know this
when a direction
is shown and the CALIBRATE
COMPASS message is no longer displayed.
3-70
Page 216 of 418
Care of Your CD Player
The use of CD lens cleaner discs is not advised, due to
the risk of contaminating the lens of the
CD optics
with lubricants internal to the CD mechanism.
Diversity Antenna System
Your AM-FM antennas are located in the windshield and
rear window. Be sure that the inside surfaces of the
windshield and rear window are not scratched and that
the lines on the glass are not damaged.
If the inside
surfaces are damaged, they could interfere with
radio reception.
Do not appiy an aftermarket glass tinting. The metaffic
film in some tinting materials will interfere with or
distort the incoming radio reception.
Notice: Do not try to clear frost or other material
from the inside
of the rear window with a razor blade
or anything else that
is sharp. This may damage
the rezr defngger grid and affect your radio’s ability
to pick up stations clearly. The repairs wouldn’t
be covered by your warranty.
If, when you turn on your rear window defogger, you
hear static on your radio station, it could mean that
a defogger grid line has been damaged.
If this is true,
the grid line
must be repaired.
If you choose to add an aftermarket cellular telephone
to your vehicle, and the antenna needs to be attached to
the glass, be sure that you do not damage the grid
lines for the AM-FM antennas
or place the cellular
telephone antenna over the grid lines.
XM Satellite Radio Antenna System
Your XMTM Satellite Radio antenna is located on the
roof
of your vehicle. Keep this antenna clear of
snow and ice build
up for clear radio reception.
Chime Level Adjustment
The volume level of the vehicle’s chimes can be
controlled by the radio.
To change the volume level,
press and hold pushbutton 6 with the ignition on and the
radio power
off. The chime volume level will change
from the normal level to loud, and LOUD will be
displayed on the radio. To change back to the default or
normai
seiiiry, press a! IU I IU~ ~JUZ,~ ~u~rrul I S acjzi::.
The chime level will change from the loud level
to normal, and NORMAL will be displayed.
- .- -1 I- -1 -. .-LL urrr
3-1 01
Page 261 of 418
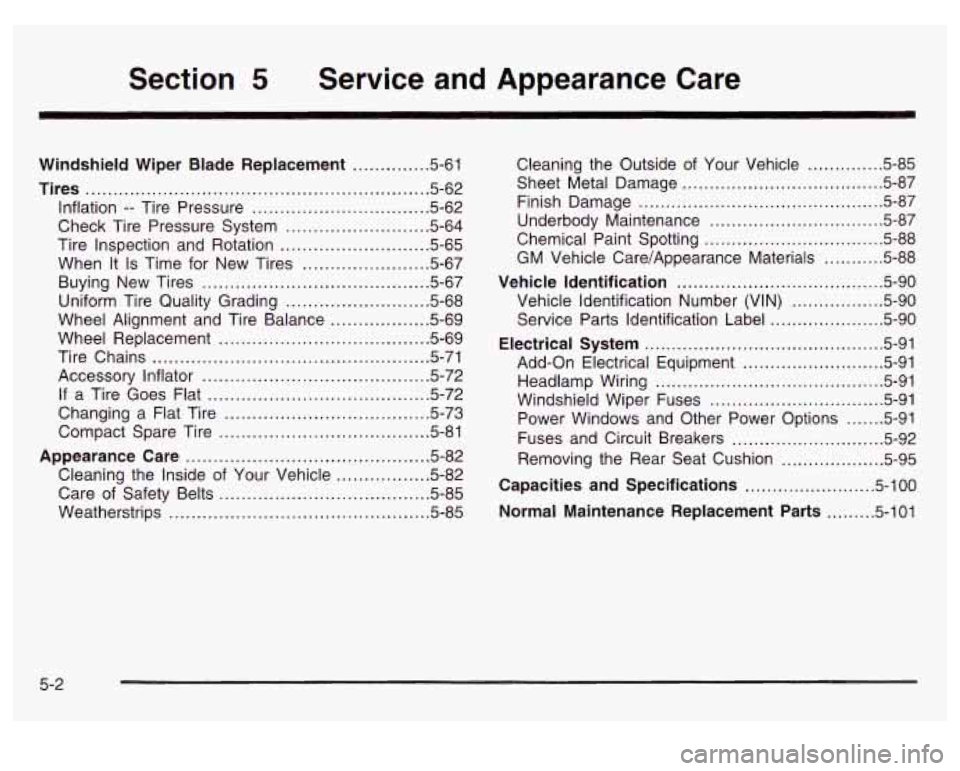
Section 5 Service and Appearance Care
Windshield Wiper Blade Replacement ............. 5-61
Tires .............................................................. 5.62
Inflation
.. Tire Pressure ................................ 5.62
Check Tire Pressure System
.......................... 5.64
Tire Inspection and Rotation
........................... 5.65
When It
Is Time for New Tires ....................... 5-67
Buying New Tires
........................................ 5-67
Uniform Tire Quality Grading
.......................... 5.68
Wheel Replacement
...................................... 5.69
Tire Chains
.................................................. 5-71
Accessory Inflator
......................................... 5.72
If a Tire Goes Flat ........................................ 5.72
Changing a Flat Tire
..................................... 5.73
Compact Spare Tire
..................................... 5-81
Appearance Care ............................................ 5.82
Wheel
Alignment and Tire Balance
.................. 5-69
Cleaning the Inside of Your Vehicle
................. 5-82
Care of Safety Belts
...................................... 5-85
Weatherstrips ............................................... 5.85
Cleaning the Outside of Your Vehicle .............. 5-85
Sheet Metal Damage
..................................... 5.87
Finish Damage
............................................. 5.87
Underbody Maintenance
................... ...... 5.87
Chemical Paint Spotting
................................. 5.88
Vehicle Identification ..................................... 5-90
Vehicle Identification Number (VIN)
...... ., ...... 5-90
Service Parts Identification Label
........ ...... 5-90
Electrical System ............................... ...... 5-91
Add-on Electrical Equipment
................ , ...... 5-91
Headlamp Wiring
.......................................... 5-91
Windshield Wiper Fuses
................................ 5-91
Power Windows and Other Power Options
....... 5-91
Fuses and Circuit Breakers
............................ 5-92
Removing the Rear Seat Cushion
................... 5-95
Capacities and Specifications ........................ 5-100
Normal Maintenance Replacement Parts ......... 5-101
GM Vehicle Care/Appearance Materials .......... 5.88
5-2
Page 350 of 418
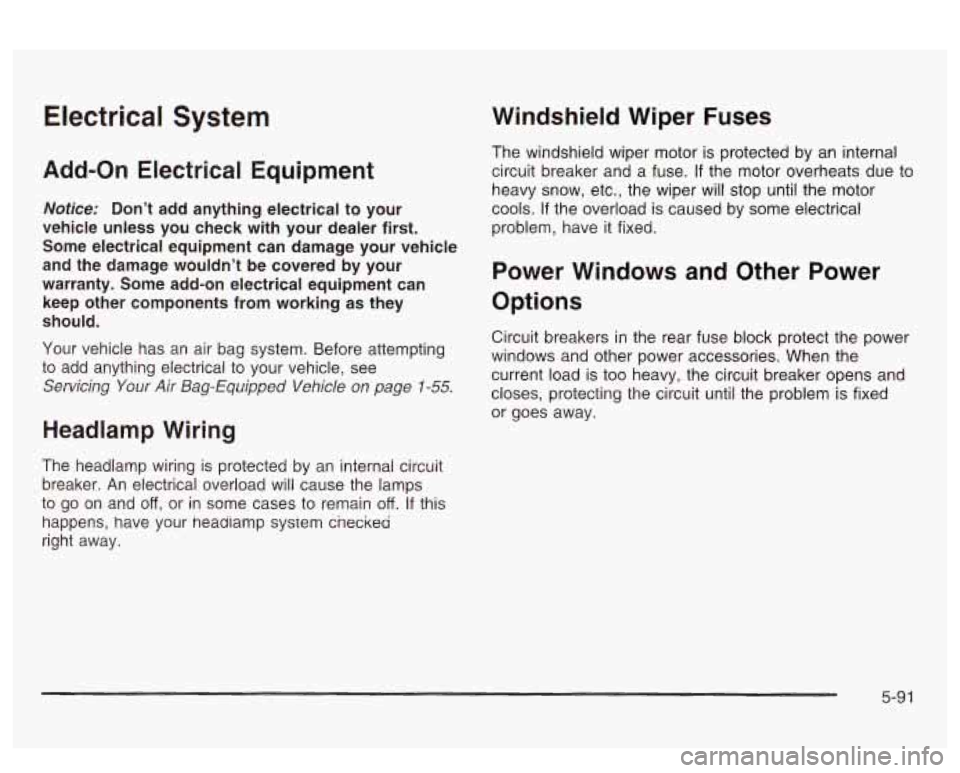
Electrical System
Add-on Electrical Equipment
Notice: Don’t add anything electrical to your
vehicle unless you check with your dealer first.
Some electrical equipment can damage your vehicle
and the damage wouldn’t be covered by your
warranty. Some add-on electrical equipment can keep other components from working as they
should.
Your vehicle has an air bag system. Before attempting
to add anything electrical to your vehicle, see
Servicing Your Air Bag-Equipped Vehicle on page 1-55.
Headlamp Wiring
The headlamp wiring is protected by an internal circuit
breaker. An electrical overload will cause the lamps
to go on and
off , or in some cases to remain off. If this
happens, have your neaaiamp system cneckea
right away.
Windshield Wiper Fuses
The windshield wiper motor is protected by an internal
circuit breaker and a fuse.
If the motor overheats due to
heavy snow, etc., the wiper will stop until the motor
cools.
If the overload is caused by some electrical
problem, have it fixed.
Power Windows and Other Power
Options
Circuit breakers in the rear fuse block protect the power
windows and other power accessories. When the
current load is too heavy, the circuit breaker opens and
closes, protecting the circuit until the problem
is fixed
or goes away.
5-91
Page 358 of 418
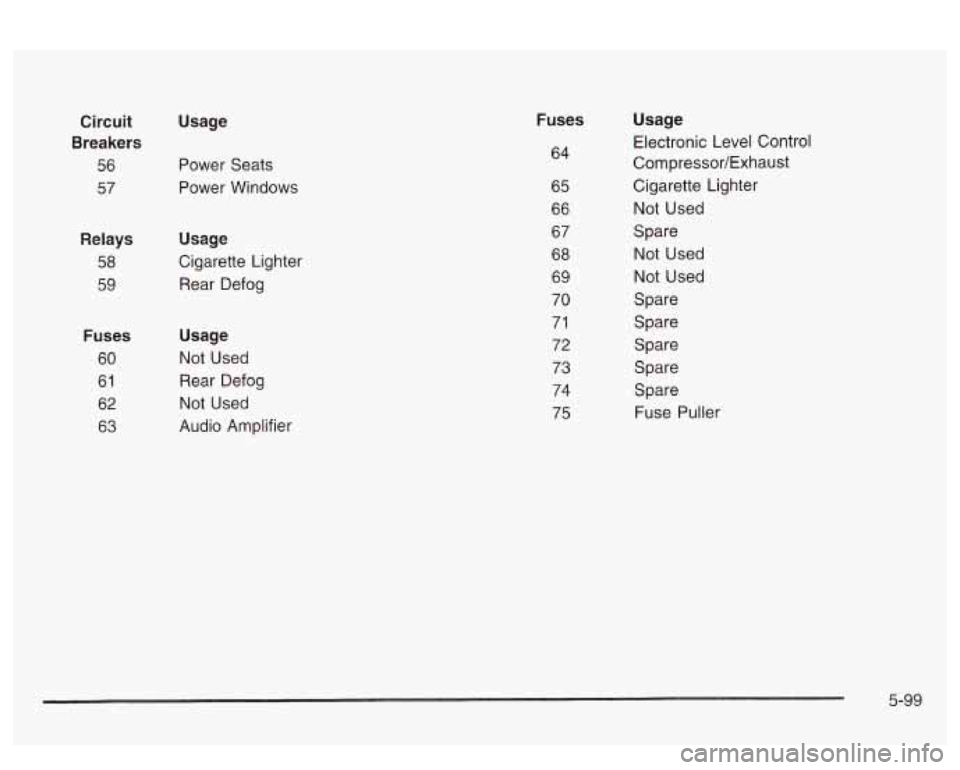
Circuit
Breakers
56
57
Relays
58
59
Fuses
60
61 62
63
Usage
Power Seats
Power Windows
Usage
Cigarette Lighter
Rear Defog
Usage
Not Used Rear Defog
Not Used
Audio Amplifier
Fuses
64
65
66
67
68 69 70
71
72
73
74
75
Usage
Electronic Level Control
Compressor/Exhaust
Cigarette Lighter
Not Used
Spare Not Used
Not Used
Spare
Spare
Spare Spare Spare Fuse Puller
5-99
Page 404 of 418
Electrical System Add-on Equipment
...................................... 5-91
Fuses and Circuit Breakers
........................... 5-92
Headlamp Wiring
......................................... 5-91
Power Windows and Other Power Options
...... 5-91
Removing the Rear Seat Cushion
.................. 5-95
Windshield Wiper Fuses
............................... 5-91
Electronic Compass
......................................... 3-68
Programs
................................................... 3-48
Air Cleaner/Filter
......................................... 5-22
Battery
....................................................... 5-44
Check and Service Engine Soon Light
............ 3-46
Coolant
...................................................... 5-26
Coolant Heater
............................................ 2-27
Coolant Temperature Gage
........................... 3-45
Cooling System Inspection
............................ 6-23
Engine Compartment Overview
...................... 5-1 4
Overheating
................................................ 5-29
Starting
...................................................... 2-26
Supercharger Oil
......................................... 5-21
Engine Cooling When Trailer Towing
.................. 4-42
Emergency Trunk Release Handle
..................... 2-18
Emissions Inspection and Maintenance
Engine
Exhaust
..................................................... 2-36
Oil ............................................................. 5-15
Engine Compartment Fuse Block ...................... 5-92
Engine Coolant Level Check
............................. 6-18 Engine
Oil Additives
......, .......................... 5-19
Entry Lighting
................................................. 3-17
Erasing HomeLink@ Buttons
.............................. 2-45
Exterior Lamps
............................................... 3-13
Exterior Lighting Battery Saver
............... ... 3-16
Engine
Oil Level Check
..... ...................... 6-18
Express-Down Window
.................................... 2-20
Extender, Safety Belt
....................................... 1-26
F
FabridCarpet .........................
Filter
............. ... 5-82
Engine Air Cleaner
...................................... 5-22
Finding a
PTY Station (RDS and XMTM) ..... 3-75, 3-85
Finding a Station
.................................... 3-73, 3-83
Finish Care
.................................................... 5-86
Finish Damage
............................................... 5-87
Flash-To-Pass
.................................................. 3-8
Flat Tire
........................................................ 5-72
Flat Tire, Changing
......................................... 5-73
!=!zid
Automatic Transaxle ..................................... 5-23
Power Steering
........................................... 5-40
Windshield Washer
...................................... 5-40
FM Stereo
..................................................... 3-99
Fog Lamps
.................................................... 3-15
Following Distance
.......................................... 4-40
Footnotes ................................................ 6-7, 6-13
5