2003 Oldsmobile Alero clutch
[x] Cancel search: clutchPage 87 of 354
A warning chime will sound if you open the driver’s door
when the ignition is
off and the key is in the ignition.
Notice: If your key seems stuck in OFF and
you can’t turn it, be sure you are using the correct
key;
if so, is it all the way in? Turn the key only
with your hand. Using
a tool to force it could break
the key or the ignition switch.
If none of this
works, then your vehicle needs service.
B (ACCESSORY): This position unlocks the transaxle.
It also lets you use things like the radio and windshield
wipers when the engine is not running. To use
ACCESSORY, turn the key clockwise to the first
position. Use this position
if your vehicle must be pushed
or towed, but never try to push-start your vehicle.
C (ON): This position is where the key returns to after
you start your engine and release the key. The
ignition switch stays in ON when the engine is running.
But even when the engine is not running, you can
use
ON to operate your electrical accessories and to
display some instrument panel warning lights.
D (START): This position starts the engine. When the
engine starts, release the key. The ignition switch
will return to ON for normal driving.
Retained Accessory Power (RAP)
Your vehicle is equipped with a Retained Accessory
Power (RAP) feature which will allow the radio to
continue
to work up to 10 minutes after the ignition is
turned to OFF.
Your radio will work when the ignition key is in ON or
ACCESSORY. Once the key is turned from ON
to OFF,
the radio will continue
to work up to 10 minutes or
until the driver’s door is opened.
Starting Your Engine
Automatic Transaxle
Move your shift lever to PARK (P) or NEUTRAL (N).
Your engine won’t start in any other position
- that’s a
safety feature. To restart when you’re already moving,
use NEUTRAL (N) only.
Notice: Don’t try to shift to PARK (P) if your
vehicle
is moving. If you do, you could damage the
transaxle. Shift to PARK (P) only when your
vehicle is stopped.
Manual Transaxle
The gear selector should be in neutral and the parking
brake engaged. Hold the clutch pedal to the floor
and start the engine. Your vehicle won’t start
if the clutch
pedal is not all the way down
- that’s a safety feature.
2-1 8
Page 94 of 354
Manual Transaxle Operation
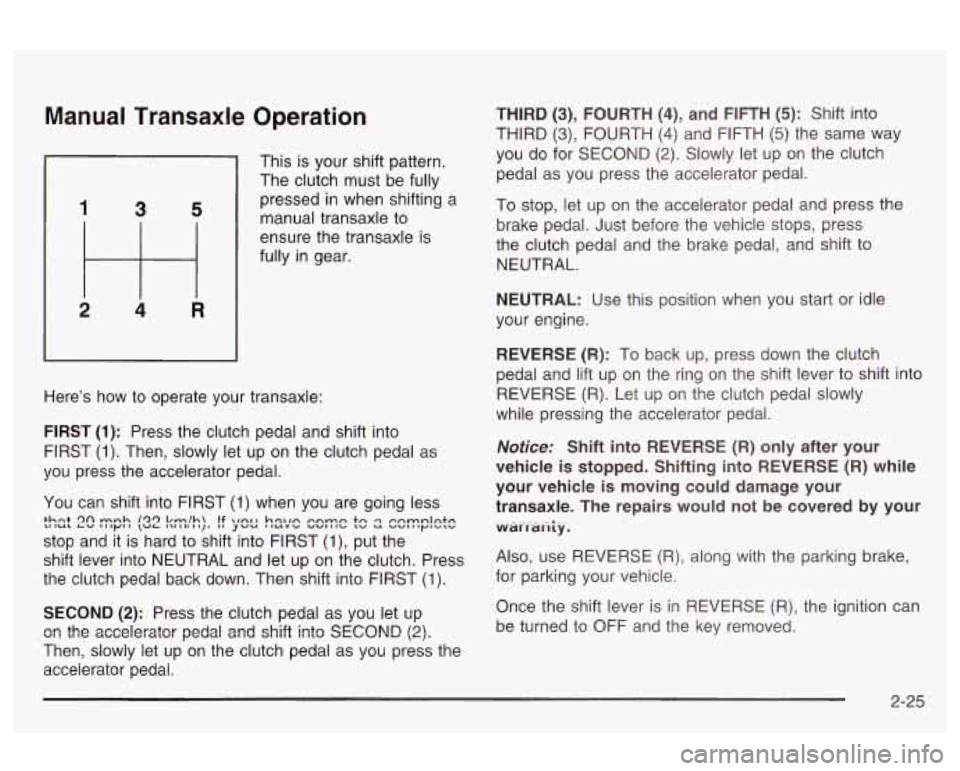
1 3 5
2 4 R
This is your shift pattern.
The clutch must be fully
pressed in when shifting a
manual transaxle to
ensure the transaxle is
fully in gear.
Here's how
to operate your transaxle:
FIRST
(1): Press the clutch pedal and shift into
FIRST
(1). Then, slowly let up on the clutch pedal as
you press the accelerator pedal.
You can shift into FIRST
(1) when you are going less
stop and it is hard to shift into FIRST
(I), put the
shift lever into NEUTRAL and let up on the clutch. Press
the clutch pedal back down. Then shift into
FIRST (1).
+hot 9fl mnh (99 bmIh\. !f \In11 hqxm rrnmn +n CJ t-nmnlntn LIIUL LV lllpll \VL 1\I11~j yuu llLlSU "WIIIU L" u "Wlllyl-I"
SECOND (2): Press the clutch pedal as you let up
Then, slowly let up
on the clutch pedal as you press the
accelerator pedal.
Gr: the acceIeratGr pedzl 2nd shift Intc SECOND (2).
THIRD (3), FOURTH (4), and FIFTH (5): Shift into
THIRD
(3), FOURTH (4) and FIFTH (5) the same way
you do for SECOND
(2). Slowly let up on the clutch
pedal as you press the accelerator pedal.
To stop, let up on the accelerator pedal and press the
brake pedal. Just before the vehicle
stops, press
the clutch pedal and the brake pedal, and shift to
NEUTRAL.
NEUTRAL: Use this position when you start or idle
your engine.
REVERSE
(R): To back up, press down the clutch
pedal and lift up on the ring on the shift lever to shift into
REVERSE
(R). Let up on the clutch pedal slowly
while pressing the accelerator pedal.
Notice: Shift into REVERSE (R) only after your
vehicle
is stopped. Shifting into REVERSE (R) while
your vehicle
is moving could damage your
transaxle. The repairs would not be covered by your
. . .- .- a.. warrarlty.
Also, use REVERSE (R), along with the parking brake,
for parking your vehicle.
Once the shift lever is in REVERSE
(R), the ignition can
be turned to OFF and the key removed.
2-25
Page 98 of 354
If you ever hold the brake pedal down but still can’t shift Parking Over Things That Burn
out of PARK (P), try this:
1. Turn the ignition key to ACCESSORY.
2. Apply and hold the regular brake until the end of
3. Shift to NEUTRAL (N).
4. Start the vehicle.
5. Shift to the drive gear you want.
6. Have the vehicle fixed as soon as you can.
Step
5.
Parking
Your Vehicle/Key Removal
Before leaving your manual transaxle model vehicle,
fully press the clutch pedal in, move the shift lever into
REVERSE
(R) and firmly apply the parking brake.
Once the shift lever has been placed in REVERSE
(R)
with the clutch pedal pressed in, you can turn the
ignition key to
OFF, remove the key and release the
clutch. See
Manual Transaxle Operation on page 2-25.
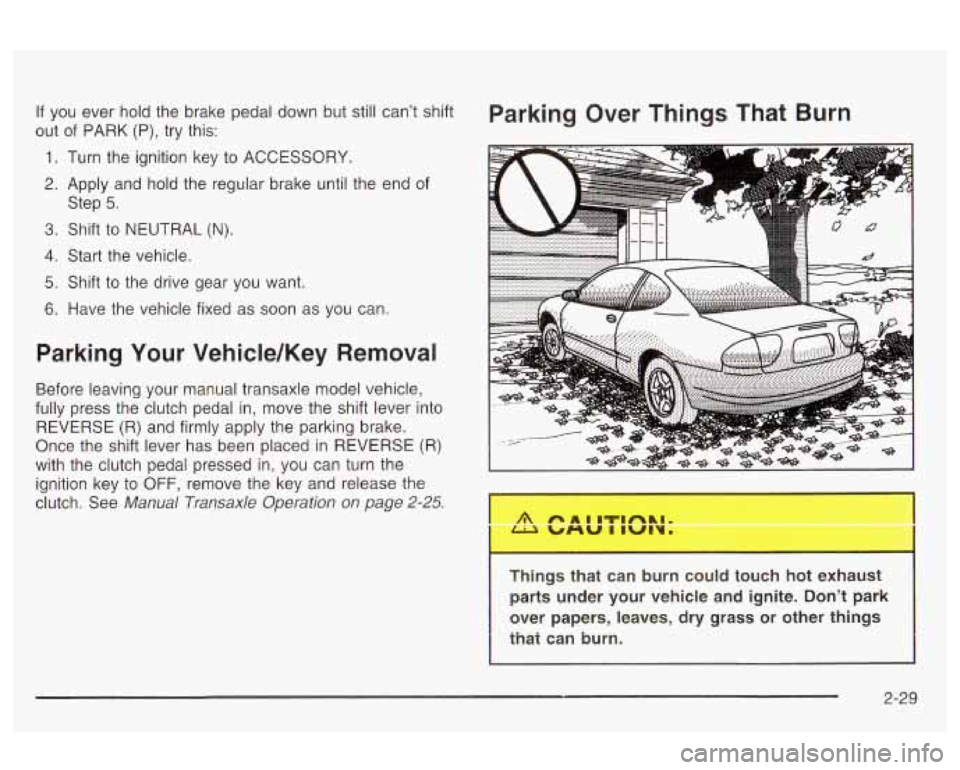
-, ,,,rigs that can burn COLJ touc,, .rot ex..,ust
parts under your vehicle and ignite. Don’t park
over papers, leaves, dry grass or other things
that can burn.
2-29
Page 116 of 354
The cruise control will turn off when any of the
following occur:
The brakes are applied,
the clutch is applied (manual transaxle),
the parking brake is applied, or
the brake system warning light is on.
Cruise control can be dangerous where
you can’t drive safely at a steady speed.
So, don’t use your cruise control on
winding roads or
in heavy traffic.
0 Cruise control can be dangerous on
slippery roads. On such roads, fast
changes in tire traction can cause
needless wheel spinning, and you could
lose control. Don’t use cruise control on
slippery roads.
If your vehicle is in cruise control when the enhanced
traction system,
if your vehicle has this feature, begins to
limit wheel spin, the cruise control will automatically
disengx~e. See Enhanced Trac?im Sys?m (ETSI ar?
page 4-9. When road conditions allow you to safely use
it again, you may turn the cruise control back on.
:ing Cruise Contrc
If you leave your cruise control on when you’re
not using cruise, you might hit a button and go
into cruise when you don’t want to. You could
be startled and even lose control. Keep the
cruise control switch
off until you want to use
cruise control.
1. Press the cruise control
ON OFF button. The
indicator light above the button will turn on.
2. Get up to the speed you want.
3. Press the CST SET (Coast Set) button and release
it. The
CRUISE light on the instrument panel cluster
will come on.
3-1 1
Page 118 of 354
Using Cruise Control on Hills
How well your cruise control will work on hills depends
upon your speed, load and the steepness of the
hills. When going up steep hills, you may have to step
on the accelerator pedal to maintain your speed.
When going downhill, you may have to brake or
shift to
a lower gear to keep your speed down. Of course,
applying the brake takes you out
of cruise control. Many
drivers find this to be too much trouble and don’t use
cruise control on steep hills.
Ending Cruise Control
There are five ways to turn off the cruise control:
Step on the brake pedal.
Press the cruise control CANCEL button.
Press the cruise control RES ACCL button and the
CST SET buttons at the same time.
Press the cruise control ON OFF button. The
indicator liqht above the cruise control button
will turn
of.
Push the clutch pedal if your vehicle has a manual
transaxle.
Erasing Speed Memory
When you turn off the cruise control or the ignition, your
cruise control set speed memory
is erased.
Exterior Lamps
I
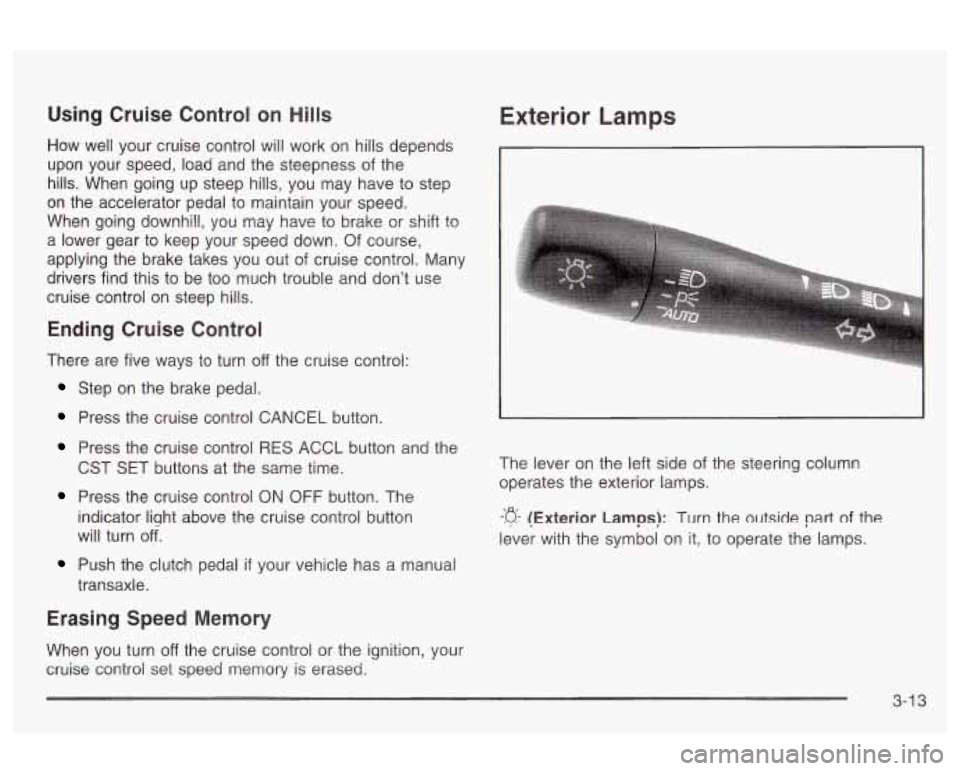
The lever on the left side of the steering column
operates the exterior lamps.
-p- (Exterior Lamps): Turn the outside part of the
lever with the symbol on it, to operate the lamps.
3-1 3
Page 216 of 354
Section 5 Service and Appearance Care
Service ........................................................... -5-3
Doing Your Own Service Work ......................... 5.4
Adding Equipment to the Outside
of Your
Vehicle
..................................................... -5-4
Fuel
............................................................... -5-5
Gasoline Octane ........................................... -5-5
Gasoline Specifications .................................... 5.5
California Fuel .............................................. -5-6
Additives
...................................................... -5-6
Fuels in Foreign Countries
.............................. -5-6
Filling Your Tank
..................................... 5-7
Fillins a Portable Fuel Container .. ...... 5.8
the Hood
...................................................... 5-9
Hood Release .............................................. 5-10
Engine Compartment Overview ....................... 5-12
Engine Oil
.................................................. -5-1 5
Au'romaiic Transaxie Fiuia A-LL
Manual Transaxle Fluid .................................. 5-22
Checking
Things Under
Engine Air CleanedFilter
................................ 5-21 - ^^ .............................
Hydraulic Clutch ........................................... 5-22
Engine Overheating
....................................... 5-26
Cooling System
............................................ 5-28
Power Steering Fluid
..................................... 5-35
Windshield Washer Fluid
............ ............ -5-36
Brakes
...................................................... -5-38
Battery
........................................................ 5-41
Jump Starting
.............................................. 5-42
Engine Coolant
............................................. 5-23
Headlamp Aiming
........................................... 5-47
Bulb Replacement .......................................... 5-49
Haloger;
!3L;lbs .............................................. 5-49
Headlamps .................. .... ......... 5-49
Front Turn Signal and
Parking Lamps
.......... ......... 5-50
Center High-Mounted Stoplamp (CHMSL)
.................................... 5-50
Taillamps, Turn Signal, and Stoplamps ............ 5-50 n-.-~ n ..II-- nepmwzIIIe111 DUIU~ J-J 1 rc4 .......................................
5- 1
Page 237 of 354
Automatic Transaxle Fluid
It is not necessary to check the transaxle fluid level. A
transaxle fluid leak is the only reason for fluid
loss.
If a leak occurs, take the vehicle to the dealership
service department and have it repaired as soon as
possible. You may also have your fluid level checked by
your dealer or service center when you have your
oil
changed.
Change both the fluid and filter every
50,000 miles
(83 000 km) if the vehicle is mainly driven under one or
more of these conditions:
In heavy city traffic where the outside temperature
regularly reaches
90°F (32°C) or higher.
In hilly or mountainous terrain.
When doing frequent trailer towing.
Uses such as found in taxi, police or delivery
service.
If you do not use your vehicle under any of these
conditions, the fluid and filter do not require changing.
Notice: We recommend you use only fluid labeled
DEXRQN@-Ill, because fluid with that label
is
made especially for your automatic transaxle.
Damage caused
by fluid other than DEXRON@-Ill is
not covered by your new vehicle warranty.
Manual Transaxle Fluid
It is not necessary to check the transaxle fluid level. A
transaxle fluid leak is the only reason for fluid
loss.
If a leak occurs, take the vehicle to the dealership
service department and have it repaired as soon as
possible. You may also have your fluid level checked by
your dealer or service center when you have your oil
changed. See
Part D: Recommended Fluids and
Lubricants
on page 6-15 for the proper fluid to use.
Hydraulic Clutch
The hydraulic clutch linkage in your vehicle is
self-adjusting. The clutch master cylinder reservoir is
filled with hydraulic clutch fluid.
It is not necessary to regularly check clutch fluid unless
you suspect there is a leak in the system. Adding
fluid won’t correct a leak.
A fluid
loss in this system could indicate a problem.
Have the system inspected and repaired.
5-22
Page 238 of 354
When to Check and What to Use
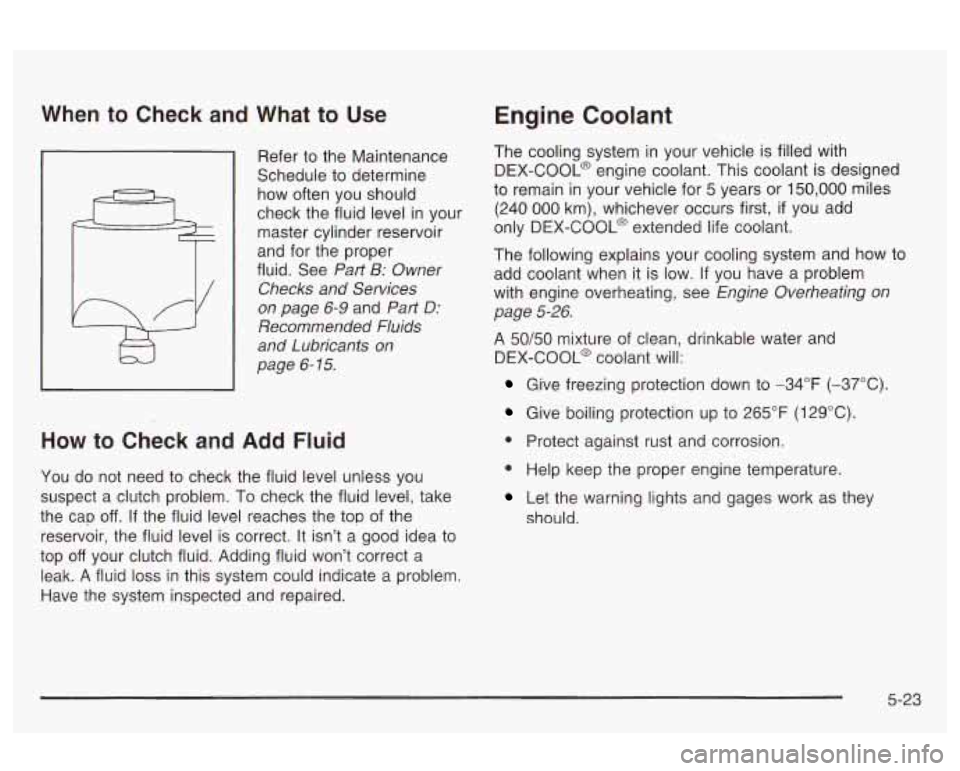
Schedule to determine
how often you should
check the fluid level in your
master cylinder reservoir
and for the proper
fluid. See
Part B: Owner
Checks and Services
on page 6-9 and Part D:
Recommended Fluids
and Lubricants
on
page 6- 15.
How to Check and Add Fluid
You do not need to check the fluid level unless you
suspect a clutch problem. To check the fluid level, take
the cap
off. If the fluid level reaches the top of the
reservoir, the fluid level is correct. It isn’t a good idea to
top
off your clutch fluid. Adding fluid won’t correct a
leak. A fluid loss in this system could indicate a problem
Have the system inspected and repaired.
Engine Coolant
The cooling system in your vehicle is filled with
DEX-COOL@ engine coolant. This coolant is designed
to remain in your vehicle for 5 years or 150,000 miles
(240 000 km), whichever occurs first, if you add
only DEX-COOL@ extended life coolant.
The following explains your cooling system and how to
add coolant when
it is low. If you have a problem
with engine overheating, see
Engine Overheating on
page 5-26.
A 50/50 mixture of clean, drinkable water and
DEX-COOL@ coolant will:
Give freezing protection down to -34°F (-37°C).
Give boiling protection up to 265°F (1 29°C).
@ Protect against rust and corrosion.
@ Help keep the proper engine temperature.
Let the warning lights and gages work as they
should.
5-23