2003 Oldsmobile Alero tow
[x] Cancel search: towPage 114 of 354

Flash-to-Pass Feature
This feature lets you use your high-beam headlamps to
signal a driver in front of you that you want
to pass.
To use it, pull the turn signaVmultifunction lever toward
you until the high-beam headlamps come on, then
release the lever to turn them
off.
Windshield Wipers
Use this lever located on the right side of the steering
wheel
to operate the windshield wipers.
OFF: Move the lever to OFF to turn off the windshield
wipers.
INT (Intermittent): Move the lever to INT to choose a
delayed wiping cycle. Turn the INT ADJ band down
for a longer delay or up for a shorter delay. The further
the INT ADJ band is turned upward, the shorter the
delay will be and the further the INT ADJ band is turned
downward, the longer the delay will be. The wiper
speed can only be adjusted when the lever is in the INT
position. Use this position for light rain or snow.
LO
(Low Speed): Move the lever up to the first setting
past INT, for steady wiping at low speed.
HI (High Speed): Move the lever up to the second
setting past INT, for steady wiping at high speed.
MIST: Move the lever all the way down to MIST for a
single wiping cycle. Hold it there until the windshield
wipers start; then let go. The windshield wipers will stop
after one wipe. If you want more wipes, hold the
band on mist longer.
Remember that damaged wiper blades may prevent you
damage, be sure
to clear ice and snow from the wiper
blades before using them. If they’re frozen to the
windshield, carefully loosen or thaw them.
If your blades
do become damaged, get new blades or blade inserts.
Heavy snow or Ice can overload your wiper motor-
A circuit breaker will stop the motor until it cools. Clear
away snow or ice
to prevent an overload.
t--- -,-:,, ... - 11 ---..-.L L- -I.-:.,- --&-I., T, -.,-:A IIUIII ~GGII ~y VVGII GI wuy~ I LW UIIVC; aalC;;ly. I u avulu
3-9
Page 124 of 354
Climate Controls
Climate Control System
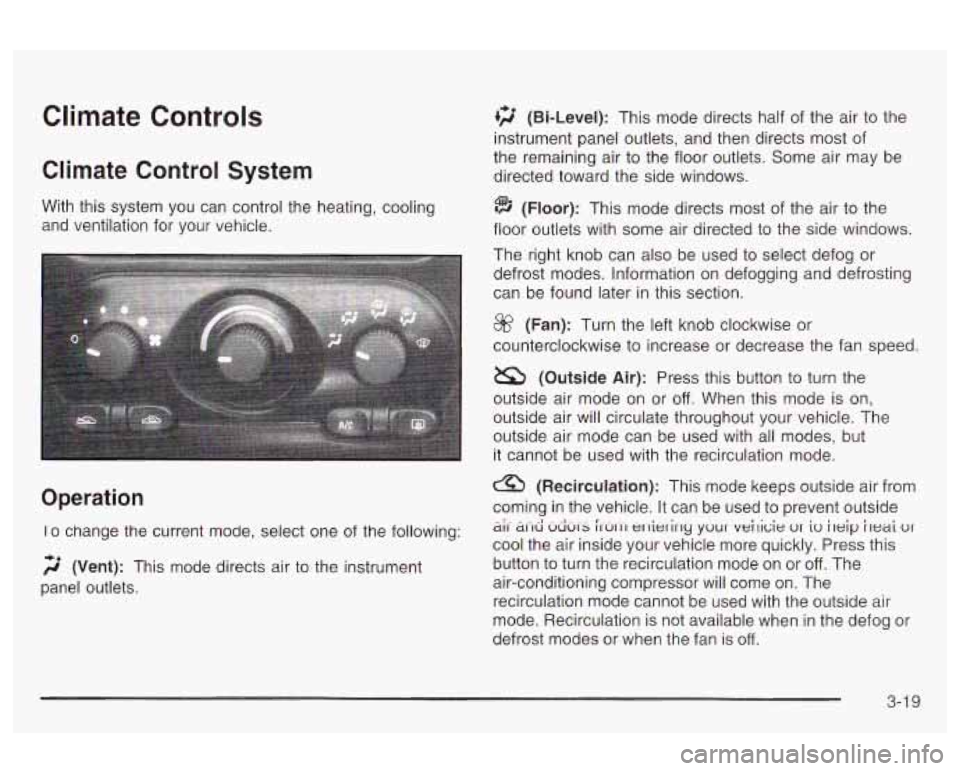
With this system you can control the heating, cooling
and ventilation for your vehicle.
Operation
Io change the current mode, select one of the following:
2 (Vent): This mode directs air to the instrument
panel outlets.
+2 (Bi-Level): This mode directs half of the air to the
instrument panel outlets, and then directs most of
the remaining air to the floor outlets. Some air may be
directed toward the side windows.
(Floor): This mode directs most of the air to the
floor outlets with some air directed to the side windows.
The right knob can also be used to select defog or
defrost modes. Information on defogging and defrosting
can be found later in this section.
@? (Fan): Turn the left knob clockwise or
counterclockwise to increase or decrease the fan speed.
a (Outside Air): Press this button to turn the
outside air mode on or
off. When this mode is on,
outside air will circulate throughout your vehicle. The
outside air mode can be used with all modes, but
it cannot be used with the recirculation mode.
(Recirculation): This mode keeps outside air from
coming in the vehicle. It can be used
to prevent outside
cool the air inside your vehicle more quickly. Press this
button to turn the recirculation mode on or
off. The
air-conditioning compressor will come on. The
recirculation mode cannot be used with the outside air
mode. Recirculation is not available when
in the defog or
defrost modes or when the fan
is off.
5i-d UdUI-s ~IUI-II er-lietirly ywur veilicie ur iw ileip i~eai ur
3-1 9
Page 133 of 354
Up-Shift Light
SHIFT
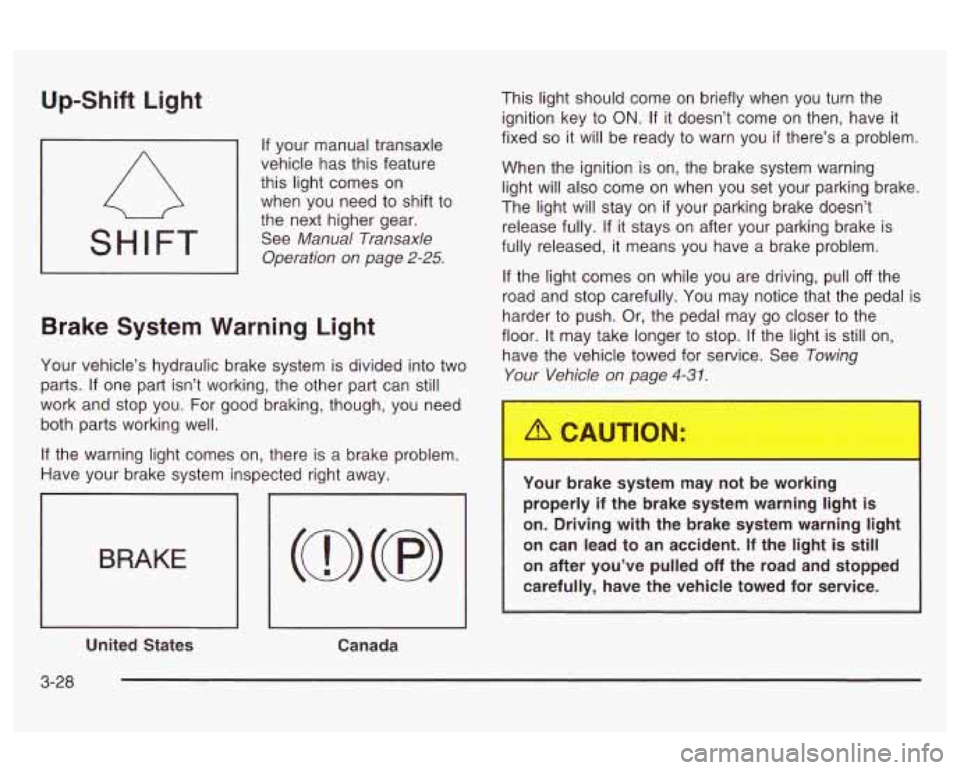
If your manual transaxle
vehicle has this feature
this light comes on
when you need to shift to
the next higher gear.
See
Manual Transaxle
Operation on page
2-25.
Brake System Warning Light
Your vehicle’s hydraulic brake system is divided into two
parts. If one part isn’t working, the other part can still
work and stop you. For good braking, though, you need
both parts working well.
If the warning light comes on, there is a brake problem.
Have your brake system inspected right away.
BRAKE
I I I
United States
Canada This light should
come on briefly when you turn the
ignition key to
ON. If it doesn’t come on then, have it
fixed
so it will be ready to warn you if there’s a problem.
When the ignition is on, the brake system warning
light will also come on when you set your parking brake.
The light will stay on
if your parking brake doesn’t
release fully. If it stays on after your parking brake is
fully released, it means you have a brake problem.
If the light comes on while you are driving, pull off the
road and stop carefully. You may notice that the pedal is
harder to push. Or, the pedal may go closer to the
floor. It may take longer to stop.
If the light is still on,
have the vehicle towed for service. See
Towing
Your Vehicle on page
4-3 1.
Your brake system r y not be working
properly
if the brake system warning light is
on. Driving with the brake system warning light
on can lead to an accident.
If the light is still
on after you’ve pulled
off the road and stopped
carefully, have the vehicle towed for service.
I
3-28
Page 137 of 354

This system is called OBD I1 (On-Board
Diagnostics-Second Generation) and is intended to
assure that emissions are at acceptable levels for the
life of the vehicle, helping to produce a cleaner
environment. The SERVICE ENGINE SOON or
CHECK
ENGINE light comes on to indicate that there is a
problem and service is required. Malfunctions often will
be indicated by the system before any problem is
apparent. This may prevent more serious damage to
your vehicle. This system is also designed to assist your
service technician in correctly diagnosing any
malfunction.
Notices If you keep driving your vehicle with this
light on, after a while, your emission controls
may not work as well, your fuel economy may not
be as good and your engine may not run as
smoothly. This could lead to costly repairs that may
not be covered by your warranty.
Notices Modifications made to the engine,
transaxle, exhaust, intake or fuel system of your
vehicle or the replacement of the original tires with other than those of the same Tire Performance
Criteria (TPC) can affect your vehicle’s emission
controls and may cause this light to come
on.
Modifications to these systems could lead to costly
repairs not covered by your warranty. This may
also result
in a failure to pass a required Emission
Inspection/Maintenance test. This light should
come on, as a check to show you it is
working, when the ignition is on and the engine is
not running.
If the light doesn’t come on, have it
repaired. This light will also come on during a
malfunction
in one of two ways:
Light Flashing - A misfire condition has been
detected. A misfire increases vehicle emissions
and may damage the emission control system on
your vehicle. Dealer or qualified service center
diagnosis and service may be required.
Light On Steady - An emission control system
malfunction has been detected on your vehicle.
Dealer or qualified service center diagnosis
and service may be required.
If the Light Is Flashing
The following may prevent more serious damage to
your vehicle:
Reducing vehicle speed.
Avoiding hard accelerations.
Avoiding steep uphill grades.
If you are towing a trailer, reduce the amount of
cargo being hauled as soon as it is possible.
If the light stops flashing and remains on steady, see “If
the Light Is On Steady’’ following.
3-32
Page 145 of 354

Setting Preset Stations
The six numbered pushbuttons let you return to your
favorite stations.
You can set up to 18 stations (six AM,
six FMI and six FM2) by performing the following steps:
1. Turn the radio on.
2. Press AM
FM to select AM, FMI or FM2.
3. Tune in the desired station.
4. Press and hold one of the six numbered
pushbuttons until you hear a beep. Whenever you
press that numbered pushbutton, the station
you set will return.
5. Repeat the steps for each pushbutton.
Setting the Tone (Bassnreble)
AUDIO: To adjust the bass or the treble, press and
release the AUDIO button repeatedly until BAS or TRE
appears on the display. Then press and hold the up or the
down arrow to increase or to decrease.
If a station is
weak or noisy, you may want to decrease the treble.
To adjust bass or treble to the middle position, select BAS
or TRE. Then press and hold the AUDIO button for more
than two seconds until you hear a beep. B and a zero
or T and a zero will appear on the display.
To adjust both tone controls and both speaker controls to
the middle position, first end out of audio mode by
pressing another button, causing the radio to perform that function, or
by waiting five seconds for the display to
return to time of day. Then press and hold the AUDIO
button for more than two seconds until you hear a beep.
CEN will appear on the display.
Adjusting the Speakers (Balance/Fade)
AUDIO: To adjust the balance between the right
and the left speakers, press and release the AUDIO
button until BAL appears on the display. Then press and
hold the up or the down arrow to move the sound
toward the right or the left speakers.
To adjust the fade between the front and rear speakers,
press and release the AUDIO button until FAD
appears on the display. Then press and hold the up or
the down arrow to move the sound toward the front
or the rear speakers.
To adjust balance or fade to the middle position, select
BAL or FAD. Then press and hold AUDIO for more
than two seconds until you hear a beep.
L and a zero
or
F and a zero will appear on the display.
To adjust both tone controls and both speaker controls
to the middle position, first end out of audio mode
by pressing another button, causing the radio to perform
that function, or by waiting five seconds for the display
to return to time
of day. Then press and hold AUDIO for
more than two seconds until you hear a beep. CEN
will appear on the display.
3-40
Page 151 of 354
Adjusting the Speakers (Balance/Fade)
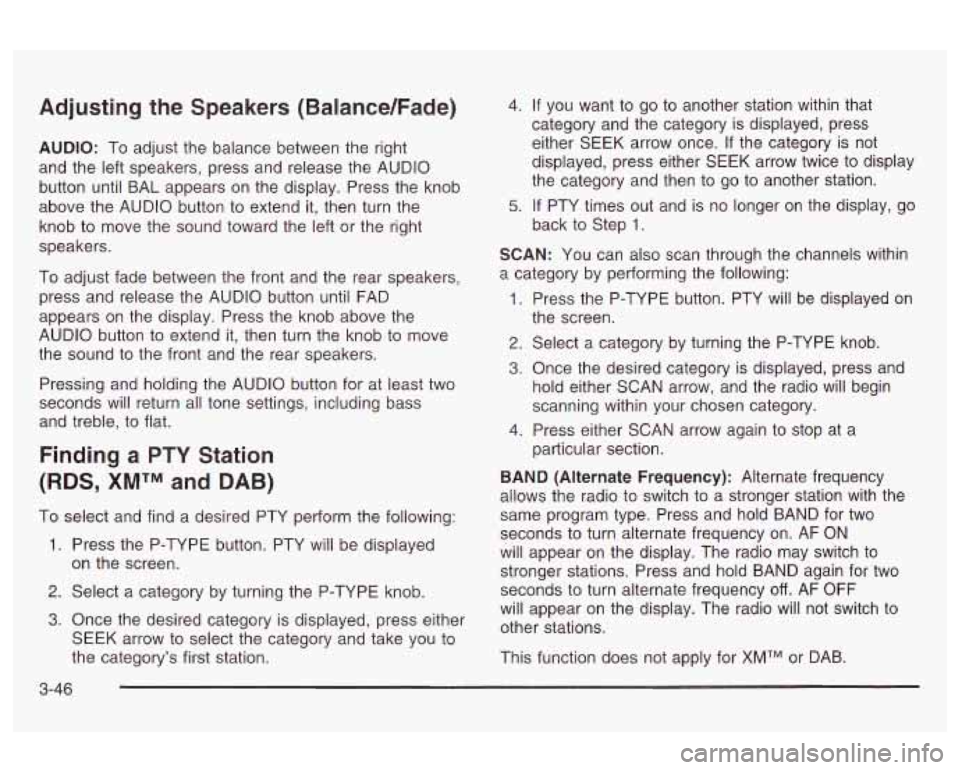
AUDIO: To adjust the balance between the right
and the left speakers, press and release the AUDIO
button until BAL appears on the display. Press the knob
above the AUDIO button to extend
it, then turn the
knob to move the sound toward the left or the right
speakers.
To adjust fade between the front and the rear speakers,
press and release the AUDIO button until FAD
appears
on the display. Press the knob above the
AUDIO button to extend it, then turn the knob to move
the sound to the front and the rear speakers.
Pressing and holding the AUDIO button for at least two
seconds will return all tone settings, including bass
and treble, to flat.
Finding a PTY Station
(RDS, XMTM and DAB)
To select and find a desired PTY perform the following:
1. Press the P-TYPE button. PTY will be displayed
on the screen.
2. Select a category by turning the P-TYPE knob.
3. Once the desired category is displayed, press either
SEEK arrow to select the category and take you to
the category’s first station.
4. If you want to go to another station within that
category and the category is displayed, press
either
SEEK arrow once. If the category is not
displayed, press either SEEK arrow twice to display
the category and then to go to another station.
5. If PTY times out and is no longer on the display, go
back to Step
1.
SCAN: You can also scan through the channels within
a category by performing the following:
1. Press the P-TYPE button. PTY will be displayed on
2. Select a category by turning the P-TYPE knob.
3. Once the desired category is displayed, press and
hold either SCAN arrow, and the radio will begin
scanning within your chosen category.
particular section.
the
screen.
4. Press either SCAN arrow again to stop at a
BAND (Alternate Frequency): Alternate frequency
allows the radio to switch to a stronger station with the
same program type. Press and hold BAND for two
seconds to turn alternate frequency on. AF
ON
will appear on the display. The radio may switch to
stronger stations. Press and hold BAND again for two
seconds
to turn alternate frequency off. AF OFF
will appear on the display. The radio will not switch to
other stations.
This function does not apply for
XMTM or DAB.
3-46
Page 161 of 354
Adjusting the Speakers (Balance/Fade)
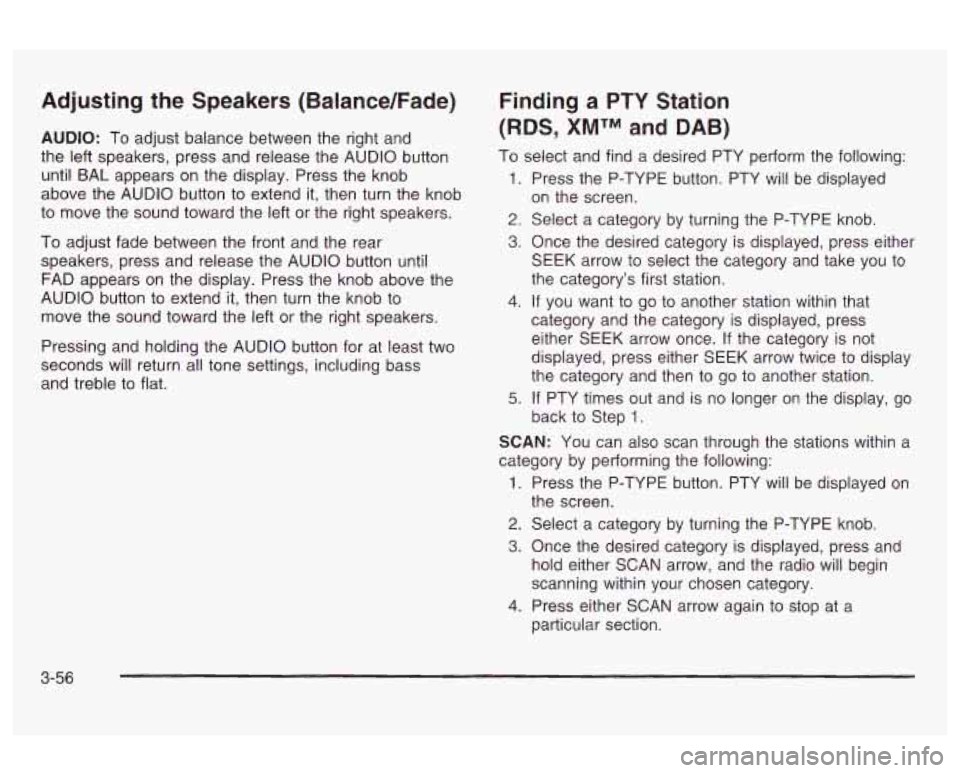
AUDIO: To adjust balance between the right and
the left speakers, press and release the AUDIO button
until BAL appears
on the display. Press the knob
above the AUDIO button to extend it, then turn the knob
to move the sound toward the left or the right speakers.
To adjust fade between the front and the rear
speakers, press and release the AUDIO button until
FAD appears on the display. Press the knob above the
AUDIO button to extend it, then turn the knob to
move the sound toward the left or the right speakers.
Pressing and holding the AUDIO button for at least two
seconds will return all tone settings, including bass
and treble to flat.
Finding a PTY Station
(RDS, XMTM and DAB)
To select and find a desired PTY perform the following:
1. Press the P-TYPE button. PTY will be displayed
2. Select a category by turning the P-TYPE knob.
3. Once the desired category is displayed, press either
on
the screen.
SEEK arrow to select the category and take you to
the category’s first station.
4. If you want to go to another station within that
category and the category is displayed, press
either SEEK arrow once.
If the category is not
displayed, press either SEEK arrow twice to display
the category and then
to go to another station.
5. If PTY times out and is no longer on the display, go
back to Step
1.
SCAN: You can also scan through the stations within a
category by performing the following:
1. Press the P-TYPE button. PTY will be displayed on
2. Select a category by turning the P-TYPE knob.
3. Once the desired category is displayed, press and
hold either SCAN arrow, and the radio will begin
scanning within your chosen category.
particular section.
the screen.
4. Press either
SCAN arrow again to stop at a
3-56
Page 174 of 354
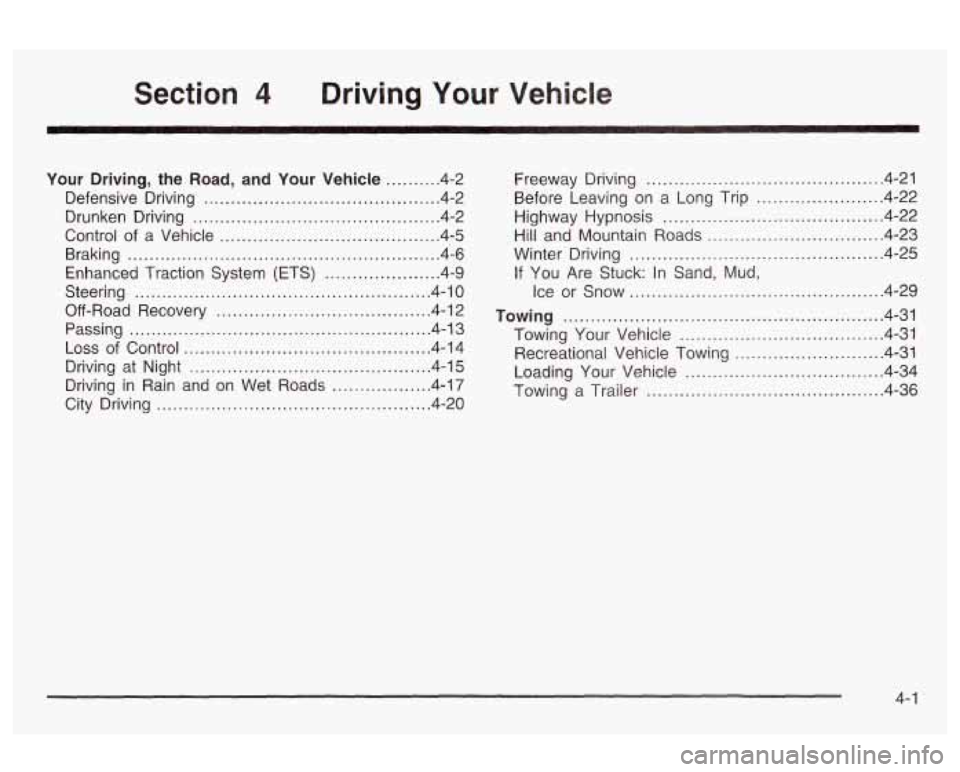
Section 4 Driving Your Vehicle
Your Driving. the Road. and Your Vehicle .......... 4-2
Defensive Driving
........................................... 4.2
Drunken Driving
............................................. 4.2
Control of a Vehicle
........................................ 4-5
Braking
......................................................... 4-6
Enhanced Traction System
(ETS) ..................... 4-9
Steering
...................................................... 4-10
Off-Road Recovery
....................................... 4-12
Passing
....................................................... 4-13
Loss of Control
............................................. 4-14
Driving at Night
............................................ 4-15
Driving in Rain and on Wet Roads
.................. 4-17
City Driving
.................................................. 4.20 Freeway
Driving
.......................................... -4-21
Before Leaving on a Long Trip
....................... 4-22
Highway Hypnosis
....................................... -4-22
Hill and Mountain Roads
................................ 4-23
Winter Driving
.............................................. 4-25
If You Are Stuck: In Sand, Mud,
Ice or Snow
.............................................. 4-29
lowing Your Vehicle
..................................... 4-31
Recreational Vehicle lowing
........................... 4-31
Loading Your Vehicle
.................................... 4-34
lowing a Trailer
........................................ 4-36
Towing
.......................................................... 4-31
4- 1