2003 Oldsmobile Alero fog light
[x] Cancel search: fog lightPage 110 of 354
The main components of your instrument panel are the following:
A. Instrument Panel Fuse Blocks L. Cruise Control Switches
B. Air Outlets
C. Instrument Panel Cluster
D. Hazard Warning Flasher Button
E. Audio System
F. Climate Control System
G. Side Window Defogger Vent
H. Fog Lamp Button (If Equipped)
I. Instrument Panel Brightness Thumbwheel
J. Turn SignaVMultifunction Lever
K. Hood Release Handle M.
N.
0.
P,
Q
R
S
T.
Tilt
Wheel Lever
Ignition Switch
Windshieid Wiperwasher Lever
Enhanced Traction System Button
Transaxle Shift Lever Parking Brake
Cigarette Lighter/Accessory Power Outlet
Accessory Power Outlet
3-5
Page 120 of 354

The system may also be on when driving through a
parking garage, heavy overcast weather or a tunnel.
This is normal.
There is a delay in the transition between the daytime
and nighttime operation of the DRL and the Automatic
Headlamp System
so that driving under bridges or bright
overhead street lights does not affect the system. The
DRL and Automatic Headlamp Systems will only be
affected when the light sensor sees a change in lighting
lasting longer than this delay.
To idle your vehicle with the system off, set the parkin9
brake while the ignition is
off. Then start the vehicle.
The system will stay
off until you release the parking
brake.
As with any vehicle, you should turn on the regular
headlamps when you need them.
Headlamps Off in PARK (P)
To turn the headlamps off when it is dark outside, turn
the exterior lamps control
to the parking lamp position.
In this position, the parking lamps, sidemarker lamps,
taillamps, license plate lamps and instrument panel
lights will be on, but the headlamps will be off.
To turn on the headlamps along with the other lamps
when it is dark outside, turn the exterior lamps control
to
the AUTO or headlamp position.
Delayed Headlamps
The delayed headlamps feature will continue to
illuminate the headlamps for
20 seconds after the key is
turned to
OFF, then the headlamps will automatically
turn off.
To override the
20 second delayed headlamp feature
while it is active turn the turn signal/muItifunction
lever up one position and then back
to AUTO.
Fog Lamps
If your vehicle has this feature, the button for your fog
lamps is located on the instrument panel, to the left
of the steering wheel, beside the instrument panel
brightness thumbwheel.
When using the fog lamps, the ignition must be on as
well as the parking lamps or the low-beam headlamps.
Press the button to turn the fog lamps on. An indicator
light on the button will glow when the fog lamps are on.
Press the button again to turn the fog lamps off.
TI-- I--. I ... :I1 I ..... LT . I. . . I I luy I~III~ WIII Lull1 UII WII~II~V~I iile iliyil-bed1r1
headlamps are turned on. When the high beams
are turned off, the fog lamps will come on again.
3-1 5
Page 125 of 354

When you switch to the defog or defrost modes the
system will automatically move from recirculation to
outside air. When you move the mode knob back to
another mode, the system will move back into
recirculation. When the car is turned off and back on the
system will default to outside air automatically.
Temperature Control: Turn the center knob clockwise
or counterclockwise to manually increase or decrease
the temperature inside your vehicle.
When it’s cold outside
0°F (-18°C) or lower, use the
engine coolant heater,
if equipped, to provide warmer air
faster to your vehicle. An engine coolant heater warms
the coolant that the engine uses to provide heat to
warm the inside of your vehicle. For more information,
see
Engine Coolant Heater on page 2-20.
A/C (Air Conditioning): Press this button to turn the
air-conditioning system on or off. When
A/C is pressed,
an indicator light in the button will come on to let you
know that air conditioning is activated.
The fan knob must be set to a speed for the air
conditioning to operate.
On hot days, open the windows to let hot inside air
escape; then close them. This helps to reduce the time
it takes for your vehicle to cool down. It also helps
the system to operate more efficiently. For
quick cool down
on hot days:
1. Select the vent mode.
2. Select the highest fan speed.
3. Select A/C.
4. Select the recirculation mode.
5. Select the coolest temperature.
Using these settings together for long periods of time
may cause the air inside of your vehicle to become too
dry. To prevent this from happening, after the air in
your vehicle is cooled, turn the recirculation mode off.
The air-conditioning system removes moisture from
the air,
so you may sometimes notice a small amount of
water dripping underneath your vehicle while idling or
after turning off the engine. This is normal.
Defogging and Defrosting
There are two modes to choose from to clear fog or
frost from your windshield. Use the defog mode to clear
the windows of fog or moisture and warm the
passengers. Use the defrost mode to remove fog or
frost from the windshield more quickly.
Turn the right knob to select the defog or defrost mode.
3-20
Page 126 of 354
+3 (Defog): This mode directs half of the air to the
windshield and most of the remaining air to the
floor outlets with a small amount directed at the side
windows. When you select this mode, the system turns
off recirculation and runs the air-conditioning
compressor unless the outside temperature is at or
below freezing. The recirculation mode cannot be
selected while in the defog mode.
To help clear the side windows quickly while using air
conditioning, do the following:
1. Select the bi-level mode.
2. Select the highest fan speed.
3. Select NC.
4. Select the temperature.
9 (Defrost): This mode directs most of the air to
the windshield with some air directed to the floor
outlets. In this mode, the system will automatically
turn
off recirculation and run the air-conditioning
compressor, unless the outside temperature is at
or
in the defrost mode.
To help clear the windshield quickly, do the following:
L-I -... r ”--- :-.- ne-: --.. I-&:-.- I I- - I- _I_ -I ... 1.11- uctuvv tt GGLII ty. ncx,lIbuIauuI I l,cu II 161 ue SeIe‘uttw WI III~
1. Select the defrost mode.
2. Select the outside air mode.
3. Select the highest temperature.
4. Select the highest fan speed. Your
vehicle is equipped with side window defogger
outlets located above the side instrument panel outlets.
To help clear the side windows quickly, do the following:
1. Select the floor mode.
2. Select the outside air mode.
3. Select the highest temperature.
4. Select the highest fan speed.
Rear Window Defogger
The rear window defogger uses a warming grid to
remove fog from the rear window.
Lut] REAR: Press this button to turn the rear window
defogger on or
off. An indicator light in the button
will come on to let you know that the rear window
defogger is activated. Be sure to clear as much snow
from the rear window as possible.
The rear window defogger will turn
off approximately
10 minutes after the button is pressed. If turned on
again, the defogger will only run for approximately
five minutes before turning
off. The defogger can also
be turned
off by pressing the button again or by turning
off the engine.
Notice: Don’t use anything sharp on the inside of
the rear window. If you do, you could cut or damage
the warming grid, and the repairs wouldn’t
be
vehicle license, tape, a decal or anything similar
to the defogger grid.
cGvered by ycx: warranty. oc not attach a temporaiy
3-2 1
Page 171 of 354
The cut tape detection feature of your cassette tape
player may identify the cleaning cassette as a damaged
tape, in error. To prevent the cleaning cassette from
being ejected, use the following steps.
1. Turn the ignition on.
2. Turn the radio off.
3. Press and hold the TP CD button for five seconds.
4. Insert the scrubbing action cleaning cassette.
5. Eject the cleaning cassette after the manufacturer’s
recommended cleaning time.
You may also choose a non-scrubbing action, wet-type
cleaner which uses a cassette with a fabric belt to
clean the tape head. This type
of cleaning cassette will
not eject on its own. A non-scrubbing action cleaner
may not clean as thoroughly as the scrubbing type
cleaner. The use of a non-scrubbing action, dry-type
cleaning cassette is not recommended.
After you clean the player, press and hold the eject
button for five seconds to reset the CLEAN PLAYR
indicator. The radio will display CLEANED to show the
indicator was reset.
Cassettes are subject to wear and the sound quality
may degrade over time. Always make sure the cassette
tape is in good condition before you have your tape
player serviced.
Care of Your CDs
Handle discs carefully. Store them in their original cases
or other protective cases and away from direct sunlight
and dust.
If the surface of a disc is soiled, dampen
a clean, soft cloth in a mild, neutral detergent solution
and clean
it, wiping from the center to the edge.
Be sure never to touch the side without writing when
handling discs. Pick up discs by grasping the outer
edges or the edge of the hole and the outer edge.
Care of Your CD Player
The use of CD lens cleaner discs is not advised, due to
the risk of contaminating the lens of the CD optics
with lubricants internal to the CD mechanism.
Backglass Antenna
Your AM-FM antenna is integrated with your rear
window defogger, located in the rear window. Be sure
that the inside surface of the rear window is not
scratched and that the lines on the glass are not
damaged.
If the inside surface is damaged, it could
interfere with radio reception.
3-66
Page 300 of 354
Relays 16
17
18
19
20 21
22
Fuses
23-32 33
34
35
36
37
36
39
40 Usage
Air Conditioning Compressor
Not Used
Fuel Pump
Automatic Headlamp System
Automatic Headlamp System
Horn
Daytime Running Lamps (DRL)
Usage
Spare Fuse Holder
Rear Defog
ACC~SSGP~ Power Outlets, Cigarette
Lighter
Generator Not Used
Air Conditioning Compressor, Body
Function Control Module
Powertrain Control Module (PCM)
Anti-Lock Brakes (ABS)
A ..I -._-- +:- T --.---., I, r\ULUI I Idllb I I C€l13C€AlG
Fuses 41
42
43
44
45
46 47
48 49
50
51
52
53
54
55
56
57 Usage
Ignition System
Back-up Lamps, Brake Transaxle
Shift Interlock
Horn
PCM
Parking Lamps
Climate Control System, Air
Conditioning
Canister Vent Valve, Exhaust
Oxygen Sensors
Fuel Pump, Injectors
Not Used
Right Headlamp
Left Headlamp
Cooling Fan
#2
HVAC Blower (Climate Control)
Crank Cooling Fan
#2 Ground
Fuse Puller for Mini Fuses
Not Used
5-85
Page 337 of 354
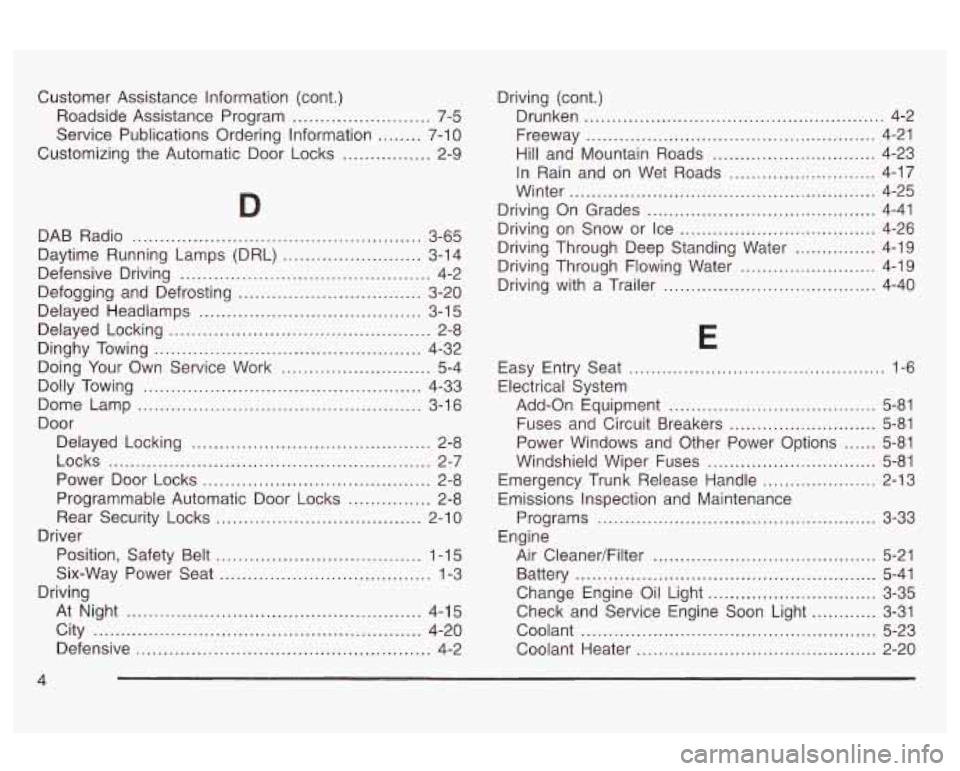
Customer Assistance Information (cont.)
Roadside Assistance Program
......................... 7-5
Service Publications Ordering Information
........ 7-1 0
Customizing the Automatic Door Locks ............. 2-9
D
DAB Radio ................................................ 3-65
Daytime Running Lamps (DRL)
......................... 3-14
Defensive Driving
............................................. 4-2
Defogging and Defrosting
................................. 3-20
Delayed Headlamps
........................................ 3-1 5
Delayed Locking ............................................... 2-8
Dinghy Towing
...................... .................. 4-32
Dolly Towing
........................ .............. 4-33
Dome Lamp
......................... .................. 3-16
Door Delayed Locking
................... ................ 2-8
Power Door Locks
......................................... 2-8
Programmable Automatic Door Locks
............... 2-8
Rear Security Locks
..................................... 2-10
Position, Safety Belt
..................................... 1-15
Six-Way Power Seat
...................................... 1-3
At Night
..................................................... 4-15
City
........................................................... 4-20
Defensive
..................................................... 4-2
Doing
Your Own Service Work
............... ..... 5-4
Locks
...................................................... 2-7
Driver
Driving Driving
(cont.)
Drunken
....................................................... 4-2
Freeway
..................................................... 4-21
Hill and Mountain Roads
.............................. 4-23
In Rain and on Wet Roads
........................... 4-17
Winter
........................................................ 4-25
Driving On Grades
.......................................... 4-41
Driving on Snow or Ice
.................................... 4-26
Driving Through Deep Standing Water
............... 4-19
Driving Through Flowing Water
......................... 4-19
Driving with a Trailer
....................................... 4-40
E
Easy Entry Seat ............................................... 1-6
Electrical System
Add-on Equipment
...................................... 5-81
Fuses and Circuit Breakers
........................... 5-81
Windshield Wiper Fuses
............................... 5-81
Emergency Trunk Release Handle
..................... 2-13
Emissions Inspection and Maintenance
Programs
................................................... 3-33
Engine
Air Cleaner/Filter
......................................... 5-21
Battery
....................................................... 5-41
Change Engine Oil Light
............................... 3-35
Coolant
...................................................... 5-23
Coolant Heater
............................................ 2-20
Power Windows and Other Power Options
...... 5-81
Check and Service Engine Soon Light
............ 3-31
4
Page 338 of 354
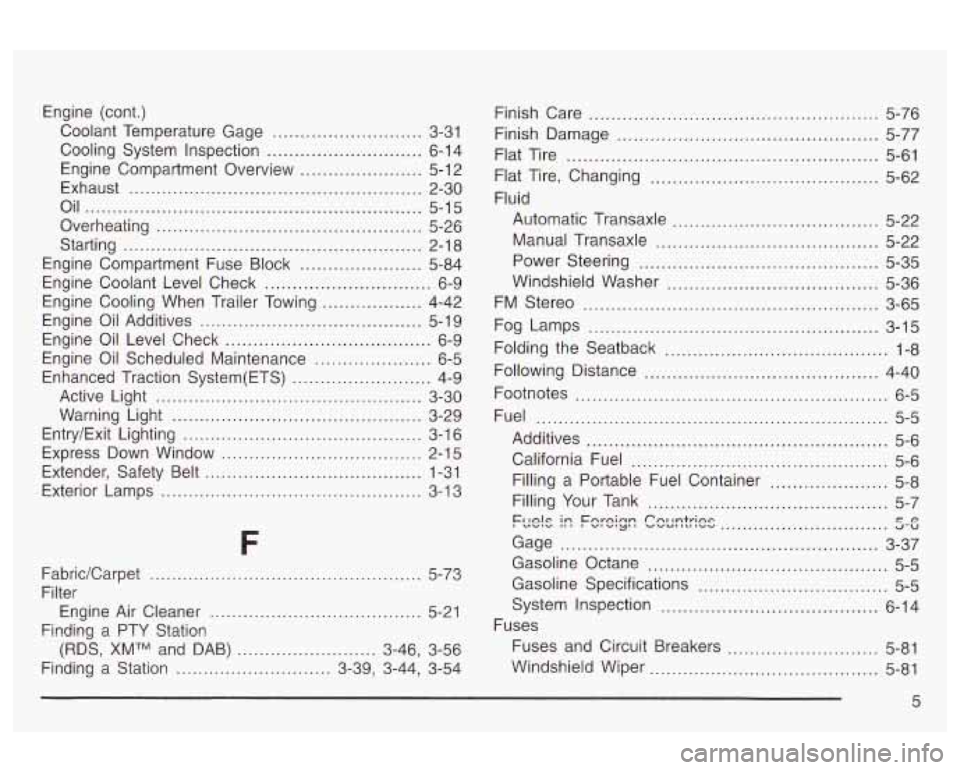
Engine (cont.) Coolant Temperature Gage
........................... 3-31
Cooling System Inspection ............................ 6-1 4
Engine Compartment Overview ...................... 5-1 2
Exhaust ..................................................... 2-30
Oil ............................................................. 5-15
Overheating ................................................ 5-26
Starting .................................................. 2-1 8
Engine Compartment Fuse Block .................. 5-84
Engine Coolant Level Check .............................. 6-9
Engine Cooling When Trailer Towing .................. 4-42
Engine Oil Additives ........................................ 5-19
Engine Oil Scheduled Maintenance ..................... 6-5
Enhanced Traction System(ETS) ......................... 4-9
Ac'rive Light ................................................ 3-30
Warning Light ............................................. 3-29
Entry/Exit Lighting ........................................... 3-1 6
Express Down Window .................................... 2-15
Extender, Safety Belt ....................................... 1-31
Exterior Lamps ............................................... 3-13
Engine Oil Level Check ..................................... 6-9
F
FabridCarpet ...............................
Filter
Engine Air Cleaner
.....
(RDS. XMTM and DAB) .... .............. 3.46. 3-56
Finding a Station ............................ 3-39, 3-44, 3-54
Finding a PTY Station
............
5-73
5-2
1
Finish Care ................................................ 5-76
Finish Damage ............................................... 5-77
Flat Tire ........................................................ 5-61
Flat Tire, Changing ......................................... 5-62
Fluid
Automatic Transaxle
.................. ........ 5-22
Manual Transaxle .................................... 5-22
Power Steering ........................................... 5-35
Windshield Washer ...................................... 5-36
Fog Lamps .................................................... 3-15
Folding the Seatback ........................................ 1-8
Footmtes ........................................................ 6-5
Fuel ............................................................... 5-5
Additives ...................................................... 5-6
California Fuel .............................................. 5-6
Filling a Portable Fuel Container ..................... 5-8
Filling Your -rank ........................................... 5-7
Gage ......................................................... 3-37
FM Stereo ..................................................... 3-65
Following Distance .......................................... 4-40
Fge!s i~ Fnminn Pnrrntrin c. "'V'Y" v"u"L"-U J-v cr? ..............................
Gasoline Octane ........................................... 5-5
Gasoline Specifications .................................. 5-5
System Inspection ....................................... 6-14
Fuses
Fuses and Circuit Breakers
........................... 5-81
Windshield Wiper ......................................... 5-81
5