2003 Oldsmobile Alero flat tire
[x] Cancel search: flat tirePage 195 of 354
The exit ramp can be curved, sometimes quite sharply.
The exit speed
is usually posted. Reduce your speed
according
to your speedometer, not to your sense
of motion. After driving for any distance at higher
speeds, you may tend
to think you are going slower
than you actually are.
Before Leaving on a Long Trip
Make sure you’re ready. Try to be well rested. If you
must start when you’re not fresh
- such as after a day’s
work
- don’t plan to make too many miles that first
part of the journey. Wear comfortable clothing and shoes
you can easily drive in.
Is your vehicle ready for a long trip?
If you keep it
serviced and maintained, it’s ready
to go. If it needs
service, have it done before starting out. Of course,
you’ll find experienced and able service experts
in dealerships all across North America. They’ll be
ready and willing
to help if you need it.
Here are some things you can check before a trip:
Windshield Washer Fluid: Is the reservior full? Are
all windows clean inside and outside?
Wiper Blades: Are they in good shape?
Lamps: Are they all working? Are the lenses clean?
Tires: They are vitally important to a safe,
trouble-free trip. Is the tread good enough for
long-distance driving? Are the tires all inflated to the
recommended pressure?
Weather Forecasts: What’s the weather outlook
along your route? Should you delay your trip a
short time
to avoid a major storm system?
Maps: Do you have up-to-date maps?
Highway Hypnosis
Is there actually such a condition as “highway
hypnosis”? Or is it just plain falling asleep at the wheel?
Call it highway hypnosis, lack of awareness, or
whatever.
There is something about an easy stretch of road with
the same scenery, along with the hum of the tires on the
road, the drone of the engine, and the rush of the
wind against the vehicle that can make you sleepy. Don’t
let it happen to you!
If it does, your vehicle can leave
the road in
less than a second, and you could crash and
be injured.
Fuel, Engine Oil, Other Fluids: Have you checked
all levels?
4-22
Page 207 of 354
Loading Your Vehicle
(@I OCCUPANTS VEHICLE CAP. WT.
TIRE-LOADING
INFORMATION
TOTAL
LBS. KG
MAX. LOADING & GVWR SAME AS VEHICLE
CAPACITY WEIGHT XXX COLD TIRE
TIRE
SIZE SPEED PRESSURE
RTG PSliKPa
FRT.
RR.
SPA.
IF TIRES ARE HOT, ADD 4PS1;28KPa
SEE OWNER’S MANUAL FOR ADDITIONAL
INFORMATION
~ ~~~~ ~-
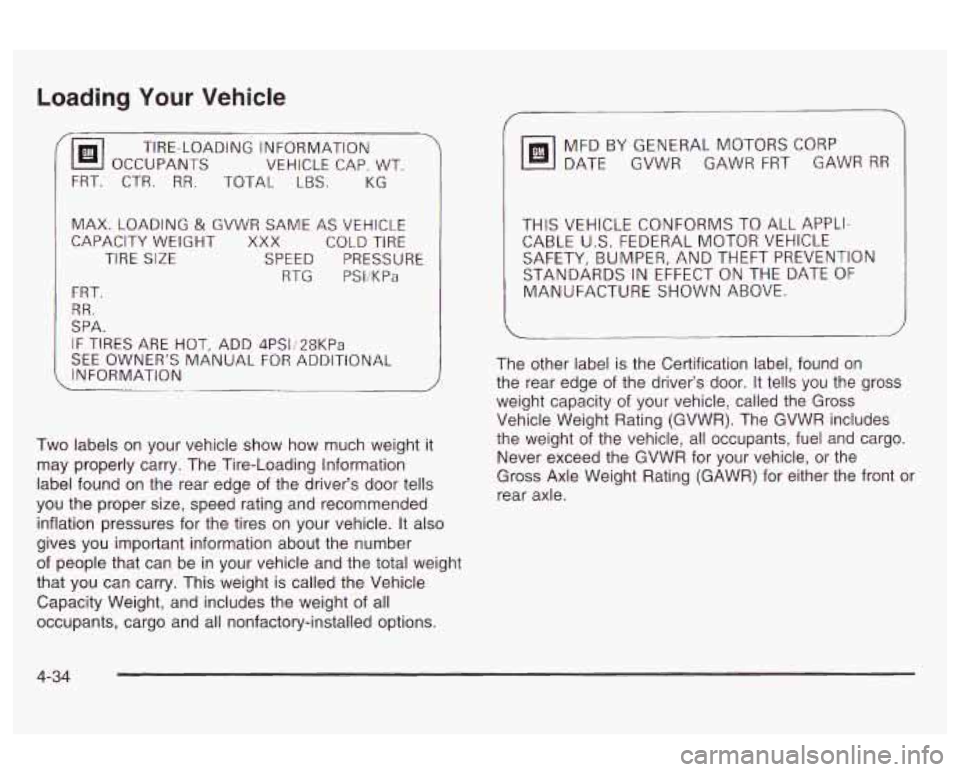
Two labels on your vehicle show how much weight it
may properly carry. The Tire-Loading Information
label found on the rear edge of the driver’s door tells
you the proper size, speed rating and recommended
inflation pressures for the tires on your vehicle. It also
gives you important information about the number
of people that can be in your vehicle and the total weight
that you can carry. This weight is called the Vehicle
Capacity Weight, and includes the weight of all
occupants, cargo and all nonfactory-installed options. MFDBYGENERALMOTORSCORP
DATE GVWR GAWR FRT GAWR
RR
THIS VEHICLE CONFORMS TO ALL APPLI-
CABLE U.S. FEDERAL MOTOR VEHICLE
SAFETY, BUMPER, AND THEFT PREVENTION
STANDARDS
IN EFFECT ON THE DATE OF
MANUFACTURE SHOWN ABOVE.
The other label is the Certification label, found on
the rear edge of the driver’s door. It tells you the gross
weight capacity of your vehicle, called the Gross
Vehicle Weight Rating (GVWR). The GVWR includes
the weight of the vehicle, all occupants, fuel and cargo.
Never exceed the GVWR for your vehicle, or the
Gross Axle Weight Rating (GAWR) for either the front or
rear axle.
4-34
Page 212 of 354
Total Weight on Your Vehicle’s Tires
Be sure your vehicle’s tires are inflated to the upper limit
for cold tires. You’ll find these numbers on the Tire
Loading Information label at the rear edge of the driver’s
door or see
Loading Your Vehicle on page 4-34. Then
be sure you don’t go over the
GVW limit for your vehicle,
including the weight of the trailer tongue.
Hitches
It’s important to have the correct hitch equipment.
Crosswinds, large trucks going by and rough roads are
a few reasons why you’ll need the right hitch. Here
are some rules to follow:
The rear bumper on your vehicle is not intended for
hitches. Do not attach rental hitches or other
bumper-type hitches to it. Use only a
frame-mounted hitch that does not attach to the
bumper.
Will yo11 have to make any holes in the body nf
your vehicle when you install a trailer hitch? If
you do, then be sure to seal the holes later when
you remove the hitch. If you don’t seal them, deadly
carbon monoxide (CO) from your exhaust can get
into your vehicle. See
Engine Exhaust on
page
2-30. Dirt ana water can, too.
Safety Chains
You should always attach chains between your vehicle
and your trailer. Cross the safety chains under the
tongue of the trailer
so that the tongue will not drop to
the road
if it becomes separated from the hitch.
Instructions about safety chains may be provided by the
hitch manufacturer or by the trailer manufacturer.
Follow the manufacturer’s recommendation for attaching
safety chains and do not attach them to the bumper.
Always leave just enough slack
so you can turn
with your rig. And, never allow safety chains to drag on
the ground.
Trailer Brakes
Does your trailer have its own brakes?
Be sure to read and
follow the instructions for the trailer
brakes
so you’ll be able to install, adjust and maintain
them properly. And because you may have anti-lock
brakes, do not try to tap into your vehicle’s brake
system.
If you do, both systems won’t work well,
e!- 2! 2!!.
4-39
Page 217 of 354
Section 5 Service and Appearance Care
Windshield Wiper Blade Replacement ............. 5-52
Tires
.............................................................. 5.53
Inflation .. Tire Pressure ................................ 5.54
Tire Inspection and Rotation ........................... 5.55
When It Is Time for New Tires ....................... 5-56
Buying New Tires
......................................... 5-56
Uniform Tire Quality Grading
.......................... 5-57
Wheel Alignment and Tire Balance
.................. 5-58
Wheel Replacement
.................................... -559
Tire Chains .................................................. 5-60
If a Tire Goes Flat ........................................ 5-61
Compact Spare Tire
...................................... 5-71
Appearance Care
............................................ 5-72
Cleaning the Inside of Your Vehicle
................. 5-72
Care
of Safety Belts .................................. 5-75
Weatherstrips
.................... ........... 5-75
Cleaning the Outside
of
Your Vehicle .............. ...... -575
Changing
a Flat Tire
..................................... 5-62 Sheet
Metal Damage
..................................... 5.77
Finish Damage
............................................. 5-77
Underbody Maintenance
................................ 5-78
Chemical Paint Spotting
................................. 5-78
GM Vehicle Care/Appearance Materials
........... 5.78
Vehicle Identification
..................................... 5-80
Vehicle Identification Number (VIN)
................. 5-80
Service Parts Identification Label
.................... 5-80
Electrical System
............................................ 5-81
Add-on Electrical Equipment
........................ -5-81
Windshield Wiper Fuses
................................ 5-81
Power Windows and Other Power Options
....... 5-81
Fuses and Circuit Breakers
............................ 5-81
Capacities and Specifications
.... .............. 5.86
Capacities and Specifications
......................... 5.86
Normal Maintenance Replacement
Parts .......... 5.88
5-2
Page 262 of 354
Headlamp Aiming
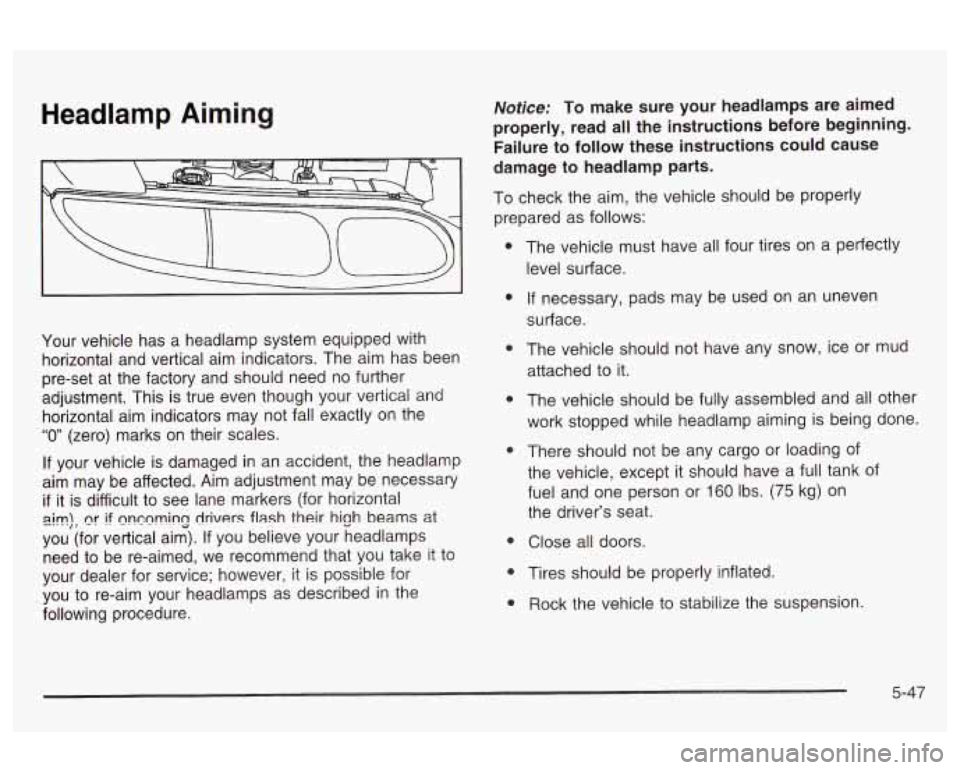
Your vehicle has a headlamp system equipped with
horizontal and vertical aim indicators. The aim has been
pre-set at the factory and should need no further
adjustment. This is true even fnough your vertieai
and
horizontal aim indicators may not fall exactly on the
“0 (zero) marks on their scales.
If your vehicle is damaged in an accident, the headlamp
aim may be affected. Aim adjustment may be necessary
if it is difficult to see lane markers (for horizontal
you (for vertical aim). If you believe your headlamps
need to be re-aimed,
we recommend that you take it to
your dealer for service; however, it is possible for
you to re-aim your headlamps as described in the
following procedure.
~im), nr if ~n~nmins drivers flash their hi9h beams at
Notice: To make sure your headlamps are aimed
properly, read all the instructions before beginning.
Failure to follow these instructions could cause
damage to headlamp parts.
To check the aim, the vehicle should be properly
prepared as follows:
The vehicle must have all four tires on a perfectly
level surface.
If necessary, pads may be used on an uneven
surface.
The vehicle should not have any snow, ice or mud
attached to it.
The vehicle should be fully assembled and aii other
work stopped while headlamp aiming is being done.
There should not be any cargo or loading of
the vehicle, except it should have a full tank of
fuel and one person or
160 Ibs. (75 kg) on
the driver’s seat.
Close all doors.
Tires should be properly inflated.
Rock the vehicle to stabilize the suspension.
5-47
Page 268 of 354
Tires
Your new vehicle comes with high-quality tires made by
a leading tire manufacturer.
If you ever have questions
about your tire warranty and where to obtain service,
see your Oldsmobile Warranty booklet for details.
r--
Poorly maintained and improperly used tires
are dangerous.
0 Overloading your tires can cause
overheating as a result of
too much
friction. You could have an air-out and a
serious accident. See “Loading Your
Vehicle” in the Index.
CAUTION: (Continued)
4 inflated tires pose -..? same c ~ lger
I as overloaded tires. The resulting accident
I could cause serious injury. Check all tires
frequently to maintain the recommended
~ pressure. Tire pressure should be checked
when your tires are cold.
~ Overinflated tires are more likely to be
cut, punctured or broken by a sudden
~ impact - such as when you hit a pothole.
Keep tires at the recommended pressure.
~ Worn, old tires can cause accidents. If
I
I
your tread is badiy WBTii, or if your tires
have been damaged, replace them.
5-53
Page 269 of 354
Inflation -- Tire Pressure
The Tire-Loading Information label, which is on the rear
edge of the driver’s door, shows the correct inflation
pressures for your tires when they’re cold. “Cold’’ means
your vehicle has been sitting for at least three hours
or driven no more than 1 mile (1.6 km).
Notice: Don’t let anyone tell you that underinflation
or overinflation is all right.
It’s not. If your tires
don’t have enough air (underinflation), you can get
the following:
Too much flexing
Too much heat
When to Check
Check your tires once a month or more.
Don’t forget your compact spare tire.
It should be at
60 psi
(420 kPa).
How to Check
Use a good quality pocket-type gage to check tire
pressure. You can’t tell
if your tires are properly inflated
simply by looking at them. Radial tires may look
properly inflated even when they’re underinflated.
Be sure to put the valve caps back on the valve stems.
They help prevent leaks by keeping out dirt and
moisture.
Tire overloading
Bad wear
Bad handling
Bad fuel economy
If your tires have too much air (overinflation), you
can get the following:
Unusual wear
Bad handling
0 Rough ride
Needless damage from road hazards
5-54
Page 270 of 354
Tire Inspection and Rotation
Tires should be rotated every 7,500 miles (12 500 km).
Any time you notice unusual wear, rotate your tires
as soon as possible and check wheel alignment. Also
check for damaged tires or wheels. See
When It Is Time
for New Tires on page
5-56 and Wheel Replacement
on page
5-59 for more information.
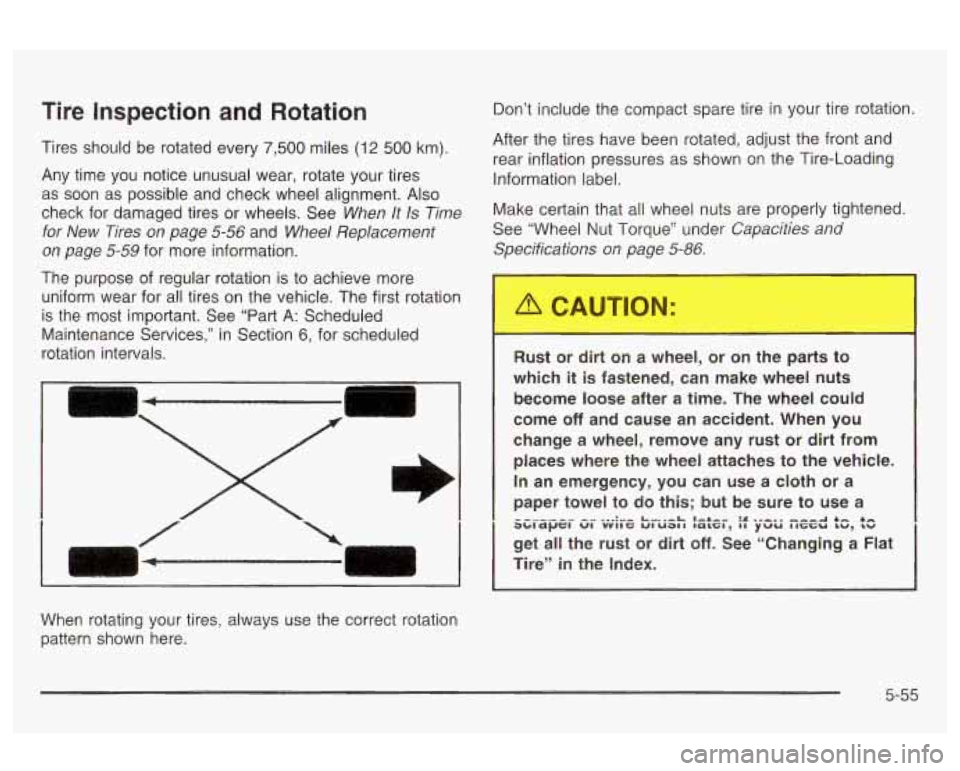
The purpose of regular rotation is to achieve more
uniform wear for all tires on the vehicle. The first rotation
is the most important. See “Part A: Scheduled
Maintenance Services,” in Section 6, for scheduled
rotation intervals. Don’t include the
compact spare tire in your tire rotation.
After the tires have been rotated, adjust the front and
rear inflation pressures as shown
on the Tire-Loading
Information label.
Make certain that all wheel nuts are properly tightened.
See “Wheel Nut Torque” under
Capacities and
Specifications on page
5-86.
Rust or dirt on a wheel, or or parts to
which
it is fastened, can make wheel nuts
become loose after a time. The wheel could
come
off and cause an accident. When you
change a wheel, remove any rust
or dirt from
places where the wheel attaches to the vehicle.
In an emergency, you can use a cloth or a
paper towel to do
this; but be sure to use a
3cllCapcI VI VVll c; ut U3If IBLGI, II ywu IIG‘CSU LW, LW
get all the rust or dirt off. See “Changing a Flat
Tire”
in the Index.
--_ .------ -_. ... :-- L”..-L I-*-” :+ .--. ~ “...-A 4- 4-
When rotating your tires, always use the correct rotation
pattern shown here.
5-55