2003 Oldsmobile Alero audio
[x] Cancel search: audioPage 166 of 354
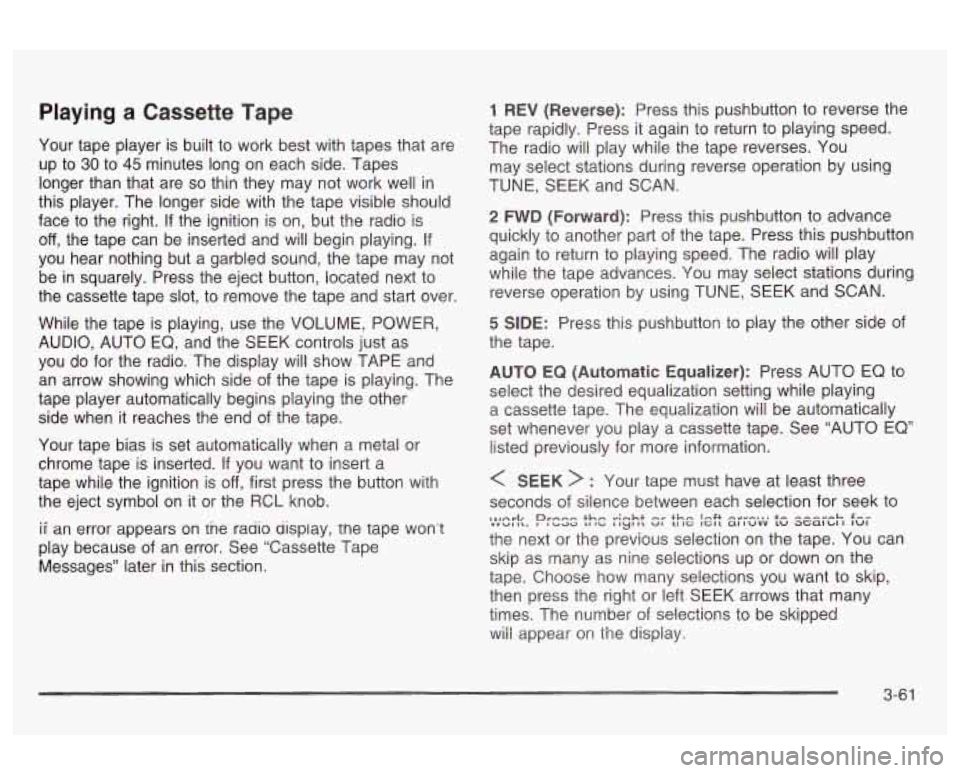
Playing a Cassette Tape
Your tape player is built to work best with tapes that are
up to
30 to 45 minutes long on each side. Tapes
longer than that are
so thin they may not work well in
this player. The longer side with the tape visible should
face to the right.
If the ignition is on, but the radio is
off, the tape can be inserted and will begin playing. If
you hear nothing but a garbled sound, the tape may not
be in squarely. Press the eject button, located next to
the cassette tape slot, to remove the tape and start over.
While the tape is playing, use the VOLUME, POWER,
AUDIO, AUTO EQ, and the SEEK controls just as
you do for the radio. The display will show TAPE and
an arrow showing which side of the tape is playing. The
tape player automatically begins playing the other
side when it reaches the end of the tape.
Your tape bias is set automatically when a metal or
chrome tape is inserted.
If you want to insert a
tape while the ignition
is off, first press the button with
the eject symbol on it or the RCL knob.
ii an error appears on tne rauio uispiay, the tape won’t
play because of an error. See “Cassette Tape
Messages” later in this section.
1 REV (Reverse): Press this pushbutton to reverse the
tape rapidly. Press it again to return to playing speed.
The radio will play while the tape reverses. You
may select stations during reverse operation by using
TUNE, SEEK and SCAN.
2 FWD (Forward): Press this pushbutton to advance
quickly to another part of the tape. Press this pushbutton
again to return to playing speed. The radio will play
while the tape advances. You may select stations during
reverse operation by using TUNE, SEEK and SCAN.
5 SIDE: Press this pushbutton to play the other side of
the tape.
AUTO EQ (Automatic Equalizer): Press AUTO EQ to
select the desired equalization setting while playing
a cassette tape. The equalization will be automatically
set whenever you play a cassette tape. See “AUTO EQ”
listed previously for more information.
< SEEK > : Your tape must have at least three
seconds
of silence between each selection for seek to
the next or the previous selection on the tape. You can
skip as many as nine selections up or down on the
tape. Choose how many selections you want to skip,
then press the right or left SEEK arrows that many
times. The number of selections to be skipped
wiii appear on the dispiay.
,l,Arl, rnee thm .-;-ht +h,, I.4t --I-... +- ---,-L. C-- mnwl I\. Prbad La aci I ryt II uI u IC 1Gl1 altuvv tu at;alu I IuI
3-61
Page 256 of 354
Replacing Brake System Parts
The braking system on a vehicle is complex. Its many
parts have
to be of top quality and work well together if
the vehicle is to have really good braking. Your
vehicle was designed and tested with top-quality
GM
brake parts. When you replace parts of your braking
system
- for example, when your brake linings
wear down and you need new ones put in
- be sure
you get new approved replacement parts. If you
don’t, your brakes may no longer work properly. For
example,
if someone puts in brake linings that are wrong
for your vehicle, the balance between your front and
rear brakes can change
- for the worse. The braking
performance you’ve come
to expect can change in
replacement brake parts.
many other ways if someone puts in the wrong
Battery
Your new vehicle comes with a maintenance free
ACDelco@ battery. When it’s time for a new battery, get
one that has the replacement number shown on the
original battery’s label. We recommend an ACDelcoC”-‘
battery. See
Engine Compartment Overview on
page
5- 12 for battery location.
Warning; Battery posts, terminals and related
accessories contain lead and lead compounds,
chemicals known to the State of California to cause
cancer and reproductive harm. Wash hands after
handling.
Vehicle Storage
If you’re not going to drive your vehicle for 25 days or
more, remove the black, negative
(-) cable from
the battery. This will help keep your battery from
running down.
Batteries have acic bat can burn you and gas
that can explode. You can be badly hurt
if you
aren’t careful. See “Jump Starting” in the Index
for tips
on working around a battery without
I 3--L ’ =
rrnttjqrr hl Irt.
Contact your dealer to learn how to prepare your
vehicle for longer storage periods.
Also, for your audio system, see
Theft-Deterrent
Feature (Non-RDS Radios) on page
3-64 or
I nefi-Deterrent Feature (RDS RaQiosj on page 3-64. -.
5-41
Page 297 of 354
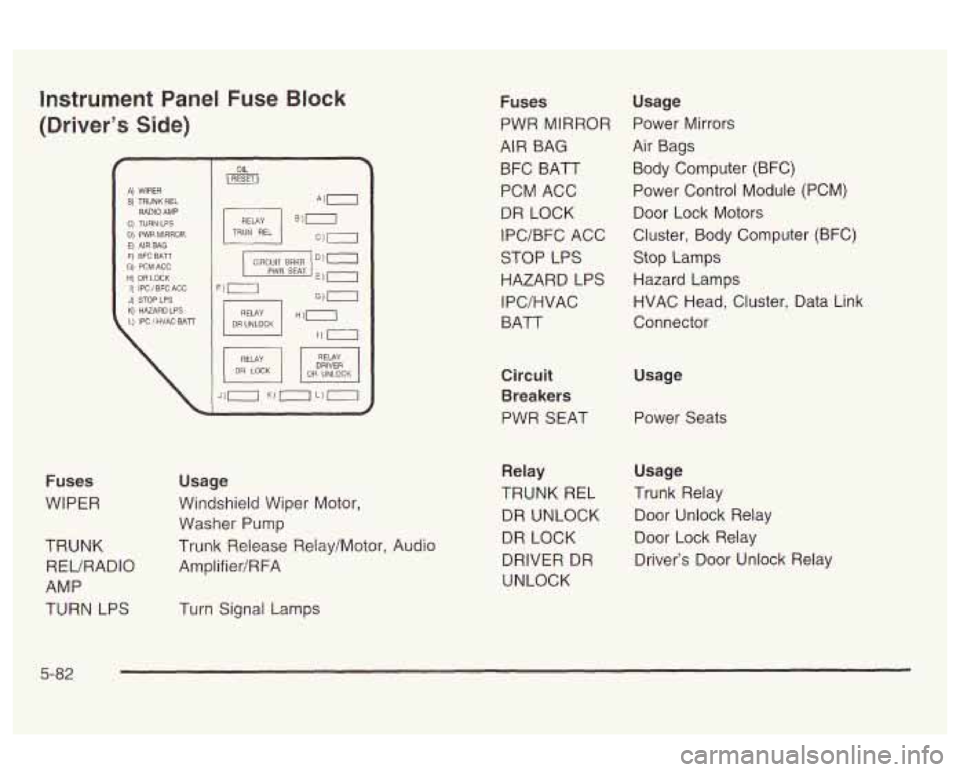
Instrument Panel Fuse Block
(Driver's Side)
f I A) WIPER I
F) EFC BATT G) PCMACC I ti: DALOCK I PWR SEAT E) 0 I) IPC / BFC ACG F) .
DRIVER
Fuses
WIPER
TRUNK REURADIO
AMP
TURN LPS Usage
Windshield Wiper Motor,
Washer Pump
Trunk Release Relay/Motor, Audio
Amplifier/RFA
Turn Signal Lamps
Fuses
PWR MIRROR
AIR BAG
BFC BATT
PCM ACC
DR LOCK
IPC/BFC ACC
STOP LPS
HAZARD LPS
I PC/HVAC
BATT
Circuit Breakers
PWR SEAT Usage
Power Mirrors
Air Bags Body Computer (BFC)
Power Control Module (PCM) Door Lock Motors
Cluster, Body Computer (BFC) Stop Lamps
Hazard Lamps
HVAC Head, Cluster, Data Link
Connector
Usage Power Seats
Relay Usage
TRUNK
REL Trunk Relay
DR UNLOCK Door Unlock Relay
DR LOCK Door Lock Relay
DRIVER DR Driver's Door Unlock Relay
UNLOCK
5-82
Page 299 of 354
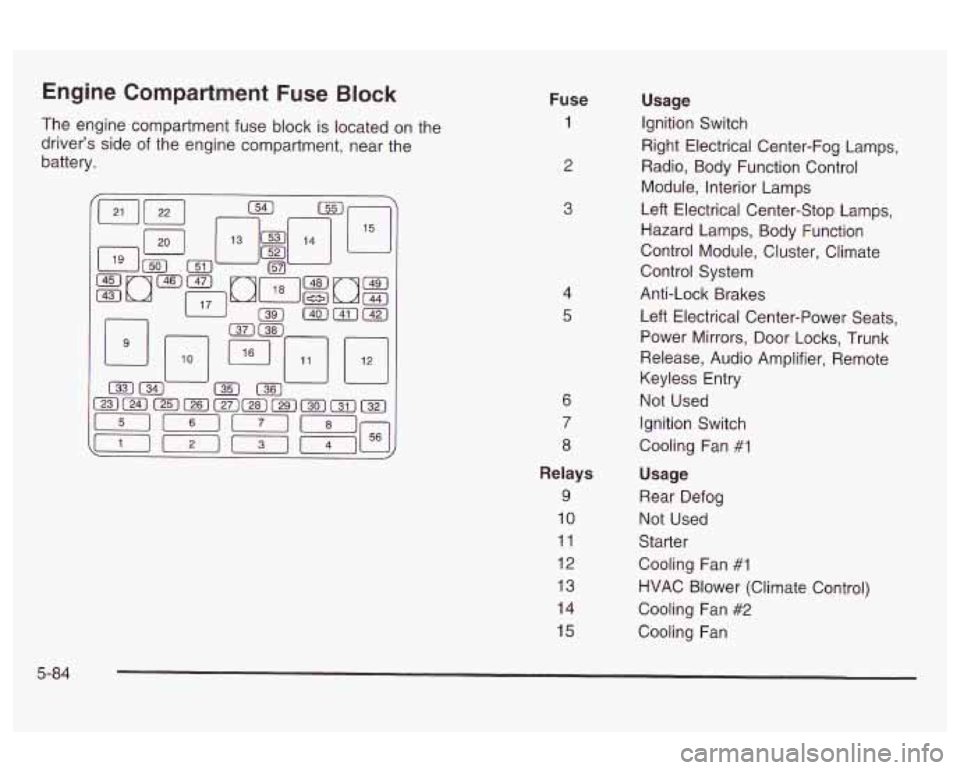
Engine Compartment Fuse Block
The engine compartment fuse block is located on the
driver’s side of the engine compartment, near the
battery. Fuse 1
2
3
4
5
6
7
8
Relays
9
10
11
12
13
14
15
Usage
Ignition Switch
Right Electrical Center-Fog Lamps,
Radio, Body Function Control
Module, Interior Lamps
Left Electrical Center-Stop Lamps,
Hazard Lamps, Body Function
Control Module, Cluster, Climate
Control System
Anti-Lock Brakes
Left Electrical Center-Power Seats,
Power Mirrors, Door Locks, Trunk
Release, Audio Amplifier, Remote
Keyless Entry
Not Used
Ignition Switch
Cooling Fan
#I
Usage
Rear Defog
Not Used
Starter
Cooling Fan
#1
HVAC Blower (Climate Control)
Cooling Fan
#2
Cooling Fan
5-84
Page 312 of 354
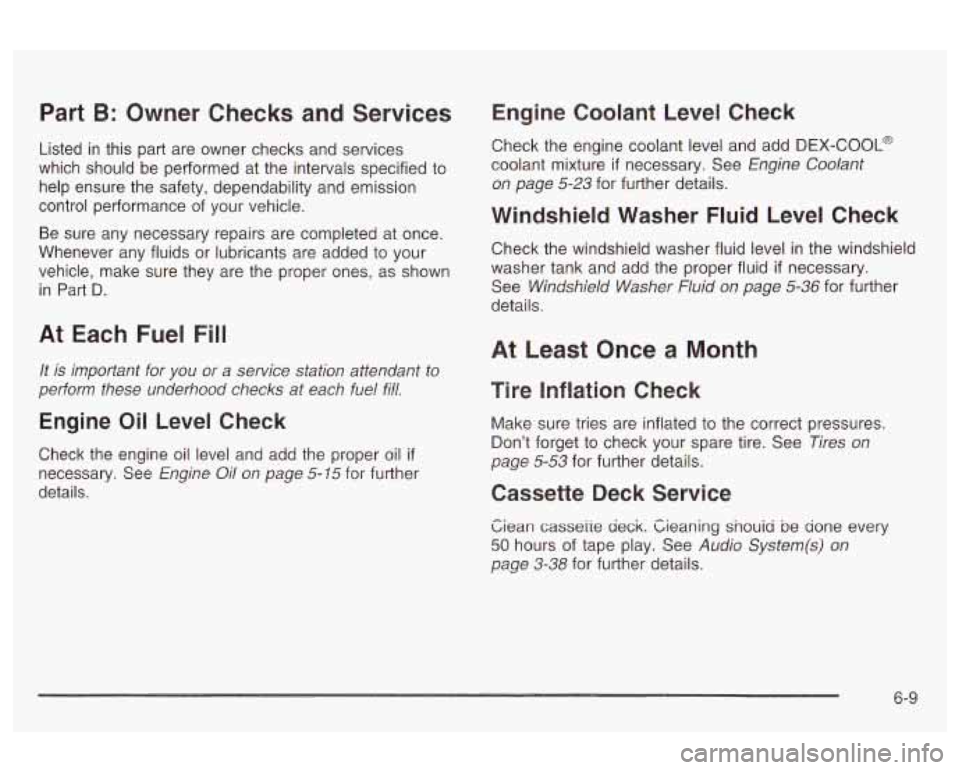
Part B: Owner Checks and Services
Listed in this part are owner checks and services
which should be performed at the intervals specified to
help ensure the safety, dependability and emission
control performance of your vehicle.
Be sure any necessary repairs are completed at once.
Whenever any fluids or lubricants are added to your
vehicle, make sure they are the proper ones, as shown
in Part
D.
At Each Fuel Fill
It is important for you or a service station attendant to
perform these Lmderhood checks at each fuel fil!.
Engine Oil Level Check
Check the engine oil level and add the proper oil if
necessary. See Engine Oil on page 5-15 for further
details.
Engine Coolant Level Check
Check the engine coolant level and add DEX-COOL@
coolant mixture
if necessary. See Engine Coolant
on page
5-23 for further details.
Windshield Washer Fluid Level Check
Check the windshield washer fluid level in the windshield
washer tank and add the proper fluid
if necessary.
See
Windshield Washer Fluid on page 5-36 for further
details.
At Least Once a Month
Tire Inreation Check
Make sure tries are inflated to the correct pressures.
Don’t forget to check your spare tire. See
Tires on
page 5-53 for further details.
Cassette Deck Service
Ziean casseiire deck. Zieaning snouid be done every
50 hours of tape play. See Audio System(s) on
page
3-38 for further details.
6-9
Page 334 of 354
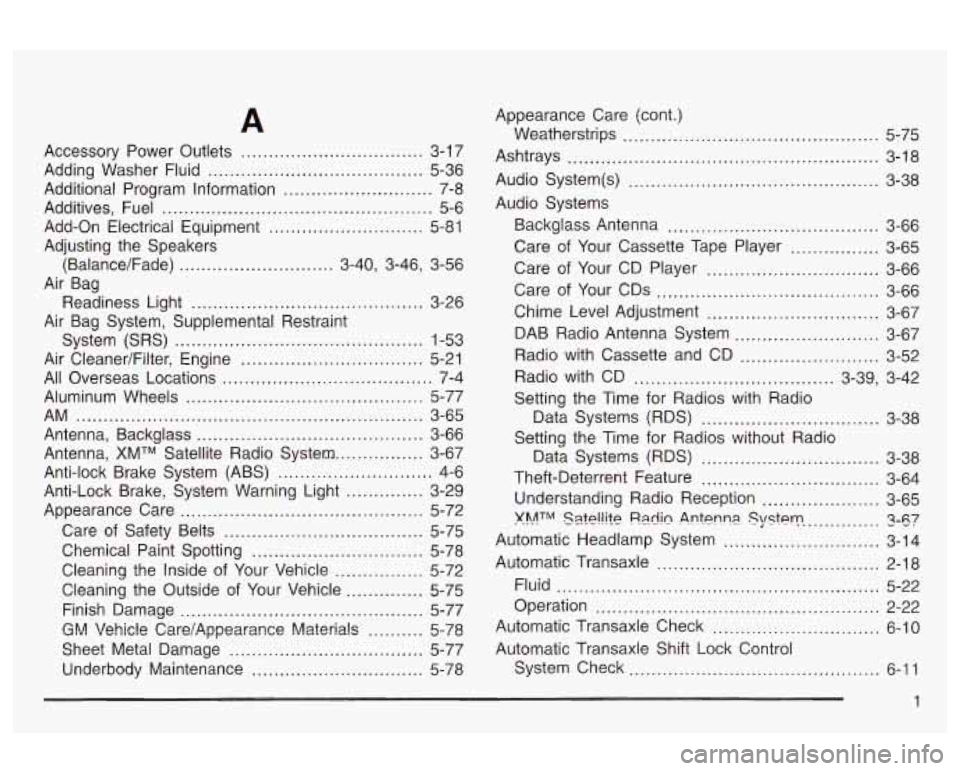
A
Accessory Power Outlets .............................. 3-17
Adding Washer Fluid
....................................... 5-36
Additional Program Information
........................... 7-8
Additives, Fuel
................................................. 5-6
Adjusting the Speakers
Air Bag
Air Bag System, Supplemental Restraint Add-On Electrical Equipment
............................ 5-81
(Balance/Fade)
............................ 3-40, 3-46, 3-56
Readiness Light
.......................................... 3-26
System (SRS)
............................................. 1-53
Air CleanedFiIter, Engine
................................. 5-21
All Overseas Locations ...................................... 7-4
Aluminum Wheels
........................................... 5-77
AM ................................................ ....... 3-65
Antenna, XMTM Satellite Radio System
................ 3-67
Anti-lock Brake System (ABS)
............................ 4-6
Anti-Lock Brake, System Warning Light
.............. 3-29
Care of Safety Belts
.................................... 5-75
Chemical Paint Spotting
............................... 5-78
Antenna, Backglass
......................................... 3-66
Appearance Care
............................................ 5-72
Cleaning the Inside of Your Vehicle
................ 5-72
Cleaning the Outside of Your Vehicle
.............. 5-75
Finish Damage
............................................ 5-77
G!.! Vehicle CarelAppearmce Materials .......... 5-78
Sheet Metal Damage ................................... 5-77
Underbody Maintenance
............................... 5-78 Appearance Care (cont.)
Weatherstrips
........... ........................ 5-75
Ashtrays
........................................................ 3-18
Audio System(s)
......................................... 3-38
Backglass Antenna
...................................... 3-66
Care of Your Cassette Tape Player
................ 3-65
Care of Your CD Player
............................... 3-66
Care of Your CDs
........................................ 3-66
Chime Level Adjustment
............................... 3-67
DAB Radio Antenna System
.......................... 3-67
Radio with Cassette and CD
......................... 3-52
Radio with CD
.................................... 3-39, 3-42
Setting the Time for Radios with Radio
Data Systems (RDS)
................................ 3-38
Setting the Time for Radios without Radio
Data Systems (RDS)
................................ 3-38
Theft-Deterrent Feature
................................ 3-64
Understanding Radio Reception
..................... 3-65
KhATM %?P!!ifP Radln Antenna . Sysf9t-p .............. 1-87
Automatic Headlamp System ............................ 3-14
Automatic Transaxle
........................................ 2-18
Fluid
.......................................................... 5-22
Operation
................................................... 2-22
Automatic Transaxle Check
.............................. 6-10
Automatic Transaxle Shift Lock Control
System Check
............................................. 6-11
Audio Systems