Page 3583 of 4179
ENGINE MAINTENANCE (QR20DE·QR25DE)
MA-23
C
D
E
F
G
H
I
J
K
MA
B
MA
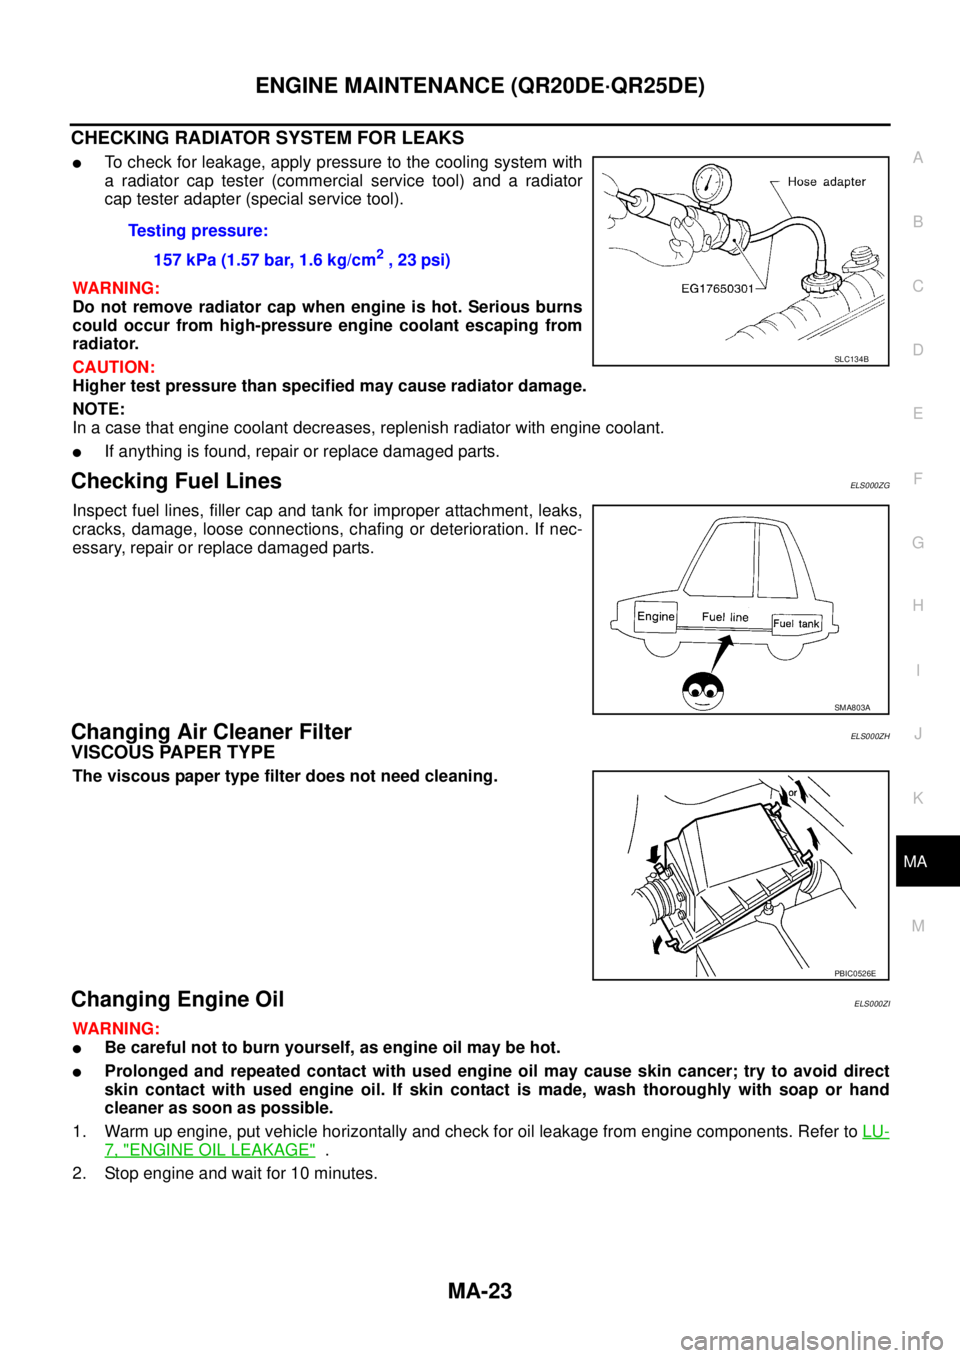
CHECKING RADIATOR SYSTEM FOR LEAKS
�To check for leakage, apply pressure to the cooling system with
a radiator cap tester (commercial service tool) and a radiator
cap tester adapter (special service tool).
WARNING:
Do not remove radiator cap when engine is hot. Serious burns
could occur from high-pressure engine coolant escaping from
radiator.
CAUTION:
Higher test pressure than specified may cause radiator damage.
NOTE:
In a case that engine coolant decreases, replenish radiator with engine coolant.
�If anything is found, repair or replace damaged parts.
Checking Fuel LinesELS000ZG
Inspect fuel lines, filler cap and tank for improper attachment, leaks,
cracks, damage, loose connections, chafing or deterioration. If nec-
essary, repair or replace damaged parts.
Changing Air Cleaner FilterELS000ZH
VISCOUS PAPER TYPE
The viscous paper type filter does not need cleaning.
Changing Engine OilELS000ZI
WARNING:
�Be careful not to burn yourself, as engine oil may be hot.
�Prolonged and repeated contact with used engine oil may cause skin cancer; try to avoid direct
skin contact with used engine oil. If skin contact is made, wash thoroughly with soap or hand
cleaner as soon as possible.
1. Warm up engine, put vehicle horizontally and check for oil leakage from engine components. Refer to LU-
7, "ENGINE OIL LEAKAGE" .
2. Stop engine and wait for 10 minutes.Testing pressure:
157 kPa (1.57 bar, 1.6 kg/cm
2 , 23 psi)
SLC134B
SMA803A
PBIC0526E
Page 3586 of 4179

MA-26
ENGINE MAINTENANCE (QR20DE·QR25DE)
Checking and Changing Spark PlugsELS000ZK
REMOVAL
1. Remove ignition coil. Refer to EM-29, "IGNITION COIL" .
2. Remove spark plug with spark plug wrench (commercial service
tool).
CAUTION:
Do not drop or shock it.
INSPECTION AFTER REMOVAL
Use standard type spark plug for normal condition.
Hot type spark plug is suitable when fouling occurs with standard type spark plug under conditions such as:
�Frequent engine starts
�Low ambient temperatures
Cold type spark plug is suitable when spark plug knock occurs with standard type spark plug under conditions
such as:
�Extended highway driving
�Frequent high engine revolution
�Check plug gap of each spark plug.
�If out of standard, adjust or replace spark plug.
�Use a wire brush for cleaning, if necessary.
INSTALLATION
Install in the reverse order of removal.
Checking EVAP Vapor LinesELS000ZL
1. Visually inspect EVAP vapor lines for improper attachment and for cracks, damage, loose connections,
chafing and deterioration.
2. Inspect fuel tank filler cap vacuum relief valve for clogging, sticking, etc.
Refer to EC-474, "
EVAPORATIVE EMISSION LINE DRAWING" .
SEM294A
MakeNGK
Standard typeLFR5A-11
Hot typeLFR4A-11
Cold typeLFR6A-11
Standard :1.0 - 1.1 mm (0.039 - 0.043 in)
SMA476
Spark plug:
: 24.5 N·m (2.5 kg-m, 18 ft-lb)
Page 3591 of 4179
ENGINE MAINTENANCE (YD22DDTI)
MA-31
C
D
E
F
G
H
I
J
K
MA
B
MA
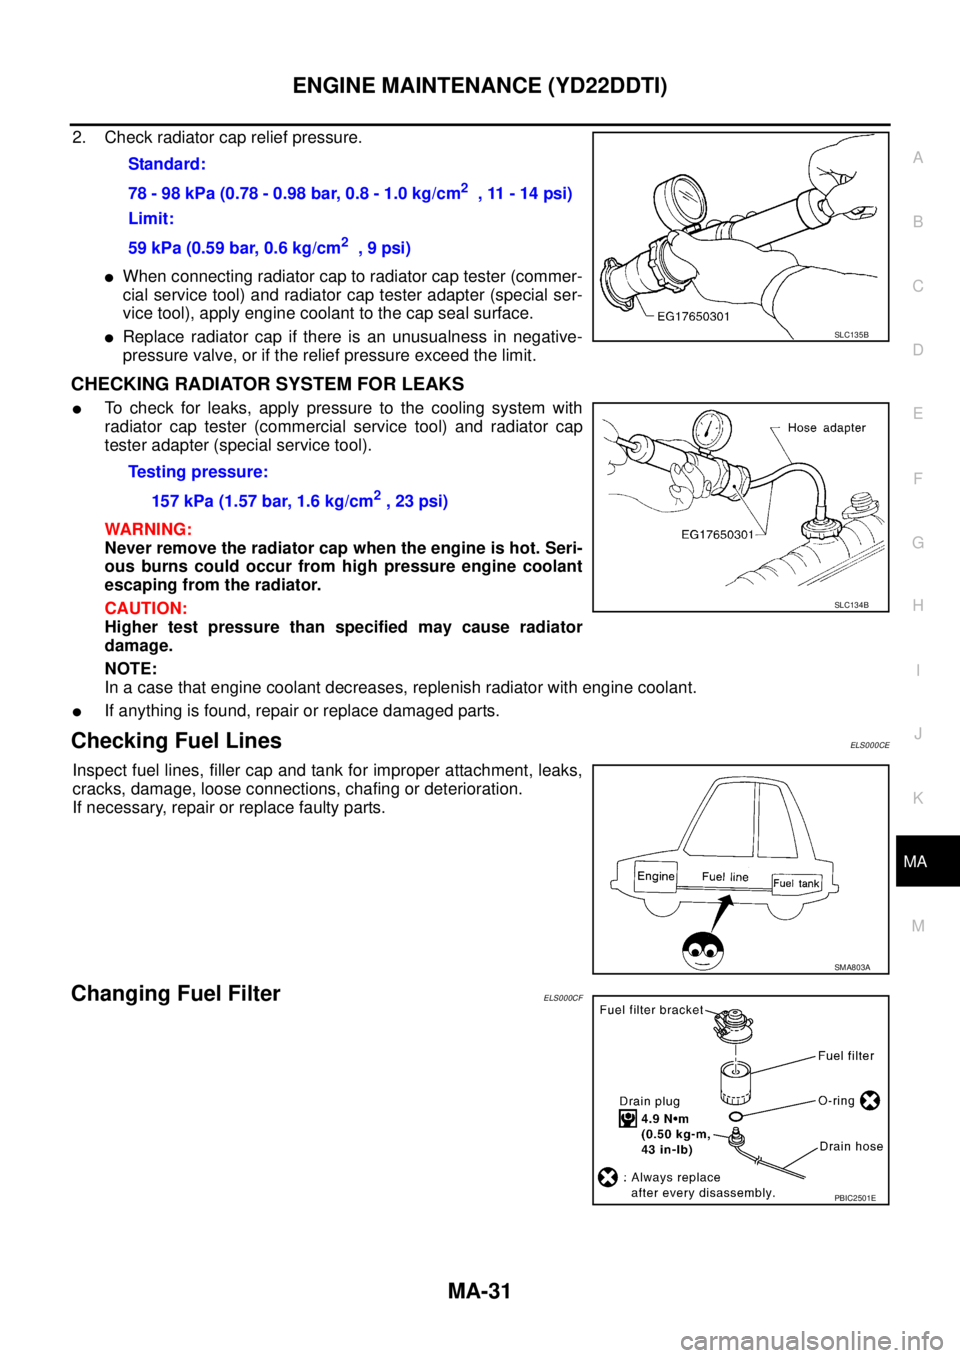
2. Check radiator cap relief pressure.
�When connecting radiator cap to radiator cap tester (commer-
cial service tool) and radiator cap tester adapter (special ser-
vice tool), apply engine coolant to the cap seal surface.
�Replace radiator cap if there is an unusualness in negative-
pressure valve, or if the relief pressure exceed the limit.
CHECKING RADIATOR SYSTEM FOR LEAKS
�To check for leaks, apply pressure to the cooling system with
radiator cap tester (commercial service tool) and radiator cap
tester adapter (special service tool).
WARNING:
Never remove the radiator cap when the engine is hot. Seri-
ous burns could occur from high pressure engine coolant
escaping from the radiator.
CAUTION:
Higher test pressure than specified may cause radiator
damage.
NOTE:
In a case that engine coolant decreases, replenish radiator with engine coolant.
�If anything is found, repair or replace damaged parts.
Checking Fuel LinesELS000CE
Inspect fuel lines, filler cap and tank for improper attachment, leaks,
cracks, damage, loose connections, chafing or deterioration.
If necessary, repair or replace faulty parts.
Changing Fuel FilterELS000CF
Standard:
78 - 98 kPa (0.78 - 0.98 bar, 0.8 - 1.0 kg/cm
2 , 11 - 14 psi)
Limit:
59 kPa (0.59 bar, 0.6 kg/cm
2 , 9 psi)
SLC135B
Testing pressure:
157 kPa (1.57 bar, 1.6 kg/cm
2 , 23 psi)
SLC134B
SMA803A
PBIC2501E
Page 3596 of 4179
MA-36
ENGINE MAINTENANCE (YD22DDTI)
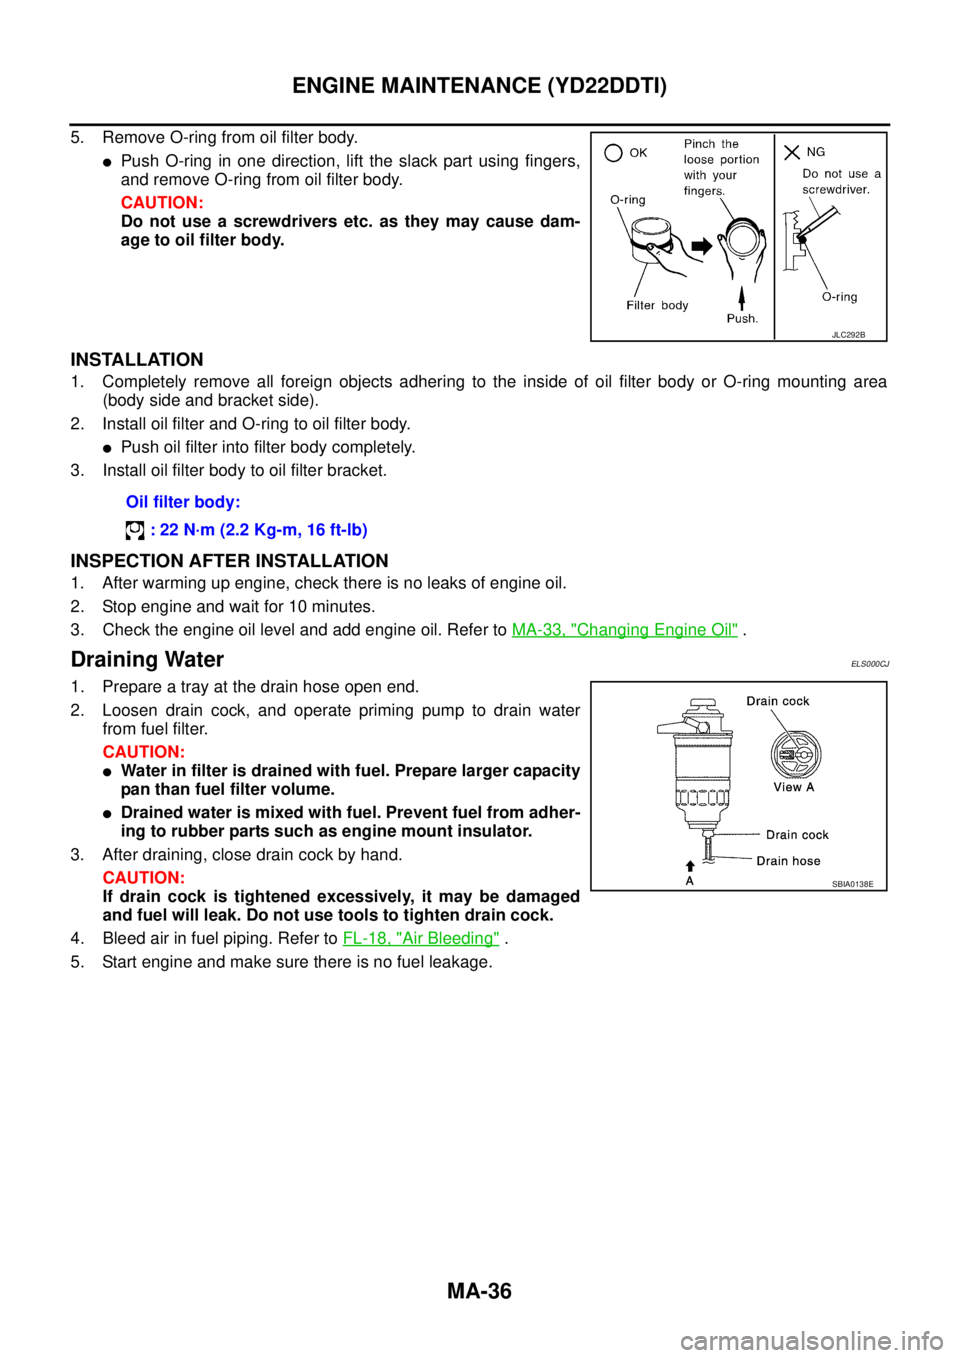
5. Remove O-ring from oil filter body.
�Push O-ring in one direction, lift the slack part using fingers,
and remove O-ring from oil filter body.
CAUTION:
Do not use a screwdrivers etc. as they may cause dam-
age to oil filter body.
INSTALLATION
1. Completely remove all foreign objects adhering to the inside of oil filter body or O-ring mounting area
(body side and bracket side).
2. Install oil filter and O-ring to oil filter body.
�Push oil filter into filter body completely.
3. Install oil filter body to oil filter bracket.
INSPECTION AFTER INSTALLATION
1. After warming up engine, check there is no leaks of engine oil.
2. Stop engine and wait for 10 minutes.
3. Check the engine oil level and add engine oil. Refer to MA-33, "
Changing Engine Oil" .
Draining WaterELS000CJ
1. Prepare a tray at the drain hose open end.
2. Loosen drain cock, and operate priming pump to drain water
from fuel filter.
CAUTION:
�Water in filter is drained with fuel. Prepare larger capacity
pan than fuel filter volume.
�Drained water is mixed with fuel. Prevent fuel from adher-
ing to rubber parts such as engine mount insulator.
3. After draining, close drain cock by hand.
CAUTION:
If drain cock is tightened excessively, it may be damaged
and fuel will leak. Do not use tools to tighten drain cock.
4. Bleed air in fuel piping. Refer to FL-18, "
Air Bleeding" .
5. Start engine and make sure there is no fuel leakage.
JLC292B
Oil filter body:
: 22 N·m (2.2 Kg-m, 16 ft-lb)
SBIA0138E