Page 126 of 416
126 Controls in detailLightingSwitching rear interior lights on�
Press switch2.
The rear compartment lighting is
switched on.
Switching rear interior lights off
�
Press switch2.
The rear compartment lighting is
switched off.
Front reading lamps
Switching on
�
Press switch 1 or 3.
The corresponding reading lamp is
switched on.
Switching off
�
Press switch 1 or 3.
The corresponding reading lamp is
switched off.
Courtesy lighting
For better orientation in the dark, courtesy
lamps will illuminate the interior of your ve-
hicle as follows:
With parking lamps switched on:�
the door entry lamps
�
the driver and passenger footwells
With SmartKey in starter switch position1:
�
the door entry lamps
�
the center consoleiIf you turn the SmartKey in the starter
switch to position0 and switch off the
headlamps, the door entry lamps will
remain lit for approximately five min-
utes.
Page 127 of 416

127 Controls in detail
Instrument cluster
Instrument cluster
A full view illustration of the instrument
cluster can be found in the “At a glance”
section of this manual (
�page 22).
The instrument cluster is activated when
you
�
open a door
�
turn on the ignition
�
press the reset button
J
(�page 22)
�
switch on the exterior lamps
You can change the instrument cluster set-
tings in the Instrument cluster submenu of
the control system (
�page 149).
Instrument cluster illumination
1Knob for adjusting instrument cluster
illumination
Use knob1 to adjust the illumination
brightness for the instrument cluster.
�
Press knob1. The knob will pop out.
To brighten illumination
�
Turn knob1 in the instrument cluster
clockwise.
The instrument cluster illumination will
brighten.
To dim illumination
�
Turn knob1 in the instrument cluster
counterclockwise.
The instrument cluster illumination will
dim.
iThe instrument cluster illumination is
dimmed or brightened automatically to
suit ambient light conditions.
The instrument cluster illumination will
also be adjusted automatically when
you switch on the vehicle’s exterior
lamps.
Page 134 of 416
134 Controls in detailControl systemMenus, submenus and functions
Menu 1
Menu 2
Menu 3
Menu 4
Menu 5
Menu 6
Menu 7
Menu 8
Commands/submenusStandard dis-
play
AUDIO
Telephone*
NAVI
Distronic*
Trip computer
Malfunction
memory
Settings
Call up FSS
Select radio
station
Load phone
book
Activate
route guid-
ance
Call up set-
tings
Fuel consumption
statistics after
start
Call up malfunc-
tion messages
Reset to factory
settings
Check tire pres-
sure*
Operate CD
player
Search for
name in
phone book
Fuel consumption
statistics since
the last reset
Instrument clus-
ter submenu
Check engine oil
level
Call up range
Lighting sub-
menu
Digital speed-
ometer
Vehicle sub-
menuConvenience
submenu
Page 137 of 416

137 Controls in detail
Control system
CD changer* operating mode
General notes
Should excessively high temperatures oc-
cur while in CD mode,
CD TEMP HIGH
will
appear on the display and muting will take
place. The unit will then switch back to the
last operating mode used until the temper-
ature has decreased to a safe operating
level.
Should excessively low temperatures oc-
cur while in CD mode,
CD TEMP LOW
will ap-
pear on the display, but the CD will
continue to play.
Handle CDs carefully to prevent interfer-
ence during playback. Avoid fingerprints
and dust on CDs. Do not write on CDs or
apply any label or other material to them.Use only original CDs. Using copied CDs
may create problems during playback.
Clean CDs from time to time with a com-
mercially available cleaning cloth. No sol-
vents, anti-static sprays, etc. should be
used for cleaning. Replace the CD in its
case after use. Protect CDs from heat and
direct sunlight.
Only use CDs, which bear the label shown
and that conform to the compact disc dig-
ital audio standard (IEC 60908).Use of CDs which do not meet this stan-
dard may cause damage to the CD chang-
er. Do not play single-CDs (80 mm) with an
adapter.
For information operating the CD changer
refer to the separate COMAND operating
instructions.
Warning!
G
The CD changer is a Class 1 laser product.
There is a danger of invisible laser radiation
if the cover is opened or damaged.
Do not remove the cover. The CD changer
does not contain any parts which can be ser-
viced by the user. For safety reasons, have
any service work which may be necessary
performed only by qualified personnel.
Page 146 of 416

146 Controls in detailControl system�
Press button
k
or
j
.
The stored messages will now be dis-
played in the order in which the mal-
functions have occurred. See the
“Practical hints” section for malfunc-
tion and warning messages
(
�page 296).
Should any malfunctions occur while driv-
ing, the number of malfunctions will reap-
pear in the display when the SmartKey in
the starter switch is turned to position0 or
removed from the starter switch.
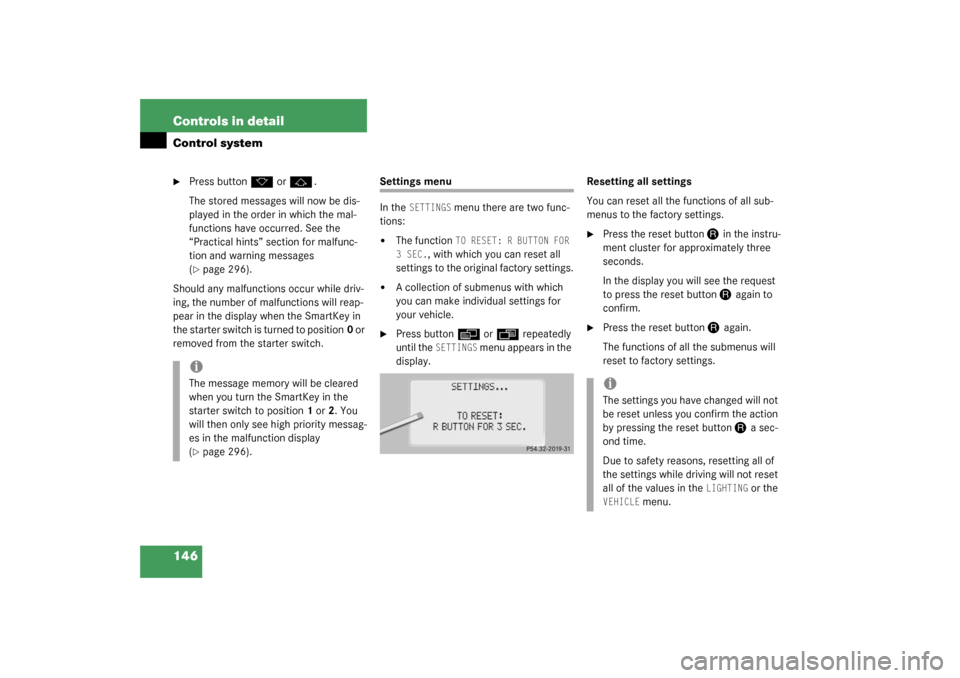
Settings menu
In the
SETTINGS
menu there are two func-
tions:
�
The function
TO RESET: R BUTTON FOR
3 SEC.
, with which you can reset all
settings to the original factory settings.
�
A collection of submenus with which
you can make individual settings for
your vehicle.
�
Press button
è
or
ÿ
repeatedly
until the
SETTINGS
m e n u a p p e a r s i n t h e
display.Resetting all settings
You can reset all the functions of all sub-
menus to the factory settings.
�
Press the reset button
J
in the instru-
ment cluster for approximately three
seconds.
In the display you will see the request
to press the reset button J
again to
confirm.
�
Press the reset button
J
again.
The functions of all the submenus will
reset to factory settings.
iThe message memory will be cleared
when you turn the SmartKey in the
starter switch to position1 or2. You
will then only see high priority messag-
es in the malfunction display
(�page 296).
iThe settings you have changed will not
be reset unless you confirm the action
by pressing the reset button
J
a sec-
ond time.
Due to safety reasons, resetting all of
the settings while driving will not reset
all of the values in the
LIGHTING
or the
VEHICLE
menu.
Page 148 of 416
148 Controls in detailControl systemThe table below shows what settings can
be changed within the various menus. De-
tailed instructions on making individual
settings can be found on the following pag-
es.INSTRUMENT CLUSTER
LIGHTING
VEHICLE
CONVENIENCE
Select temperature display
mode
Set daytime running lamp mode
(USA only)
Set station selection mode (ra-
dio)
Set key dependency
Select multifunction display
mode
Set locator lighting
Set automatic locking
Activate easy-entry/exit feature
Select language
Exterior lamps delayed shut-off
Set parking position for exterior
rear view mirror
Interior lighting delayed shut-off
Set fold-in function for exterior
rear view mirrors
Page 150 of 416
150 Controls in detailControl systemSelecting language�
Move the selection marker with
the
æ
or
ç
button to the
INST.
CLUSTER
submenu.
�
Press button
j
or
k
repeatedly
until you see this message in the dis-
play:
TEXT
.
The selection marker is on the current
setting.
�
Press
æ
or
ç
to select the lan-
guage to be used for the multifunction
display messages.
Available languages:
�
German
�
English
�
Italian
�
French
�
SpanishLighting submenu
Access the
LIGHTING
submenu via the
SET-
TINGS
menu. Use the
LIGHTING
submenu
to change the lamp and lighting settings on
your vehicle. The following functions are
available:
Function
Page
Set daytime running lamp mode
(USA only)
see
below
Set locator lighting
151
Exterior lamps delayed shut-off
152
Interior lighting delayed shut-off
153
Page 151 of 416

151 Controls in detail
Control system
Setting daytime running lamp mode
(USA only)�
Move the selection marker with
the
æ
or
ç
button to the
LIGHT-
ING
submenu.
�
Press button
j
or
k
repeatedly
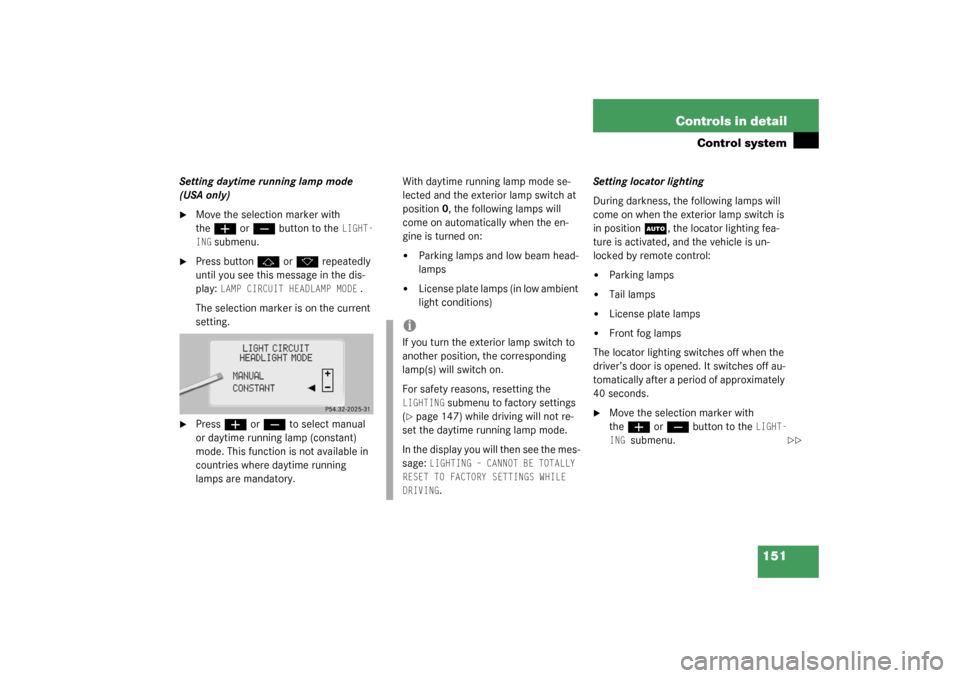
until you see this message in the dis-
play:
LAMP CIRCUIT HEADLAMP MODE
.
The selection marker is on the current
setting.
�
Press
æ
or
ç
to select manual
or daytime running lamp (constant)
mode. This function is not available in
countries where daytime running
lamps are mandatory.With daytime running lamp mode se-
lected and the exterior lamp switch at
position0, the following lamps will
come on automatically when the en-
gine is turned on:
�
Parking lamps and low beam head-
lamps
�
License plate lamps (in low ambient
light conditions) Setting locator lighting
During darkness, the following lamps will
come on when the exterior lamp switch is
in position
U
, the locator lighting fea-
ture is activated, and the vehicle is un-
locked by remote control:
�
Parking lamps
�
Tail lamps
�
License plate lamps
�
Front fog lamps
The locator lighting switches off when the
driver’s door is opened. It switches off au-
tomatically after a period of approximately
40 seconds.
�
Move the selection marker with
the
æ
or
ç
button to the
LIGHT-
ING
submenu.
iIf you turn the exterior lamp switch to
another position, the corresponding
lamp(s) will switch on.
For safety reasons, resetting the LIGHTING
submenu to factory settings
(
�page 147) while driving will not re-
set the daytime running lamp mode.
In the display you will then see the mes-
sage:
LIGHTING – CANNOT BE TOTALLY
RESET TO FACTORY SETTINGS WHILE
DRIVING.
��