2003 INFINITI G35 battery
[x] Cancel search: batteryPage 99 of 256
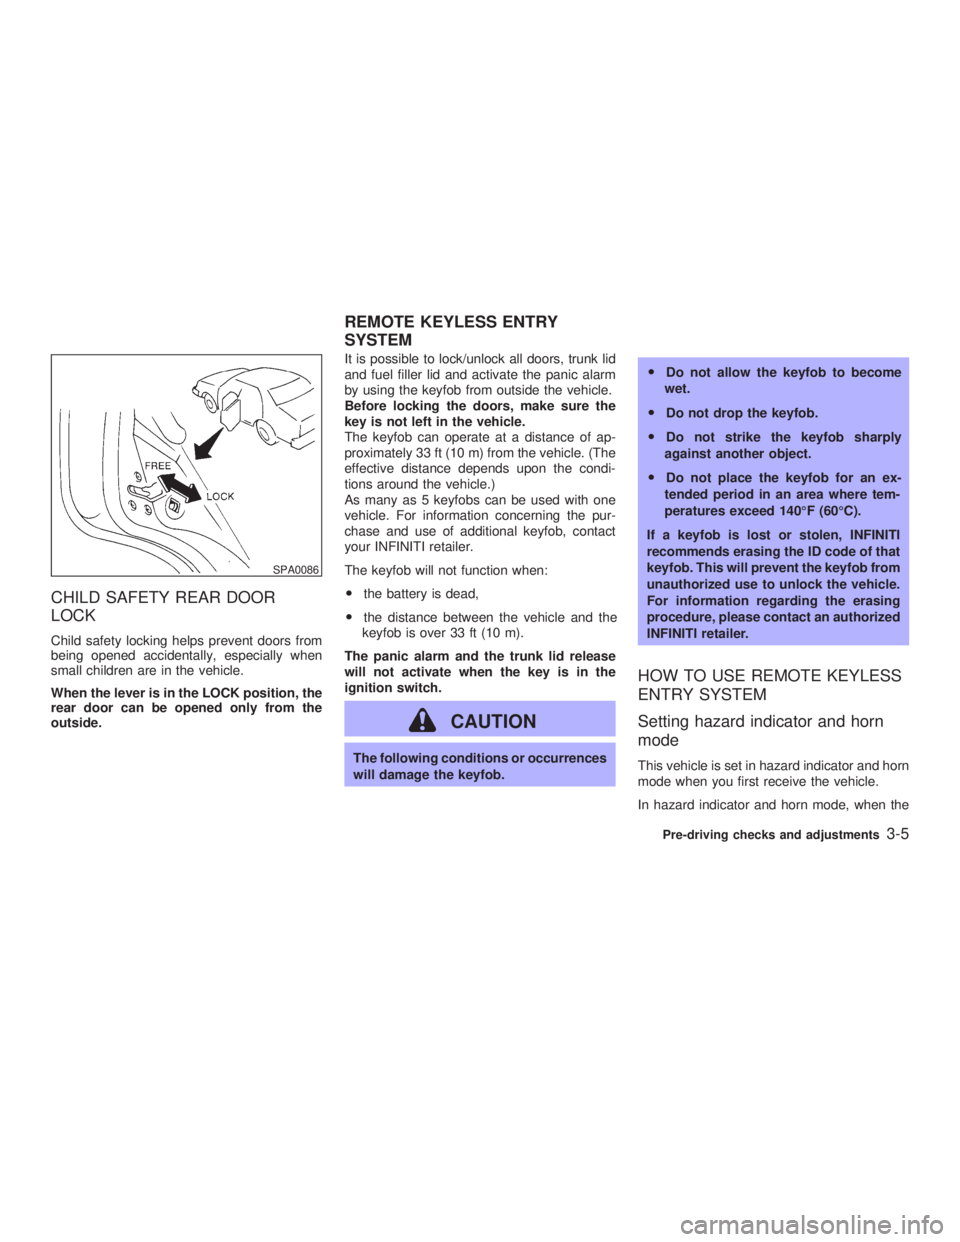
CHILD SAFETY REAR DOOR
LOCK Child safety locking helps prevent doors from
being opened accidentally, especially when
small children are in the vehicle.
When the lever is in the LOCK position, the
rear door can be opened only from the
outside. It is possible to lock/unlock all doors, trunk lid
and fuel filler lid and activate the panic alarm
by using the keyfob from outside the vehicle.
Before locking the doors, make sure the
key is not left in the vehicle.
The keyfob can operate at a distance of ap-
proximately 33 ft (10 m) from the vehicle. (The
effective distance depends upon the condi-
tions around the vehicle.)
As many as 5 keyfobs can be used with one
vehicle. For information concerning the pur-
chase and use of additional keyfob, contact
your INFINITI retailer.
The keyfob will not function when:
O the battery is dead,
O the distance between the vehicle and the
keyfob is over 33 ft (10 m).
The panic alarm and the trunk lid release
will not activate when the key is in the
ignition switch.
CAUTION The following conditions or occurrences
will damage the keyfob. O Do not allow the keyfob to become
wet.
O Do not drop the keyfob.
O Do not strike the keyfob sharply
against another object.
O Do not place the keyfob for an ex-
tended period in an area where tem-
peratures exceed 140ÉF (60ÉC).
If a keyfob is lost or stolen, INFINITI
recommends erasing the ID code of that
keyfob. This will prevent the keyfob from
unauthorized use to unlock the vehicle.
For information regarding the erasing
procedure, please contact an authorized
INFINITI retailer.
HOW TO USE REMOTE KEYLESS
ENTRY SYSTEM
Setting hazard indicator and horn
mode This vehicle is set in hazard indicator and horn
mode when you first receive the vehicle.
In hazard indicator and horn mode, when theSPA0086
REMOTE KEYLESS ENTRY
SYSTEM
Pre-driving checks and adjustments
3-5
Z 02.7.29/V35-D/V5.0
X
Page 102 of 256

Continue to press the UNLOCK button for 3
seconds. All the door windows will be lowered.
Continue to press the UNLOCK button until
windows are fully open.
To stop lowering the windows, release the
UNLOCK button.
To start lowering the windows, press the UN-
LOCK button again for more than 3 seconds.
The rear door windows will operate 0.5 sec-
onds after the front windows' operation (if so
equipped).
Releasing the trunk lid 1. Push the TRUNK button on the keyfob for
longer than 0.5 seconds with the key re-
moved from the ignition key cylinder.
2. The trunk lid opens.
Using the panic alarm If you are near your vehicle and feel threat-
ened, you may activate the alarm to call atten-
tion as follows:
1. Push the PANIC button on the keyfob for
longer than 0.5 seconds with the key
removed from the ignition key cylinder.
2. The theft warning alarm and headlights will
stay on for 30 seconds. 3. The panic alarm stops when:
O It has run for 30 seconds, or
O The LOCK or the UNLOCK button is
pressed, or
O The PANIC or the TRUNK button is pushed
on the keyfob for longer than 0.5 seconds.
BATTERY REPLACEMENT Replace the battery as follows:
1. Open the lid using a suitable tool.
2. Replace the battery with a new one. SPA1374
3-8 Pre-driving checks and adjustments
Z 02.11.1/V35-D/V5.0
X
Page 103 of 256
Recommended battery: CR2025 or equiva-
lent
Make sure that the ! side faces the
bottom case.
3. Close the lid securely.
4. Push the keyfob button two or three times
to check its operation.
See your INFINITI retailer if you need any
assistance for replacement.
If the battery is removed for any reason
other than replacement, perform step 4
above.
O Be careful not to touch the circuit board
and the battery terminal.
O An improperly disposed battery can
harm the environment. Always confirm
local regulations for battery disposal.
O The keyfob is water-resistant; however,
if it gets wet, immediately wipe it com-
pletely dry.
O When changing batteries, do not let dust
or oil get on the keyfob.
FCC Notice:
Changes or modifications not expressly
approved by the manufacturer compliance could void the user's authority to operate
the equipment. This device complies with
Part 15 of the FCC Rules and RSS-210 of
Industry Canada. Operation is subject to
the following two conditions: (1) This de-
vice may not cause harmful interference,
and (2) this device must accept any inter-
ference received, including interference
that may cause undesired operation of the
device.
Pre-driving checks and adjustments
3-9
Z 02.7.29/V35-D/V5.0
X
Page 107 of 256
SECONDARY TRUNK LID
RELEASE
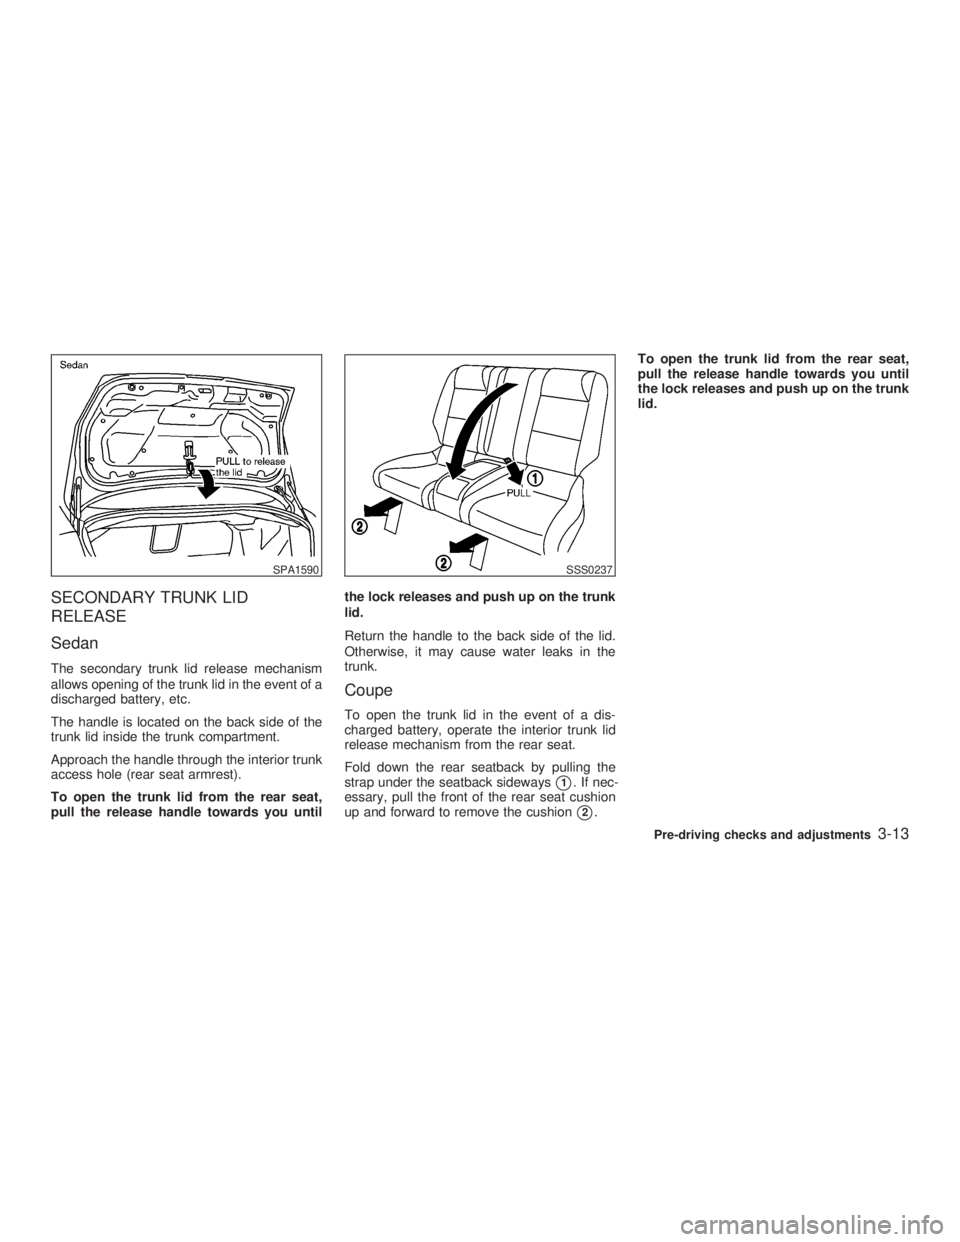
Sedan The secondary trunk lid release mechanism
allows opening of the trunk lid in the event of a
discharged battery, etc.
The handle is located on the back side of the
trunk lid inside the trunk compartment.
Approach the handle through the interior trunk
access hole (rear seat armrest).
To open the trunk lid from the rear seat,
pull the release handle towards you until the lock releases and push up on the trunk
lid.
Return the handle to the back side of the lid.
Otherwise, it may cause water leaks in the
trunk.
Coupe To open the trunk lid in the event of a dis-
charged battery, operate the interior trunk lid
release mechanism from the rear seat.
Fold down the rear seatback by pulling the
strap under the seatback sideways
j 1
. If nec-
essary, pull the front of the rear seat cushion
up and forward to remove the cushion
j 2
. To open the trunk lid from the rear seat,
pull the release handle towards you until
the lock releases and push up on the trunk
lid.
SPA1590 SSS0237
Pre-driving checks and adjustments
3-13
Z 02.7.29/V35-D/V5.0
X
Page 114 of 256

any positions other than ON.
4. Push the SET switch and, within 5 seconds,
push the memory switch 1 or 2 fully for at
least 1 second.
The indicator light for the pushed memory
switch will come on and stay on for approxi-
mately 5 seconds after pushing the switch.
After the indicator light goes off, the se-
lected positions are stored in the selected
memory (1 or 2).
If memory is stored in the same memory
switch, the previous memory will be de-
leted.
Confirming memory storage O Turn the ignition ON and push the SET
switch. If the main memory has not been
stored, the indicator light will come on for
approximately 0.5 seconds. When the
memory has stored the position, the indica-
tor light will stay on for approximately 5
seconds.
O If the battery cable is disconnected, or if the
fuse blows, the memory will be canceled. In
such a case, reset the desired positions
using the following procedures.
1. Open and close the driver's door more than two times with the ignition key in the LOCK
position.
2. Reset the desired position using the previ-
ous procedure.
Selecting the memorized position 1. A/T models:
Set the automatic transmission selector le-
ver to the P (Park) position.
M/T models:
Apply the parking brake securely when the
vehicle is stopped.
2. Turn the ignition ON.
3. Push the memory switch 1 or 2 fully for at
least 1 second.
The driver's seat will move to the memo-
rized position with the indicator light flash-
ing. Then the light will stay on for approxi-
mately 5 seconds.
When memory switch 1 or 2 is pushed with the
driver's door open and then the key inserted
into the ignition switch within approximately 1
minute, the driver's seat will move to the
memorized position. (AT models only) System operation The automatic drive positioner system will not
work or will stop operating under the following
conditions:
O when the vehicle speed is above 4 MPH (7
km/h).
O when any two or more of the memory
switches are simultaneously pressed while
the automatic drive positioner is operating.
O when the adjusting switch for the driver's
seat is turned on while the automatic drive
positioner is operating.
O when the cancel switch is pushed to cancel.
O when the memory switch 1 or 2 is not
pushed for at least 1 second.
O when the seat has already been moved to
the memorized position.
O when no seat position is stored in the
memory switch.
O when the parking brake is not applied. Ð
M/T models
O when the vehicle speed is above 4 MPH (7
km/h) while the parking brake is applied. Ð
M/T models
To restart the drive positioner system,
move the parking brake to off and on.
3-20 Pre-driving checks and adjustments
Z 02.7.29/V35-D/V5.0
X
Page 124 of 256
power lines, electric signs and even traffic
lights.
SATELLITE RADIO RECEPTION When the satellite radio is first installed or the
battery has been replaced, the satellite radio
may not work properly. This is not a malfunc-
tion. Wait more than 10 minutes with satellite
radio ON for satellite radio to receive all of the
necessary data.
AUDIO OPERATION
PRECAUTIONS
Cassette player O To maintain good quality sound,
INFINITI recommends using cassette
tapes of 60 minutes or shorter in length.
O Cassette tapes should be removed from
the player when not in use. Store cas-
settes in their protective cases and away
from direct sunlight, heat, dust, mois-
ture and magnetic sources.
O Direct sunlight can cause the cassette to
become deformed. The use of deformed
cassettes may cause the cassette to jam
in the player.
O Do not use cassettes with labels which
are peeling and loose. If used, the label could jam in the player.
O If a cassette has loose tape, insert a
pencil through one of the cassette hubs
and rewind the tape firmly around the
hubs. Loose tape may cause tape jam-
ming and wavering sound quality.
O Over a period of time, the playback
head, capstan and pinch roller may col-
lect a tape coating residue as the tape is
played. This residue accumulation can
cause weak or wavering sound, and
should be removed periodically with a
head cleaning tape. If the residue is not
removed periodically, the player may
need to be disassembled for cleaning.
Compact Disc (CD) player O During cold weather or rainy days, the
player may malfunction due to the hu-
midity. If this occurs, remove the CD and
dehumidify or ventilate the player com-
pletely.
O The player may skip while driving on
rough roads.
O The CD player sometimes cannot func-
tion when the compartment temperature
is extremely high. Decrease the tem-
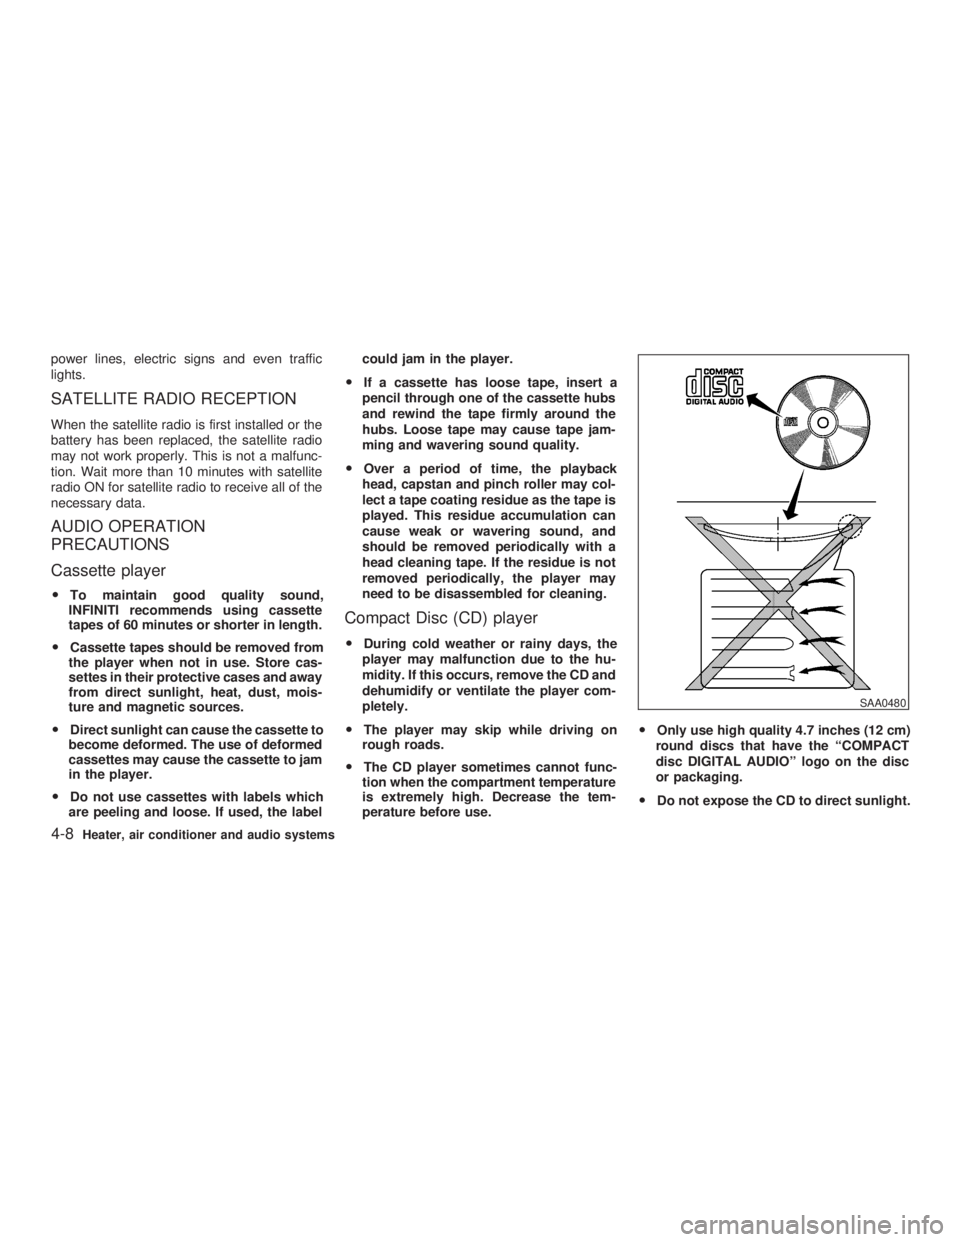
perature before use. O Only use high quality 4.7 inches (12 cm)
round discs that have the ªCOMPACT
disc DIGITAL AUDIOº logo on the disc
or packaging.
O Do not expose the CD to direct sunlight. SAA0480
4-8 Heater, air conditioner and audio systems
Z 02.7.29/V35-D/V5.0
X
Page 129 of 256

1. Tune to the desired station using the SEEK,
SCAN or TUNE button.
2. Select the desired station/channel and
keep pushing any of the desired
station/channel memory buttons (1 to 6)
until a beep sound is heard. (The radio
mutes when the select button is pushed.)
3. The channel indicator will then come on
and the sound will resume. Memorizing is
now complete.
4. Other buttons can be set in the same
manner.
If the battery cable is disconnected, or if the
fuse blows, the radio memory will be can-
celled. In that case, reset the desired stations.
Automatic preset:
To select the preset FM, AM, SAT or PTY
station/channel, push the AUTO.P button for
less than 1.5 seconds.
To preset the FM, AM, SAT or PTY
station/channel, push the AUTO.P button for
more than 1.5 seconds.
(CAT) Program type/category:
When the PTY button is pressed during FM
mode, the PTY name of the current tuned
station is displayed. When the PTY (CAT) button is pressed during
the satellite radio mode, the category name of
the current channel is displayed. During this
time if the PTY data code is zero, or the data is
unreadable; the display will show NONE.
1. PTY (CAT) selection mode
PTY (CAT) name selection can be done by
the up/down TUNE button or in
the PTY (CAT) selection mode.
It is possible to shift the PTY (CAT) name by
one step, with one push of the up/down tuning
button or .
PTY name selection can also be achieved by
pressing the preset buttons.
Initial PTY names are stored in the preset
buttons; but these can be changed by pressing
the preset buttons for more than 1.5 seconds
when the desired PTY name is in the display. 2. PTY SEEK tuning mode
After selecting a PTY name, push the
SEEK button or within 10 sec-
onds. Tuning to the PTY station will start. If
you do not push the SEEK button within the
10 second period, the PTY mode will be
canceled.
3. PTY SCAN tuning mode
Push the SCAN tuning button to tune the
PTY name station, and stop at each broad-
casting station for 5 seconds. Pushing the Heater, air conditioner and audio systems
4-13
Z 02.7.29/V35-D/V5.0
X
Page 135 of 256
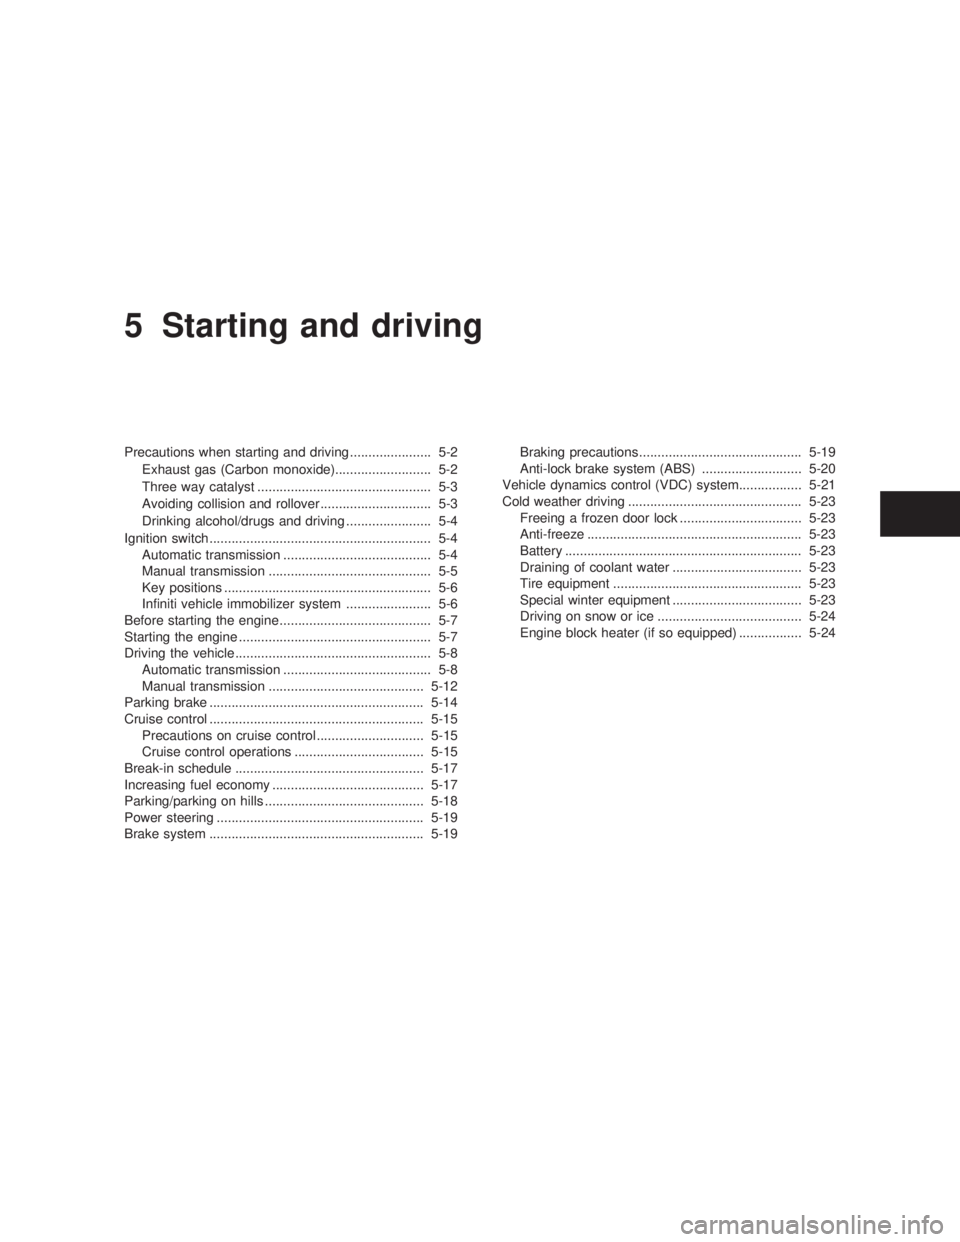
5 Starting and driving Precautions when starting and driving ...................... 5-2
Exhaust gas (Carbon monoxide).......................... 5-2
Three way catalyst ............................................... 5-3
Avoiding collision and rollover .............................. 5-3
Drinking alcohol/drugs and driving ....................... 5-4
Ignition switch............................................................ 5-4
Automatic transmission ........................................ 5-4
Manual transmission ............................................ 5-5
Key positions ........................................................ 5-6
Infiniti vehicle immobilizer system ....................... 5-6
Before starting the engine ......................................... 5-7
Starting the engine .................................................... 5-7
Driving the vehicle ..................................................... 5-8
Automatic transmission ........................................ 5-8
Manual transmission .......................................... 5-12
Parking brake .......................................................... 5-14
Cruise control .......................................................... 5-15
Precautions on cruise control ............................. 5-15
Cruise control operations ................................... 5-15
Break-in schedule ................................................... 5-17
Increasing fuel economy ......................................... 5-17
Parking/parking on hills ........................................... 5-18
Power steering ........................................................ 5-19
Brake system .......................................................... 5-19 Braking precautions............................................ 5-19
Anti-lock brake system (ABS) ........................... 5-20
Vehicle dynamics control (VDC) system................. 5-21
Cold weather driving ............................................... 5-23
Freeing a frozen door lock ................................. 5-23
Anti-freeze .......................................................... 5-23
Battery ................................................................ 5-23
Draining of coolant water ................................... 5-23
Tire equipment ................................................... 5-23
Special winter equipment ................................... 5-23
Driving on snow or ice ....................................... 5-24
Engine block heater (if so equipped) ................. 5-24
Z 02.7.29/V35-D/V5.0
X