2003 GMC SIERRA DENALI clock
[x] Cancel search: clockPage 136 of 428
Exterior Lamps
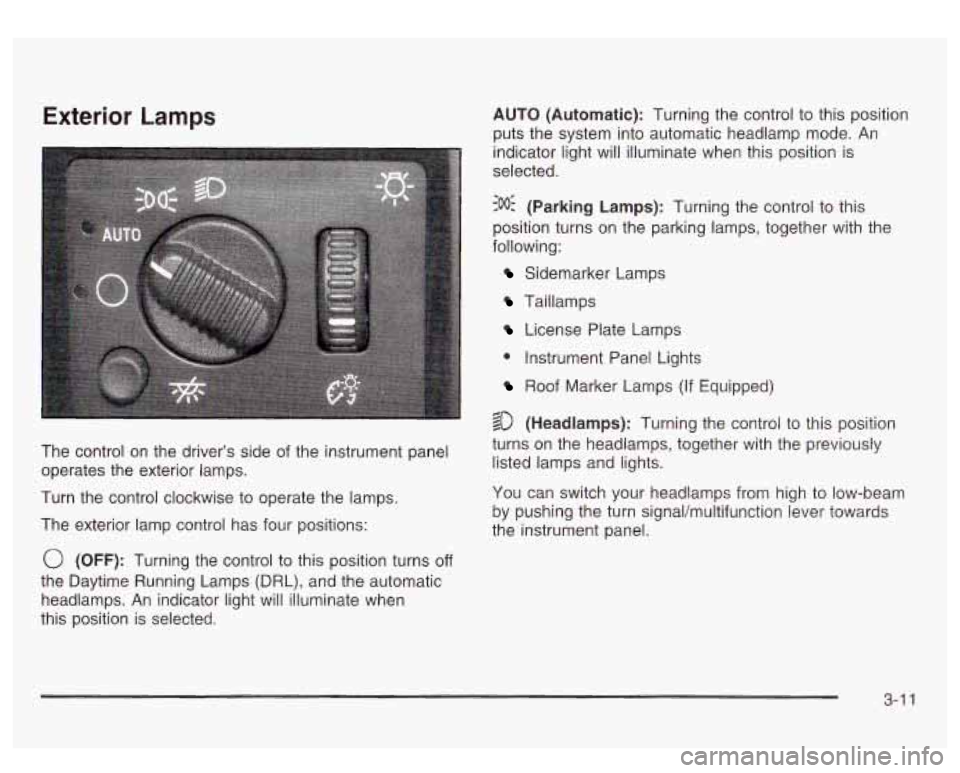
The control on the driver’s side of the instrument panel
operates the exterior lamps.
Turn the control clockwise to operate the lamps.
The exterior lamp control has four positions:
0 (OFF): Turning the control to this position turns off
the Daytime Running Lamps (DRL), and the automatic
headlamps. An indicator light will illuminate when
this position is selected. AUTO
(Automatic): Turning the control to this position
puts the system into automatic headlamp mode.
An
indicator light will illuminate when this position is
selected.
:oO: (Parking Lamps): Turning the control to this
position turns on the parking lamps, together with the
following:
Sidemarker Lamps
Taillamps
License Plate Lamps
0 Instrument Panel Lights
Roof Marker Lamps (If Equipped)
$0 (Headlamps): Turning the control to this position
turns on the headlamps, together with the previously
listed lamps and lights.
You can switch your headlamps from high to low-beam
by pushing the turn signal/multifunction lever towards
the instrument panel.
3-1 1
Page 144 of 428
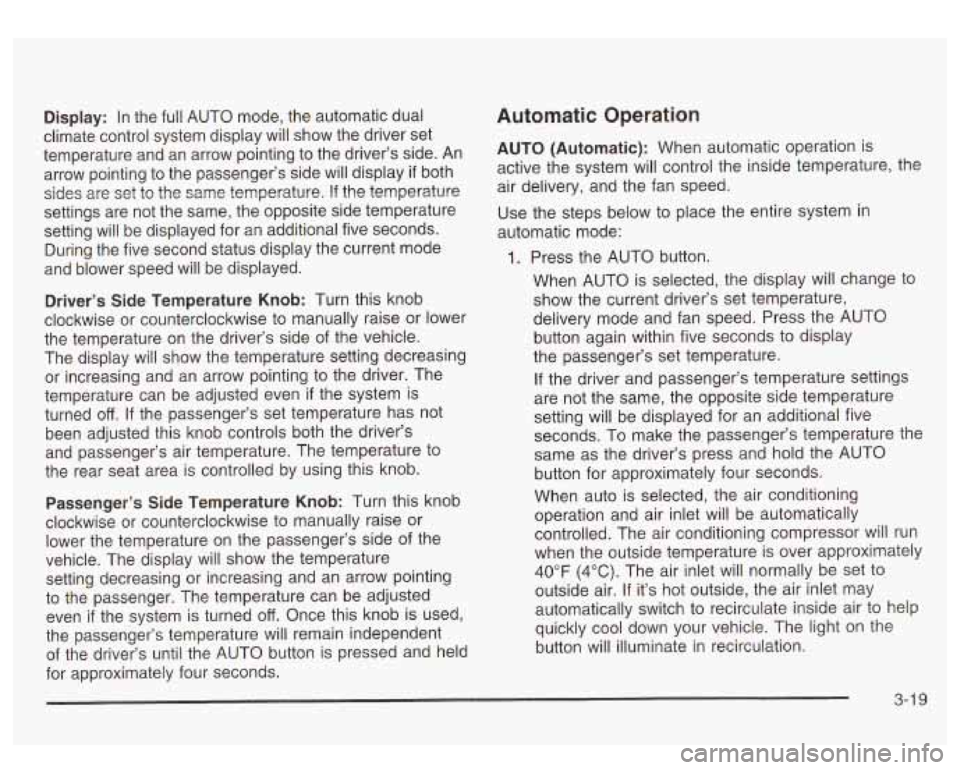
Display: In the full AUTO mode, the automatic dual
climate control system display will show the driver set
temperature and an arrow pointing to the driver’s side. An
arrow pointing to the passenger’s side will display
if both
sides are set to the same temperature.
If the temperature
settings are not the same, the opposite side temperature
setting will be displayed for an additional five seconds.
During the five second status display the current mode
and blower speed will be displayed.
Driver’s Side Temperature Knob: Turn this knob
clockwise or counterclockwise to manually raise or lower
the temperature on the driver’s side of the vehicle.
The display will show the temperature setting decreasing
or increasing and an arrow pointing to the driver. The
temperature can be adjusted even
if the system is
turned
off. If the passenger’s set temperature has not
been adjusted this knob controls both the driver’s
and passenger’s air temperature. The temperature to
the rear seat area is controlled by using this knob.
Passenger’s Side Temperature Knob: Turn this knob
clockwise or counterclockwise to manually raise or
lower the temperature on the passenger’s side of the
vehicle. The display will show the temperature
setting decreasing or increasing and an arrow pointing
to the passenger. The temperature can be adjusted
even
if the system is turned off. Once this knob is used,
the passenger’s temperature will remain independent
of the driver’s until the AUTO button is pressed and held
for approximately four seconds.
Automatic Operation
AUTO (Automatic): When automatic operation is
active the system will control the inside temperature, the
air delivery, and the fan speed.
Use the steps below to place the entire system in
automatic mode:
1. Press the AUTO button.
When AUTO is selected, the display will change to
show the current driver’s set temperature,
delivery mode and fan speed. Press the AUTO
button again within five seconds to display
the passenger’s set temperature.
If the driver and passenger’s temperature settings
are not the same, the opposite side temperature
setting will be displayed for an additional five
seconds. To make the passenger’s temperature the
same as the driver’s press and hold the AUTO
button for approximately four seconds.
When auto is selected, the air conditioning
operation and air inlet will be automatically
controlled. The air conditioning compressor will run
when the outside temperature is over approximately
40°F (4°C). The air inlet will normally be set to
outside air. If it’s hot outside, the air inlet may
automatically switch to recirculate inside air to help
quickly cool down your vehicle. The light on the
button will illuminate in recirculation.
3-1 9
Page 198 of 428

4 FWD (Forward): Press this pushbutton to advance
quickly to another part of the tape. Press this pushbutton
again to return to playing speed. The radio will play
while the tape advances. The station frequency
and FWD will appear on the display. You may select
stations during forward operation by using TUNE
and SEEK.
5 SIDE: Press this pushbutton to play the other side of
the tape.
4 SEEK b : The right arrow is the same as the
NEXT pushbutton, and the left arrow is the same as the
PREV pushbutton.
If the arrow is held or pressed
more than once, the player will continue moving forward
or backward through the tape. SEEK and a positive
or negative number will appear on the display.
4 SCAN b : To scan the tape, press and hold either
SCAN arrow for more than two seconds until SCAN
appears on the display and you hear a beep. Use this
feature to listen to
10 seconds of each selection on
the current side of the tape. Press either SCAN arrow
again, to stop scanning. Your tape must have at
least three seconds
of silence between each selection
for scan to work.
BAND: Press this button to listen to the radio when
a
tape is playing. The tape will stop but remain in the
player.
TAPE DISC: Press this button to play a tape when
listening to the radio. Press this button to switch
between the tape and compact disc
if both are loaded.
The inactive tape or CD will remain safely inside the
radio for future listening.
A (Eject): Press this button to stop a tape when it is
playing or to eject a tape when it is not playing. Eject
may be activated with the radio
off. Cassette tapes may
be loaded with the radio
off if this button is pressed
first.
Cassette Tape Messages
CHK TAPE (Check Tape): If CHK TAPE appears on
the radio display, the tape won’t play because of one of
the following errors.
9 The tape is tight and the player can’t turn the tape
hubs. Remove the tape. Hold the tape with the
open end down and try to turn the right hub
counterclockwise with a pencil. Turn the tape over
and repeat.
If the hubs do not turn easily, your
tape may be damaged and should not be used in
the player.
Try a new tape to make sure your player
is working properly.
The tape is broken. Try a new tape.
The tape is wrapped around the tape head. Attempt
to get the cassette out. Try a new tape.
3-73
Page 219 of 428

Your vehicle can perform very well in emergencies like
these. First apply your brakes.
See
Braking on page 4-6. It is better to remove as much
speed as you can from a possible collision. Then
steer around the problem, to the left
or right depending
on the space available.
An emergency like this requires close attention and a
quick decision. If you are holding the steering wheel at
the recommended
9 and 3 o’clock positions, you
can turn it a full 180 degrees very quickly without
removing either hand. But you have to act fast, steer
quickly, and just as quickly straighten the wheel
once you have avoided the object. The
fact that such emergency situations are always
possible is a good reason
to practice defensive driving
at all times and wear safety belts properly.
QUADRASTEERTM
The QUADRASTEERTM System has a control and
diagnostic module that monitors and records current
system status and operational information.
If your vehicle is equipped with the 4 Wheel Steer
system it has the ability to steer the vehicle with all four
wheels.
Once the
4 Wheel Steer mode is selected, it is
recommended
to leave the vehicle in this mode at all
times, and during all driving and weather conditions.
You can select this mode at any speed, however,
if you
are turning the system will not engage until the turn
is complete.
The 4 Wheel Steer system is equipped with three
different driving modes:
Two wheel steering (2)
Four wheel steering (4)
Four wheel steering with a trailer mode (q )
4-1 0
Page 232 of 428
Q: What should I do if my vehicle stalls, or is
A: if this happens, there are some things you should
about to stall, and
I can’t
make it up the hill?
e
9
e
do and there are some things you must not do.
First, here’s what you should do:
Push the brake pedal to stop the vehicle and keep
if from rolling backwards. Also, apply the parking
brake.
If your engine is still running, shift the transmission
to REVERSE (R), release the parking brake, and
slowly back down the hill as straight as possible in
REVERSE (R).
As you are backing down the hill, put your left hand
on the steering wheel at the
12 o’clock position.
This way, you’ll be able to tell
if your wheels
are straight and maneuver as you back down. It’s
best that you back down the hill with our wheels
straight rather than in the left or tight direction.
Turning the wheel too far to the left
or right
will increase the possibility of a rollover. Here are
some things you
must not do if you stall, or
are about to stall, when going up a
hill.
9 Never attempt to prevent a stall by shifting into
NEUTRAL
(N) to “rev-up” the engine and regain
forward momentum. This won’t work. Your vehicle
will roll backwards very quickly and you could
go out of control.
Instead, apply the regular brake to stop the vehicle.
Then apply the parking brake. Shift to
REVERSE (R), release the parking brake, and
slowly back straight down.
9 Never attempt to turn around if you are about to
stall when going up a hill. If the hill is steep
enough to stall your vehicle, it’s steep enough to
cause you to roll over
if you turn around. If you can’t
make it up the hill, you must back straight down
the hill.
4-23
Page 277 of 428
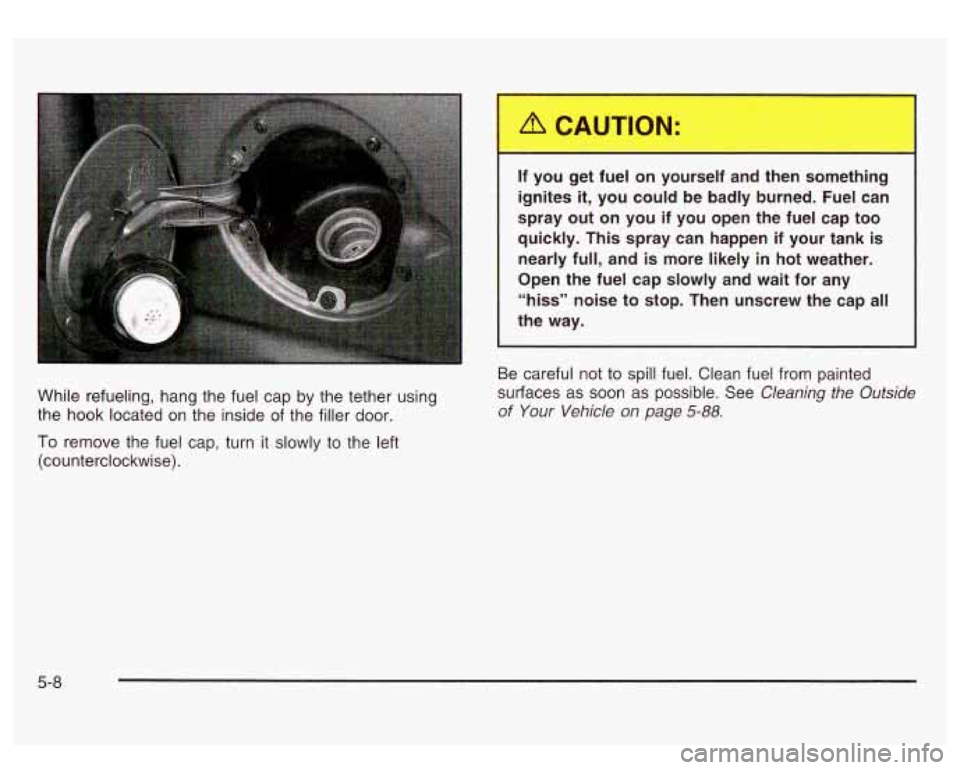
While refueling, hang the fuel cap by the tether using
the hook located on the inside of the filler door.
To remove the fuel cap, turn it slowly to the left
(counterclockwise).
- -
If you get fuel on yourself and then something
ignites
it, you could be badly burned. Fuel can
spray out on you if you open the
fuel cap too
quickly. This spray can happen if your tank
is
nearly full, and is more likely in hot weather.
Open the fuel cap slowly and wait for any
“hiss” noise to stop. Then unscrew the cap all
the way.
Be careful not to spill fuel. Clean fuel from painted
surfaces as
soon as possible. See Cleaning the Outside
of Your Vehicle on page 5-88.
5-8
Page 278 of 428
When you put the fuel cap back on, turn it to the right
(clockwise) until you hear a clicking sound. Make
sure you fully install the cap. The diagnostic system can
determine
if the fuel cap has been left off or improperly
installed. this would allow fuel
to evaporate into the
atmosphere. See
Malfunction Indicator lamp on
page 3-38.
Notice: If you need a new fuel cap, be sure to get
the right type. Your dealer can get one for you. If you get the wrong type,
it may not fit properly.
This may cause your malfunction indicator lamp to
light and may damage your fuel tank and emissions
system. See “Malfunction Indicator Lamp” in the
Index.
Filling a Portable Fue ‘~er
Never fill -)ortable fuel container while it is in
your vehicle. Static electricity discharge from
the container can ignite the gasoline vapor.
You can be badly burned and your vehicle
damaged if
this occurs. To help avoid injury to
you and others:
0 Dispense gasoline only into approved
containers.
Do not fill a container while it is inside a
vehicle,
in a vehicle’s trunk, pickup bed or
on any surface other than the ground.
0 Bring the fill nozzle in contact with the
inside of the fill opening before operating
the nozzle. Contact should be maintained until the filling
is complete.
Don’t smoke while pumping gasoline.
5-9
Page 303 of 428
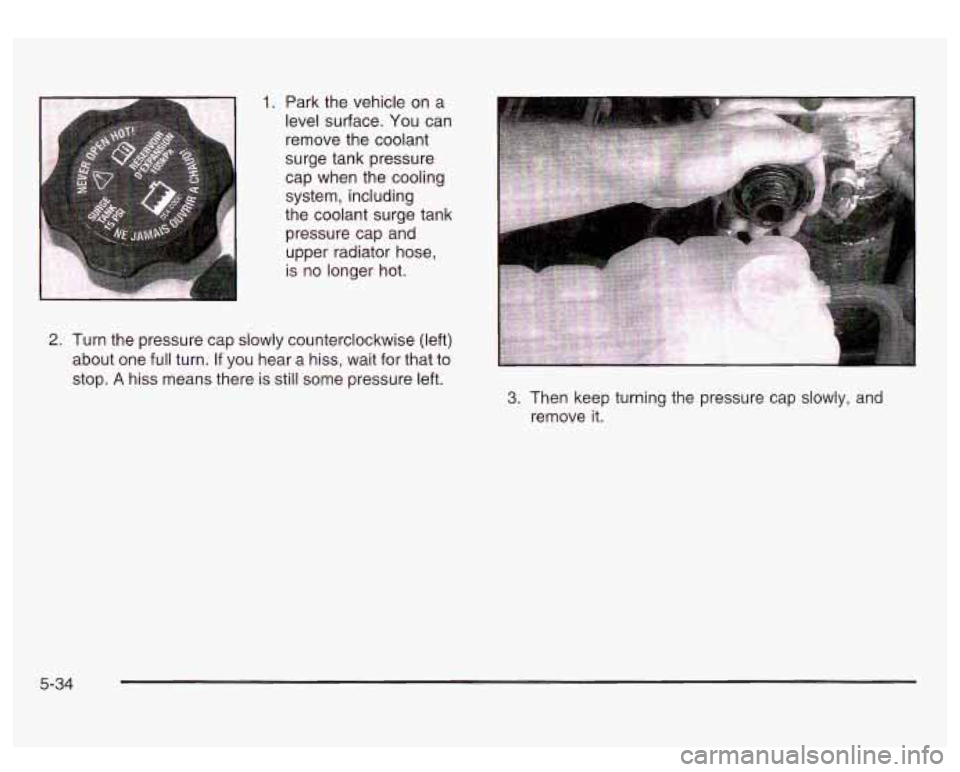
1. Park the vehicle on a
level surface. You can
remove the coolant
surge tank pressure
cap when the cooling
system, including
the coolant surge tank pressure cap and
upper radiator hose,
is no longer hot.
2. Turn the pressure cap slowly counterclockwise (left)
about one full turn.
If you hear a hiss, wait for that to
stop.
A hiss means there is still some pressure left.
3. Then keep turning the pressure cap slowly, and
remove
it.
5-34