2003 GMC SIERRA DENALI parking brake
[x] Cancel search: parking brakePage 268 of 428
When You Are Ready to Leave After
Parking on a
Hill
1. Apply your regular brakes and hold the pedal down
while you:
0 start your engine,
shift into a gear, and
0 release the parking brake.
2. Let up on the brake pedal.
3. Drive slowly until the trailer is clear of the chocks.
4. Stop and have someone pick up and store the
chocks.
Maintenance When Trailer Towing
Your vehicle will need service more often when you’re
pulling a trailer. See the Maintenance Schedule for more
on this. Things that are especially important in trailer
operation are automatic transmission fluid (don’t overfill),
engine
oil, axle lubricant, belt, cooling system and
brake system. Each of these is covered in this manual,
and the Index will help you find them quickly. If
you’re trailering, it’s a good idea to review these sections
before you start your trip.
Check periodically to see that all hitch nuts and bolts
are tight.
4-59
Page 291 of 428
Get the vehicle warmed up by driving about 15 miles
(24 km) when outside temperatures are above
50°F
(1 OOC). If it's colder than 50°F (lO°C), drive the
vehicle
in THIRD (3) until the engine temperature
gage moves and then remains steady for 10 minutes.
A cold fluid check can be made after the vehicle has been
sitting for eight hours or more with the engine
off, but this
is used only as a reference. Let the engine run at idle for
five minutes
if outside temperatures are 50°F (1 0°C) or
more.
If it's colder than 50°F (1 OOC), you may have to idle
the engine longer. Should the fluid level be low during this
cold check, you
must check the fluid hot before adding
fluid. Checking the fluid hot will give you a more accurate
reading of the fluid level.
Checking the Fluid Level
Prepare your vehicle as follows:
Park your vehicle on a level place. Keep the engine
running.
With the parking brake applied, place the shift lever
in PARK (P).
With your foot on the brake pedal, move the shift
lever through each gear range, pausing for about
three seconds in each range. Then, position the shift
lever in PARK
(P).
Let the engine run at idle for three minutes or more. Then, without
shutting
off the engine, follow these steps:
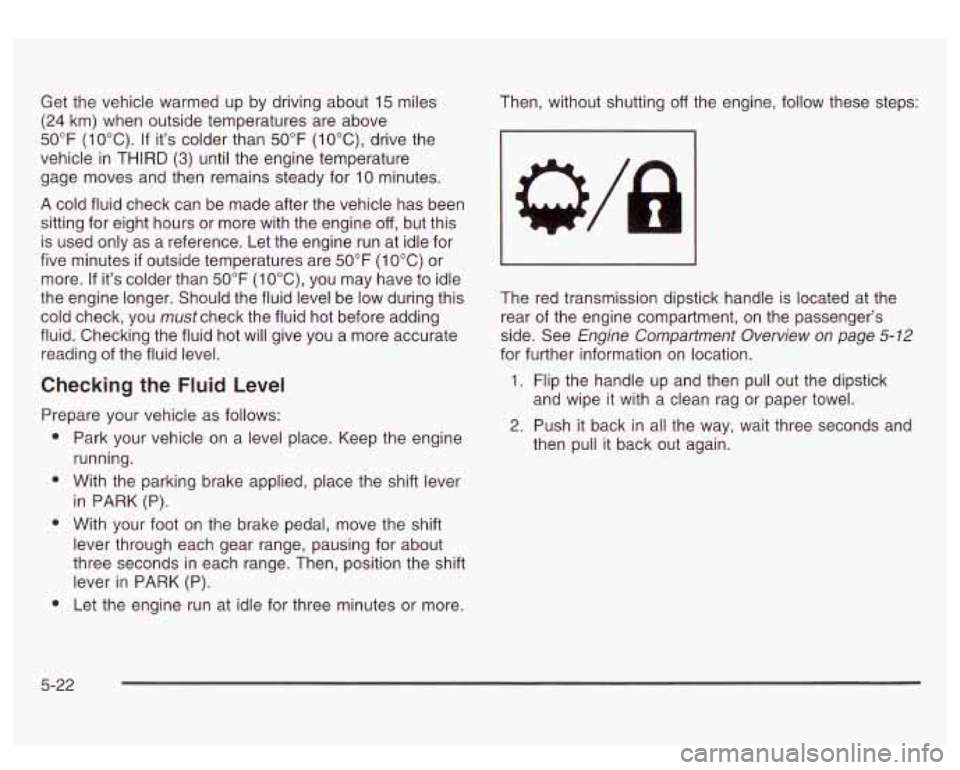
The red transmission dipstick handle is located at the
rear of the engine compartment, on the passenger's
side. See
Engine Compartment Overview on page 5-12
for further information on location.
1. Flip the handle up and then pull out the dipstick
and wipe it with a clean rag or paper towel.
3. Push it back in all the way, wait three seconds and
then pull it back out again.
5-22
Page 313 of 428
Notice: If the other system isn’t a 12-volt system
with a negative ground, both vehicles can be
damaged.
2. Get the vehicles close enough so the jumper cables
can reach, but be sure the vehicles aren’t touching
each other. If they are, it could cause a ground
connection you don’t want. You wouldn’t be able to
start your vehicle, and the bad grounding could
damage the electrical systems.
To avoid the possibility of the vehicles rolling, set
the parking brake firmly on both vehicles involved
in the jump start procedure. Put the automatic
transmission in PARK
(P) before setting the parking
brake.
If you have a four-wheel-drive vehicle, be
sure the transfer case is in a drive gear not in
NEUTRAL.
Notice: If you leave your radio on, it could be badly
damaged. The repairs wouldn’t be covered by
your warranty.
3.
4.
Turn off the ignition on both vehicles. Unplug
unnecessary accessories plugged into the cigarette
lighter or in the accessory power outlets. Turn
off
the radio and all the lamps that aren’t needed.
This will avoid sparks and help save both batteries.
And it could save your radio!
Open the hoods and locate the positive
(+) and
negative
(-) terminal locations of the other vehicle.
Your vehicle has a remote positive
(+) jump starting
terminal and a remote negative
(-) jump starting
terminal. You should always use these remote
terminals instead of the terminals on the battery.
The remote positive
(+) terminal is located behind
a red plastic cover near the engine accessory
drive bracket.
To uncover the remote positive (+)
terminal, open the red plastic cover.
The remote negative
(-) terminal is located on the
engine drive bracket on all
V8 and diesel
engines, and on the thermostat housing on the
8.1L engine. On
V8 engines it is marked ”GND.”
See
Engine Compartment Overview on page 5-12
for more information on location.
5-44
Page 338 of 428
A rear blowout, particularly on a curve, acts much like a Changing a Flat Tire
skid and may require the same correction you’d use
in a skid. In any rear blowout, remove your foot from the
If a tire goes flat, avoid further tire and wheel damage
accelerator pedal. Get the vehicle under control by by driving slowly
to a level place. Turn on your
steering
the way you want the vehicle to go. it may be hazard warning flashers.
very bumpy and noisy, but you can still steer. Gently
brake
to a stop - well off the road if possible.
If a tire goes flat, the next part shows how
to use your
jacking equipment to change a flat tire safely.
C..-nging a tire can cause
an injury. The
vehicle can slip
off the jack and roll over you
or other people. You and they could be badly
injured. Find a level place to change your tire.
To help prevent the vehicle from moving:
1. Set the parking brake firmly.
2. Put the shift lever in PARK (P).
3. Turn off the engine.
4. Put the wheel blocks at the front and rear
of the tire farthest away from the one
being changed. That
would be the tire on
the other side of the vehicle, at the
opposite end.
5-69
Page 381 of 428
If the system is ever reset accidentally, you must
change your oil at
3,000 miles (5 000 km) since your
last oil change. Remember to reset the oil life system
whenever the oil is changed. See
Engine Oil on
page 5-73
for information on resetting the system.
An Emission Control Service.
Lubricate chassis components with each engine oil
and filter change.
Lubricate the front suspension, ball joints, steering
linkage, transmission shift linkage, transfer case shift
linkage and parking brake cable guides. Ball joints
should not be lubricated unless their temperature is
10°F (-12°C) or higher or they could be damaged.
After the services are performed, record the date,
odometer reading and who performed the service on the
maintenance record pages in Part
E of this schedule.
7,500 Miles (12 500 km)
0 Check readfront axle fluid level and add fluid as
needed. Check constant velocity joints and axle seals
for leaking.
page 5-62 for proper rotation pattern and additional
information.
(See footnote +.)
0 Rotate tires. See Tire Inspection and Rotation on
15,000 Miles (25 000 km)
0 Inspect engine air cleaner filter if you are driving in
dusty conditions. Replace filter
if necessary. An
Emission Control Service. (See footnote
t.)
0 Check readfront axle fluid level and add fluid as
needed. Check constant velocity joints and axle seals
for leaking.
0 Rotate tires. See Tire Inspection and Rotation on
page 5-62
for proper rotation pattern and additional
information.
(See footnote +.)
6-6
Page 387 of 428
Starter Switch Check Automatic Transmission Shift Lock
Contr-l System Check
When you are doing this check, the vehicle
could move suddenly.
If it does, you or others
could be injured. Follow the steps below.
1
1.
2.
3.
Before you start, be sure you have enough room
around the vehicle.
Firmly apply both the parking brake and the regular
brake. See
Parking Brake on page 2-22 if
necessary.
Do not use the accelerator pedal, and be ready to
turn off the engine immediately
if it starts.
Try
to start the engine in each gear. The starter
should work only in PARK (P) or NEUTRAL
(N).
If the starter works in any other position, your
vehicle needs service.
I
_/hen you are doing _.. check, tl vel le
could move suddenly.
If it does, you or others
could be injured.
Follow the steps below.
I
1. Before you start, be sure you have enough room
around the vehicle. It should be parked on a level
surface.
2. Firmly apply the parking brake. See Parking Brake
on page 2-22 if necessary.
Be ready
to apply the regular brake immediately if
the vehicle begins to move.
3. With the engine off, turn the key to the RUN
position, but don’t start the engine. Without applying
the regular brake, try
to move the shift lever out
of PARK (P) with normal effort.
If the shift lever
moves out of PARK (P), your vehicle needs service.
6-1 2
Page 388 of 428
Ignition Transmission Lock Check
While parked, and with the parking brake set, try to turn
the ignition key to LOCK in each shift lever position.
* The key should turn to LOCK only when the
The key should come out only in LOCK.
shift lever
is in PARK (P).
Parking Brake and Automatic
Transmission Park (P) Mechanism
A. le1 , ..
When you are doing this check, your vehicle
could begin to move. You or others could be
injured and property could be damaged. Make
sure there
is room in front of your vehicle in
case it begins to roll. Be ready to apply the
regular brake at once should the vehicle begin
to move. Park on a
fairly steep hill, with the vehicle facing
downhill. Keeping your foot on the regular brake, set the
parking brake.
@ To check the parking brake’s holding ability: With
the engine running and transmission in
NEUTRAL
(N), slowly remove foot pressure from the regular
brake pedal.
Do this until the vehicle is held by the
parking brake only.
ability: With the engine running, shift to PARK (P).
Then release the parking brake followed by the
regular brake.
To check the PARK (P) mechanism’s holding
Underbody Flushing Service
At least every spring, use plain water to flush any
corrosive materials from the underbody. Take care to
clean thoroughly any areas where mud and other debris
can collect.
6-1 3
Page 390 of 428
Transfer Case and Front Axle
(All-Wheel Drive) Inspection
Every 12 months, or at engine oil change intervals,
check front axle and transfer case and add lubricant
when necessary.
A fluid loss could indicate a problem.
Check and have it repaired,
if needed. Check vent
hose at transfer case for kinks and proper installation.
Brake System Inspection
Inspect the complete system. Inspect brake lines and
hoses for proper hook-up, binding, leaks, cracks,
chafing, etc; Inspect
disc brake pads for wear and rotors
for surface condition. Inspect other brake parts,
including calipers, parking brake, etc. You may need to
have your brakes inspected more often if your driving
habits or conditions result in frequent braking.
6-1 5