2003 GMC SIERRA DENALI wheel
[x] Cancel search: wheelPage 99 of 428
To Use the Engine Coolant Heater
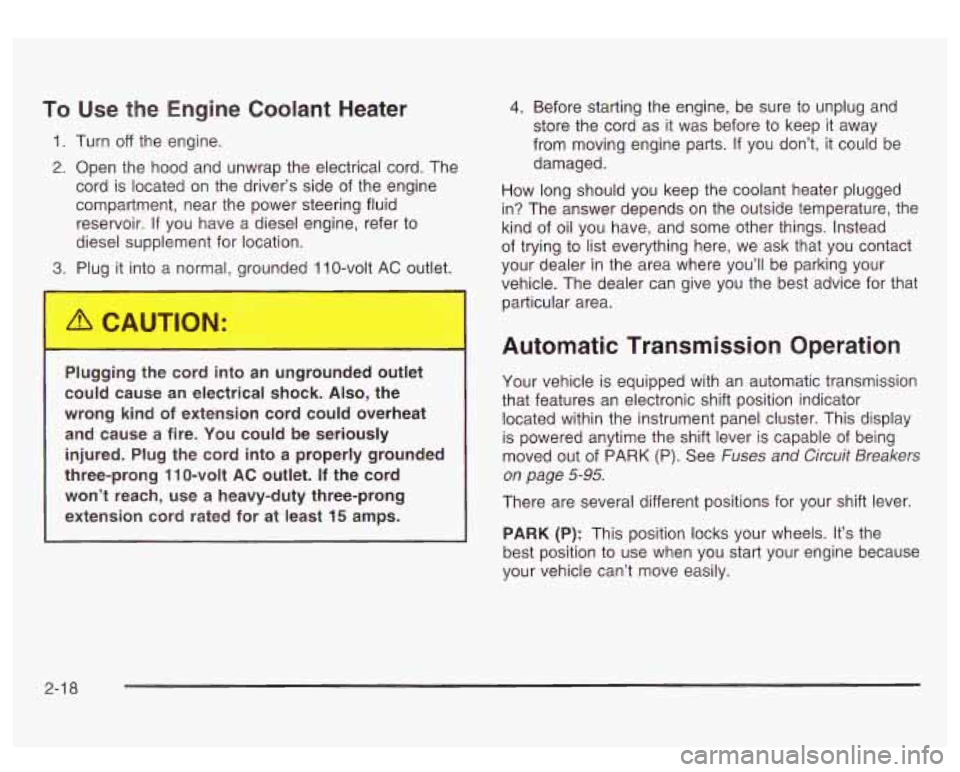
1. Turn off the engine.
2. Open the hood and unwrap the electrical cord. The
cord is located on the driver’s side of the engine
compartment, near the power steering fluid
reservoir. If you have a diesel engine, refer to
diesel supplement for location.
3. Plug it into a normal, grounded 11 0-volt AC outlet.
Plugging the cord into an ungrounded outlet
could cause an electrical shock. Also, the
wrong kind of extension cord could overheat
and cause a fire. You could
be seriously
injured. Plug the cord into a properly grounded
three-prong
11 0-volt AC outlet. If the cord
won’t reach, use a heavy-duty three-prong
extension cord rated for at least
15 amps.
4. Before starting the engine, be sure to unplug ana
store the cord as it was before to keep it away
from moving engine parts.
If you don’t, it could be
damaged.
How long should you keep the coolant heater plugged
in? The answer depends on the outside temperature, the
kind of oil you have, and some other things. Instead
of trying to list everything here, we ask that you contact
your dealer in the area where you’ll be parking your
vehicle. The dealer can give you the best advice for that
particular area.
Automatic Transmission Operation
Your vehicle is equipped with an automatic transmission
that features an electronic shift position indicator
located within the instrument panel cluster. This display
is powered anytime the shift lever
is capable of being
moved out
of PARK (P). See Fuses and Circuit Breakers
on page
5-95.
There are several different positions for your shift lever.
PARK
(P): This position locks your wheels. It’s the
best position to use when you start your engine because
your vehicle can’t move easily.
2-1 8
Page 100 of 428
It is dangerous to get out of your vehicle if the
shift lever is not fully
in PARK (P) with the
parking brake firmly set. Your vehicle can roll.
Don’t leave your vehicle when the engine is
running unless you have to. If you have left the
engine running, the vehicle can move suddenly.
You or others could be injured. To be sure your
vehicle won’t move, even when you’re
on fairly
level ground, always set your parking brake and
move the shift lever to PARK (P). See “Shifting
Into Park
(P)” in the Index. If you’re pulling a
trailer, see “Towing a Trailer”
in the Index.
REVERSE
(R): Use this gear to back up.
Notice: Shifting to REVERSE (R) while your vehicle
is moving forward could damage your transmission.
Shift to REVERSE (R) only after your vehicle is
stopped.
To rock your vehicle back and forth to get out of snow, ice
or sand without damaging your transmission, see
If You
Are Stuck: In Sand, Mud, Ice or Snow on page 4-42.
NEUTRAL (N): In this position, your engine doesn’t
connect with the wheels. To restart when you’re already
moving, use NEUTRAL (N) only. Also, use
NEUTRF’
lk’’ when your vehicle is beir- towed.
Shifting into a drive gear while your engine
is
“racing” (running at high speed) is dangerous.
Unless your foot
is firmly on the brake pedal,
your vehicle could move very rapidly. You could lose control and
hit people or objects. Don’t
shift into a drive gear while your engine
is
racing.
Notice: Damage to your transmission caused by
shifting out of PARK
(P) or NEUTRAL (N) with
the engine racing isn’t covered by your warranty.
DRIVE (D): This position is for normal driving. If
you need more power for passing, and you’re:
0 Going less than about 35 mph (55 km/h), push your
Going about 35 mph (55 km/h) or more, push the
accelerator
pedal about halfway down.
accelerator all the way down.
You’ll shift down to the next gear and have more power.
2-1 9
Page 101 of 428
DRIVE (D) can be used when towing a trailer, carrying a
heavy load, driving on steep hills or for off-road
driving. You may want to shift the transmission to
THIRD
(3) or, if necessary, a lower gear selection if the
transmission shifts too often.
THIRD
(3): This position is also used for normal driving,
however it offers more power and lower fuel economy
than DRIVE (D).
SECOND
(2): This position gives you more power but
lower fuel economy. You can use SECOND
(2) on
hills. It can help control your speed as you go down
steep mountain roads, but then you would also want to
use your brakes occasionally.
If you manually select SECOND
(2), the transmission
will drive in second gear. You may use this feature
for reducing the speed of the rear wheels when you are
trying to start your vehicle from a stop on slippery
road surfaces. FIRST
(1): This position
gives you even more power
(but lower fuel economy) than SECOND
(2). You
can use it on very steep hills, or in deep snow or mud.
If the shift lever is put in FIRST (1) while the vehicle
is moving forward, the transmission won’t shift into first
gear until the vehicle is going slowly enough.
Notice: If your rear wheels won’t turn, don’t try to
drive. This might happen
if you were stuck in
very deep sand or mud or were up against a solid
object. You could damage your transmission.
Also, if you stop when going uphill, don’t hold your
vehicle there with only the accelerator pedal.
This could overheat and damage the transmission.
Use your brakes or shift into PARK (P) to hold
your vehicle in position on a hill.
On cold days, approximately
32°F (OOC) or colder, your
transmission is designed to shift differently until the
engine reaches normal operating temperature. This is
intended to improve heater performance.
2-20
Page 102 of 428
Tow/HauI Mode
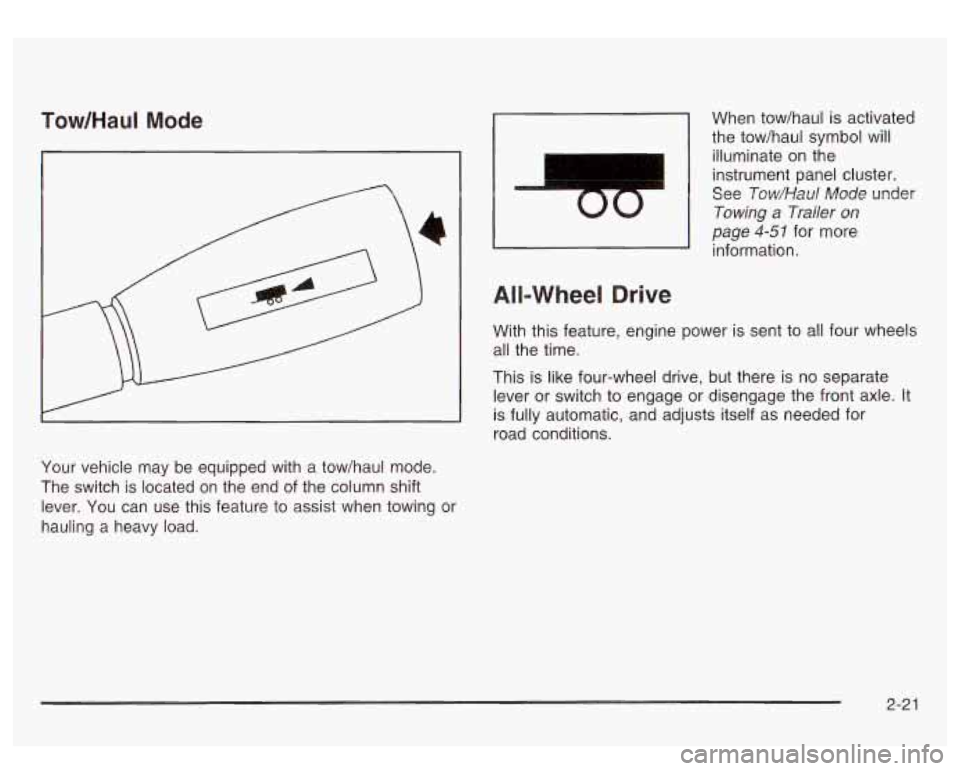
Your vehicle may be equipped with a tow/haul mode.
The switch is located on the end of the column shift
lever. You can use this feature to assist when towing or
hauling a heavy load.
I
00
When tow/haul is activated
the tow/haul symbol will
illuminate
on the
instrument panel cluster.
See
Tow/Haul Mode under
Towing a Trailer on
page 4-51 for more
information.
All-Wheel Drive
With this feature, engine power is sent to all four wheels
all the time.
This is like four-wheel drive, but there is
no separate
lever or switch to engage or disengage the front axle. It
is fully automatic, and adjusts itself as needed for
road conditions.
2-2 1
Page 104 of 428
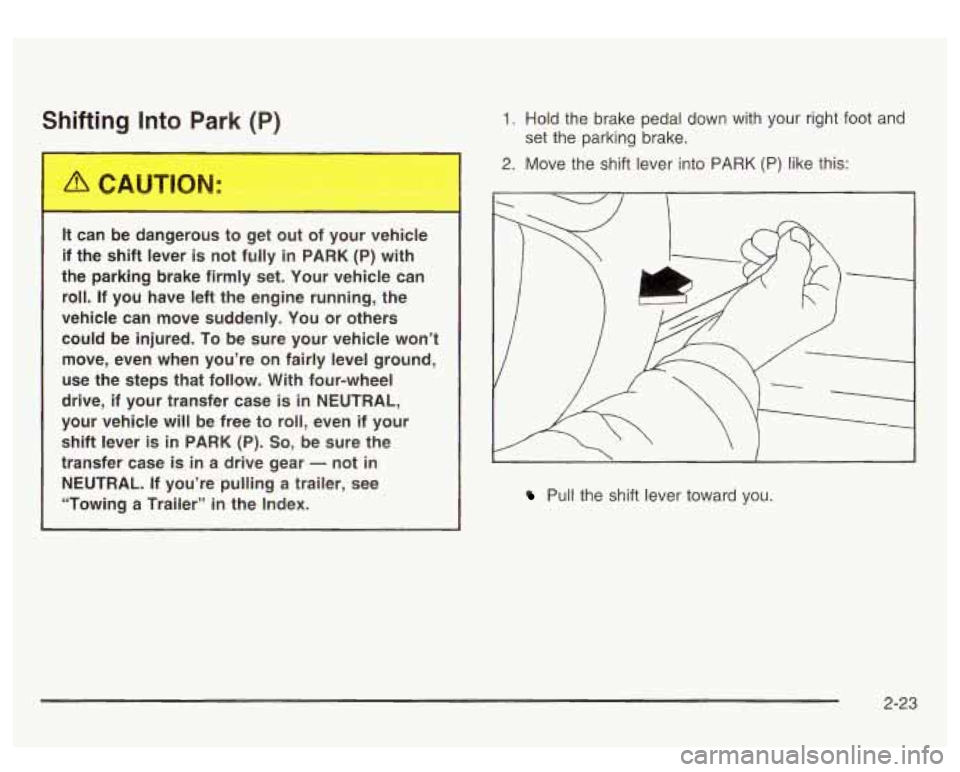
Shifting Into Park (P)
It can be dangerous to get out of your vehicle
if the shift lever is not fully
in PARK (P) with
the parking brake firmly set. Your vehicle can
roll. If you have left the engine running, the
vehicle can move suddenly. You or others
could be injured. To be sure your vehicle won’t
move, even when you’re
on fairly level ground,
use the steps that follow.
With four-wheel
drive, if your transfer case
is in NEUTRAL,
your vehicle will be free to roll, even if your
shift lever is in PARK (P).
So, be sure the
transfer case is
in a drive gear - not in
NEUTRAL. If you’re pulling a trailer, see
“Towing a Trailer’’
in the Index.
1. Hold the brake pedal down with your right foot and
2. Move the shift lever into PARK (P) like this:
set
the parking brake.
/ 1
I.
Pull the shift lever toward you.
2-23
Page 115 of 428
Onstar* Personal Calling
With Onstar@ Personal Calling, you have a safer way to
stay connected while driving. It’s a hands-free wireless
phone that’s integrated into your vehicle. You can place
calls nationwide using voice-activated dialing with no
contracts, no roaming charges and no access fees.
To
find out more about Onstar@ Personal Calling, refer
to the Onstar@ owner’s guide in your vehicle’s glove
box,
or call Onstar@ at 1-888-4-ONSTAR
(1 -888-466-7827).
Onstar* Virtual Advisor
With Onstar@ Virtual Advisor you can listen to your
favorite news, entertainment and information topics,
such as traffic and weather reports, stock quotes
and sports scores. You listen to your e-mail through
your vehicle’s speakers, and reply with your hands on
the wheel and your eyes on the road.
A completed Subscription Service Agreement is required
prior to delivery of Onstar@ services and prepaid
calling minutes are also required for Onstar@ Personal
Calling and Onstar@ Virtual Advisor use. Terms and
conditions of the Subscription Service Agreement can be
found at www.onstar.com.
Onstar* Steering Wheel Controls
: If your vehicle is
equipped with the steering
wheel control buttons
you can use them
to interact with the Onstar@
system.
See the Onstar@ manual provided with your vehicle for
more information.
2-34
Page 126 of 428

Section 3 Instrument Panel
I~s~Pu~~~IP Panel OWWV~~W ............................... 3.2
Hazard Warning Flashers
................................ 3.3
Other Warning Devices ................................... 3.4
Horn
............................................................. 3.4
Tilt Wheel
..................................................... 3.4
Turn SignaVMultifunction Lever
......................... 3.5
Exterior Lamps
............................................. 3.11
Interior Lamps
.............................................. 3.15
Accessory Power Outlets
............................... 3.16
Ashtrays and Cigarette Lighter
........................ 3.17
Climate Controls
............................................ 3.18
Dual Automatic Climate Control System
........... 3.18
Warning Lights, Gages and Indicators
............. 3.24
Instrument Panel Cluster
................................ 3.25
Speedometer and Odometer
........................... 3.26
Tachometer
................................................ -3-26
Safety Belt Reminder Light
............................. 3.26
Air Bag Readiness Light
................................ 3-27
Passenger Air Bag Status Indicator
................. 3.30
Battery Warning Light
.................................... 3.33
Brake System Warning Light
.......................... 3.34
Anti-Lock Brake System Warning Light
............. 3.35
Air
Bag
Off Light .......................................... 3-28
Voltmeter Gage
............................................ 3-33
Engine Coolant Temperature Gage
..... ..... 3.36 Transmission Temperature
Gage
..................... 3.36
Malfunction Indicator Lamp
............................. 3.38
Oil Pressure Gage
........................................ 3-40
Cruise Control Light
...................................... 3.41
Tow/Haul Mode Light
.................................... 3-41
Fuel Gage
................................................... 3.42
Driver Information Center (DIC)
....................... 3.43
DIC Operation and Displays
........................... 3.43
DIC Warnings and Messages
......................... 3.53
Audio System(s)
............................................. 3.61
Setting the Time
...................... .......... 3.6 1
Radio with Cassette and CD ..... .............. 3.62
Rear Seat Audio (RSA)
............................. 3.76
CD Changer
................................................ 3-78
Theft-Deterrent Feature
................................. -3-81
Audio Steering Wheel Controls
....................... 3.81
Understanding Radio Reception
...................... 3-82
Care of Your Cassette Tape Player
................ -3-83
Care of Your CDs
......................................... 3.84
Care of Your CD Player
................................ 3.84
Fixed Mast Antenna
...................................... 3.84
XMTM Satellite Radio Antenna System
............. 3.84
DAB Radio Antenna System
........................... 3.84
Low Fuel Warning Light
................................. 3-42
Page 128 of 428

Hazard Warning Flashers The main components of your instrument panel are the
following:
A. Dome Lamp Override Button
9. Exterior Lamp Control
C. Air Outlets
D. Storage Compartment
E. Multifunction Lever
F. Instrument Panel Cluster
G. Shift Lever
H. Tow/Haul Selector Switch (If Equipped)
I. Audio System
J. Comfort Control System
K. Instrument Panel Fuse Block
L. Hood Release
M. Audio Steering Wheel Controls
(If Equipped)
N. Center Instrument Panel Fuse Block
0. Tilt Lever
P. Parking Brake Release
Q. Compact Disc Changer (If Equipped)
R. Ashtray
S. Accessory Power Outlet
1. Air Bag Off Switch and 4-Wheel Steer Button
U. Glovebox Your hazard
warning flashers let you warn others. They
also let police know you have a problem. Your front
and rear turn signal lamps will flash on and
off.
3-3