2003 GMC SIERRA DENALI key battery
[x] Cancel search: key batteryPage 85 of 428
At times you may notice a decrease in range. This is
normal for any remote keyless entry system. If the
transmitter does not work or
if you have to stand closer
to your vehicle for the transmitter to work, try this:
Check the distance. You may be too far from your
vehicle. You may need to stand closer during
rainy or snowy weather.
Check the location. Other vehicles or objects may be
blocking the signal. Take a few steps to the left or
right, hold the transmitter higher, and try again.
Check to determine if battery replacement is
necessary. See “Battery Replacement” under
Remote Keyless Entry System Operation on
page
2-4.
qualified technician for service.
If you are still having trouble, see your dealer or a
Remote Keyless Entry System
Operation
You can lock and unlock your doors from about 3 feet
(1 m) up to 100 feet (30 m) away using the remote
keyless entry transmitter supplied with your vehicle. UNLOCK:
Pressing this button once will unlock the
driver’s door. The interior lamps will come on. Pressing
UNLOCK again within three seconds will cause the
remaining doors to unlock.
You can choose different feedback options for each
press of the UNLOCK button. See
DlC Operation and
Displays on page
3-43 for more information.
LOCK: Pressing this button once will lock all of the
doors. You can choose different feedback options
for each press of the LOCK button. See
DlC Operation
and Displays on page
3-43 for more information.
Operating the keyless entry transmitter may interact with
the theft-deterrent system. See
Content Theft-Deterrent
on page
2- 13 and DlC Operation and Displays on
page
3-43 for more information.
Remote Alarm
When the horn symbol on the keyless entry transmitter
is pressed, the horn will sound and the headlamps
and taillamps will flash for up to
30 seconds. This can
be turned off by pressing the horn button again, waiting
for
30 seconds, or starting the vehicle.
2-4
Page 86 of 428
Matching Transmitter(s) to Your
Vehicle
Each remote keyless entry transmitter is coded to
prevent another transmitter from unlocking your vehicle.
If a transmitter is lost or stolen, a replacement can
be purchased through your dealer. Remember to bring
any remaining transmitters with you when you go
to
your dealer. When the dealer matches the replacement
transmitter to your vehicle, any remaining transmitters
must also be matched. Once your dealer has coded the
new transmitter, the lost transmitter will not unlock
your vehicle. Each vehicle can have a maximum of four
transmitters matched to it.
Battery Replacement
Under normal use, the battery in your remote keyless
entry transmitter should last about two years.
You can tell the battery is weak if the transmitter won’t
work at the normal range in any location.
If you have
to get close
to your vehicle before the transmitter works,
it’s probably time to change the battery.
Notice: When replacing the battery, use care not to
touch any of the circuitry. Static from your body
transferred to these surfaces may damage the
transmitter.
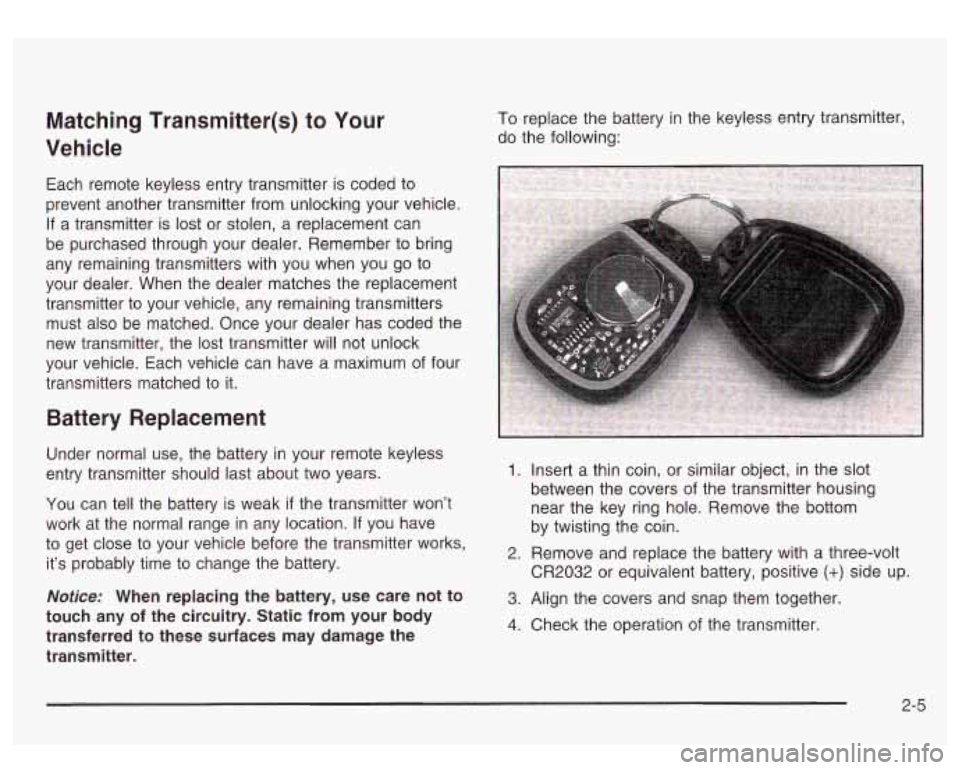
To replace the battery in the keyless entry transmitter,
do the following:
1. Insert a thin coin, or similar object, in the slot
between the covers
of the transmitter housing
near the key ring hole. Remove the bottom
by twisting the coin.
CR2032 or equivalent battery, positive
(+) side up.
2. Remove and replace the battery with a three-volt
3. Align the covers and snap them together.
4. Check the operation of the transmitter.
2-5
Page 97 of 428
LOCK (A): This position locks your ignition and
transmission. It’s a theft-deterrent feature. You will only
be able to remove your key when the ignition is
turned to
LOCK.
ACCESSORY (B): This position lets you use things like
the radio, power windows and the windshield wipers
when the engine is
off.
RUN (C): This position is for driving.
START
(D): This position starts your engine.
Retained Accessory Power (RAP)
The Retained Accessory Power (RAP) feature will allow
certain features on your vehicle to continue to work
up to
10 minutes after the ignition key is turned to OFF.
Starting Your Engine
Move your shift lever to PARK (P) or NEUTRAL (N).
Your engine won’t start in any other position - that’s a
safety feature. To restart when you’re already moving,
use NEUTRAL (N) only.
Notice: Don’t try to shift to PARK (P) if your
vehicle is moving. If you do, you could damage the
transmission. Shift to PARK (P) only when your
vehicle
is stopped.
1. With your foot off the accelerator pedal, turn the
ignition key to START. When the engine starts,
let go of the key. The idle speed will go down as
your engine gets warm.
Notice: Holding your key in START for longer than
15 seconds at a time will cause your battery to
be drained much sooner. And the excessive heat
can damage your starter motor. Wait about
15
seconds between each try to help avoid draining
your battery or damaging your starter.
2. If it doesn’t start within 10 seconds, push the
accelerator pedal all the way
to the floor, while you
hold the ignition key in START. When the engine
starts, let
go of the key and let up on the accelerator
pedal. Wait about
15 seconds between each try.
2-1 6
Page 158 of 428
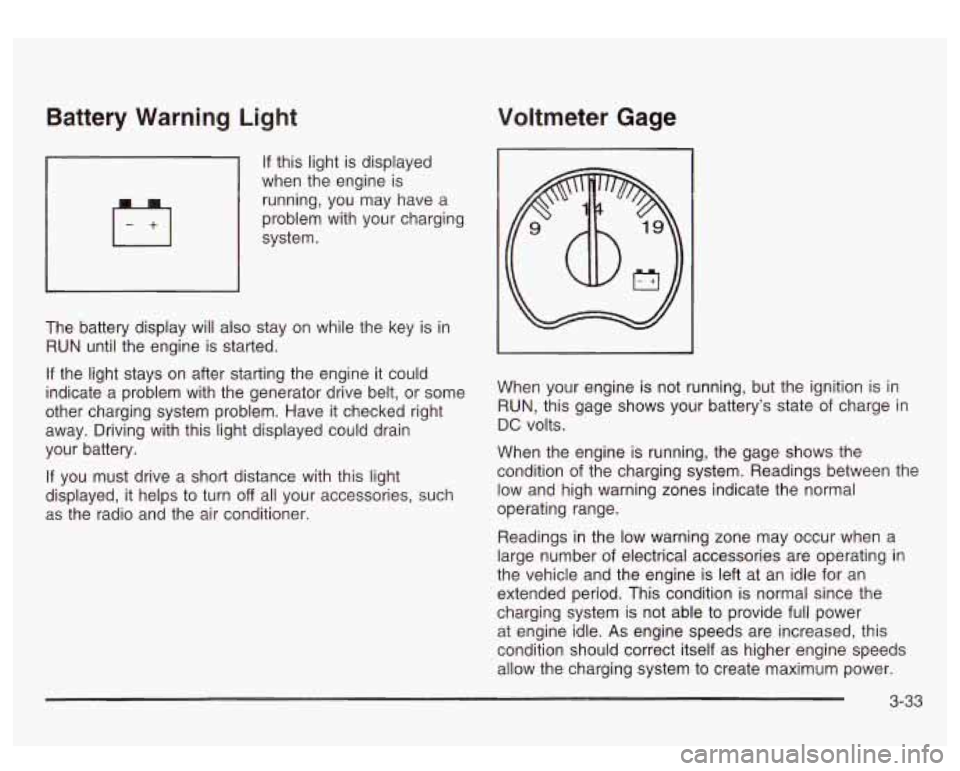
Battery Warning Light Voltmeter Gage
If this light is displayed
when the engine is
running, you may have a
problem with your charging
system.
The battery display will also stay on while the key is in
RUN until the engine is started.
If the light stays on after starting the engine it could
indicate a problem with the generator drive belt, or some
other charging system problem. Have it checked right
away. Driving with this light displayed could drain
your battery.
If you must drive a short distance with this light
displayed, it helps to turn
off all your accessories, such
as the radio and the air conditioner. When your
engine is not running, but the ignition is in
RUN, this gage shows your battery’s state of charge in
DC volts.
When the engine is running, the gage shows the
condition of the charging system. Readings between the
low and high warning zones indicate the normal
operating range.
Readings in the low warning zone may occur when a
large number
of electrical accessories are operating in
the vehicle and the engine is left at an idle for an
extended period. This condition
is normal since the
charging system is not able to provide full power
at engine idle.
As engine speeds are increased, this
condition should correct itself as higher engine speeds
allow the charging system to create maximum power.
3-33
Page 185 of 428
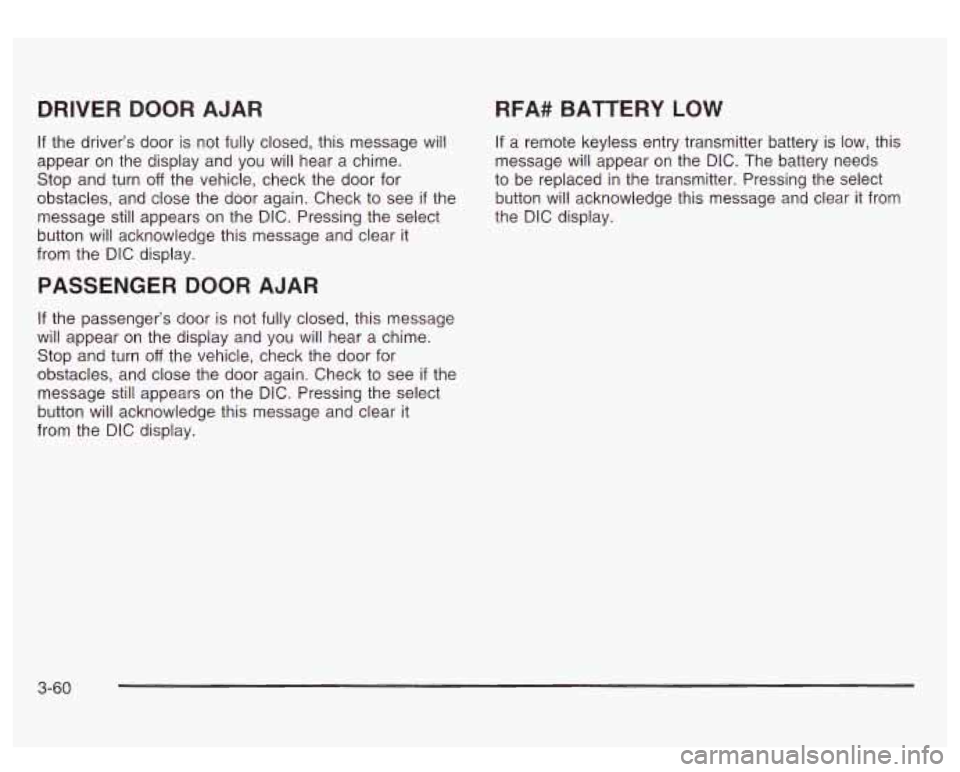
DRIVER DOOR AJAR
If the driver’s door is not fully closed, this message will
appear on the display and you will hear a chime.
Stop and turn
off the vehicle, check the door for
obstacles, and close the door again. Check to see
if the
message still appears on the DIC. Pressing the select
button will acknowledge this message and clear it
from the DIC display.
PASSENGER DOOR AJAR
If the passenger’s door is not fully closed, this message
will appear on the display and you will hear a chime.
Stop and turn
off the vehicle, check the door for
obstacles, and close the door again. Check to see
if the
message still appears on the DIC. Pressing the select
button will acknowledge this message and clear it
from the DIC display.
RFA# BATTERY LOW
If a remote keyless entry transmitter battery is low, this
message will appear on the DIC. The battery needs
to be replaced in the transmitter. Pressing the select
button will acknowledge this message and clear it from
the DIC display.
3-60
Page 400 of 428
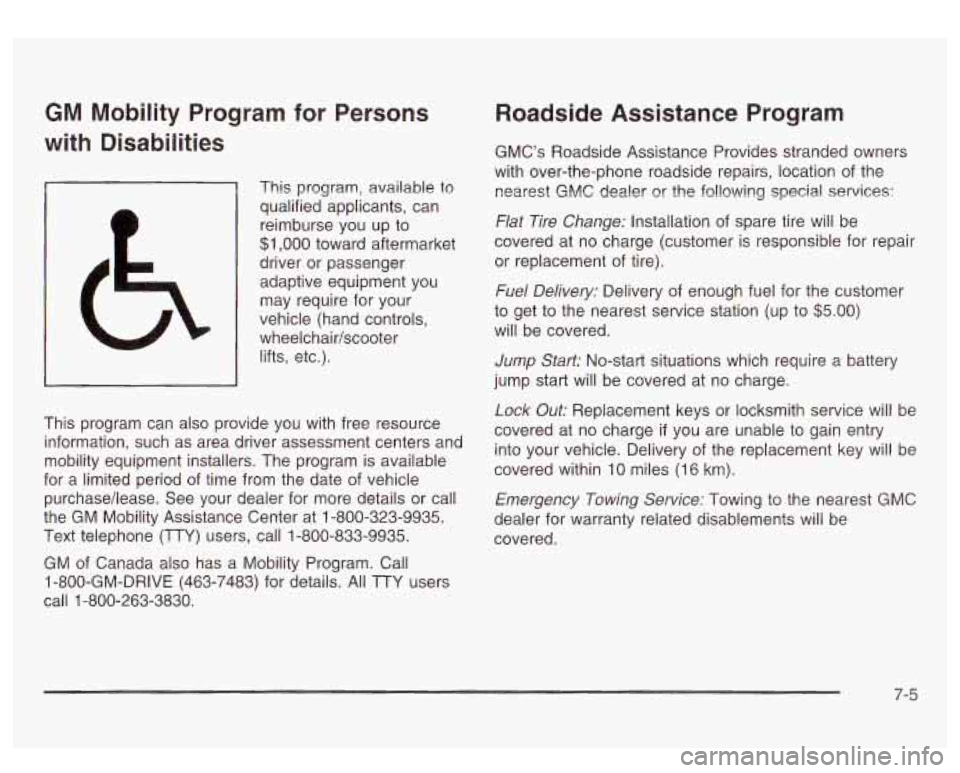
GM Mobility Program for Persons
with Disabilities
This program, available to
qualified applicants, can
reimburse you up to
$1,000 toward aftermarket
driver or passenger
adaptive equipment you
may require for your
vehicle (hand controls,
wheelchair/scooter lifts, etc.).
This program can also provide you with free resource
information, such as area driver assessment centers and
mobility equipment installers. The program is available
for a limited period
of time from the date of vehicle
purchase/lease. See your dealer for more details or call
the GM Mobility Assistance Center at 1-800-323-9935.
Text telephone (TTY) users, call 1-800-833-9935.
GM of Canada also has a Mobility Program. Call
1-800-GM-DRIVE (463-7483) for details. All TTY users
call 1-800-263-3830.
Roadside Assistance Program
GMC’s Roadside Assistance Provides stranded owners
with over-the-phone roadside repairs, location of the
nearest GMC dealer or the following special
services:
Flat Tire Change: Installation of spare tire will be
covered at no charge (customer is responsible for repair
or replacement of tire).
Fuel Delivery: Delivery of enough fuel for the customer
to get to the nearest service station (up to
$5.00)
will be covered.
Jump Start: No-start situations which require a battery
jump start will be covered at
no charge.
Lock Out: Replacement keys or locksmith service will be
covered at no charge
if you are unable to gain entry
into your vehicle. Delivery of the replacement key will be
covered within 10 miles (16 km).
Emergency Towing Sewice: Towing to the nearest GMC
dealer for warranty related disablements will be
covered.
7-5
Page 417 of 428
Instrument Panel Brightness Control .................. 3-1 5
Instrument Panel Fuse Block ............................ 5-96
Interior Lamps
................................................ 3-1 5
Interior Plastic Components .............................. 5-87
Introduction Transfer Case (All-Wheel Drive) Inspection
...... 6-1 5
J
Jump Starting ................................................. 5-43
Key Lock Cylinders Service
.............................. 6-1 1
Keyless Entry System ....................................... 2-3
Keys
............................................................... 2-2
Lamps Exterior
...................................................... 3-1 1
Interior
....................................................... 3-1 5
Lamps On Reminder ....................................... 3-12
Lap Belt
............................................. ... 1-23
Lap-Shoulder Belt
......................... , ... 1-13
LATCH System Child Restraints
......... ...................... 1-43 LATCH System (cont.)
Securing a Child Restraint Designed for the
LATCH System
........................................ 1-46
Leather
......................................................... 5-87
Leaving Your Vehicle With the
Engine Running
.............. ......... 2-24
Light Air Bag
Off ................................. ......... 3-28
Anti-Lock Brake System Warning
................... 3-35
Battery Warning
.......................................... 3-33
Brake System Warning
................................. 3-34
Cruise Control
............................................. 3-41
Low Fuel Warning
................................... 3-42
Malfunction Indicator
................................ 3-38
Passenger Air Bag Status Indicator
............ 3-30
Safety Belt Reminder
............................... 3-26
Tow/Haul Mode
........................................... 3-41
Loading Your Vehicle
....................................... 4-45
Locks Air Bag Readiness
....................... , ........ 3-27
Locking Rear Axle
............................................ 4-8
Door ...................... .................. 2-6
Power Door
.............................................. 2-7
Loss of Control ..............., ............................ 4-15
LOW COOLANT LEVEL
............................... 3-54
Low Fuel Warning Light
................................ 3-42
Lumbar Power Controls
............................................. 1-3
.....