Page 17 of 240
5.Power/volume:Press to turn
ON/OFF; turn to increase or
decrease volume levels.
6.Tone:Press TONE until the
desired level—Bass, Treble, Fade
appears on the display. Turn the
volume control to raise/lower the
levels, or to move the audio sound
from the right to left or the front to
back (if equipped).
7.CLK (Clock):To set the hour,
press and hold CLK until CLOCK
SET appears in the display. Press
SEEK to decrease
or
increase
the hours.
To set the minute, press and hold CLK until CLOCK SET appears in the
display. Press TUNE to decrease
or increasethe minutes.
VOL
PUSH
ON
TONE
CLK
VOL
PUSH
ON
TONE
CLK
Entertainment Systems
17
Page 25 of 240
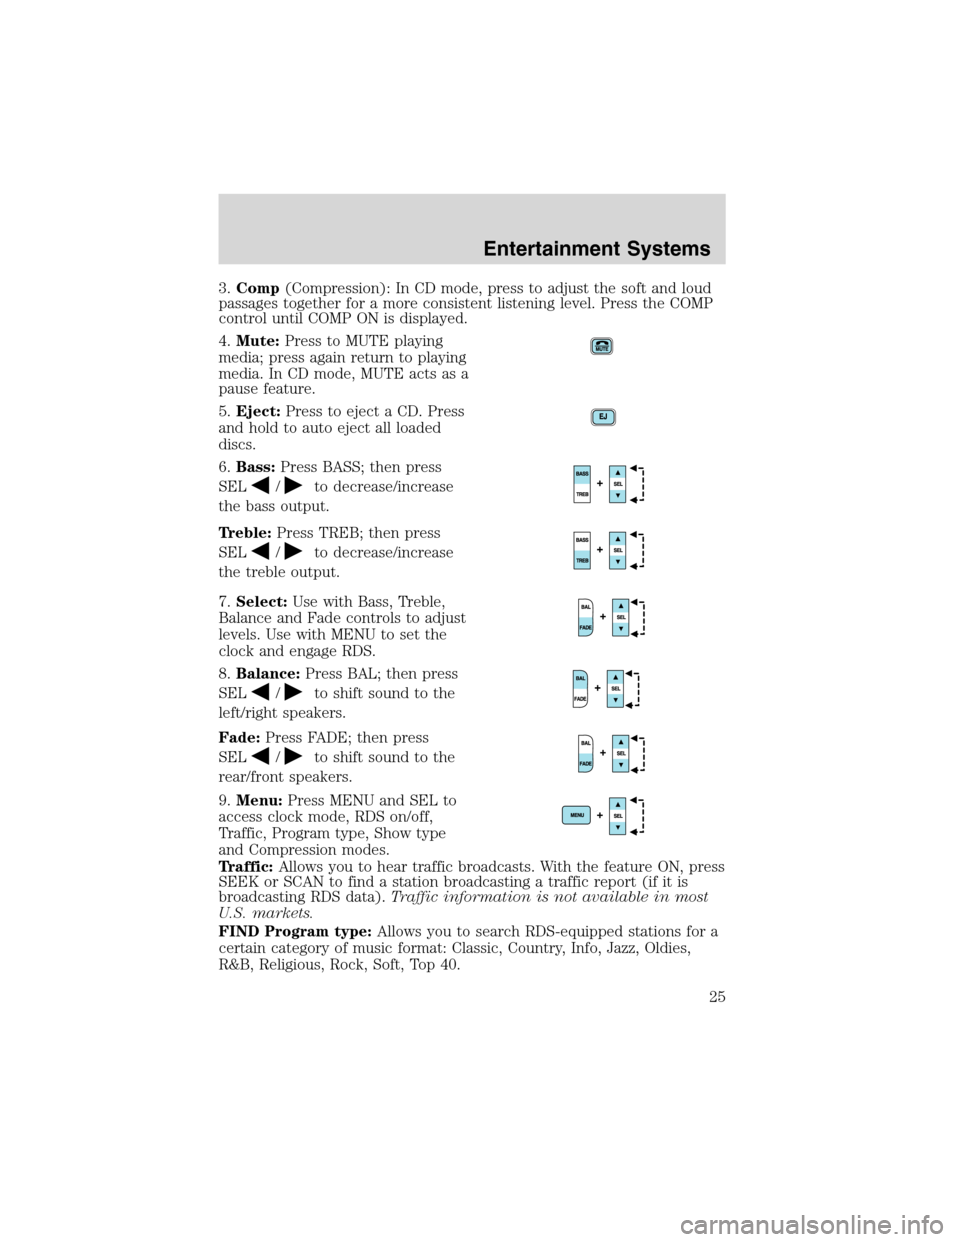
3.Comp(Compression): In CD mode, press to adjust the soft and loud
passages together for a more consistent listening level. Press the COMP
control until COMP ON is displayed.
4.Mute:Press to MUTE playing
media; press again return to playing
media. In CD mode, MUTE acts as a
pause feature.
5.Eject:Press to eject a CD. Press
and hold to auto eject all loaded
discs.
6.Bass:Press BASS; then press
SEL
/to decrease/increase
the bass output.
Treble:Press TREB; then press
SEL
/to decrease/increase
the treble output.
7.Select:Use with Bass, Treble,
Balance and Fade controls to adjust
levels. Use with MENU to set the
clock and engage RDS.
8.Balance:Press BAL; then press
SEL
/to shift sound to the
left/right speakers.
Fade:Press FADE; then press
SEL
/to shift sound to the
rear/front speakers.
9.Menu:Press MENU and SEL to
access clock mode, RDS on/off,
Traffic, Program type, Show type
and Compression modes.
Traffic:Allows you to hear traffic broadcasts. With the feature ON, press
SEEK or SCAN to find a station broadcasting a traffic report (if it is
broadcasting RDS data).Traffic information is not available in most
U.S. markets.
FIND Program type:Allows you to search RDS-equipped stations for a
certain category of music format: Classic, Country, Info, Jazz, Oldies,
R&B, Religious, Rock, Soft, Top 40.
Entertainment Systems
25
Page 26 of 240
Show TYPE:Displays the station’s format (i.e., Jazz, Classic, Country,
Info, Oldies, R&B, Religious, Rock, Soft and Top 40).
Show NAME:Displays station’s call letters.
Show NONE:Nothing appears in the display.
Compression:Brings soft and loud CD passages together for a more
consistent listening level.
Setting the clock:Press MENU until SELECT HOUR or SELECT
MINUTE is displayed. Use SEL to manually increase (
) or decrease
(
) the hours/minutes. Press MENU again to disengage clock mode.
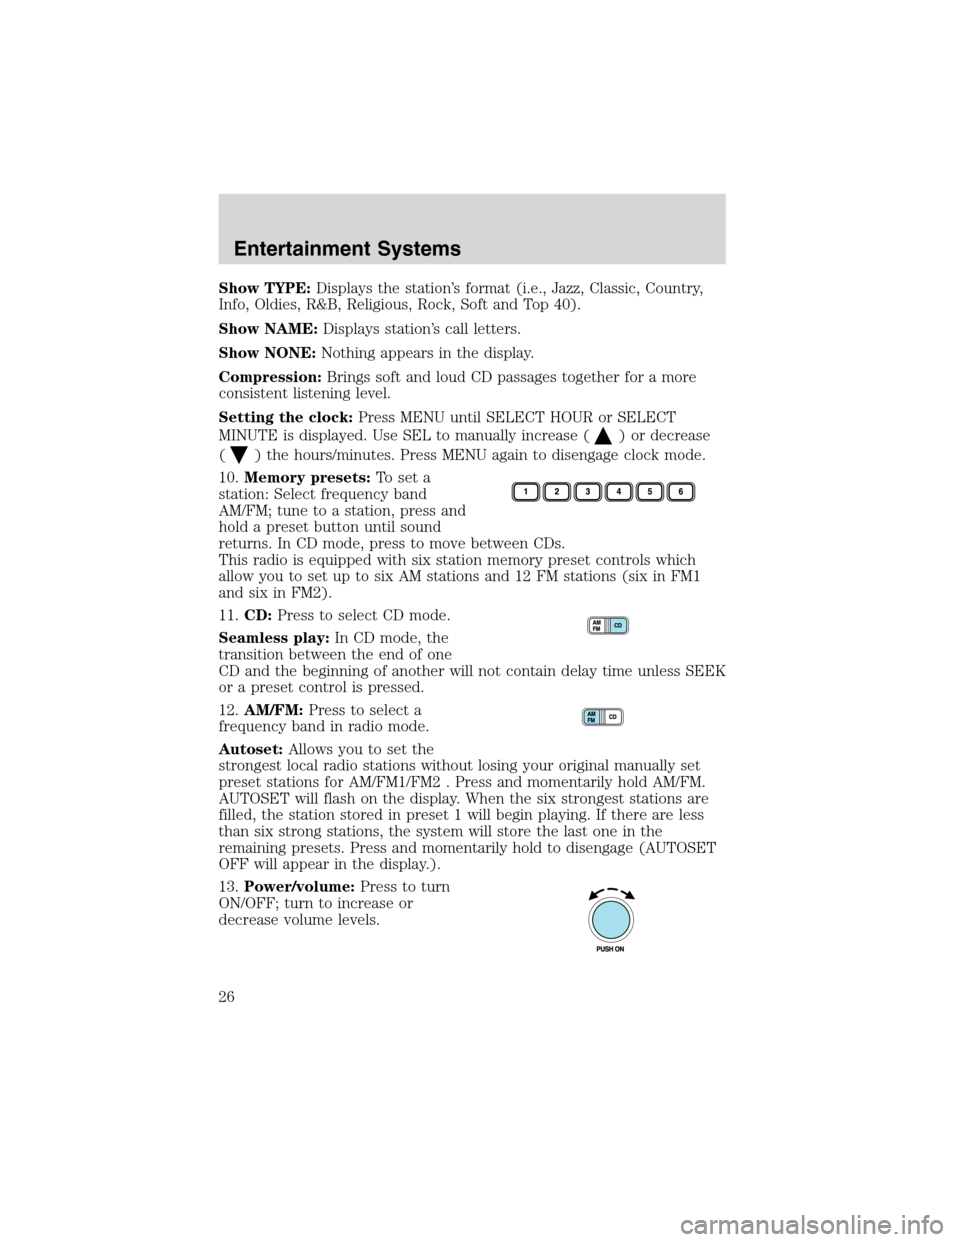
10.Memory presets:To set a
station: Select frequency band
AM/FM; tune to a station, press and
hold a preset button until sound
returns. In CD mode, press to move between CDs.
This radio is equipped with six station memory preset controls which
allow you to set up to six AM stations and 12 FM stations (six in FM1
and six in FM2).
11.CD:Press to select CD mode.
Seamless play:In CD mode, the
transition between the end of one
CD and the beginning of another will not contain delay time unless SEEK
or a preset control is pressed.
12.AM/FM:Press to select a
frequency band in radio mode.
Autoset:Allows you to set the
strongest local radio stations without losing your original manually set
preset stations for AM/FM1/FM2 . Press and momentarily hold AM/FM.
AUTOSET will flash on the display. When the six strongest stations are
filled, the station stored in preset 1 will begin playing. If there are less
than six strong stations, the system will store the last one in the
remaining presets. Press and momentarily hold to disengage (AUTOSET
OFF will appear in the display.).
13.Power/volume:Press to turn
ON/OFF; turn to increase or
decrease volume levels.
Entertainment Systems
26
Page 28 of 240
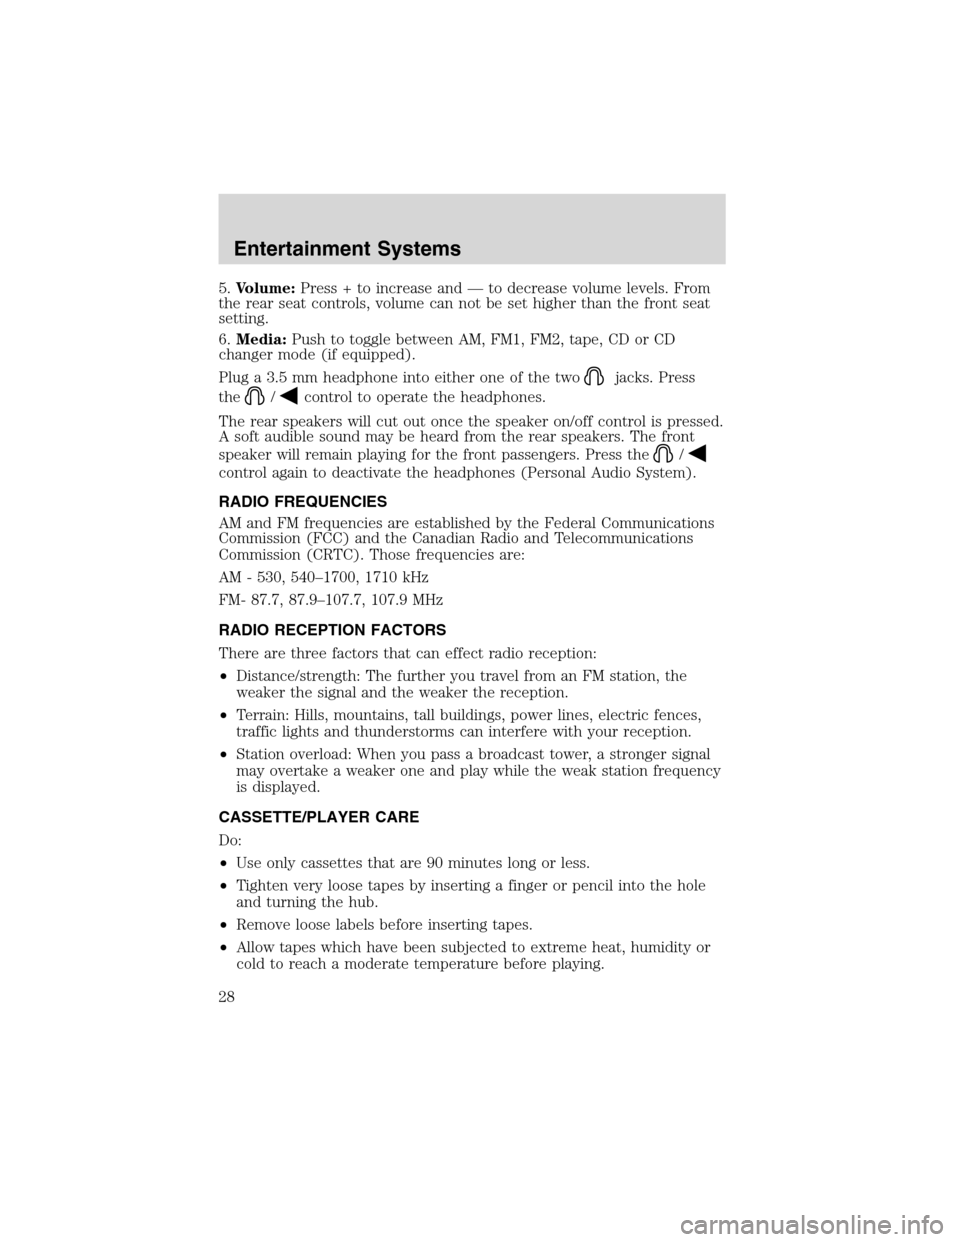
5.Volume:Press + to increase and—to decrease volume levels. From
the rear seat controls, volume can not be set higher than the front seat
setting.
6.Media:Push to toggle between AM, FM1, FM2, tape, CD or CD
changer mode (if equipped).
Plug a 3.5 mm headphone into either one of the two
jacks. Press
the
/control to operate the headphones.
The rear speakers will cut out once the speaker on/off control is pressed.
A soft audible sound may be heard from the rear speakers. The front
speaker will remain playing for the front passengers. Press the
/
control again to deactivate the headphones (Personal Audio System).
RADIO FREQUENCIES
AM and FM frequencies are established by the Federal Communications
Commission (FCC) and the Canadian Radio and Telecommunications
Commission (CRTC). Those frequencies are:
AM - 530, 540–1700, 1710 kHz
FM- 87.7, 87.9–107.7, 107.9 MHz
RADIO RECEPTION FACTORS
There are three factors that can effect radio reception:
•Distance/strength: The further you travel from an FM station, the
weaker the signal and the weaker the reception.
•Terrain: Hills, mountains, tall buildings, power lines, electric fences,
traffic lights and thunderstorms can interfere with your reception.
•Station overload: When you pass a broadcast tower, a stronger signal
may overtake a weaker one and play while the weak station frequency
is displayed.
CASSETTE/PLAYER CARE
Do:
•Use only cassettes that are 90 minutes long or less.
•Tighten very loose tapes by inserting a finger or pencil into the hole
and turning the hub.
•Remove loose labels before inserting tapes.
•Allow tapes which have been subjected to extreme heat, humidity or
cold to reach a moderate temperature before playing.
Entertainment Systems
28
Page 62 of 240
MESSAGE CENTER (IF EQUIPPED)
With the ignition in the ON position,
the message center, located on your
instrument cluster, displays
important vehicle information
through a constant monitor of
vehicle systems. You may select
display features on the message
center for a display of status preceded by a brief indicator chime. The
system will also notify you of potential vehicle problems with a display of
system warnings followed by a long indicator chime.
Selectable features
Info menu
This control displays the following
control displays:
•Compass/Outside Temperature
•Distance to Empty
•Average Fuel Economy
•Trip Elapsed Drive Time
•Display On/Off
Setup menu
Press this control for the following displays:
•Language
•Units (English/Metric)
•System Check
•Single/Dual Display Mode
Reset
Press this control to select and reset functions shown in the INFO menu
and SETUP menu.
200120km/h
INFO
SETUP
RESET
Driver Controls
62
Page 63 of 240
Language
1. Select this function from the
SETUP menu for the current
language to be displayed.
2. Pressing the RESET control
cycles the message center through
each of the language choices.
3. Press and hold the RESET
control to set the language choice.
Units (English/Metric)
1. Select this function from the
SETUP menu for the current units
to be displayed.
2. Press the RESET control to
change from English to Metric.
System check
Selecting this function from the
SETUP menu causes the message
center to cycle through each of the
systems being monitored. For each
of the monitored systems, the
message center will indicate either an OK message or a warning message
for three seconds.
Pressing the RESET control cycles the message center through each of
the systems being monitored.
The sequence of the system check report is as follows:
1. oil life in XX%
2. charging system
3. washer fluid level
4. brake fluid level
Driver Controls
63
Page 64 of 240
5. doors closed (driver and passenger side). This message can only be
reset by closing the door(s). If the RESET control is pressed, PLEASE
CLOSE DOOR will be displayed.
6. rear liftgate status
7. exterior lamps (headlamps, front turn, brake, tail and cornering/side
repeater lamp status)
8. Traction Control�or AdvanceTrac�(if equipped)
9. fuel level
10. distance to empty
Single/Dual Display Mode
1. Select this function from the
SETUP menu for the current display
mode.
2. Press the RESET control to
change from the Single to the Dual
display.
Temporary display mode (if equipped)
These messages will display for 4 seconds when speed control is ON,
refer toSpeed controlin this chapter for operation.
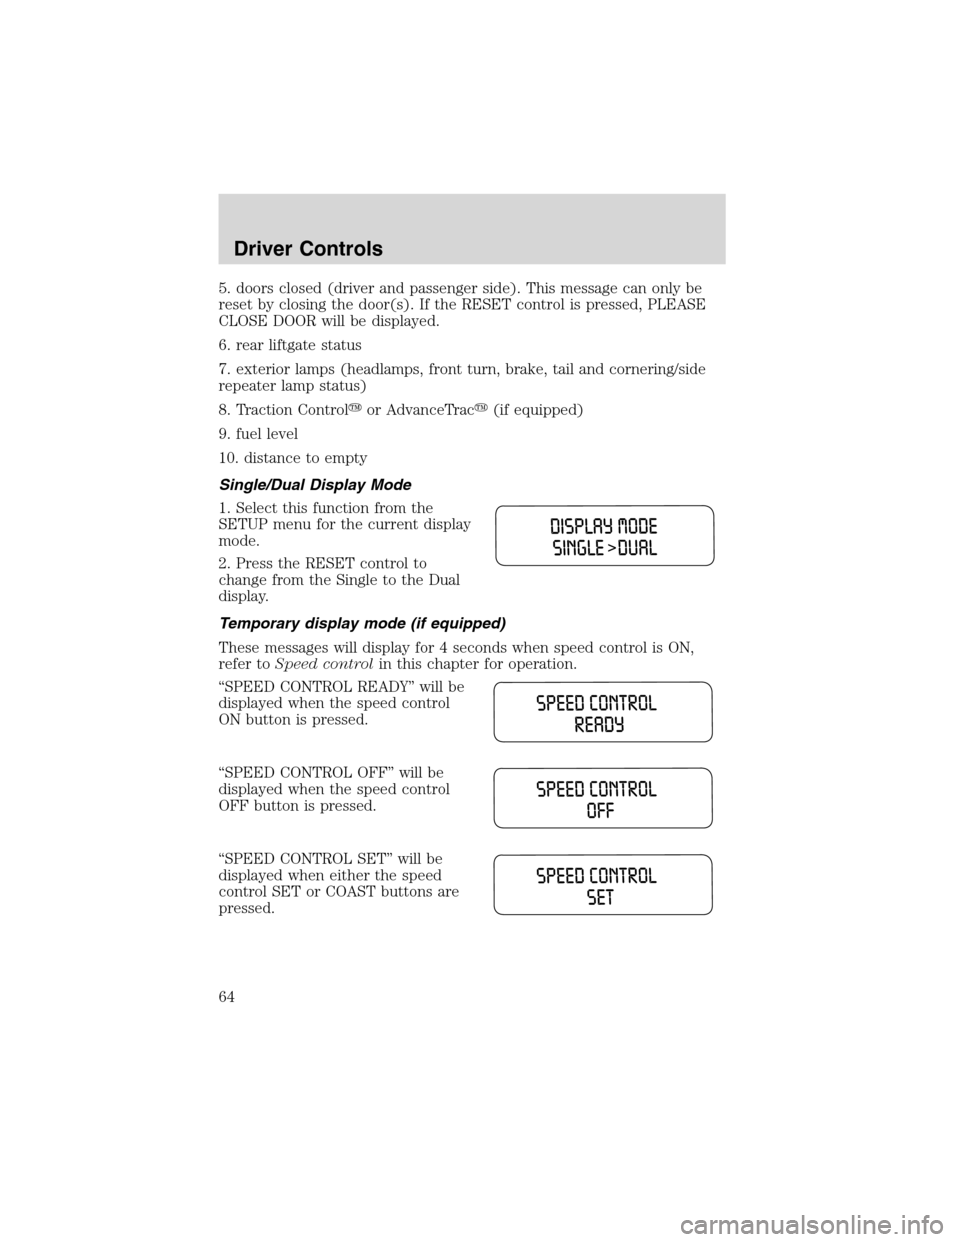
“SPEED CONTROL READY”will be
displayed when the speed control
ON button is pressed.
“SPEED CONTROL OFF”will be
displayed when the speed control
OFF button is pressed.
“SPEED CONTROL SET”will be
displayed when either the speed
control SET or COAST buttons are
pressed.
Driver Controls
64
Page 65 of 240
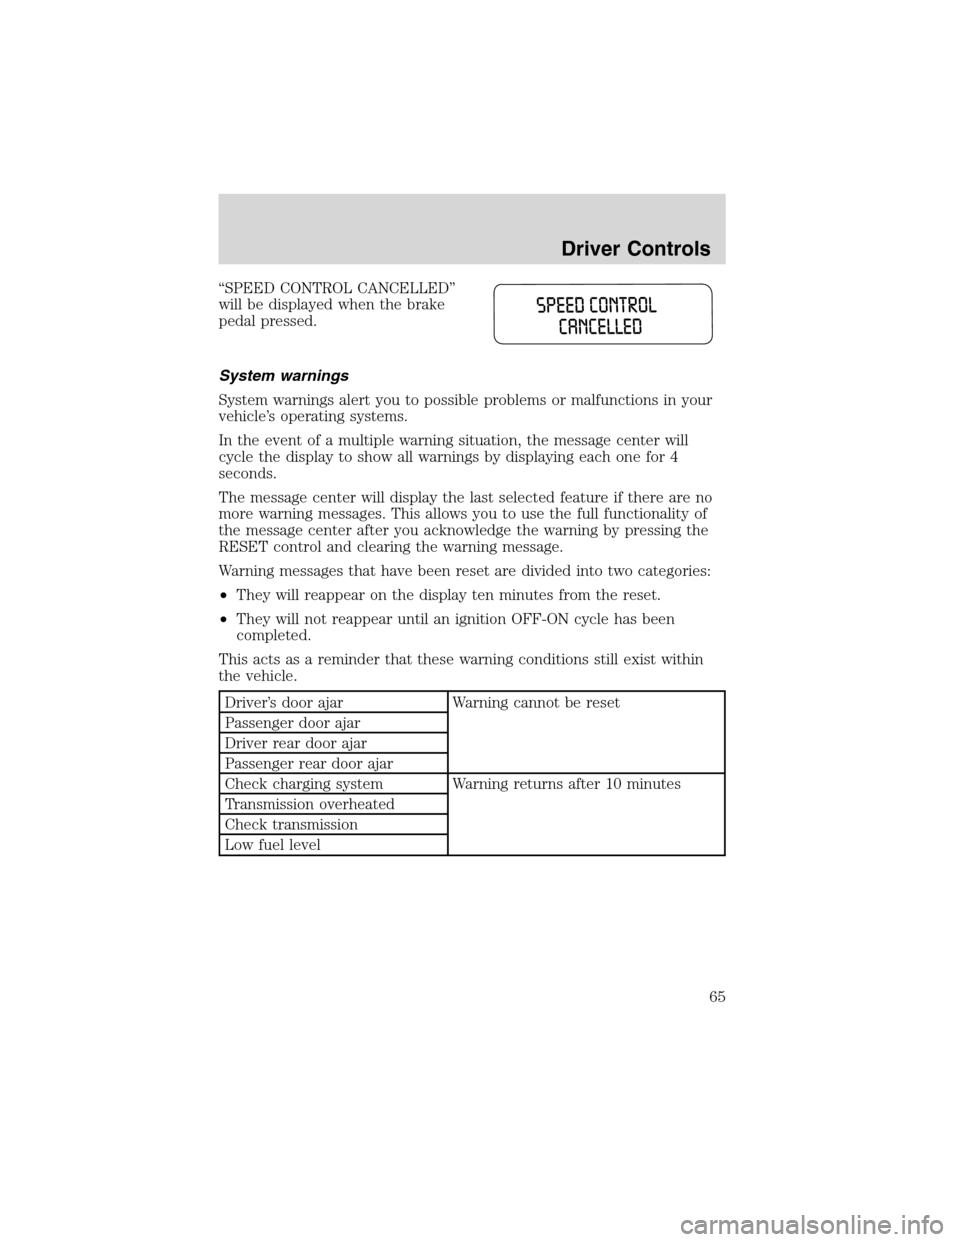
“SPEED CONTROL CANCELLED”
will be displayed when the brake
pedal pressed.
System warnings
System warnings alert you to possible problems or malfunctions in your
vehicle’s operating systems.
In the event of a multiple warning situation, the message center will
cycle the display to show all warnings by displaying each one for 4
seconds.
The message center will display the last selected feature if there are no
more warning messages. This allows you to use the full functionality of
the message center after you acknowledge the warning by pressing the
RESET control and clearing the warning message.
Warning messages that have been reset are divided into two categories:
•They will reappear on the display ten minutes from the reset.
•They will not reappear until an ignition OFF-ON cycle has been
completed.
This acts as a reminder that these warning conditions still exist within
the vehicle.
Driver’s door ajar Warning cannot be reset
Passenger door ajar
Driver rear door ajar
Passenger rear door ajar
Check charging system Warning returns after 10 minutes
Transmission overheated
Check transmission
Low fuel level
Driver Controls
65