Page 1 of 240
Introduction 4
Instrument Cluster 10
Warning and control lights 10
Gauges 13
Entertainment Systems 16
AM/FM stereo cassette with CD 16
AM/FM stereo cassette 18
AM/FM stereo with CD 24
Rear seat controls 27
Climate Controls 30
Manual heating and air conditioning 30
Rear window defroster 34
Lights 35
Headlamps 35
Turn signal control 38
Bulb replacement 40
Driver Controls 44
Windshield wiper/washer control 44
Steering wheel adjustment 45
Power windows 50
Mirrors 51
Speed control (Cruise control) 53
Message center 62
Locks and Security 75
Keys 75
Locks 75
Anti-theft system 77
Table of Contents
1
Page 18 of 240
AM/FM STEREO CASSETTE
1.Balance:Press to shift sound to
the left/right speakers.
2.Fade:Press to shift sound to the
rear/front speakers.
3.CLK:To set the hour, press and
hold CLK. Then press SEEK to
decrease
or increasethe
hours.
To set the minute, press and hold CLK and press TUNE to decrease
or increasethe minutes.
4.Tape AMS:In tape mode, press
and hold to activate Automatic
Music Search (allows you to quickly
locate the beginning of the tape selection being played or to skip to the
SCAN
BASS TREB BAL FADE
SIDE
EJ
REW FF1 - 2TAPE
AMS
SEEK
TUNE
AM
FMCLK
12 3456
FM1ST
13141516171234
VOL - PUSH ON
12
11
10
9
65
87
CLK
TAPE
AMS
Entertainment Systems
18
Page 22 of 240
8.Auto:Press to set first six
strongest stations (if available) into
AM, FM1 or FM2 memory buttons;
press again to return to normal
stations.
9.Clock:Press and hold to set the
clock. Press the
SEEK to
decrease hours or SEEK
to
increase hours. Press the
TUNE
to decrease minutes or TUNE
to
increase minutes. If your vehicle has a stand alone clock this control will
not function.
10.Balance:Press BAL; then press
SEL
/to shift sound to the
left/right speakers.
Fade:Press FADE; then press
SEL
/to shift sound to the
rear/front speakers.
11.Memory preset buttons:To
set a station: Select frequency band
AM/FM, tune to a station, press and
hold a preset button until sound returns.
12.Shuffle (CD):Press to play
tracks in random order.
13.Compression (CD):Press to
bring soft and loud passages
together for a more consistent
listening level.
Entertainment Systems
22
Page 25 of 240
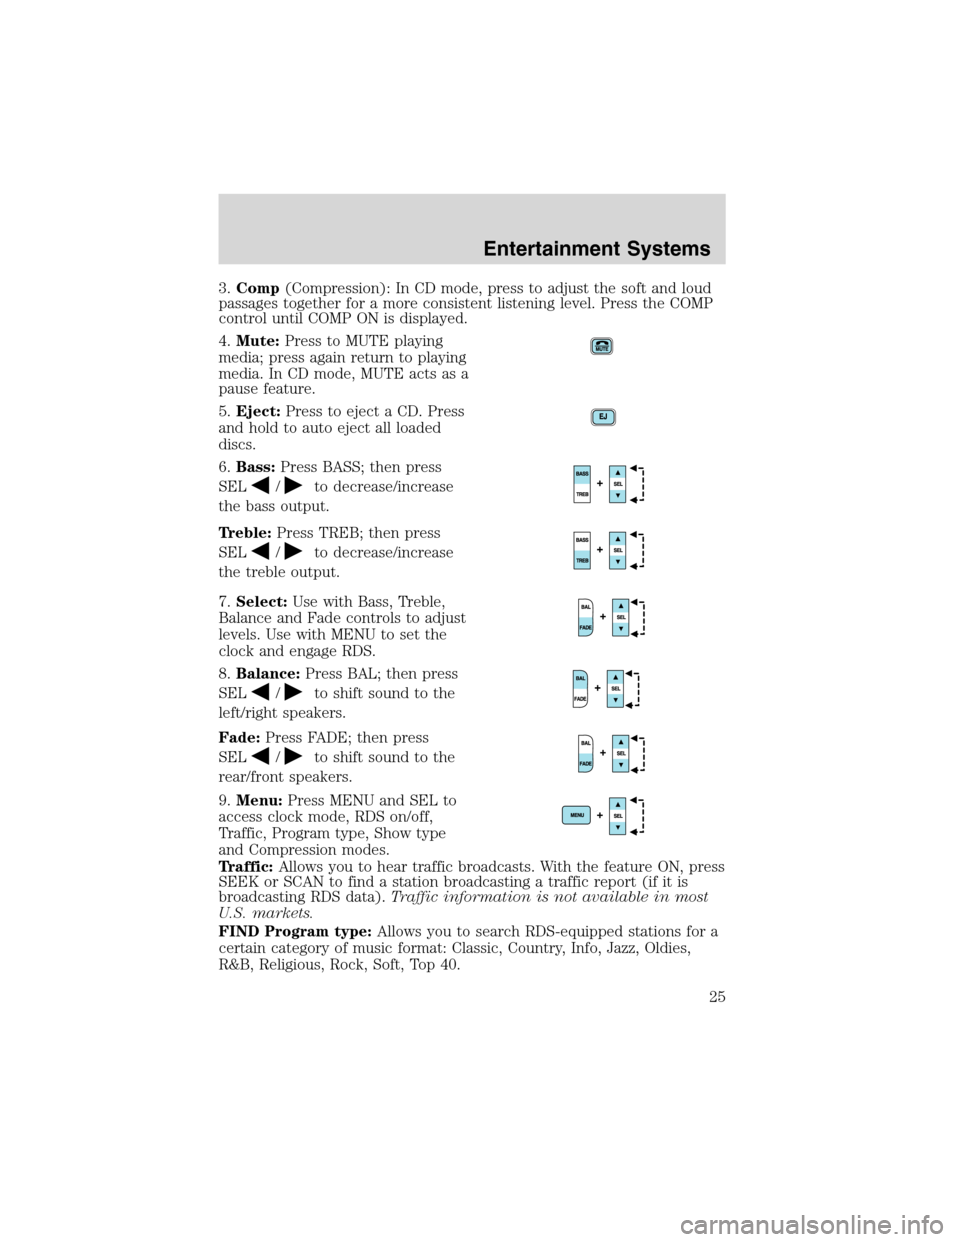
3.Comp(Compression): In CD mode, press to adjust the soft and loud
passages together for a more consistent listening level. Press the COMP
control until COMP ON is displayed.
4.Mute:Press to MUTE playing
media; press again return to playing
media. In CD mode, MUTE acts as a
pause feature.
5.Eject:Press to eject a CD. Press
and hold to auto eject all loaded
discs.
6.Bass:Press BASS; then press
SEL
/to decrease/increase
the bass output.
Treble:Press TREB; then press
SEL
/to decrease/increase
the treble output.
7.Select:Use with Bass, Treble,
Balance and Fade controls to adjust
levels. Use with MENU to set the
clock and engage RDS.
8.Balance:Press BAL; then press
SEL
/to shift sound to the
left/right speakers.
Fade:Press FADE; then press
SEL
/to shift sound to the
rear/front speakers.
9.Menu:Press MENU and SEL to
access clock mode, RDS on/off,
Traffic, Program type, Show type
and Compression modes.
Traffic:Allows you to hear traffic broadcasts. With the feature ON, press
SEEK or SCAN to find a station broadcasting a traffic report (if it is
broadcasting RDS data).Traffic information is not available in most
U.S. markets.
FIND Program type:Allows you to search RDS-equipped stations for a
certain category of music format: Classic, Country, Info, Jazz, Oldies,
R&B, Religious, Rock, Soft, Top 40.
Entertainment Systems
25
Page 27 of 240
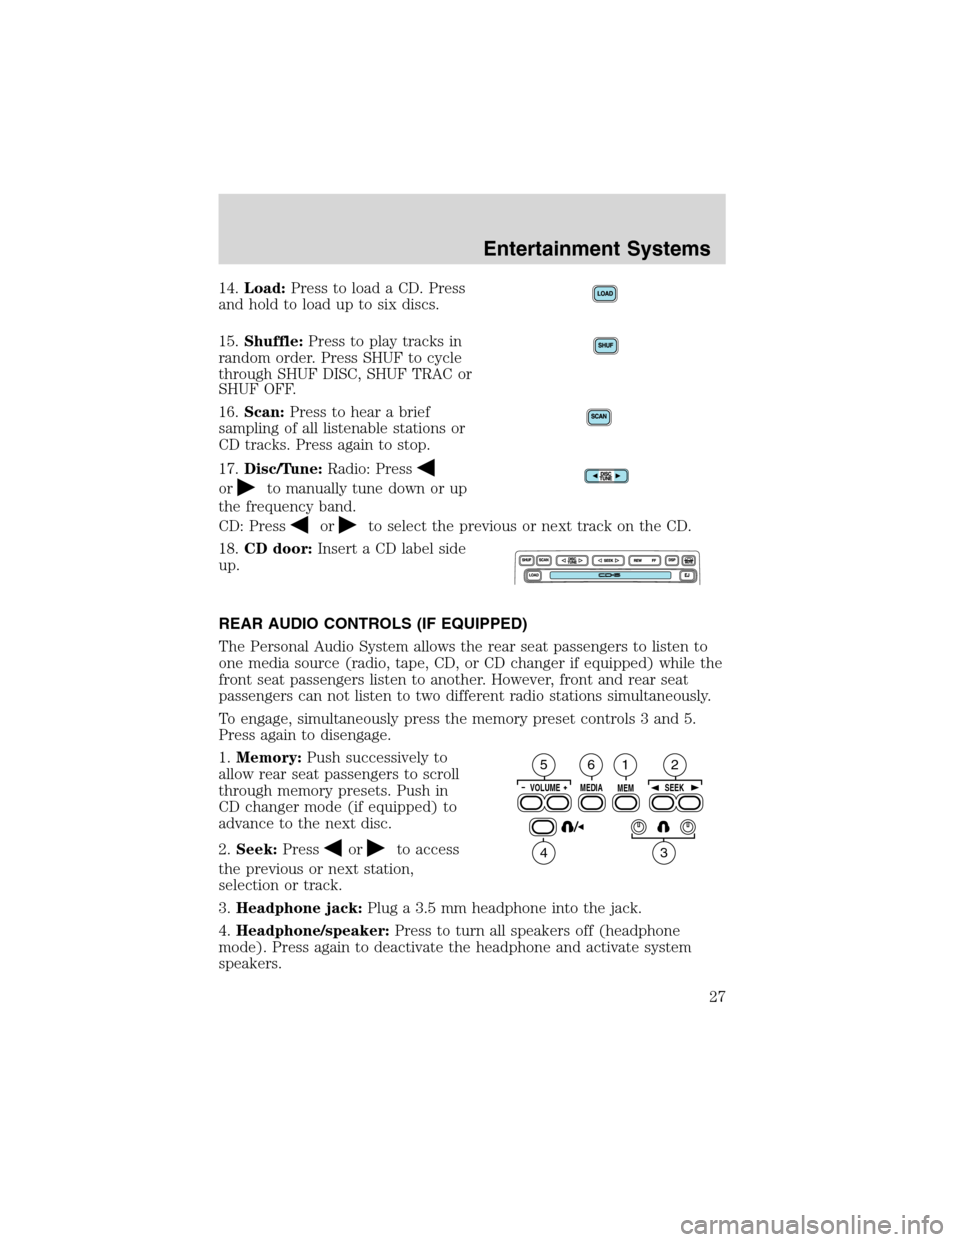
14.Load:Press to load a CD. Press
and hold to load up to six discs.
15.Shuffle:Press to play tracks in
random order. Press SHUF to cycle
through SHUF DISC, SHUF TRAC or
SHUF OFF.
16.Scan:Press to hear a brief
sampling of all listenable stations or
CD tracks. Press again to stop.
17.Disc/Tune:Radio: Press
orto manually tune down or up
the frequency band.
CD: Press
orto select the previous or next track on the CD.
18.CD door:Insert a CD label side
up.
REAR AUDIO CONTROLS (IF EQUIPPED)
The Personal Audio System allows the rear seat passengers to listen to
one media source (radio, tape, CD, or CD changer if equipped) while the
front seat passengers listen to another. However, front and rear seat
passengers can not listen to two different radio stations simultaneously.
To engage, simultaneously press the memory preset controls 3 and 5.
Press again to disengage.
1.Memory:Push successively to
allow rear seat passengers to scroll
through memory presets. Push in
CD changer mode (if equipped) to
advance to the next disc.
2.Seek:Press
orto access
the previous or next station,
selection or track.
3.Headphone jack:Plug a 3.5 mm headphone into the jack.
4.Headphone/speaker:Press to turn all speakers off (headphone
mode). Press again to deactivate the headphone and activate system
speakers.
VOLUME MEDIA
MEMSEEK
5
4
26
3
1
Entertainment Systems
27
Page 28 of 240
5.Volume:Press + to increase and—to decrease volume levels. From
the rear seat controls, volume can not be set higher than the front seat
setting.
6.Media:Push to toggle between AM, FM1, FM2, tape, CD or CD
changer mode (if equipped).
Plug a 3.5 mm headphone into either one of the two
jacks. Press
the
/control to operate the headphones.
The rear speakers will cut out once the speaker on/off control is pressed.
A soft audible sound may be heard from the rear speakers. The front
speaker will remain playing for the front passengers. Press the
/
control again to deactivate the headphones (Personal Audio System).
RADIO FREQUENCIES
AM and FM frequencies are established by the Federal Communications
Commission (FCC) and the Canadian Radio and Telecommunications
Commission (CRTC). Those frequencies are:
AM - 530, 540–1700, 1710 kHz
FM- 87.7, 87.9–107.7, 107.9 MHz
RADIO RECEPTION FACTORS
There are three factors that can effect radio reception:
•Distance/strength: The further you travel from an FM station, the
weaker the signal and the weaker the reception.
•Terrain: Hills, mountains, tall buildings, power lines, electric fences,
traffic lights and thunderstorms can interfere with your reception.
•Station overload: When you pass a broadcast tower, a stronger signal
may overtake a weaker one and play while the weak station frequency
is displayed.
CASSETTE/PLAYER CARE
Do:
•Use only cassettes that are 90 minutes long or less.
•Tighten very loose tapes by inserting a finger or pencil into the hole
and turning the hub.
•Remove loose labels before inserting tapes.
•Allow tapes which have been subjected to extreme heat, humidity or
cold to reach a moderate temperature before playing.
Entertainment Systems
28
Page 55 of 240
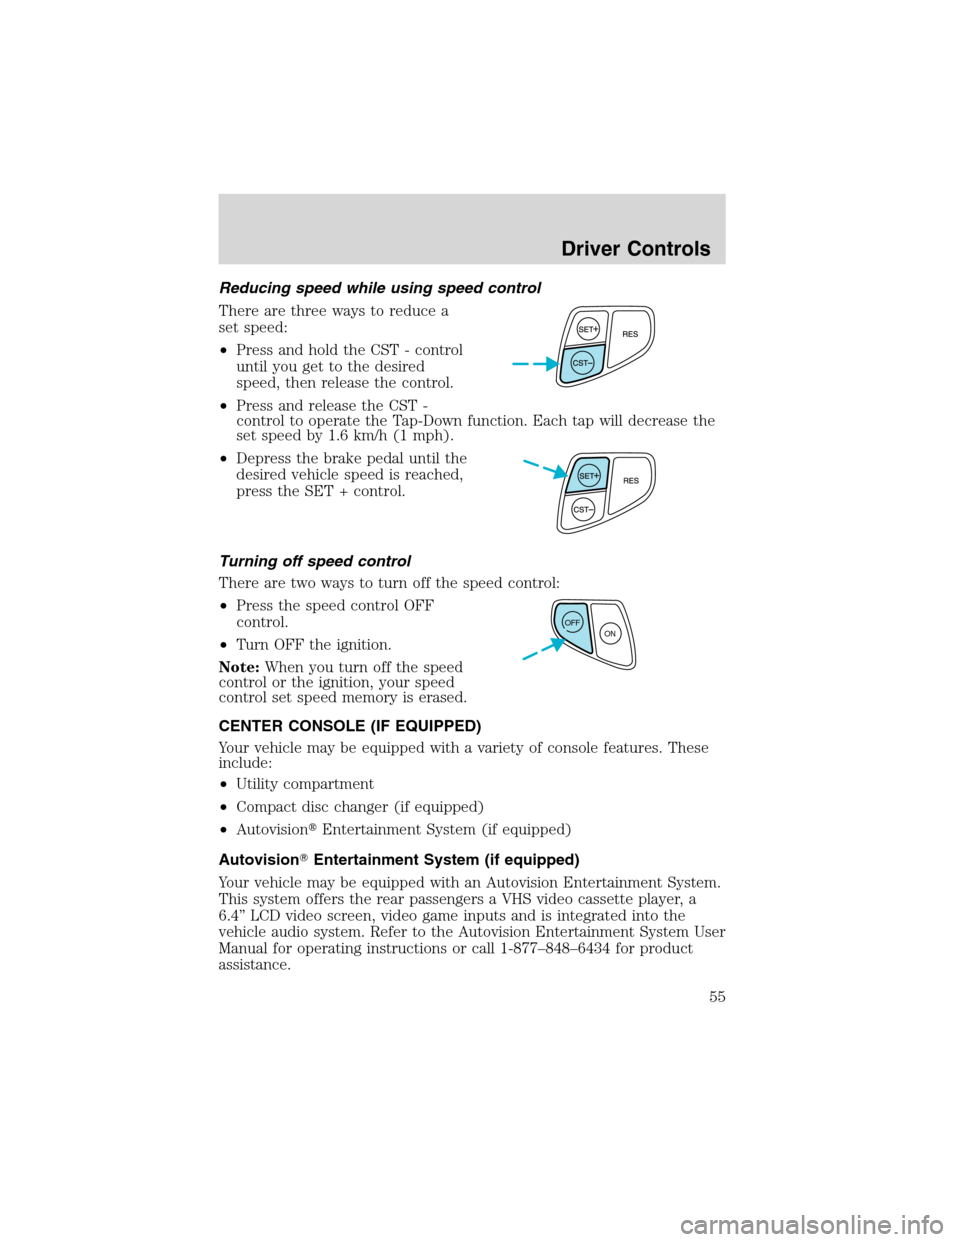
Reducing speed while using speed control
There are three ways to reduce a
set speed:
•Press and hold the CST - control
until you get to the desired
speed, then release the control.
•Press and release the CST -
control to operate the Tap-Down function. Each tap will decrease the
set speed by 1.6 km/h (1 mph).
•Depress the brake pedal until the
desired vehicle speed is reached,
press the SET + control.
Turning off speed control
There are two ways to turn off the speed control:
•Press the speed control OFF
control.
•Turn OFF the ignition.
Note:When you turn off the speed
control or the ignition, your speed
control set speed memory is erased.
CENTER CONSOLE (IF EQUIPPED)
Your vehicle may be equipped with a variety of console features. These
include:
•Utility compartment
•Compact disc changer (if equipped)
•Autovision�Entertainment System (if equipped)
Autovision�Entertainment System (if equipped)
Your vehicle may be equipped with an Autovision Entertainment System.
This system offers the rear passengers a VHS video cassette player, a
6.4”LCD video screen, video game inputs and is integrated into the
vehicle audio system. Refer to the Autovision Entertainment System User
Manual for operating instructions or call 1-877–848–6434 for product
assistance.
OFF
ON
Driver Controls
55
Page 155 of 240
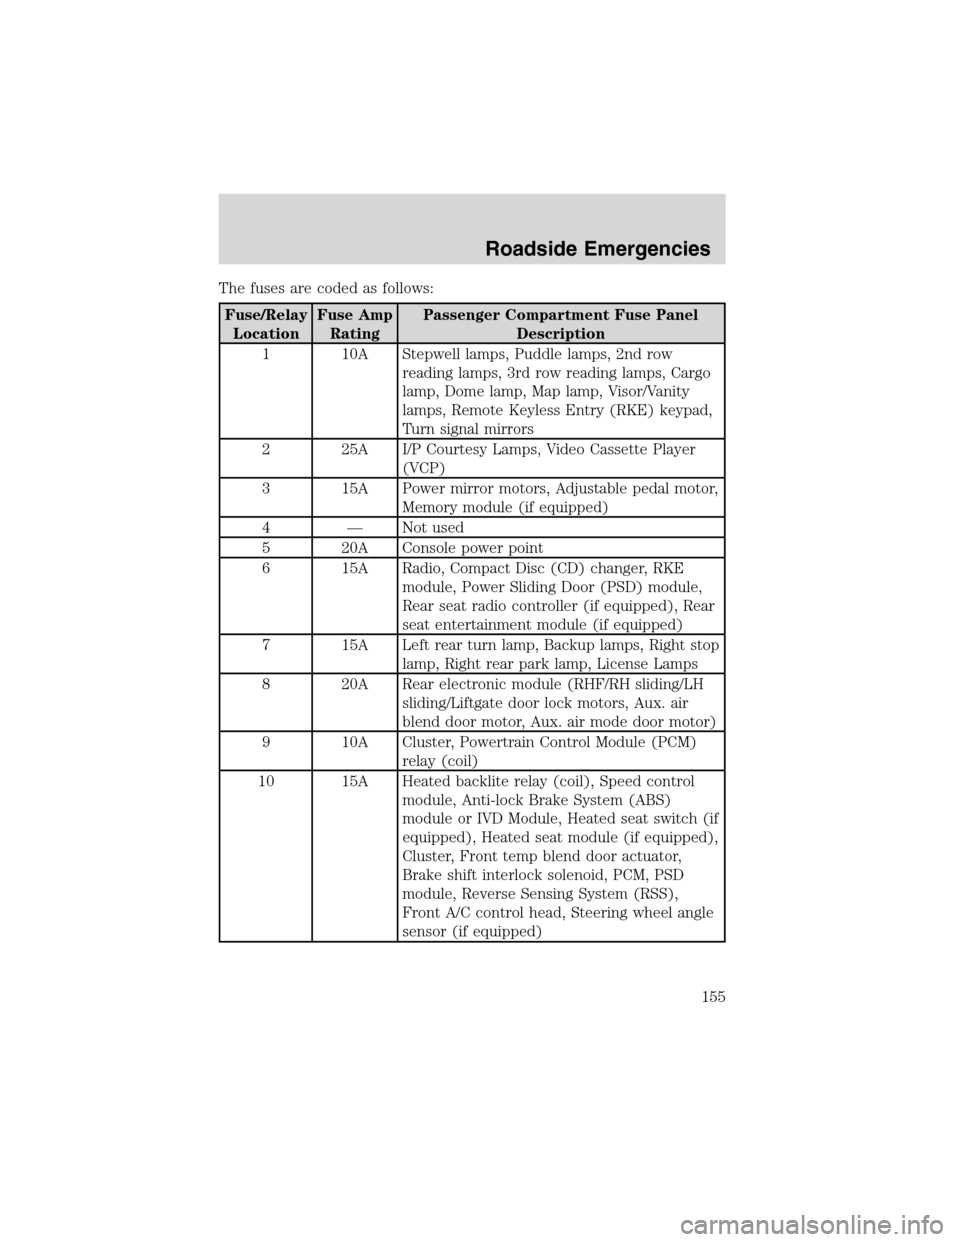
The fuses are coded as follows:
Fuse/Relay
LocationFuse Amp
RatingPassenger Compartment Fuse Panel
Description
1 10A Stepwell lamps, Puddle lamps, 2nd row
reading lamps, 3rd row reading lamps, Cargo
lamp, Dome lamp, Map lamp, Visor/Vanity
lamps, Remote Keyless Entry (RKE) keypad,
Turn signal mirrors
2 25A I/P Courtesy Lamps, Video Cassette Player
(VCP)
3 15A Power mirror motors, Adjustable pedal motor,
Memory module (if equipped)
4—Not used
5 20A Console power point
6 15A Radio, Compact Disc (CD) changer, RKE
module, Power Sliding Door (PSD) module,
Rear seat radio controller (if equipped), Rear
seat entertainment module (if equipped)
7 15A Left rear turn lamp, Backup lamps, Right stop
lamp, Right rear park lamp, License Lamps
8 20A Rear electronic module (RHF/RH sliding/LH
sliding/Liftgate door lock motors, Aux. air
blend door motor, Aux. air mode door motor)
9 10A Cluster, Powertrain Control Module (PCM)
relay (coil)
10 15A Heated backlite relay (coil), Speed control
module, Anti-lock Brake System (ABS)
module or IVD Module, Heated seat switch (if
equipped), Heated seat module (if equipped),
Cluster, Front temp blend door actuator,
Brake shift interlock solenoid, PCM, PSD
module, Reverse Sensing System (RSS),
Front A/C control head, Steering wheel angle
sensor (if equipped)
Roadside Emergencies
155