Page 4111 of 4378

The side air bag sensors are located at or near the base of the B-
pillar.
To deplete the backup power supply energy, disconnect the battery ground cable and
wait at least one minute. Be sure to disconnect auxiliary batteries and power supplies (if
equipped).
Disconnect the battery ground cable and wait at least one minute. For additional information,
refer to Section 414 - 01 .
8. Restore the vehicle to operating condition. 1. WARNING: To reduce the risk of serious personal injury, read and follow all
warnings, notes, and instructions in the supplemental restraint system (SRS)
deactivation/reactivation procedure.
Reactivate the supplemental restraint system (SRS). For additional information, refer to
Supplemental Restraint System (SRS) Deactivation and Reactivation in the General
Procedures portion of this section.
2. WARNING: The restraint system diagnostic tool is for restraint system
service only. Remove from the vehicle prior to road use. Failure to remove could
result in injury and possible violation of vehicle safety standards.
With all the restraint system diagnostic tools removed, prove out the supplemental
restraint system (SRS). For additional information, refer to Air Bag Supplemental Restraint System (SRS) in the Diagnosis and Testing portion of this section. �K�l�j . 4 �b�a
42003 Mustang Workshop Manual
18. 11. 2011file:///C:/Ford/2000 - 2004/tsocache/SHEF_5108/S3B~us~en~ ...
Page 4112 of 4378

REMOVAL AND INSTALLATION
Clockspring
Removal
WARNING: Always wear safety glasses when repairing an air bag supplemental restraint
system (SRS) vehicle and when handling an air bag module. This will reduce the risk of injury
in the event of an accidental deployment.
WARNING: Carry a live air bag module with the air bag and trim cover pointed away from
your body. This will reduce the risk of injury in the event of an accidental deployment.
WARNING: Do not set a live air bag module down with the trim cover face down. This will
reduce the risk of injury in the event of an accidental deployment.
WARNING: After deployment, the air bag surface can contain deposits of sodium
hydroxide, a product of the gas generant combustion that is irritating to the skin. Wash your
hands with soap and water afterwards.
WARNING: Never probe the connectors on the air bag module. Doing so can result in air
bag deployment, which can result in personal injury.
WARNING: Air bag modules with discolored or damaged trim covers must be replaced,
not repainted.
WARNING: The restraint system diagnostic tool is for restraint system service only.
Remove from vehicle prior to road use. Failure to remove could result in injury and possible
violation of vehicle safety standards.
NOTE: Repair is made by installing a new part only. If the new part does not correct the condition,
install the original part and perform the diagnostic procedure again.
1. Prepare the vehicle for clockspring removal. 1. WARNING: To avoid accidental deployment and possible personal injury, the
backup power supply must be depleted before repairing or replacing any front or
side air bag supplemental restraint system (SRS) components and before
servicing, replacing, adjusting or striking components near the front or side air
bag sensors, such as doors, instrument panel, console, door latches, strikers,
seats and hood latches.
SECTION 501-
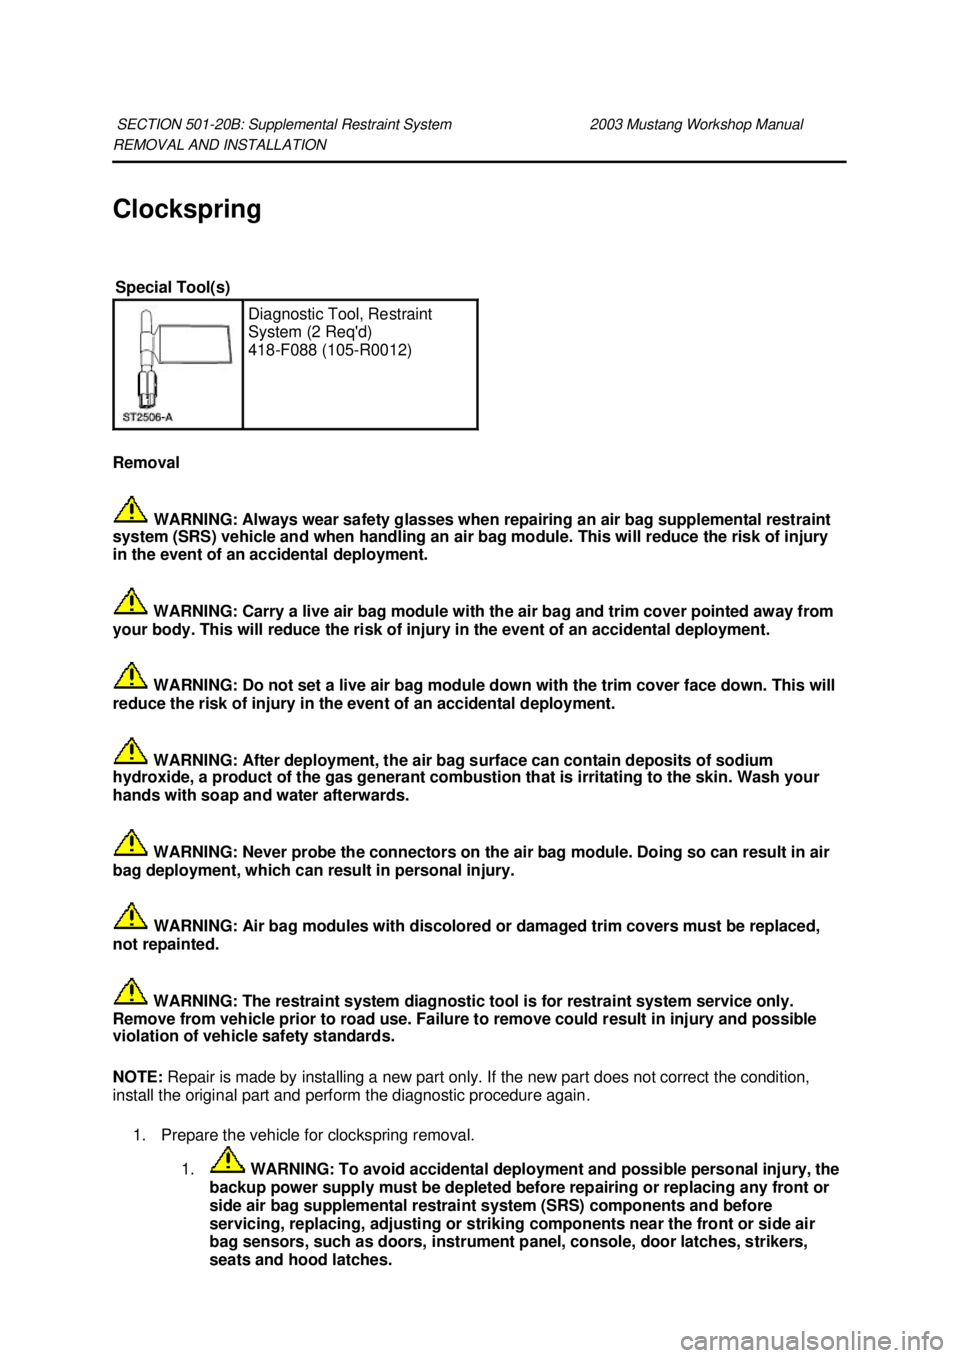
20B: Supplemental Restraint System 2003 Mustang Workshop Manual Special Tool(s)
Diagnostic Tool, Restraint
System (2 Req'd)
418-
F088 (105- R0012) �K�l�j . 1 �b�a
112003 Mustang Workshop Manual
18. 11. 2011file:///C:/Ford/2000 - 2004/tsocache/SHEF_5108/S3B~us~en~ ...
Page 4121 of 4378

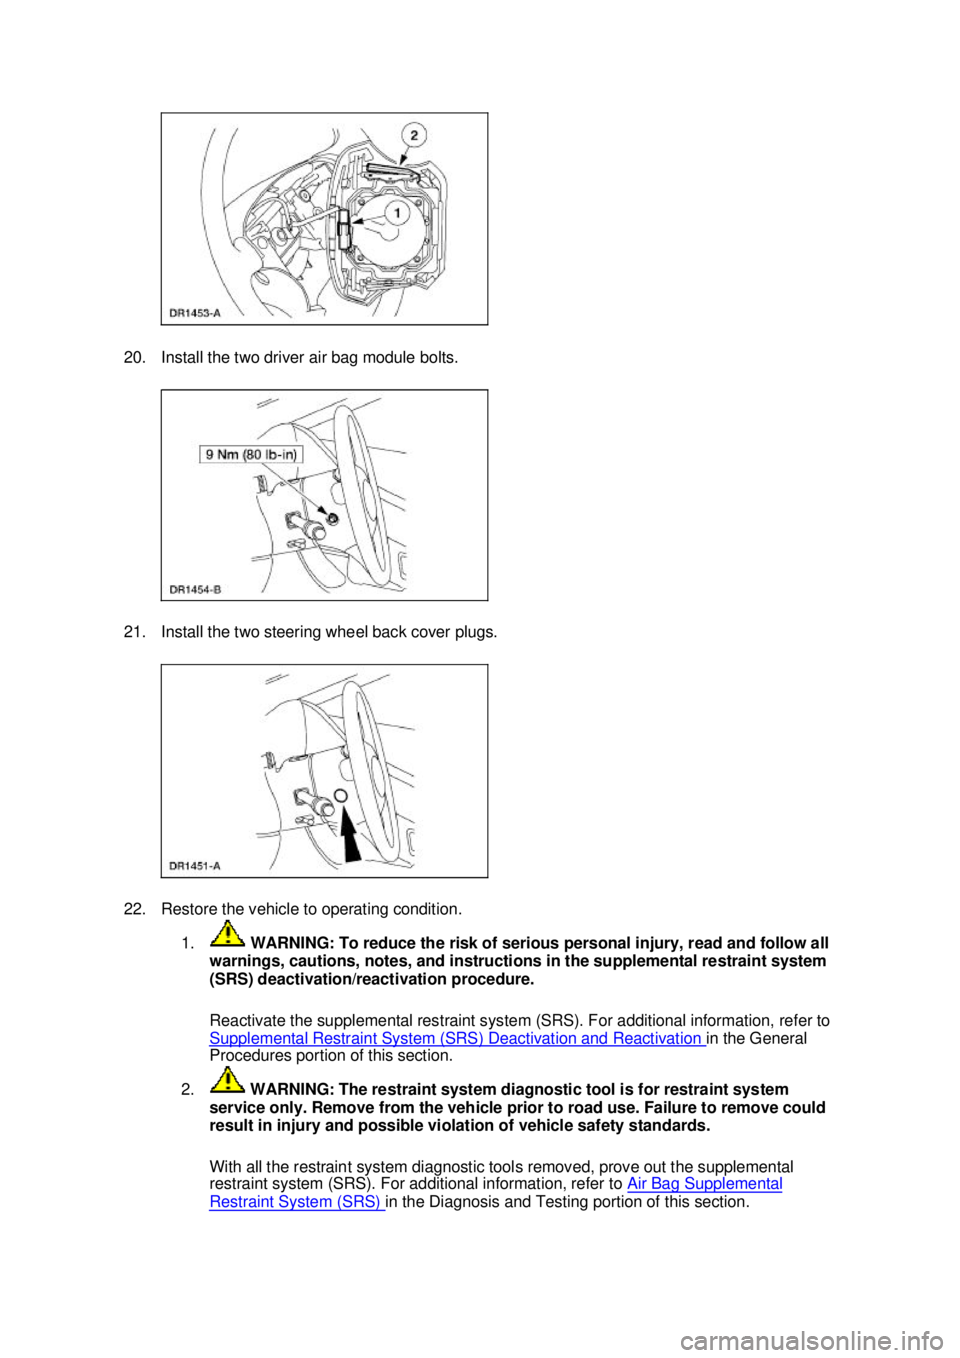
20. Install the two driver air bag module bolts.
21. Install the two steering wheel back cover plugs.
22. Restore the vehicle to operating condition.
1. WARNING: To reduce the risk of serious personal injury, read and follow all
warnings, cautions, notes, and instructions in the supplemental restraint system
(SRS) deactivation/reactivation procedure.
Reactivate the supplemental restraint system (SRS). For additional information, refer to
Supplemental Restraint System (SRS) Deactivation and Reactivation in the General
Procedures portion of this section.
2. WARNING: The restraint system diagnostic tool is for restraint system
service only. Remove from the vehicle prior to road use. Failure to remove could
result in injury and possible violation of vehicle safety standards.
With all the restraint system diagnostic tools removed, prove out the supplemental
restraint system (SRS). For additional information, refer to Air Bag Supplemental Restraint System (SRS) in the Diagnosis and Testing portion of this section. �K�l�j . 10 �b�a
112003 Mustang Workshop Manual
18. 11. 2011file:///C:/Ford/2000 - 2004/tsocache/SHEF_5108/S3B~us~en~ ...
Page 4142 of 4378
REMOVAL AND INSTALLATION
Rear Subframe
Removal and Installation
CAUTION: Suspension fasteners are critical parts because they affect performance of vital
components and systems and their failure can result in major service expense. A new part with
the same part number must be installed if installation becomes necessary. Torque values must
be used as specified during reassembly.
1. Remove the rear coil springs. For additional information, refer to Section 204 - 02 .
2. Using the special tool, raise the rear subframe.
3. Remove and discard the rear subframe front bolts.
4. Using the special tool, lower and remove the rear subframe.
5. NOTE: Discard the old bolts and nuts. Do not reuse, install new bolts and nuts.
To install, reverse the removal procedure.
SECTION 502-
00: Frame and Body Mounting 2003 Mustang Workshop Manual �K�l�j . 1 �b�a
22003 Mustang Workshop Manual
18. 11. 2011file:///C:/Ford/2000 - 2004/tsocache/SHEF_5108/S3B~us~en~ ...
Page 4146 of 4378

GENERAL INFORMATION
INTRODUCTION
In the past, when cars were simpler, diagrams were simpler. All components were connected by wires, and
diagrams seldom exceeded 4 pages in length. Today, some wiring diagrams require more than 16 pages. It
would be impractical to expect a service technician to trace a wire from page 1 across every page to page 16.
Components shown with a dashed line instead of a solid line indicate not all circuits are shown in this
particular diagram (circuits shown in system diagrams are typically applicable to that system only). The
remaining circuits connected to that component will be shown in the appropriate system that they apply to.
Today, the wiring diagram necessary to support a given repair procedure is included within that article or a
link is provided to the appropriate SYSTEM WIRING DIAGRAM article. For example, the wiring diagram
for a Ford EEC-IV system may be included in ENGINE PERFORMANCE and WIRING DIAGRAMS
articles for Ford Motor Co. The wiring diagram for a cruise control system may be included in
ACCESSORIES & EQUIPMENT section for the specific vehicle manufacturer, and the wiring diagram for
an anti-lock brake system may be included in BRAKES and WIRING DIAGRAMS for the specific
manufacturer.
WIRING DIAGRAMS cont ains all wiring diagrams not in cluded in STARTING & CHARGING
SYSTEMS and ACCESSORIES & EQUIPMENT. Th is includes: Data Link Connectors, Ground
Distribution, Power Distribution, Engine Performance, Electri c Cooling Fans, Anti-Lock Brakes, Electronic
Suspension and Electronic Steering wiring diagrams. The Data Link Conne ctors wiring diagrams show the
circuits by which the various on-board computers exchange information, and the diagnostic connectors used
for diagnosis and their location. The Ground Distribution wi ring diagrams show all vehicle ground points,
their location, and the components co mmon to those ground points. The Po wer Distribution wiring diagrams
show the power feed circuits and the components common to those power feeds.
Wiring diagrams used to support the information in ACCESSORIES & EQUIPMEN T are drawn in a "top-
down" format. The diagrams are drawn with the power source at the top of the diagram and the ground point
at the bottom of the diagram. Component locations are identified on the wiring diagrams. Any wires that do
not connect directly to a component are identifi ed on the diagram to indicate where they go.
WIRING DIAGRAM COLOR ABBREVIATIONS
COLOR ABBREVIATIONS
ColorNormalOptional
GENERAL INFORMATI
G
111
15 ноября 2011 г. 20:18:43Page 1 © 2006 Mitchell Repair Information Company, LLC.
111
15 ноября 2011 г. 20:18:48Page 1 © 2006 Mitchell Repair Information Company, LLC.