Page 56 of 280
Running lamps
Illuminates when the headlamps or
parking lamps are on.
This provides additional visibility of
your vehicle to other drivers on the
road.
Fold-away mirrors
The mirrors can be manually folded forward or backwards for narrow
spaces like driving through an automatic car wash or backing out of a
garage with the trailer tow mirror.
The telescoping feature (if equipped) allows the mirror to extend
approximately 76 mm (3 inches). This feature is especially useful to the
driver when towing a trailer.
Driver Controls
56
ProCarManuals.com
Page 57 of 280

POWER ADJUSTABLE FOOT PEDALS (IF EQUIPPED)
The accelerator and brake pedal
should only be adjusted when the
vehicle is stopped and the gearshift
lever is in the P(Park) position.
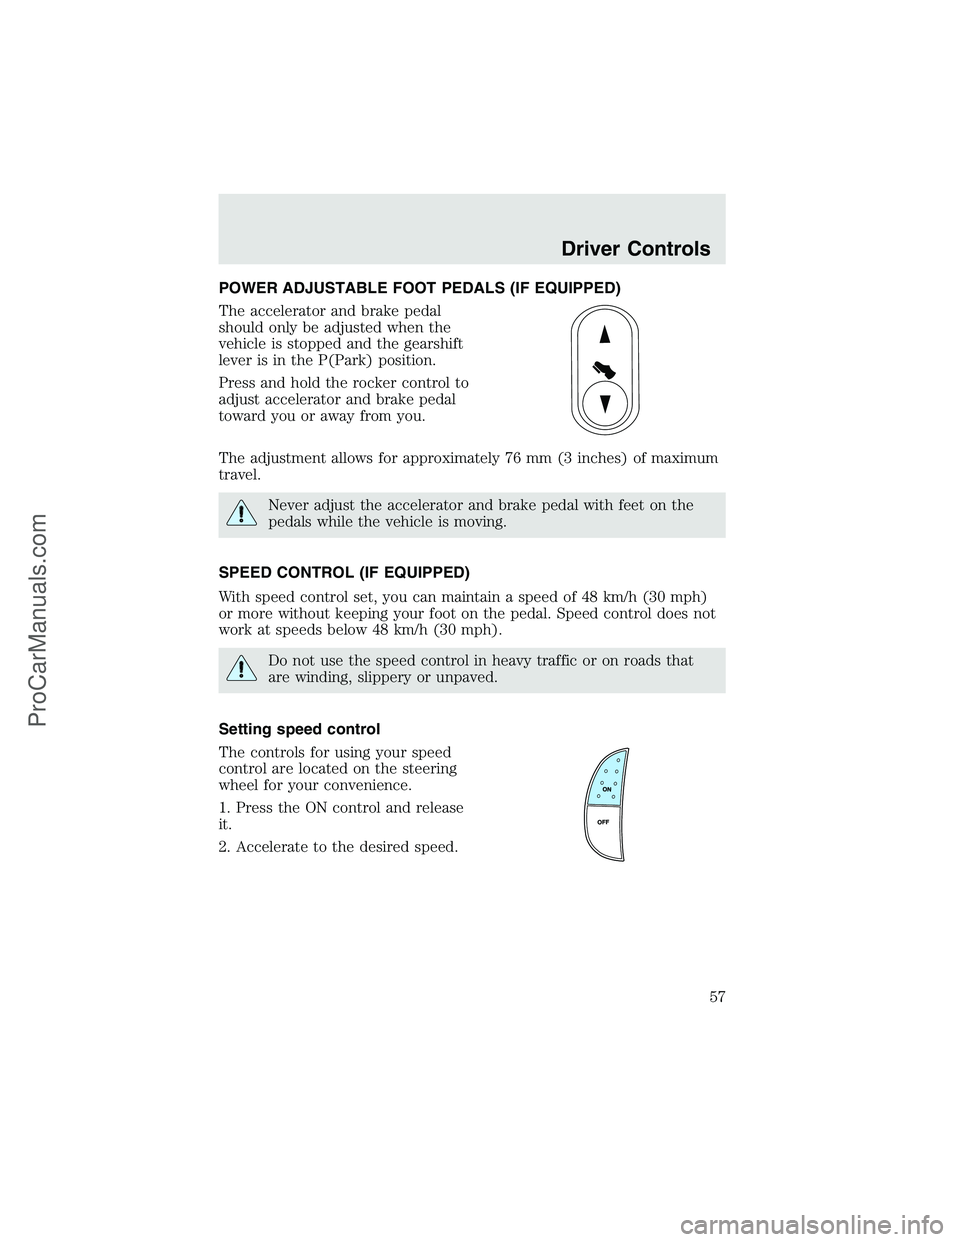
Press and hold the rocker control to
adjust accelerator and brake pedal
toward you or away from you.
The adjustment allows for approximately 76 mm (3 inches) of maximum
travel.
Never adjust the accelerator and brake pedal with feet on the
pedals while the vehicle is moving.
SPEED CONTROL (IF EQUIPPED)
With speed control set, you can maintain a speed of 48 km/h (30 mph)
or more without keeping your foot on the pedal. Speed control does not
work at speeds below 48 km/h (30 mph).
Do not use the speed control in heavy traffic or on roads that
are winding, slippery or unpaved.
Setting speed control
The controls for using your speed
control are located on the steering
wheel for your convenience.
1. Press the ON control and release
it.
2. Accelerate to the desired speed.
Driver Controls
57
ProCarManuals.com
Page 62 of 280

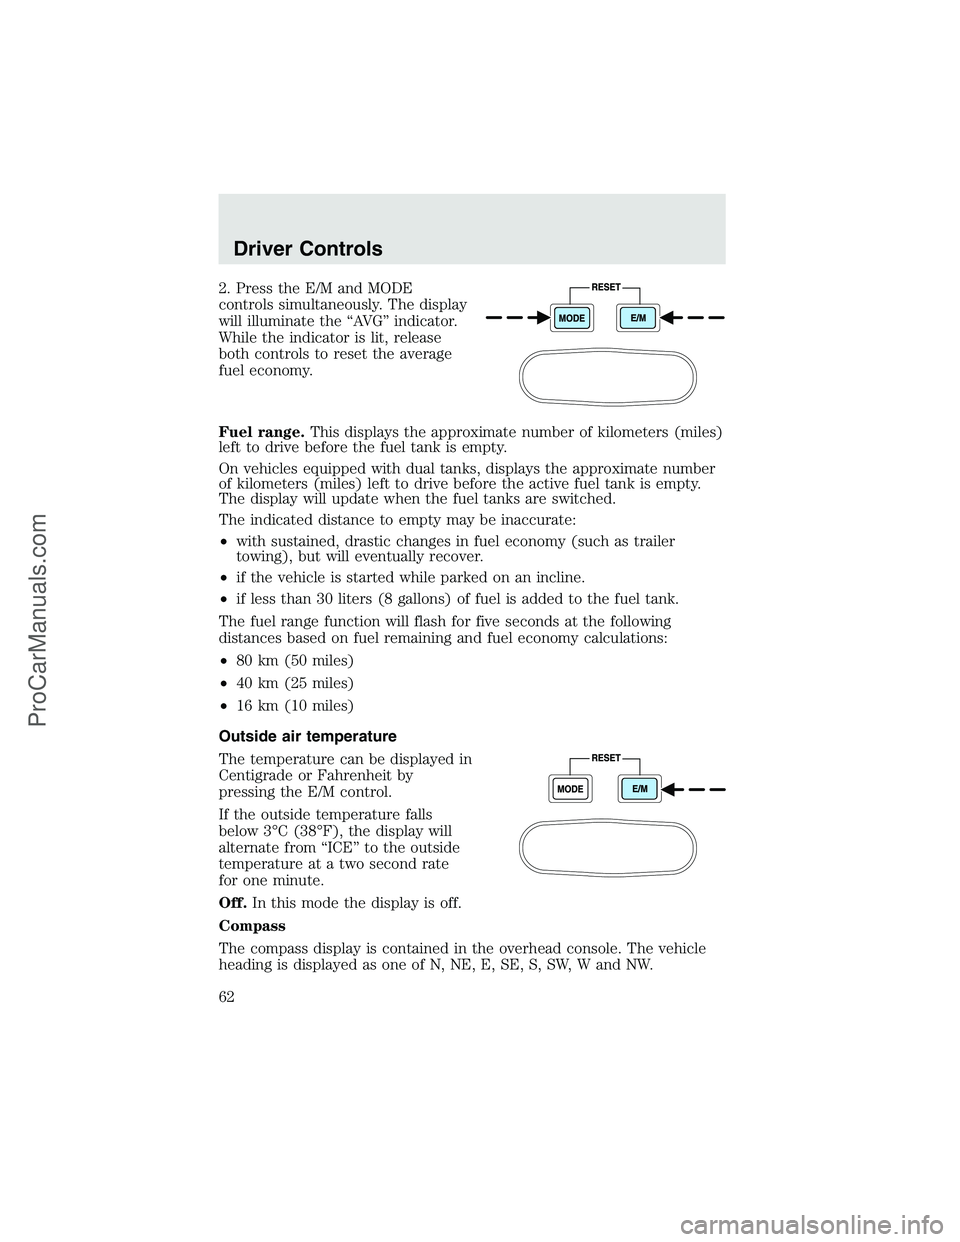
2. Press the E/M and MODE
controls simultaneously. The display
will illuminate the“AV G”indicator.
While the indicator is lit, release
both controls to reset the average
fuel economy.
Fuel range.This displays the approximate number of kilometers (miles)
left to drive before the fuel tank is empty.
On vehicles equipped with dual tanks, displays the approximate number
of kilometers (miles) left to drive before the active fuel tank is empty.
The display will update when the fuel tanks are switched.
The indicated distance to empty may be inaccurate:
•with sustained, drastic changes in fuel economy (such as trailer
towing), but will eventually recover.
•if the vehicle is started while parked on an incline.
•if less than 30 liters (8 gallons) of fuel is added to the fuel tank.
The fuel range function will flash for five seconds at the following
distances based on fuel remaining and fuel economy calculations:
•80 km (50 miles)
•40 km (25 miles)
•16 km (10 miles)
Outside air temperature
The temperature can be displayed in
Centigrade or Fahrenheit by
pressing the E/M control.
If the outside temperature falls
below 3°C (38°F), the display will
alternate from“ICE”to the outside
temperature at a two second rate
for one minute.
Off.In this mode the display is off.
Compass
The compass display is contained in the overhead console. The vehicle
heading is displayed as one of N, NE, E, SE, S, SW, W and NW.
Driver Controls
62
ProCarManuals.com
Page 68 of 280

The UNLOCKfeature will work again after:
•a door has become ajar,
•the ignition is turned to the ON position, or
•using the UNLOCK
control on your remote entry transmitter.
This feature is initially turned off, but may be turned on by following the
instruction in the activation/deactivation procedure provided.
Power door unlock disable feature—activation/deactivation
1. Turn the ignition key to ON, then
press the UNLOCK button 3 times.
2. Turn the ignition key to OFF,
then press the UNLOCK button 3
times.
3. Turn the ignition key to ON,
within five seconds press the
UNLOCK button 2 times then LOCK
once.
The user should receive 2 horn chirps to indicate the system has been
disabled or 2 chirps followed by a honk to indicate the system has been
enabled.
Pressing the power door LOCK button two times again will turn the
feature ON if it was previously OFF, or OFF if it was previously ON.
Every two consecutive presses of the LOCK button after successfully
entering the configuration mode will change the enable/disable condition
of the feature.
Turn ignition to OFF to exit programming.
Sounding a panic alarm
Press
to activate the alarm. Press again or turn the ignition to ACC
or ON to deactivate.
Note:The panic alarm will only operate when the ignition is in the OFF
position.
Replacing the battery
The remote entry transmitter uses one coin type three-volt lithium
battery CR2032 or equivalent. The typical operating range for your
remote entry transmitter is approximately 10 meters (33 feet). A
decrease in the operating range could be caused by:
•weather conditions,
•nearby radio towers,
Locks and Security
68
ProCarManuals.com
Page 76 of 280
•Type B
Press the control to move the seat
forward or backward.
Using the manual lumbar support
For more lumbar support, turn the
lumbar support control toward the
front of vehicle.
For less lumbar support, turn the
lumbar support control toward the
rear of vehicle.
Heated seats (if equipped)
To operate the heated seats, do the following:
•Push control to activate.
•Push again to deactivate.
The indicator light on the control will illuminate when activated.
The system automatically shuts off after 10 minutes.
FOLDING UP THE REAR SEATS
(IF EQUIPPED—SUPERCAB ONLY)
The rear seatback has a split 60/40 seat. Each seat cushion can be
flipped up into the seatback position.
Seating and Safety Restraints
76
ProCarManuals.com
Page 91 of 280

Never place your arm over the air bag module as a deploying air
bag can result in serious arm fractures or other injuries.
To properly position yourself away from the air bag:
•Move your seat to the rear as far as you can while still reaching the
pedals comfortably.
•Recline the seat slightly one or two degrees from the upright position.
Do not put anything on or over the air bag module. Placing
objects on or over the air bag inflation area may cause those
objects to be propelled by the air bag into your face and torso causing
serious injury.
Do not attempt to service, repair, or modify the air bag
supplemental restraint systems or its fuses. See your Ford or
Lincoln Mercury dealer.
The front passenger air bag is not designed to offer protection to
an occupant in the center front seating position.
Modifying or adding equipment to the front end of the vehicle
(including frame, bumper, front end body structure and tow
hooks) may affect the performance of the air bag system, increasing
the risk of injury. Do not modify the front end of the vehicle.
Additional equipment such as snowplow equipment may effect
the performance of the air bag sensors increasing the risk of
injury. Please refer to the Body Builders Layout Book for instructions
about the appropriate installation of additional equipment.
Removing the blocker beam without installing snow plow
attachment hardware may effect air bag deployment in a crash.
Do not operate the truck unless either the blocker beam or snow plow
attachment hardware is installed on the vehicle.
Seating and Safety Restraints
91
ProCarManuals.com
Page 102 of 280
Follow all instructions provided by the manufacturer of the
booster seat.
Never put the shoulder belt under a child’s arm or behind the
back because it eliminates the protection for the upper part of
the body and may increase the risk of injury or death in a collision.
Never use pillows, books, or towels to boost a child. They can
slide around and increase the likelihood of injury or death in a
collision.
SAFETY SEATS FOR CHILDREN
Child and infant or child safety seats
Use a safety seat that is recommended for the size and weight of the
child. Carefully follow all of the manufacturer’s instructions with the
safety seat you put in your vehicle. If you do not install and use the
safety seat properly, the child may be injured in a sudden stop or
collision.
Seating and Safety Restraints
102
ProCarManuals.com
Page 106 of 280

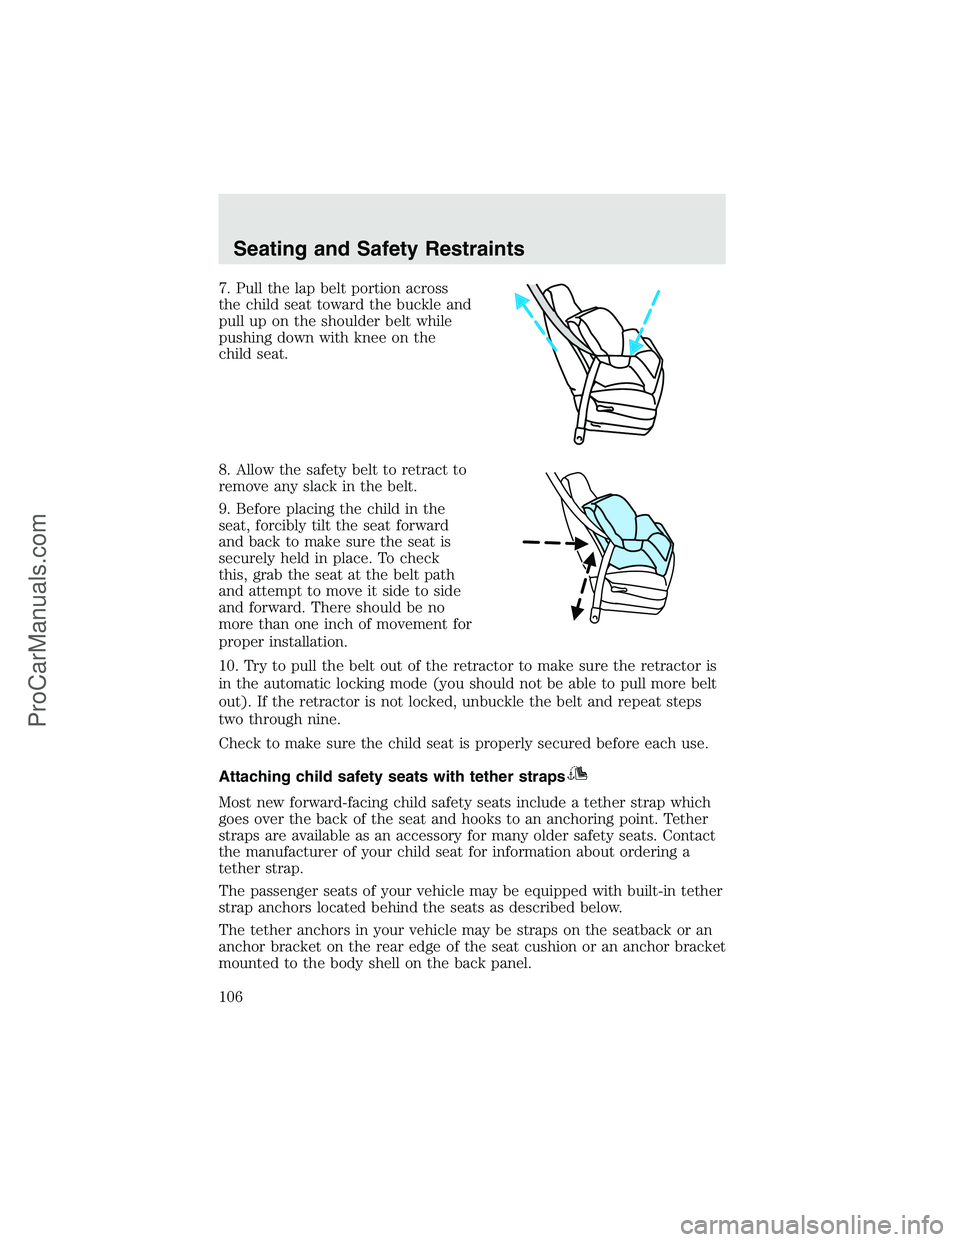
7. Pull the lap belt portion across
the child seat toward the buckle and
pull up on the shoulder belt while
pushing down with knee on the
child seat.
8. Allow the safety belt to retract to
remove any slack in the belt.
9. Before placing the child in the
seat, forcibly tilt the seat forward
and back to make sure the seat is
securely held in place. To check
this, grab the seat at the belt path
and attempt to move it side to side
and forward. There should be no
more than one inch of movement for
proper installation.
10. Try to pull the belt out of the retractor to make sure the retractor is
in the automatic locking mode (you should not be able to pull more belt
out). If the retractor is not locked, unbuckle the belt and repeat steps
two through nine.
Check to make sure the child seat is properly secured before each use.
Attaching child safety seats with tether straps
Most new forward-facing child safety seats include a tether strap which
goes over the back of the seat and hooks to an anchoring point. Tether
straps are available as an accessory for many older safety seats. Contact
the manufacturer of your child seat for information about ordering a
tether strap.
The passenger seats of your vehicle may be equipped with built-in tether
strap anchors located behind the seats as described below.
The tether anchors in your vehicle may be straps on the seatback or an
anchor bracket on the rear edge of the seat cushion or an anchor bracket
mounted to the body shell on the back panel.
Seating and Safety Restraints
106
ProCarManuals.com