Page 1 of 280
Introduction 4
Instrument Cluster 12
Warning and control lights 12
Gauges 16
Entertainment Systems 20
AM/FM stereo 20
AM/FM stereo cassette 22
AM/FM stereo cassette with CD 25
AM/FM stereo with CD 29
CD changer 32
Climate Controls 36
Heater only 36
Manual heating and air conditioning 37
Lights 39
Headlamps 39
Turn signal control 41
Bulb replacement 42
Driver Controls 49
Windshield wiper/washer control 49
Steering wheel adjustment 50
Power windows 53
Mirrors 54
Speed control 57
Message center 60
Table of Contents
1
ProCarManuals.com
Page 15 of 280

Four wheel drive low
(if equipped):Illuminates when
four-wheel drive low is engaged.
Four wheel drive indicator
(if equipped):Illuminates when
four-wheel drive is engaged.
Door ajar:Illuminates when the
ignition is in the ON position and
any door is open.
Turn signal:Illuminates when the
left or right turn signal or the
hazard lights are turned on. If the
indicators stay on or flash faster, check for a burned out bulb.
High beams:Illuminates when the
high beam headlamps are turned on.
Key-in-ignition warning chime:Sounds when the key is left in the
ignition in the OFF/LOCK or ACC position and the driver’s door is
opened.
Headlamps on warning chime:Sounds when the headlamps or parking
lamps are on, the ignition is off (and the key is not in the ignition) and
the driver’s door is opened.
Parking brake ON warning chime:Sounds when the parking brake is
set, the engine is running and the vehicle is driven more than 5 Km
(3 mph).LOW
RANGE
4x4
Instrument Cluster
15
ProCarManuals.com
Page 34 of 280

Keep the CD changer door closed. Coins and foreign objects will damage
the CD player and void your audio system warranty.
RADIO FREQUENCIES
AM and FM frequencies are established by the Federal Communications
Commission (FCC) and the Canadian Radio and Telecommunications
Commission (CRTC). Those frequencies are:
AM - 530, 540–1700, 1710 kHz
FM- 87.7, 87.9–107.7, 107.9 MHz
RADIO RECEPTION FACTORS
There are three factors that can effect radio reception:
•Distance/strength: The further you travel from an FM station, the
weaker the signal and the weaker the reception.
•Terrain: Hills, mountains, tall buildings, power lines, electric fences,
traffic lights and thunderstorms can interfere with your reception.
•Station overload: When you pass a broadcast tower, a stronger signal
may overtake a weaker one and play while the weak station frequency
is displayed.
CASSETTE/PLAYER CARE
Do:
•Use only cassettes that are 90 minutes long or less.
•Tighten very loose tapes by inserting a finger or pencil into the hole
and turning the hub.
•Remove loose labels before inserting tapes.
•Allow tapes which have been subjected to extreme heat, humidity or
cold to reach a moderate temperature before playing.
•Clean the cassette player head with a cassette cleaning cartridge after
10–12 hours of play to maintain good sound/operation.
Don’t:
•Expose tapes to direct sunlight, extreme humidity, heat or cold.
•Leave tapes in the cassette player for a long time when not being
played.
Entertainment Systems
34
ProCarManuals.com
Page 41 of 280
Flash to pass
Pull toward you slightly to activate
and release to deactivate.
PANEL DIMMER CONTROL
Use to adjust the brightness of the
instrument panel and all applicable
switches in the vehicle during
headlamp and parklamp operation.
Move the control to the full upright
position, past detent, to turn on the
interior lamps.
Move the control to the full down
position, past detent, to prevent the interior lights from illuminating
when the doors are opened.
AIMING THE HEADLAMPS
The headlamps on your vehicle are properly aimed at the assembly plant.
If your vehicle has been in an accident the alignment of your headlamps
should be checked by a qualified service technician.
TURN SIGNAL CONTROL
•Push down to activate the left
turn signal.
•Push up to activate the right turn
signal.
Lights
41
ProCarManuals.com
Page 45 of 280
5. Remove the four screws and the
headlamp retaining ring from
headlamp.
6. Disconnect the electrical
connector and remove headlamp.
Install the new bulb(s) in reverse order.
Replacing front parking/turn signal bulbs
1. Make sure headlamp switch is in OFF position and open the hood.
2. Remove the two screws and
carefully disengage parking
lamp/turn signal assembly from the
vehicle.
3. Rotate bulb socket
counterclockwise and remove from
lamp assembly.
4. Carefully pull bulb straight out of
the socket and push in the new
bulb.
Install the new bulb(s) in reverse order.
Lights
45
ProCarManuals.com
Page 55 of 280

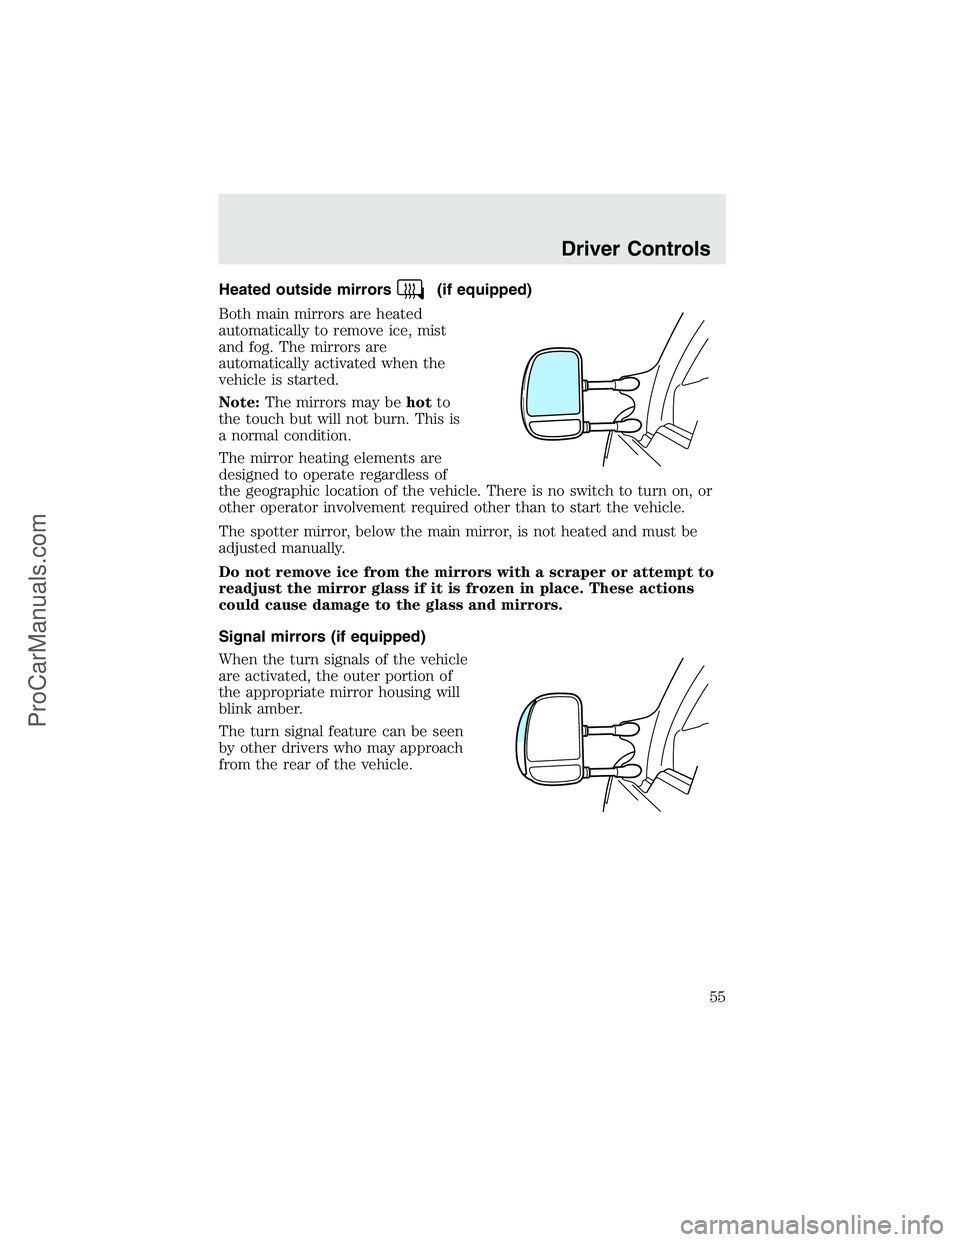
Heated outside mirrors(if equipped)
Both main mirrors are heated
automatically to remove ice, mist
and fog. The mirrors are
automatically activated when the
vehicle is started.
Note:The mirrors may behotto
the touch but will not burn. This is
a normal condition.
The mirror heating elements are
designed to operate regardless of
the geographic location of the vehicle. There is no switch to turn on, or
other operator involvement required other than to start the vehicle.
The spotter mirror, below the main mirror, is not heated and must be
adjusted manually.
Do not remove ice from the mirrors with a scraper or attempt to
readjust the mirror glass if it is frozen in place. These actions
could cause damage to the glass and mirrors.
Signal mirrors (if equipped)
When the turn signals of the vehicle
are activated, the outer portion of
the appropriate mirror housing will
blink amber.
The turn signal feature can be seen
by other drivers who may approach
from the rear of the vehicle.
Driver Controls
55
ProCarManuals.com
Page 176 of 280

Canadian customers who require roadside assistance, call
1–800–665–2006.
If you need to arrange roadside assistance for yourself, Ford Motor
Company will reimburse a reasonable amount. To obtain reimbursement
information, U.S. Ford or Mercury vehicles customers call
1-800-241-3673; Lincoln vehicle customers call 1–800–521–4140.
Canadian customers who need to obtain reimbursement information, call
1–800–665–2006.
ROADSIDE COVERAGE BEYOND BASIC WARRANTY
In the United States, you may purchase additional roadside assistance
coverage beyond this period through the Ford Auto Club by contacting
your Ford or Lincoln Mercury dealer.
Similarly in Canada, for uninterrupted Roadside Assistance coverage, you
may purchase extended coverage prior to your Basic Warranty’s Roadside
Assistance expiring. For more information and enrollment, contact
1–877–294–2582 or visit our website at www.ford.ca.
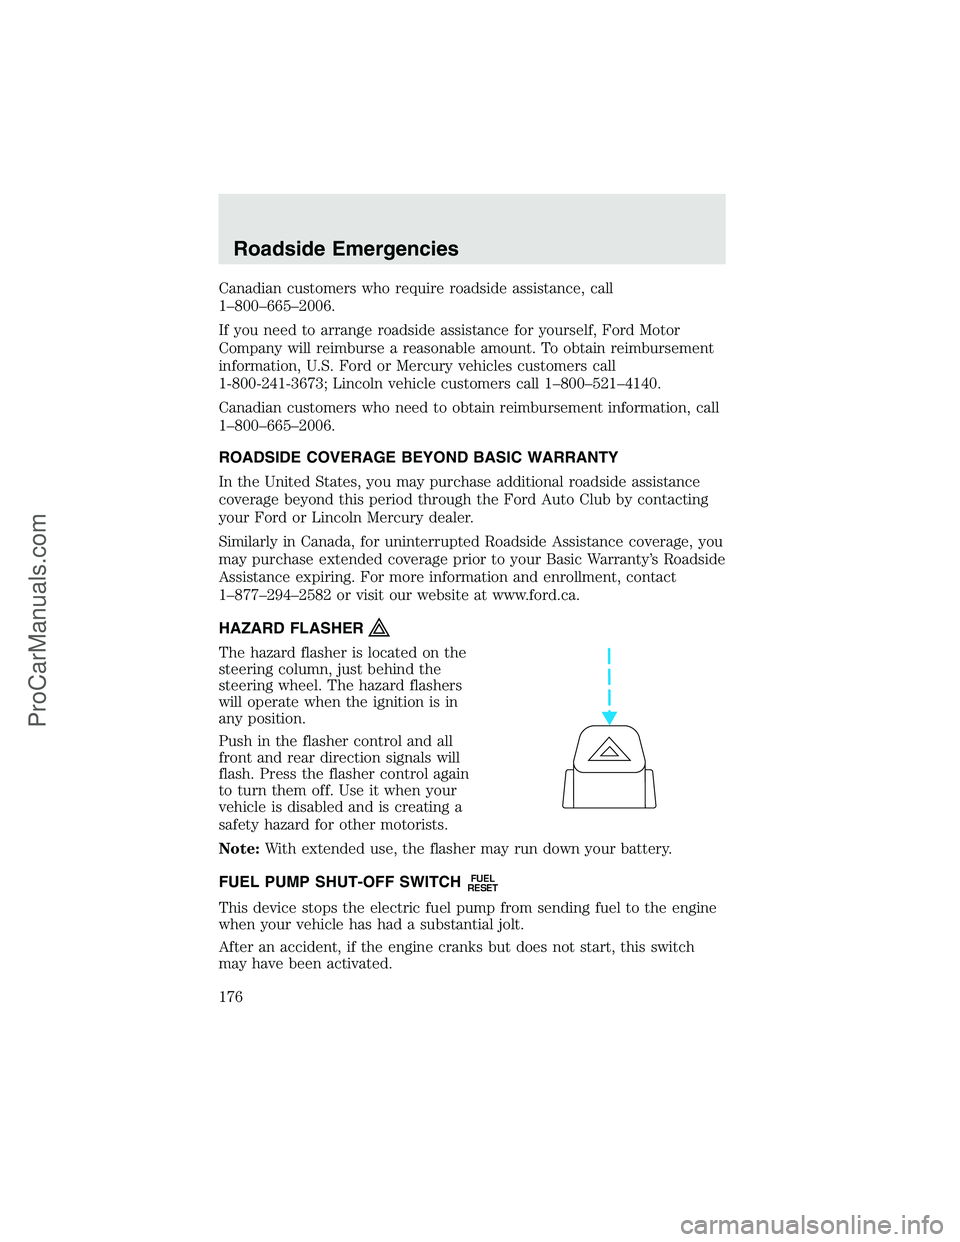
HAZARD FLASHER
The hazard flasher is located on the
steering column, just behind the
steering wheel. The hazard flashers
will operate when the ignition is in
any position.
Push in the flasher control and all
front and rear direction signals will
flash. Press the flasher control again
to turn them off. Use it when your
vehicle is disabled and is creating a
safety hazard for other motorists.
Note:With extended use, the flasher may run down your battery.
FUEL PUMP SHUT-OFF SWITCH
FUEL
RESET
This device stops the electric fuel pump from sending fuel to the engine
when your vehicle has had a substantial jolt.
After an accident, if the engine cranks but does not start, this switch
may have been activated.
Roadside Emergencies
176
ProCarManuals.com
Page 278 of 280

Inspection/maintenance (I/M)
testing ........................................239
Instrument panel
cleaning ...................................212
cluster ........................................12
lighting up panel and
interior .......................................41
J
Jump-starting your vehicle ......193
K
Keyless entry system
autolock .....................................70
Keys
positions of the ignition .........110
L
Lamps
autolamp system .......................39
bulb replacement
specifications chart ..................42
cargo lamps ...............................41
daytime running light ...............40
fog lamps ...................................40
headlamps .................................39
headlamps, flash to pass ..........41
instrument panel, dimming .....41
interior lamps ...........................42
replacing bulbs ...................42–48
Lane change indicator
(see Turn signal) ........................41
Lights, warning and indicator ....12
anti-lock brakes (ABS) ..........115
speed control ............................59
Load limits .................................144
GAWR ......................................144
GVWR ......................................144trailer towing ..........................144
Loading instructions .................145
Locks
autolock .....................................70
childproof ..................................66
Lubricant specifications ...258, 261
Lumbar support, seats ...............76
M
Manual transmission .................124
fluid capacities ........................254
lubricant specifications ..........261
reverse .....................................125
Message center ...........................60
english/metric button ...............61
menu button .............................61
Mirrors .........................................51
fold away ...................................56
heated ........................................55
side view mirrors (power) .......54
Moon roof ....................................52
Motorcraft parts ................234, 254
O
Octane rating ............................233
Oil (see Engine oil) ..................219
Overdrive .....................................50
P
Parking brake ............................116
Parts (see Motorcraft parts) ....254
Pedals (see Power adjustable
foot pedals) .................................57
Power adjustable foot pedals .....57
Index
278
ProCarManuals.com