Page 48 of 280
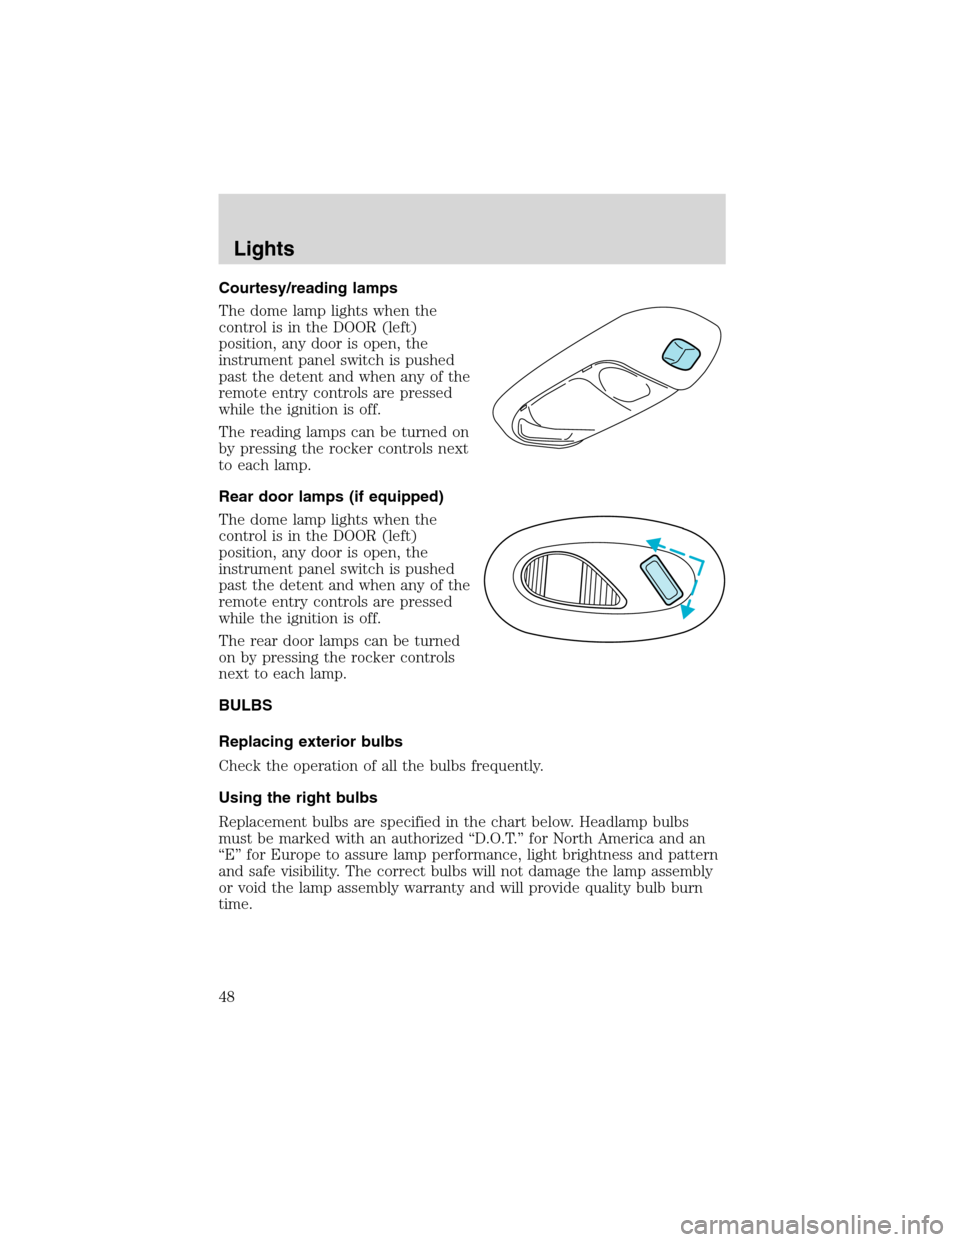
Courtesy/reading lamps
The dome lamp lights when the
control is in the DOOR (left)
position, any door is open, the
instrument panel switch is pushed
past the detent and when any of the
remote entry controls are pressed
while the ignition is off.
The reading lamps can be turned on
by pressing the rocker controls next
to each lamp.
Rear door lamps (if equipped)
The dome lamp lights when the
control is in the DOOR (left)
position, any door is open, the
instrument panel switch is pushed
past the detent and when any of the
remote entry controls are pressed
while the ignition is off.
The rear door lamps can be turned
on by pressing the rocker controls
next to each lamp.
BULBS
Replacing exterior bulbs
Check the operation of all the bulbs frequently.
Using the right bulbs
Replacement bulbs are specified in the chart below. Headlamp bulbs
must be marked with an authorized“D.O.T.”for North America and an
“E”for Europe to assure lamp performance, light brightness and pattern
and safe visibility. The correct bulbs will not damage the lamp assembly
or void the lamp assembly warranty and will provide quality bulb burn
time.
Lights
48
Page 57 of 280
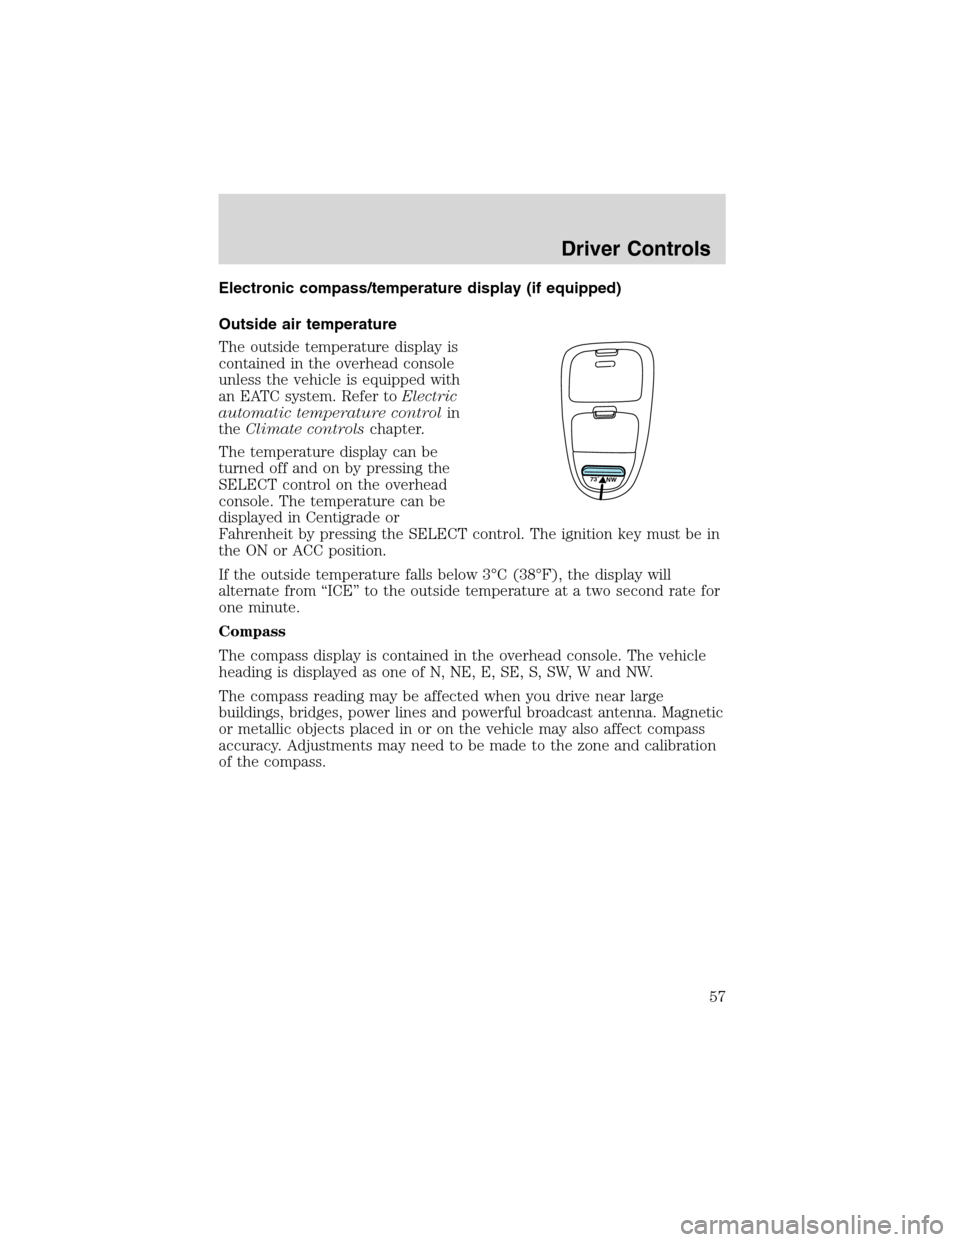
Electronic compass/temperature display (if equipped)
Outside air temperature
The outside temperature display is
contained in the overhead console
unless the vehicle is equipped with
an EATC system. Refer toElectric
automatic temperature controlin
theClimate controlschapter.
The temperature display can be
turned off and on by pressing the
SELECT control on the overhead
console. The temperature can be
displayed in Centigrade or
Fahrenheit by pressing the SELECT control. The ignition key must be in
the ON or ACC position.
If the outside temperature falls below 3°C (38°F), the display will
alternate from“ICE”to the outside temperature at a two second rate for
one minute.
Compass
The compass display is contained in the overhead console. The vehicle
heading is displayed as one of N, NE, E, SE, S, SW, W and NW.
The compass reading may be affected when you drive near large
buildings, bridges, power lines and powerful broadcast antenna. Magnetic
or metallic objects placed in or on the vehicle may also affect compass
accuracy. Adjustments may need to be made to the zone and calibration
of the compass.
73˚ NW
Driver Controls
57
Page 58 of 280
Compass zone adjustment
1. Determine which magnetic zone
you are in by referring to the zone
map.
2. Turn the ignition to the ON
position.
3. Press and hold the SELECT
control until VAR appears in the
display, then release. The display
should show the current zone
number.
4. Press the SELECT control until
the desired zone number appears.
The display will flash and then
return to normal operation. The zone is now updated.
Compass calibration adjustment
Perform this adjustment in an open
area free from steel structures and
high voltage lines:
•Press and hold the SELECT
control until CAL appears in the
display (approximately eight
seconds) and release.
•Drive the vehicle slowly (less
than 5 km/h [3 mph]) in circles until CAL indicator turns off in about
2–3 complete circles.
•The compass is now calibrated.
1 2 3
4
5
6 7 8 9 101112 13 14 15
9 VAR
CAL
Driver Controls
58
Page 61 of 280

One touch down
Allows the driver’s window to open
fully without holding the control
down. Press completely down on
AUTO and release quickly. Press
again to stop.
Accessory delay (if equipped)
With accessory delay, the window switches may be used for up to ten
minutes after the ignition switch is turned to the OFF position or until
any door is opened.
MIRRORS
Automatic dimming rear view mirrors (if equipped)
Your vehicle is equipped with an inside rear view mirror with an
auto-dimming function. The electronic day/night mirror will change from
the normal state to the non-glare state when bright lights (glare) reach
the inside rear view mirror. When the inside rear view mirror detects
bright light from behind the vehicle, the inside rear view mirror will
automatically adjust (darken) to minimize glare.
Do not block the sensor on the backside of the inside rear view mirror
since this may impair proper system performance.
Press the control to turn the mirror
OFF or AUTO.
The mirror will automatically return
to the normal state whenever the
vehicle is placed in R
(Reverse)(when the mirror is on) to ensure a bright clear view when
backing up.
OFF AUTO
Driver Controls
61
Page 66 of 280
Turning off speed control
There are two ways to turn off the speed control:
•Depress the brake pedal or the clutch pedal (if equipped). This will
not erase your vehicles previously set speed.
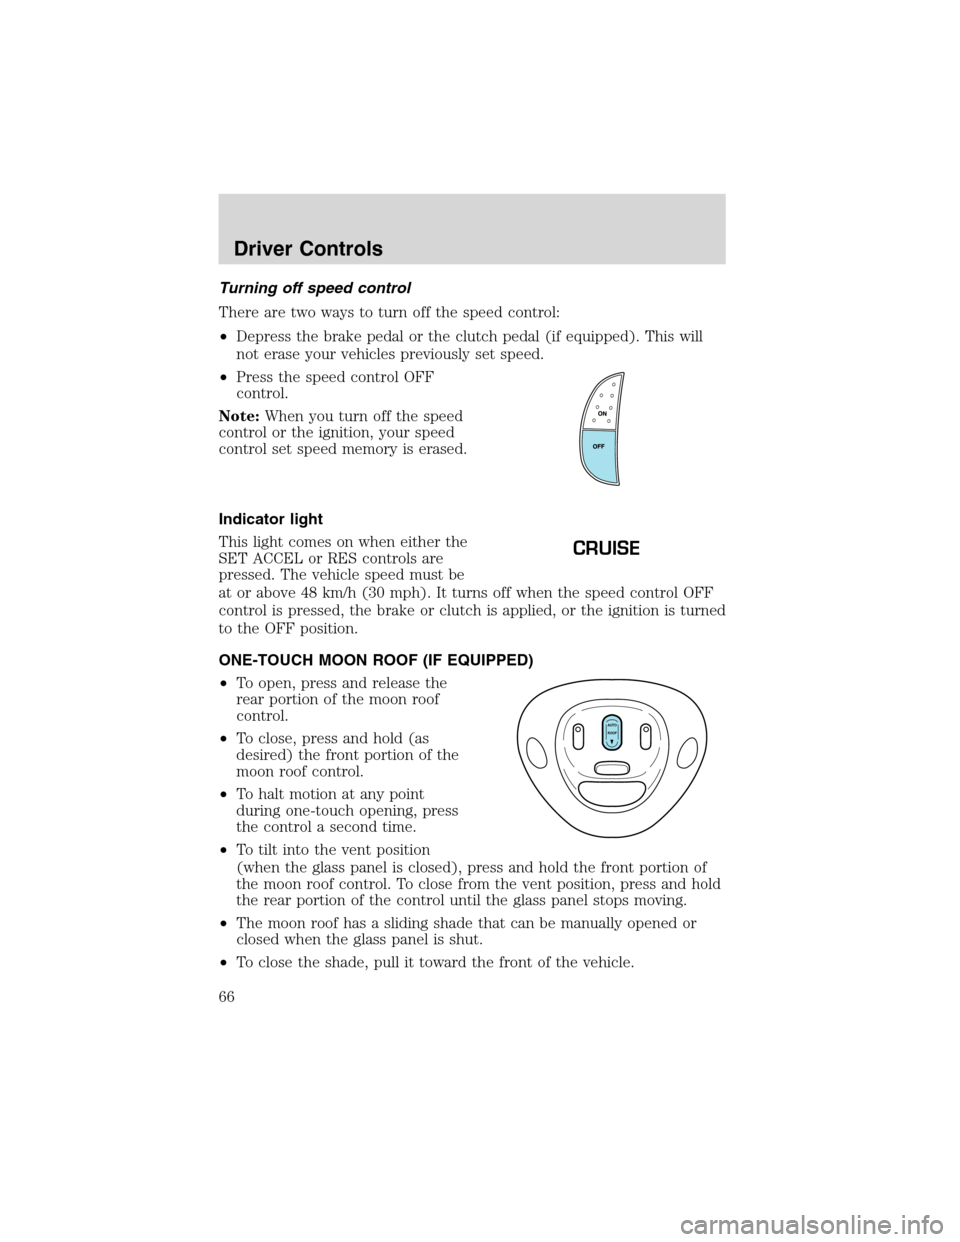
•Press the speed control OFF
control.
Note:When you turn off the speed
control or the ignition, your speed
control set speed memory is erased.
Indicator light
This light comes on when either the
SET ACCEL or RES controls are
pressed. The vehicle speed must be
at or above 48 km/h (30 mph). It turns off when the speed control OFF
control is pressed, the brake or clutch is applied, or the ignition is turned
to the OFF position.
ONE-TOUCH MOON ROOF (IF EQUIPPED)
•To open, press and release the
rear portion of the moon roof
control.
•To close, press and hold (as
desired) the front portion of the
moon roof control.
•To halt motion at any point
during one-touch opening, press
the control a second time.
•To tilt into the vent position
(when the glass panel is closed), press and hold the front portion of
the moon roof control. To close from the vent position, press and hold
the rear portion of the control until the glass panel stops moving.
•The moon roof has a sliding shade that can be manually opened or
closed when the glass panel is shut.
•To close the shade, pull it toward the front of the vehicle.
CRUISE
AUTO
ROOF
Driver Controls
66
Page 67 of 280
Do not let children play with the moon roof. They may seriously
hurt themselves.
HOMELINK�UNIVERSAL TRANSCEIVER WITH TRAVELNOTE�
(IF EQUIPPED)
The HomeLink�Universal Transceiver, located on the driver’s visor,
provides a convenient way to replace up to three hand-held transmitters
with a single built-in device. This feature will learn the radio frequency
codes of most current transmitters to operate garage doors, entry gate
operators, security systems, entry door locks, and home or office lighting.
When programming your HomeLink�Universal Transceiver to a
garage door or gate, be sure that people and objects are out of
the way to prevent potential harm or damage.
Do not use the HomeLink�Universal Transceiver with any garage door
opener that lacks safety stop and reverse features as required by U.S.
federal safety standards (this includes any garage door opener model
manufactured before April 1, 1982). A garage door which cannot detect
an object, signaling the door to stop and reverse, does not meet current
U.S. federal safety standards. For more information, contact HomeLink�
at:www.homelink.comor1–800–355–3515.
Retain the original transmitter for use in other vehicles as well as for
future programming procedures (i.e. new HomeLink�equipped vehicle
purchase). It is also suggested that upon the sale of the vehicle, the
programmed Homelink�Universal Transceiver buttons be erased for
security purposes, refer toProgrammingin this section.
Programming
Do not program the HomeLink�Universal Transceiver with the
vehicle parked in the garage.
Note:Your vehicle may require the ignition switch to be turned to the
ACC position for programming and/or operation of the HomeLink�.Itis
also recommended that a new battery be placed in the hand-held
transmitter of the device being programmed to HomeLink�for quicker
training and accurate transmission of the radio-frequency signal.
Driver Controls
67
Page 72 of 280
If theDELbutton is inadvertently pressed or the time allotted (five
seconds) has passed, the indicator light will flash amber and an“error”
tone will sound.
POSITIVE RETENTION FLOOR MAT (IF EQUIPPED)
Position the floor mat so that the
eyelet is over the pointed end of the
retention post and rotate forward to
lock in. Make sure that the mat does
not interfere with the operation of
the accelerator or the brake pedal.
To remove the floor mat, reverse the
installation procedure.
TAILGATE LOCK (IF EQUIPPED)
Your vehicle may be equipped with a
tailgate lock designed to prevent
theft of the tailgate.
•Insert ignition key and turn to the
right to engage lock.
•Turn ignition key to the left to
unlock.
Driver Controls
72
Page 81 of 280
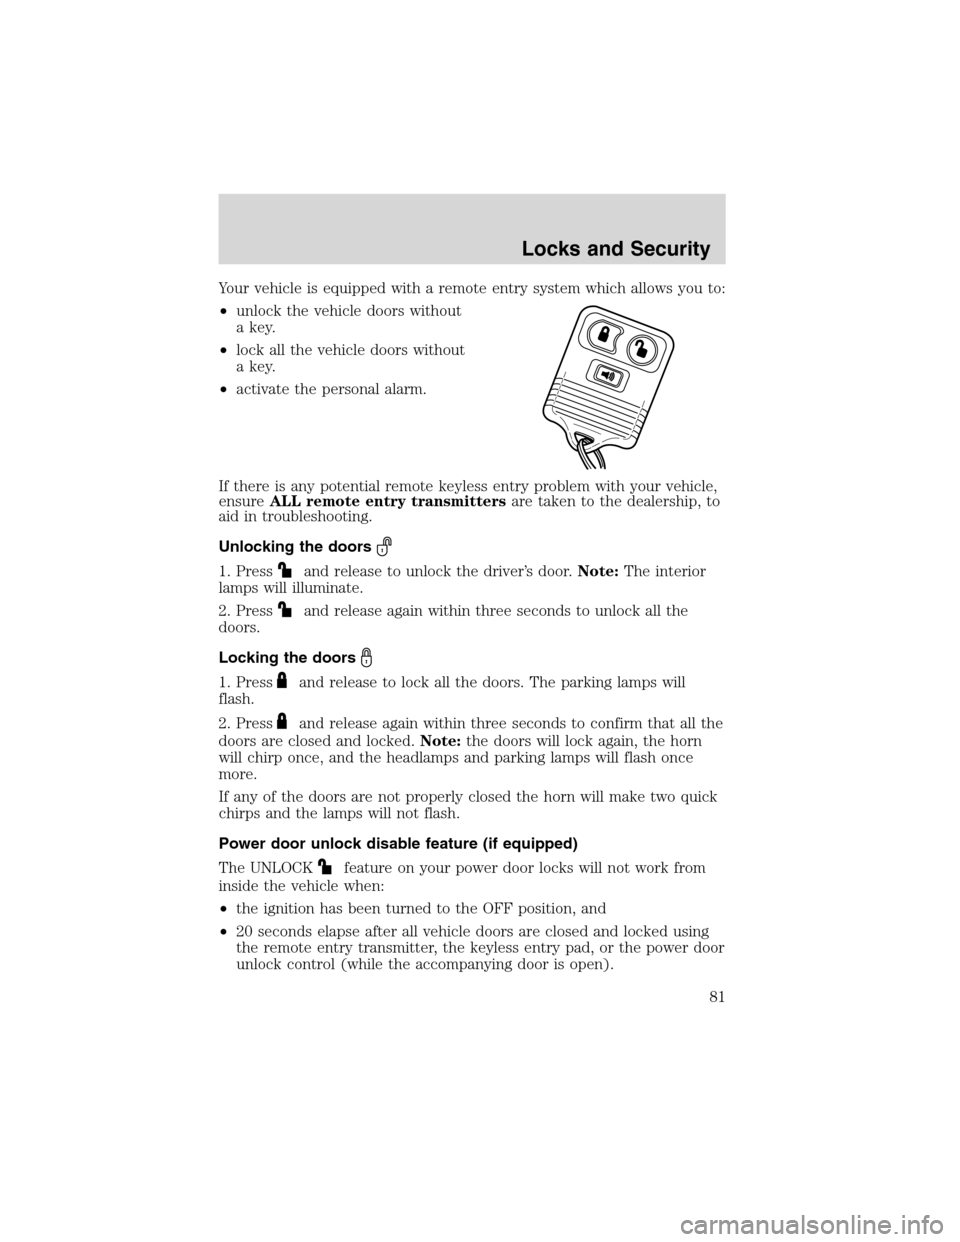
Your vehicle is equipped with a remote entry system which allows you to:
•unlock the vehicle doors without
a key.
•lock all the vehicle doors without
a key.
•activate the personal alarm.
If there is any potential remote keyless entry problem with your vehicle,
ensureALL remote entry transmittersare taken to the dealership, to
aid in troubleshooting.
Unlocking the doors
1. Pressand release to unlock the driver’s door.Note:The interior
lamps will illuminate.
2. Press
and release again within three seconds to unlock all the
doors.
Locking the doors
1. Pressand release to lock all the doors. The parking lamps will
flash.
2. Press
and release again within three seconds to confirm that all the
doors are closed and locked.Note:the doors will lock again, the horn
will chirp once, and the headlamps and parking lamps will flash once
more.
If any of the doors are not properly closed the horn will make two quick
chirps and the lamps will not flash.
Power door unlock disable feature (if equipped)
The UNLOCK
feature on your power door locks will not work from
inside the vehicle when:
•the ignition has been turned to the OFF position, and
•20 seconds elapse after all vehicle doors are closed and locked using
the remote entry transmitter, the keyless entry pad, or the power door
unlock control (while the accompanying door is open).
Locks and Security
81