2003 FORD F150 ignition
[x] Cancel search: ignitionPage 144 of 280
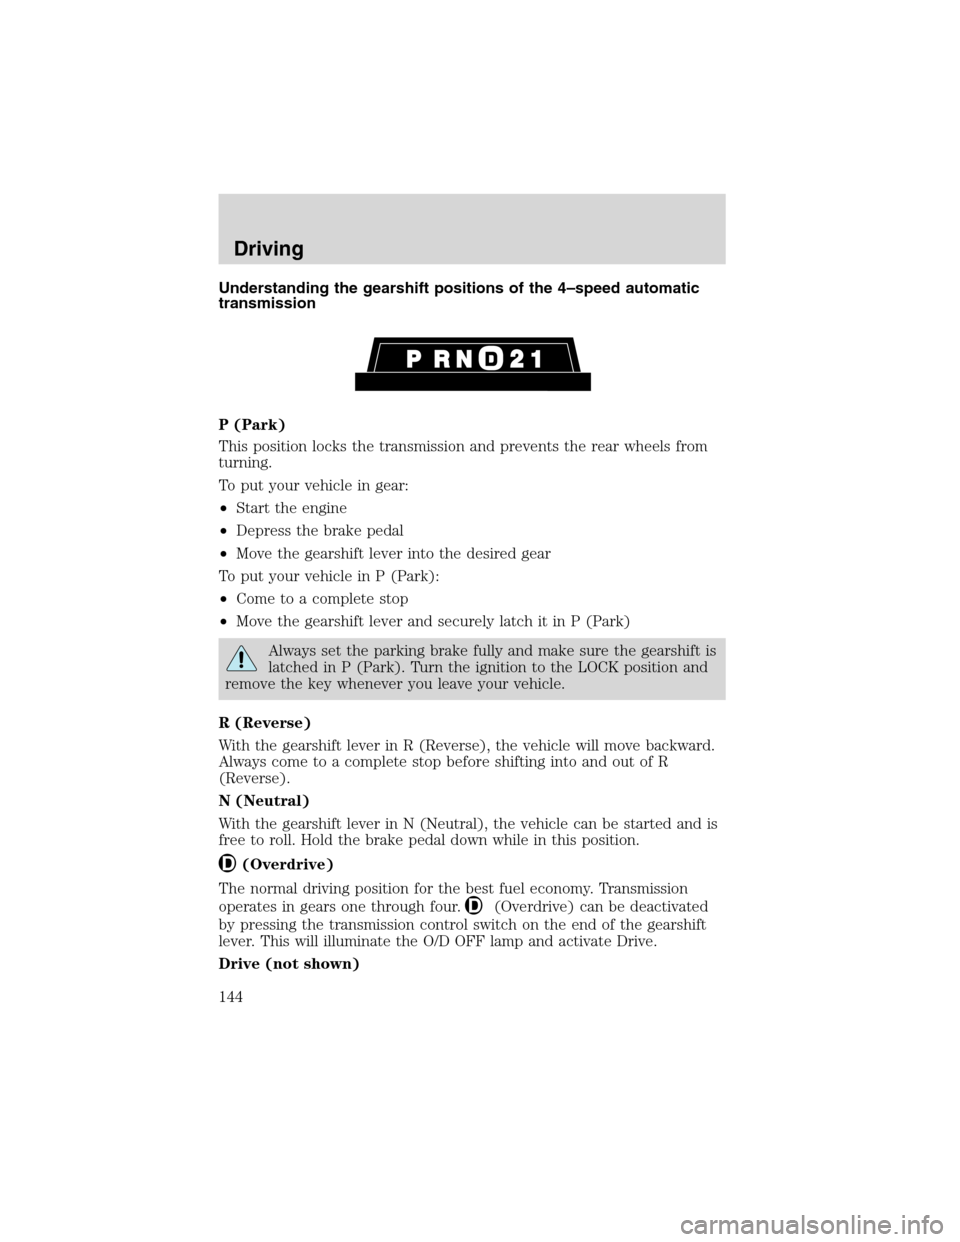
Understanding the gearshift positions of the 4–speed automatic
transmission
P (Park)
This position locks the transmission and prevents the rear wheels from
turning.
To put your vehicle in gear:
•Start the engine
•Depress the brake pedal
•Move the gearshift lever into the desired gear
To put your vehicle in P (Park):
•Come to a complete stop
•Move the gearshift lever and securely latch it in P (Park)
Always set the parking brake fully and make sure the gearshift is
latched in P (Park). Turn the ignition to the LOCK position and
remove the key whenever you leave your vehicle.
R (Reverse)
With the gearshift lever in R (Reverse), the vehicle will move backward.
Always come to a complete stop before shifting into and out of R
(Reverse).
N (Neutral)
With the gearshift lever in N (Neutral), the vehicle can be started and is
free to roll. Hold the brake pedal down while in this position.
(Overdrive)
The normal driving position for the best fuel economy. Transmission
operates in gears one through four.
(Overdrive) can be deactivated
by pressing the transmission control switch on the end of the gearshift
lever. This will illuminate the O/D OFF lamp and activate Drive.
Drive (not shown)
Driving
144
Page 149 of 280
•All applications
Maximum downshift speeds1
Shift from: Transfer case position (if equipped)
2H or 4H 4L
D(Overdrive) -
489 km/h (55 mph) 34 km/h (21 mph)
4 - 3 72 km/h (45 mph) 27 km/h (17 mph)
3 - 2 56 km/h (35 mph) 21 km/h (13 mph)
2 - 1 32 km/h (20 mph) 11 km/h (7 mph)
1Downshift at lower speeds when driving on slippery surfaces.
Reverse
1. Make sure that your vehicle is at a complete stop before you shift into
R (Reverse). Failure to do so may damage the transmission.
2. Move the gearshift lever into the neutral position and wait at least
three seconds before shifting into R (Reverse).
•The gearshift lever can only be moved into R (Reverse) by moving it
from left of 3 (Third) and 4 (Fourth) before shifting into R (Reverse).
This is a lockout feature that protects the transmission from
accidentally being shifted into R (Reverse) from 5 (Overdrive).
Parking your vehicle
1. Apply the brake and shift into the neutral position.
2. Fully apply the parking brake, then shift into 1 (First).
3. Turn the ignition off.
Do not park your vehicle in Neutral, it may move unexpectedly
and injure someone. Use 1 (First) gear and set the parking brake
fully.
Removing the key
Turn the ignition off, push the release lever (located above the ignition),
then turn the key toward you and remove the key.
Driving
149
Page 151 of 280
4L (4WD Low)–Uses extra gearing to provide maximum power to all
four wheels at reduced speeds. Intended only for off-road applications
such as deep sand, steep grades or pulling heavy objects. 4L (4WD Low)
will not engage while the vehicle is moving; this is normal and should be
no reason for concern. Refer toShifting to/from 4L (4WD Low)for
proper operation.
Shifting between 2H (2WD high) and 4H (4WD high)
•Move the transfer case lever to 4H (4WD High) at a stop or any
forward speed up to 88 km/h (55 mph).
Note:Do not perform this operation at speeds above 72 km/h (45 mph)
if the outside temperature is below 0°C (32°F).
Note:Do not perform this operation if the rear wheels are slipping.
Shifting to/from 4L (4WD Low)
1. Bring the vehicle to a complete stop.
2. Depress the brake.
3. On vehicles equipped with an automatic transmission, place the
transmission in N (Neutral); on vehicles equipped with a manual
transmission, depress the clutch.
4. Move the transfer case lever through N (Neutral) directly to the
desired position. The LOW RANGE indicator will illuminate once the
transfer case has engaged.
•If the transfer casedoes notengage, repeat steps 1 through 4.
Using the N (Neutral) position
The transfer case N (Neutral) position overrides the transmission
and puts the vehicle in neutral regardless of transmission
gearshift lever position. The vehicle can move forward or
backward.
This position should only be used when towing the vehicle.
Do not leave the vehicle unattended with the transfer case in the
N (Neutral) position. Always set the parking brake fully and turn
off the ignition when leaving the vehicle.
Driving
151
Page 154 of 280
•It often may be less risky to strike small objects, such as highway
reflectors, with minor damage to your vehicle rather than attempt a
sudden return to the pavement which could cause the vehicle to slide
sideways out of control or roll over. Remember, your safety and the
safety of others should be your primary concern.
Vehicles with a higher center of gravity such as utility and
four-wheel drive vehicles handle differently than vehicles with a
lower center of gravity. Utility and four-wheel drive vehicles arenot
designed for cornering at speeds as high as passenger cars any more
than low-slung sports cars are designed to perform satisfactorily under
off-road conditions. Avoid sharp turns, excessive speed and abrupt
maneuvers in these vehicles. Failure to drive cautiously could result in
an increased risk of loss of vehicle control, vehicle rollover, personal
injury and death.
If your vehicle gets stuck
If your vehicle gets stuck in mud or snow it may be rocked out by
shifting between forward and reverse gears, stopping between shifts, in a
steady pattern. Press lightly on the accelerator in each gear.
Do not rock the vehicle if the engine is not at normal operating
temperature or damage to the transmission may occur.
Do not rock the vehicle for more than a few minutes or damage
to the transmission and tires may occur or the engine may
overheat.
Always set the parking brake fully and make sure the gearshift is
latched in P (Park). Turn the ignition to the LOCK position and
remove the key whenever you leave your vehicle.
If the parking brake is fully released, but the brake warning lamp
remains illuminated, the brakes may not be working properly.
See your dealer or a qualified service technician.
Do not spin the wheels at over 56 km/h (35 mph). The tires may
fail and injure a passenger or bystander.
Emergency maneuvers
•In an unavoidable emergency situation where a sudden sharp turn
must be made, remember to avoid“over-driving”your vehicle, i.e.,
Driving
154
Page 155 of 280
turn the steering wheel only as rapidly and as far as required to avoid
the emergency. Excessive steering will result in less vehicle control,
not more. Additionally, smooth variations of the accelerator and/or
brake pedal pressure should be utilized if changes in vehicle speed are
called for. Avoid abrupt steering, acceleration or braking which could
result in an increased risk of loss of vehicle control, vehicle rollover
and/or personal injury. Use all available road surface to return the
vehicle to a safe direction of travel.
•In the event of an emergency stop, avoid skidding the tires and do not
attempt any sharp steering wheel movements.
Vehicles with a higher center of gravity such as utility and
four-wheel drive vehicles handle differently than vehicles with a
lower center of gravity. Utility and four-wheel drive vehicles arenot
designed for cornering at speeds as high as passenger cars any more
than low-slung sports cars are designed to perform satisfactorily under
off-road conditions. Avoid sharp turns, excessive speed and abrupt
maneuvers in these vehicles. Failure to drive cautiously could result in
an increased risk of loss of vehicle control, vehicle rollover, personal
injury and death.
•If the vehicle goes from one type of surface to another (i.e., from
concrete to gravel) there will be a change in the way the vehicle
responds to a maneuver (steering, acceleration or braking). Again,
avoid these abrupt inputs.
Parking
On some 4WD vehicles, when the transfer case is in the N (Neutral)
position, the engine and transmission are disconnected from the rest of
the driveline. Therefore, the vehicle is free to roll even if the automatic
transmission is in P (Park) or the manual transmission is in gear. Do not
leave the vehicle unattended with the transfer case in the N (Neutral)
position. Always set the parking brake fully and turn off the ignition
when leaving the vehicle.
4WD Systems
4WD (when you select a 4WD mode) uses all four wheels to power the
vehicle. This increases traction, enabling you to drive over terrain and
road conditions that a conventional two-wheel drive vehicle cannot.
Driving
155
Page 156 of 280
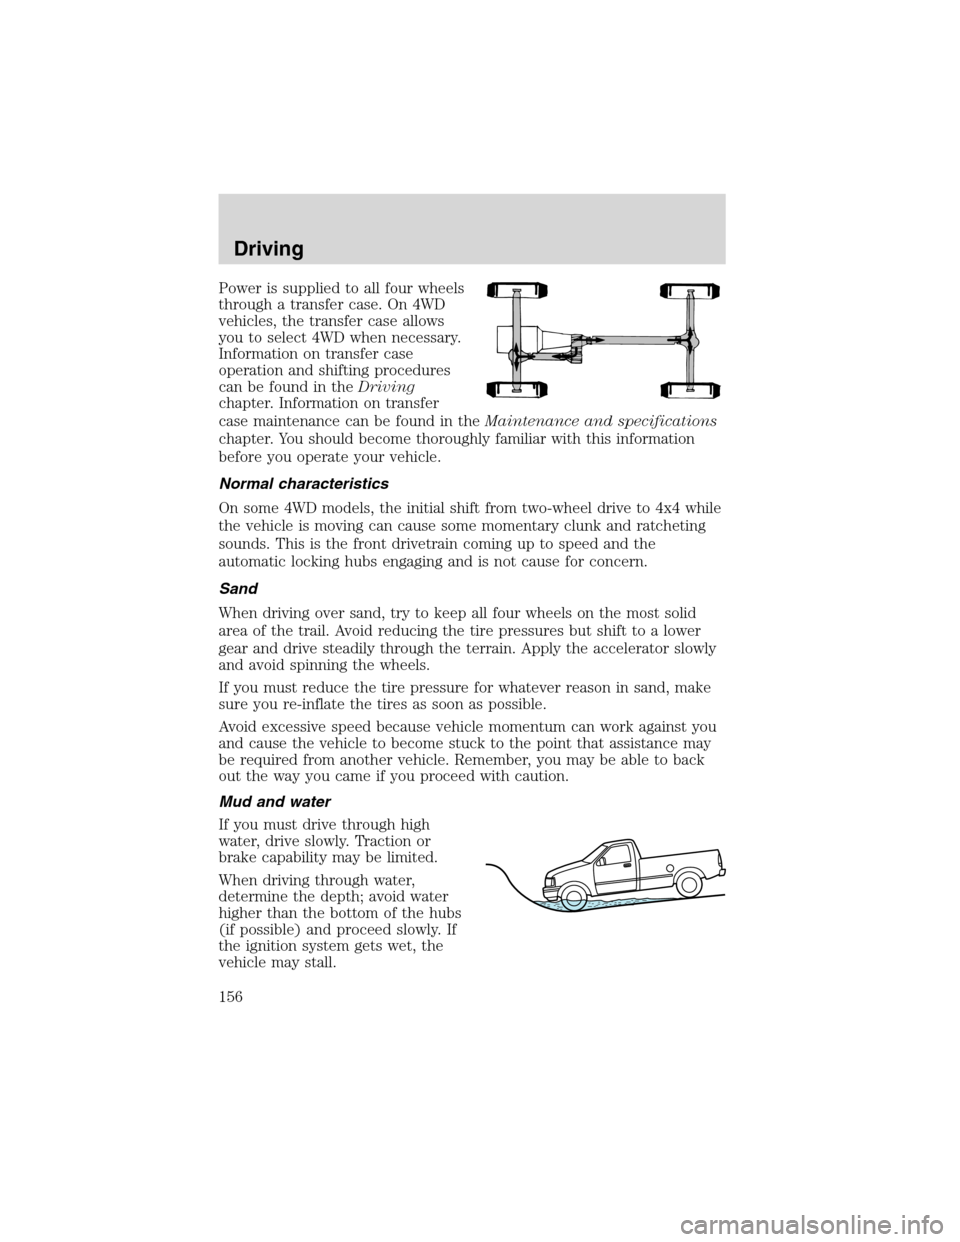
Power is supplied to all four wheels
through a transfer case. On 4WD
vehicles, the transfer case allows
you to select 4WD when necessary.
Information on transfer case
operation and shifting procedures
can be found in theDriving
chapter. Information on transfer
case maintenance can be found in theMaintenance and specifications
chapter. You should become thoroughly familiar with this information
before you operate your vehicle.
Normal characteristics
On some 4WD models, the initial shift from two-wheel drive to 4x4 while
the vehicle is moving can cause some momentary clunk and ratcheting
sounds. This is the front drivetrain coming up to speed and the
automatic locking hubs engaging and is not cause for concern.
Sand
When driving over sand, try to keep all four wheels on the most solid
area of the trail. Avoid reducing the tire pressures but shift to a lower
gear and drive steadily through the terrain. Apply the accelerator slowly
and avoid spinning the wheels.
If you must reduce the tire pressure for whatever reason in sand, make
sure you re-inflate the tires as soon as possible.
Avoid excessive speed because vehicle momentum can work against you
and cause the vehicle to become stuck to the point that assistance may
be required from another vehicle. Remember, you may be able to back
out the way you came if you proceed with caution.
Mud and water
If you must drive through high
water, drive slowly. Traction or
brake capability may be limited.
When driving through water,
determine the depth; avoid water
higher than the bottom of the hubs
(if possible) and proceed slowly. If
the ignition system gets wet, the
vehicle may stall.
Driving
156
Page 167 of 280
Preparing to tow
Use the proper equipment for towing a trailer and make sure it is
properly attached to your vehicle. See your dealer or a reliable trailer
dealer if you require assistance.
Hitches
Do not use hitches that clamp onto the vehicle’s bumper or attach to the
axle. You must distribute the load in your trailer so that 10%–15% of the
total weight of the trailer is on the tongue.
Load equalizing hitch
When hooking up a trailer using a load equalizing hitch, always use the
following procedure:
1. Park the unloaded vehicle on a level surface. With the ignition on and
all doors closed, allow the vehicle to stand for several minutes so that it
can level.
2. Measure the height of a reference point on the front and rear bumpers
at the center of the vehicle.
3. Attach the trailer to the vehicle and adjust the hitch equalizers so that
the front bumper height is within 0–13 mm (0.5 in) of the reference
point. After proper adjustment, the rear bumper should be no higher
than in Step 2.
Note:Adjusting an equalizing hitch so the rear bumper of the vehicle is
higher than it was unloaded will defeat the function of the load
equalizing hitch and may cause unpredictable handling.
Safety chains
Always connect the trailer’s safety chains to the frame or hook retainers
of the vehicle hitch. To connect the trailer’s safety chains, cross the
chains under the trailer tongue and allow slack for turning corners.
If you use a rental trailer, follow the instructions that the rental agency
gives to you.
Do not attach safety chains to the bumper.
Driving
167
Page 175 of 280
Canadian customers who require roadside assistance, call
1–800–665–2006.
If you need to arrange roadside assistance for yourself, Ford Motor
Company will reimburse a reasonable amount. To obtain reimbursement
information, U.S. Ford or Mercury vehicles customers call
1-800-241-3673; Lincoln vehicle customers call 1–800–521–4140.
Canadian customers who need to obtain reimbursement information, call
1–800–665–2006.
ROADSIDE COVERAGE BEYOND BASIC WARRANTY
In the United States, you may purchase additional roadside assistance
coverage beyond this period through the Ford Auto Club by contacting
your Ford or Lincoln Mercury dealer.
Similarly in Canada, for uninterrupted Roadside Assistance coverage, you
may purchase extended coverage prior to your Basic Warranty’s Roadside
Assistance expiring. For more information and enrollment, contact
1–877–294–2582 or visit our website at www.ford.ca.
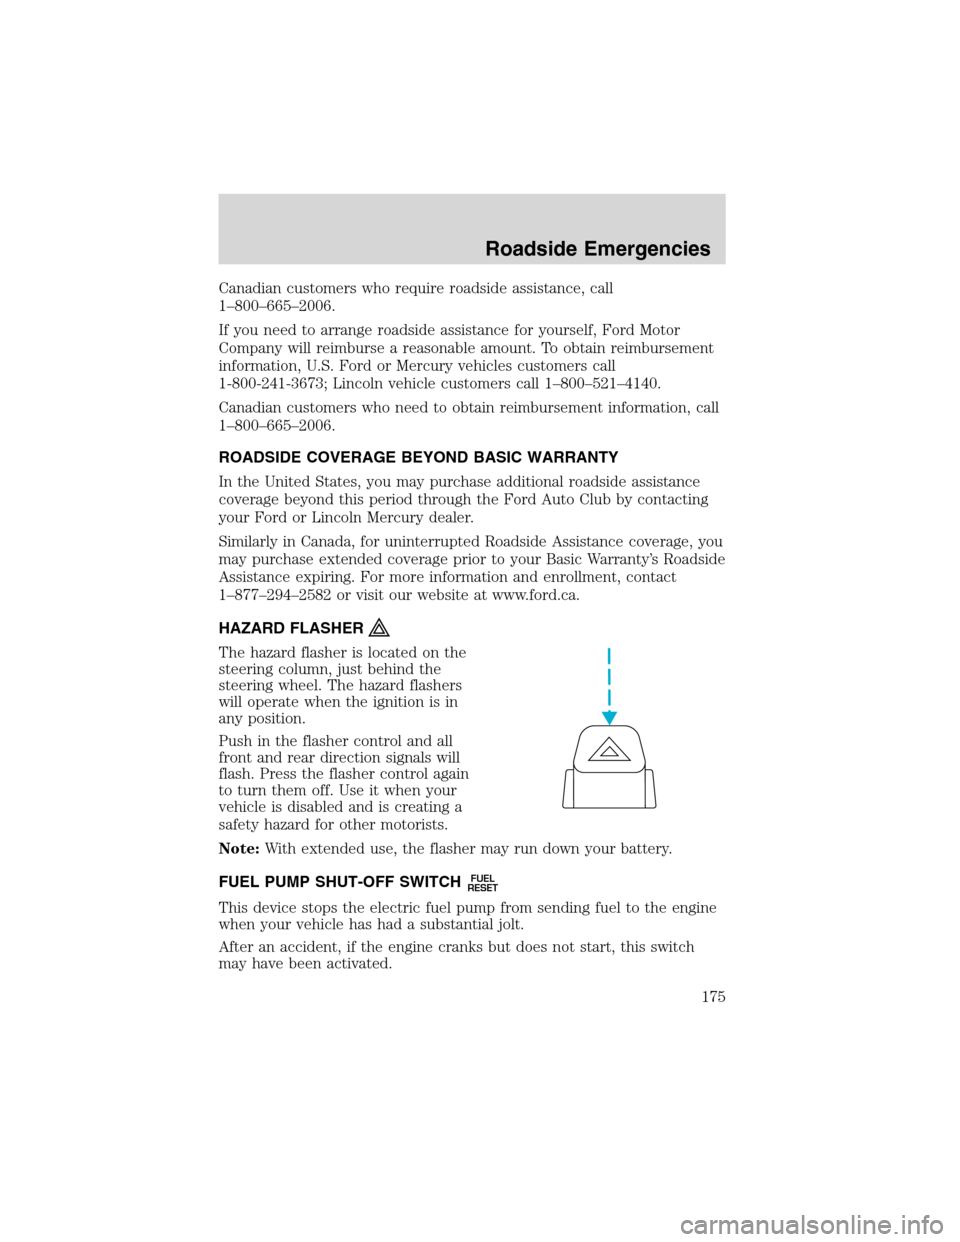
HAZARD FLASHER
The hazard flasher is located on the
steering column, just behind the
steering wheel. The hazard flashers
will operate when the ignition is in
any position.
Push in the flasher control and all
front and rear direction signals will
flash. Press the flasher control again
to turn them off. Use it when your
vehicle is disabled and is creating a
safety hazard for other motorists.
Note:With extended use, the flasher may run down your battery.
FUEL PUMP SHUT-OFF SWITCH
FUEL
RESET
This device stops the electric fuel pump from sending fuel to the engine
when your vehicle has had a substantial jolt.
After an accident, if the engine cranks but does not start, this switch
may have been activated.
Roadside Emergencies
175