2003 CHEVROLET VENTURE lights
[x] Cancel search: lightsPage 1 of 486

Seats and Restraint Systems........................... 1-1
Front Seats
............................................... 1-3
Rear Seats
............................................... 1-7
Safety Belts
.............................................1-30
Child Restraints
.......................................1-55
Air Bag Systems
......................................1-93
Restraint System Check
..........................1-103
Features and Controls..................................... 2-1
Keys
........................................................ 2-3
Doors and Locks
....................................... 2-9
Windows
.................................................2-24
Theft-Deterrent Systems
............................2-27
Starting and Operating Your Vehicle
...........2-31
Mirrors
....................................................2-44
OnStar
žSystem
......................................2-45
HomeLinkžTransmitter
.............................2-47
Storage Areas
.........................................2-51
Vehicle Personalization
.............................2-61
Instrument Panel............................................. 3-1
Instrument Panel Overview
.......................... 3-4
Climate Controls
......................................3-25
Warning Lights, Gages and Indicators
.........3-35
Message Center
.......................................3-50
Driver Information Center (DIC)
..................3-58
Audio System(s)
.......................................3-61Driving Your Vehicle....................................... 4-1
Your Driving, the Road, and Your Vehicle
..... 4-2
Towing
...................................................4-32
Service and Appearance Care.......................... 5-1
Service
..................................................... 5-3
Fuel
......................................................... 5-4
Checking Things Under the Hood
...............5-10
All-Wheel Drive
........................................5-50
Bulb Replacement
....................................5-52
Windshield Wiper Blade Replacement
.........5-58
Tires
......................................................5-60
Appearance Care
.....................................5-87
Vehicle Identi®cation
.................................5-95
Electrical System
......................................5-96
Capacities and Speci®cations
...................5-103
Normal Maintenance Replacement Parts
....5-104
Maintenance Schedule..................................... 6-1
Maintenance Schedule
................................ 6-2
Customer Assistance Information.................... 7-1
Customer Assistance Information
.................. 7-2
Reporting Safety Defects
............................ 7-9
Index.................................................................1
2003 Chevrolet Venture Owner ManualM
Page 4 of 486

Vehicle Damage Warnings
Also, in this book you will ®nd these notices:
Notice:These mean there is something that could
damage your vehicle.
A notice will tell you about something that can damage
your vehicle. Many times, this damage would not be
covered by your warranty, and it could be costly. But the
notice will tell you what to do to help avoid the
damage.
When you read other manuals, you might see
CAUTION and NOTICE warnings in different colors or in
different words.
You'll also see warning labels on your vehicle. They use
the same words, CAUTION or NOTICE.
Vehicle Symbols
Your vehicle has components and labels that use
symbols instead of text. Symbols, used on your vehicle,
are shown along with the text describing the operation
or information relating to a speci®c component, control,
message, gage or indicator.
If you need help ®guring out a speci®c name of a
component, gage or indicator, reference the following
topics:
·Seats and Restraint Systems in Section 1
·Features and Controls in Section 2
·Instrument Panel Overview in Section 3
·Climate Controls in Section 3
·Warning Lights, Gages and Indicators in Section 3
·Audio System(s) in Section 3
·Engine Compartment Overview in Section 5
iv
Page 142 of 486

B (LOCK):This is the only position from which you can
remove the key. This position locks your ignition,
steering wheel and transaxle.
Notice:If your key seems stuck in LOCK and you
can't turn it, be sure you are using the correct key; if
so, is it all the way in? If it is, then turn the steering
wheel left and right while you turn the key hard.
Turn the key only with your hand. Using a tool
to force it could break the key or the ignition switch.
If none of these works, then your vehicle needs
service.
C (OFF):This position unlocks the ignition, steering
wheel and transaxle but, does not send power to
any accessories. Use this position if your vehicle must
be pushed or towed, but never try to push-start your
vehicle.
D (RUN):This is the position to which the switch
returns after you start your engine and release the
ignition key. This is the position for driving. Even when
the engine is not running, you can use RUN to
operate your electrical accessories and to display some
instrument panel warning lights.
E (START):This position starts the engine. When the
engine starts, release the ignition key. The switch
will return to RUN for normal driving.If the engine is not running, ACCESSORY and RUN are
positions that allow you to operate your electrical
accessories, such as the radio.Retained Accessory Power (RAP)
With RAP, the power windows, power rear quarter
windows, audio system and the automatic level control
will continue to work up to 10 minutes after the
ignition key is turned to OFF and none of the doors are
opened.
Starting Your Engine
Move your shift lever to PARK (P) or NEUTRAL (N).
Your engine won't start in any other position ± that's a
safety feature. To restart when you're already moving,
use NEUTRAL (N) only.
Notice:Shifting into PARK (P) with the vehicle
moving could damage the transmission. Shift
to PARK (P) only when your vehicle is stopped.
1. With your foot off the accelerator pedal, turn your
ignition key to START. When the engine starts, let
go of the key. The idle speed will go down as
your engine warms up.
2-32
Page 154 of 486

Mirrors
Manual Rearview Mirror
To reduce glare from lights behind you, pull the lever
toward you (to the night position). To return the mirror to
the day position, push the lever away from you.
Outside Power Mirrors
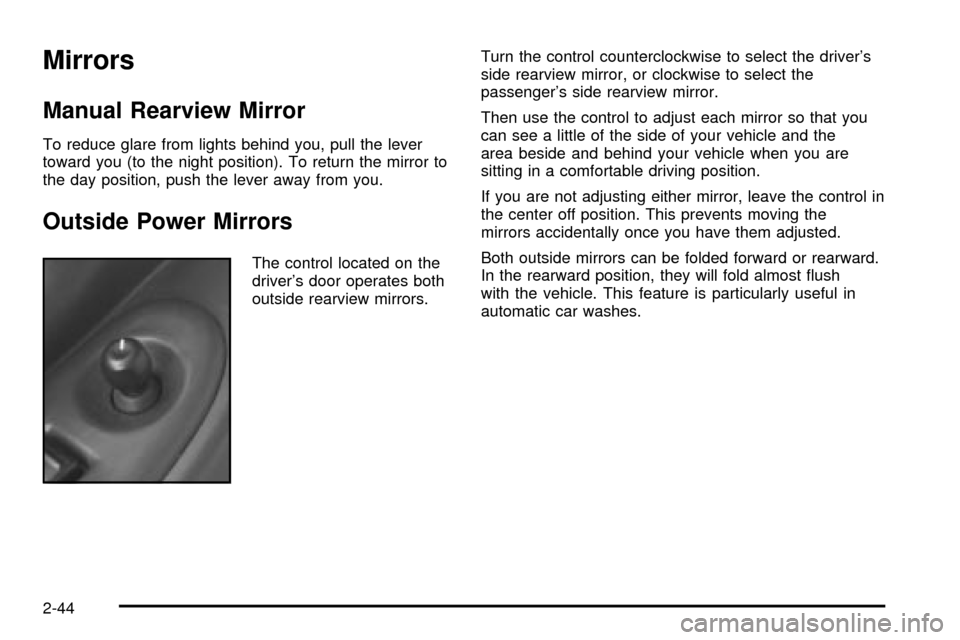
The control located on the
driver's door operates both
outside rearview mirrors.Turn the control counterclockwise to select the driver's
side rearview mirror, or clockwise to select the
passenger's side rearview mirror.
Then use the control to adjust each mirror so that you
can see a little of the side of your vehicle and the
area beside and behind your vehicle when you are
sitting in a comfortable driving position.
If you are not adjusting either mirror, leave the control in
the center off position. This prevents moving the
mirrors accidentally once you have them adjusted.
Both outside mirrors can be folded forward or rearward.
In the rearward position, they will fold almost ¯ush
with the vehicle. This feature is particularly useful in
automatic car washes.
2-44
Page 181 of 486

Instrument Panel Overview...............................3-4
Hazard Warning Flashers................................3-6
Other Warning Devices...................................3-6
Horn.............................................................3-7
Tilt Wheel.....................................................3-7
Turn Signal/Multifunction Lever.........................3-7
Exterior Lamps.............................................3-15
Interior Lamps..............................................3-17
Switchbanks.................................................3-20
Instrument Panel Switchbank..........................3-21
Overhead Console Switchbank.......................3-21
Ultrasonic Rear Parking
Assist (URPA)...........................................3-22
Accessory Power Outlets...............................3-24
Climate Controls............................................3-25
Climate Control System.................................3-25
Outlet Adjustment.........................................3-28
Rear Climate Control System (Without
Entertainment System)...............................3-29
Rear Climate Control System
(With Entertainment System).......................3-31
Passenger Compartment Air Filter...................3-33
Warning Lights, Gages and Indicators.............3-35
Instrument Panel Cluster................................3-36
Speedometer and Odometer...........................3-38Tachometer.................................................3-39
Safety Belt Reminder Light.............................3-40
Air Bag Readiness Light................................3-40
Brake System Warning Light..........................3-41
Anti-Lock Brake System Warning Light.............3-42
Traction Control System (TCS)
Warning Light...........................................3-43
Engine Coolant Temperature Gage..................3-44
Malfunction Indicator Lamp.............................3-45
Fuel Gage...................................................3-48
Message Center.............................................3-50
Service Traction System Warning Message......3-50
Traction Active Message................................3-51
Engine Coolant Temperature Warning
Message..................................................3-51
Charging System Indicator Message................3-52
Low Oil Pressure Message............................3-52
Low Engine Oil Level Message.......................3-53
Change Engine Oil Message..........................3-54
Power Sliding Door Warning Message.............3-54
Door Ajar Warning Message...........................3-55
Rear Hatch Ajar Warning Message..................3-56
PASS-Key
žIII Security Message....................3-56
All-Wheel Drive Disable Warning Message.......3-57
Low Fuel Warning Message...........................3-57
Section 3 Instrument Panel
3-1
Page 195 of 486

Exterior Lamps
The control to the left of the steering column operates
the exterior lamps.
9(Off/Auto):Turning the control to this setting will
activate the automatic headlamps when it is dark
enough outside and turn off all the lamps and
lights during the day except the Daytime Running
Lamps (DRL).
;(Parking Lamps):Turning the control to this
setting turns on the parking lamps together with the
following:
·Sidemarker Lamps
·Taillamps
·Instrument Panel Lights
5(Headlamps):Turning the control to this setting
turns on the headlamps, together with the previously
listed lamps and lights.
Lamps on Reminder
If the driver's door is opened and you turn the ignition to
OFF or LOCK while leaving the lamps on, you will
hear a warning chime.
3-15
Page 197 of 486

Interior Lamps
Instrument Panel Brightness
The thumbwheel for this feature is located below the
exterior lamps control.
Turn the thumbwheel to the right to brighten the lights
or to the left to dim them.
Interior Lamps Control
Turn the thumbwheel all the way to the right to turn on
the interior lamps, if the interior lamps override
switch is off. Turn the thumbwheel to the left to turn the
lamps off.
Interior Lamps Override
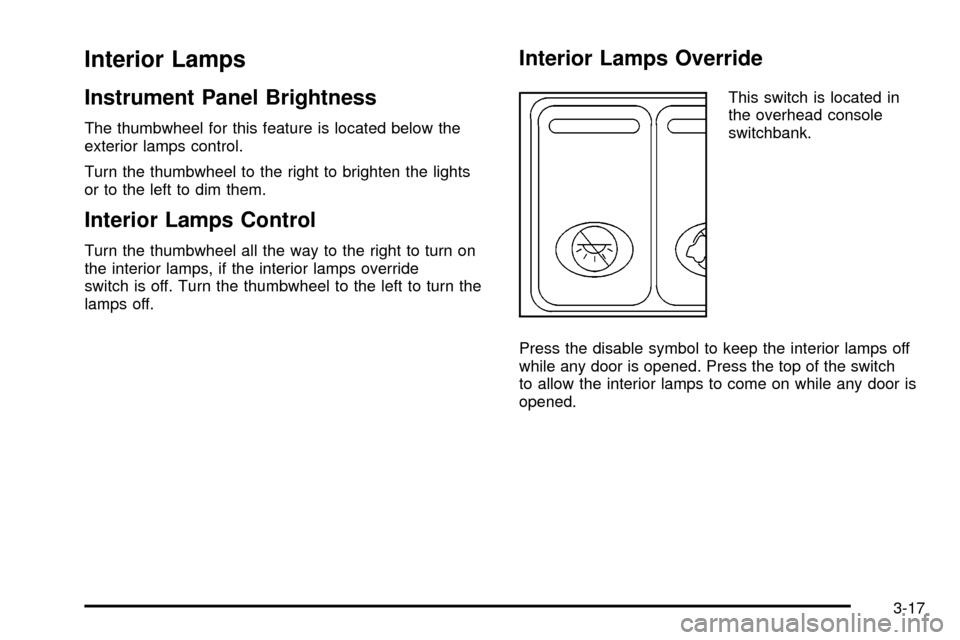
This switch is located in
the overhead console
switchbank.
Press the disable symbol to keep the interior lamps off
while any door is opened. Press the top of the switch
to allow the interior lamps to come on while any door is
opened.
3-17
Page 202 of 486

Ultrasonic Rear Parking
Assist (URPA)
The Ultrasonic Rear Parking Assist (URPA) system is
designed to help you park, while the vehicle is in
REVERSE (R). It operates only at very low speeds, less
than 3 mph (5 km/h). URPA can help make parking
easier and to help you avoid colliding with objects such
as parked vehicles. The URPA system can detect
objects up to 5 feet (1.5 m) behind the vehicle, and tell
you how close these objects are from your rear
bumper.
Your vehicle's URPA operates when the shift lever is
moved into REVERSE (R) and the vehicle speed is less
than 3 mph (5 km/h). Four ultrasonic sensors located
at the rear bumper are used to detect the distance to the
object. The URPA display is located inside the vehicle,
near the rear window. It has three color-coded lights
used to provide distance and system information to
the driver.
{CAUTION:
Even with the Ultrasonic Rear Park Assist
system, the driver must check carefully before
backing up. The system does not operate
above typical backing speeds of 3 mph
(5 km/h) while parking. And, the system
doesn't detect objects that are more than
5 feet (1.5 meters) behind the vehicle.
So, unless you check carefully behind you
before and when you back up, you could strike
children, pedestrians, bicyclists or pets behind
you, and they could be injured or killed.
Whether or not you are using Rear Park Assist,
always check carefully behind your vehicle
before you back up and then watch closely as
you do.
3-22