2003 CHEVROLET SILVERADO window
[x] Cancel search: windowPage 107 of 556

If you set off the alarm by accident, unlock any door
with the key. You can also turn off the alarm by pressing
UNLOCK on the remote keyless entry transmitter or
by placing the key in the ignition and turning it to
START.
Testing the Alarm
The alarm can be tested by following these steps:
1. From inside the vehicle, lower the driver's window
and open the driver's door.
2. Activate the system by locking the doors with the
power door lock switch while the door is open, or
with the remote keyless entry transmitter.
3. Get out of the vehicle, close the door and wait for
the security light to go out.
4. Then reach in through the window, unlock the door
with the manual door lock and open the door. This
should set off the alarm.
If the alarm does not sound when it should but the
vehicle's headlamps ¯ash, check to see if the horn
works. The horn fuse may be blown. To replace
the fuse, see
Fuses and Circuit Breakers on page 5-110.
If the alarm does not sound or the vehicle's headlamps
do not ¯ash, the vehicle should be serviced by an
authorized service center.
Passlockž
Your vehicle is equipped with the
Passlockžtheft-deterrent system.
Passlock
žis a passive theft-deterrent system.
Passlockženables fuel if the ignition lock cylinder is
turned with a valid key. If a correct key is not used or the
ignition lock cylinder is tampered with, fuel is disabled.
If the engine stalls and the security light ¯ashes,
wait until the light stops ¯ashing before trying to restart
the engine. Remember to release the key from
START as soon as the engine starts.
If the engine is running and the security light comes on,
you will be able to restart the engine if you turn the
engine off. However, your Passlock
žsystem is
not working properly and must be serviced by your
dealer. Your vehicle is not protected by Passlock
žat this
time. You may also want to check the fuse (see
Fuses and Circuit Breakers on page 5-110.) See your
dealer for service.
In an emergency, call the GM Roadside Assistance
Center. See
Roadside Assistance Program on page 7-5under Customer Assistance Information.
2-19
Page 108 of 556

Starting and Operating Your
Vehicle
New Vehicle Break-In
Notice:Your vehicle doesn't need an elaborate
ªbreak-in.º But it will perform better in the long run
if you follow these guidelines:
·Keep your speed at 55 mph (88 km/h) or less for
the ®rst 500 miles (805 km).
·Don't drive at any one speed Ð fast or slow Ð
for the ®rst 500 miles (805 km). Don't make
full-throttle starts.
·Avoid making hard stops for the ®rst 200 miles
(322 km) or so. During this time your new
brake linings aren't yet broken in. Hard stops
with new linings can mean premature wear and
earlier replacement. Follow this breaking-in
guideline every time you get new brake linings.
·Don't tow a trailer during break-in. See ªTowing
a Trailerº in the Index for more information.
Ignition Positions
With the key in the ignition switch, you can turn it to
four different positions.
A (LOCK):This position locks your ignition and manual
transmission. It's a theft-deterrent feature. You will
only be able to remove your key when the ignition is
turned to LOCK.
B (ACCESSORY):This position allows you to use
things like the radio, power windows and the windshield
wipers when the engine is off.
2-20
Page 110 of 556

Retained Accessory Power (RAP)
Your vehicle may be equipped with a Retained
Accessory Power (RAP) feature which will allow certain
features on your vehicle to continue to work up to
10 minutes after the ignition key is turned to OFF.
Your radio, power windows and overhead console will
work when the ignition key is in RUN or ACCESSORY.
Once the key is turned from RUN to LOCK, these
features will continue to work for up to 10 minutes or
until a door is opened.
Starting Your Engine
Automatic Transmission
Move your shift lever to PARK (P) or NEUTRAL (N).
Your engine won't start in any other position ± that's a
safety feature. To restart when you're already moving,
use NEUTRAL (N) only. If you have a diesel engine refer
to the diesel supplement for starting procedure.
Notice:Do not try to shift to PARK (P) if your
vehicle is moving. If you do, you could damage the
transmission. Shift to PARK (P) only when your
vehicle is stopped.
Manual Transmission
The gear selector should be in neutral and the parking
brake engaged. Hold the clutch pedal to the ¯oor
and start the engine. Your vehicle won't start if the clutch
pedal is not all the way down ± that's a safety feature.
2-22
Page 139 of 556

Engine Exhaust
{CAUTION:
Engine exhaust can kill. It contains the gas
carbon monoxide (CO), which you can not see
or smell. It can cause unconsciousness and
death.
You might have exhaust coming in if:
·Your exhaust system sounds strange or
different.
·Your vehicle gets rusty underneath.
·Your vehicle was damaged in a collision.
CAUTION: (Continued)
CAUTION: (Continued)
·
Your vehicle was damaged when driving
over high points on the road or over road
debris.
·Repairs were not done correctly.
·Your vehicle or exhaust system had been
modi®ed improperly.
If you ever suspect exhaust is coming into
your vehicle:
·Drive it only with all the windows down to
blow out any CO; and
·Have your vehicle ®xed immediately.
2-51
Page 144 of 556

Compass Calibration
The compass may need calibration if one of the
following occurs:
·After approximately ®ve seconds, the display does
not show a compass heading (N for North, for
example), there may be a strong magnetic ®eld
interfering with the compass. Such interference may
be caused by a magnetic antenna mount, magnetic
note pad holder or a similar magnetic item.
·The compass does not display the correct heading
and the compass zone variance is set correctly.
In order to calibrate, CAL must be displayed in the
mirror compass windows. If CAL is not displayed, push
the on/off button for approximately 12 seconds or
until CAL is displayed.
The compass can be calibrated by driving the vehicle in
circles at 5 mph (8 km/h) or less until the display
reads a direction.
Passenger Air Bag Indicator
Your vehicle may be equipped with a passenger air bag
indicator, on the mirror glass, just above the buttons.
If your vehicle has this feature, the mirror will display the
word ON, or an air bag symbol in Canada, when the
passenger air bag is enabled. For more information, see
Passenger Sensing System on page 1-76.
Cleaning the Mirror
When cleaning the mirror, use a paper towel or similar
material dampened with glass cleaner. Do not spray
glass cleaner directly on the mirror as that may cause
the liquid cleaner to enter the mirror housing.
Automatic Dimming Rearview Mirror
with Compass and Temperature
Display
If your vehicle is equipped with an electrochromic mirror,
it will, when on, automatically dim to the proper level to
minimize glare from lights behind you after dark.
The mirror also includes a display in the upper right
corner of the mirror face. The compass reading and the
outside temperature will both appear in the display at
the same time. The dual display can be turned on or off
by brie¯y pressing either the TEMP or the COMP
button.
Temperature Display
The temperature can be displayed by pressing the
TEMP button. Pressing the TEMP button once brie¯y,
will toggle the temperature reading on and off. To
alternate the temperature reading between Fahrenheit
and Celsius, press and hold the TEMP button for
approximately four seconds until the display blinks ÉF
2-56
Page 145 of 556

and ÉC. Press and release the TEMP button to toggle
between the Fahrenheit and Celsius readings. After
approximately four seconds of inactivity, the display will
stop blinking and display the last selection made.
Press and release the TEMP button to toggle the
temperature display between Fahrenheit or Celsius.
If an abnormal reading is displayed, for an extended
period of time, please consult your dealer. Under certain
circumstances, a delay in updating the temperature is
normal.
Electrochromic Mirror Operation
The time period you need to press and hold the TEMP
button to turn the electrochromic feature on or off is
approximately eight seconds. The indicator light to the
left of the TEMP button will still turn on or off to
show you when the electrochromic feature is activated.
Once the mirror is turned off, it will remain off until it
is turned back on, or until the vehicle is restarted.
Compass Operation
Press the COMP button once brie¯y to turn the compass
on or off.
When the ignition and the compass feature are on, the
compass will show two character boxes for
approximately two seconds. After two seconds, the
mirror will display the compass heading.When cleaning the mirror, use a paper towel or similar
material dampened with glass cleaner. Do not spray
glass cleaner directly on the mirror as that may cause
the liquid cleaner to enter the mirror housing.
Compass Calibration
The compass may need calibration if one of the
following occurs:
·If CAL is displayed while driving in the vehicle.
·After approximately ®ve seconds, the display does
not show a compass heading (N for North, for
example), there may be a strong magnetic ®eld
interfering with the compass. Such interference may
be caused by a magnetic antenna mount, magnetic
note pad holder or a similar magnetic item.
·The compass does not display the correct heading
and the compass zone variance is set correctly.
In order to calibrate, CAL must be displayed in the
mirror compass windows. If CAL is not displayed, push
in the COMP button for approximately eight seconds
or until CAL is displayed.
The compass can be calibrated by driving the vehicle in
circles at ®ve mph (8 km/h) or less until the display
reads a direction.
2-57
Page 150 of 556

Outside Convex Mirror
Your passenger's side mirror is convex. A convex
mirror's surface is curved so you can see more from the
driver's seat.
{CAUTION:
A convex mirror can make things (like other
vehicles) look farther away than they really are.
If you cut too sharply into the right lane, you
could hit a vehicle on your right. Check your
inside mirror or glance over your shoulder
before changing lanes.
Outside Heated Mirrors
The outside rearview mirrors with this option have a
defrost mode.
To turn on the defrost feature, press the rear window
defogger button. See ªRear Window Defoggerº
under
Dual Automatic Climate Control System on
page 3-25for further information.
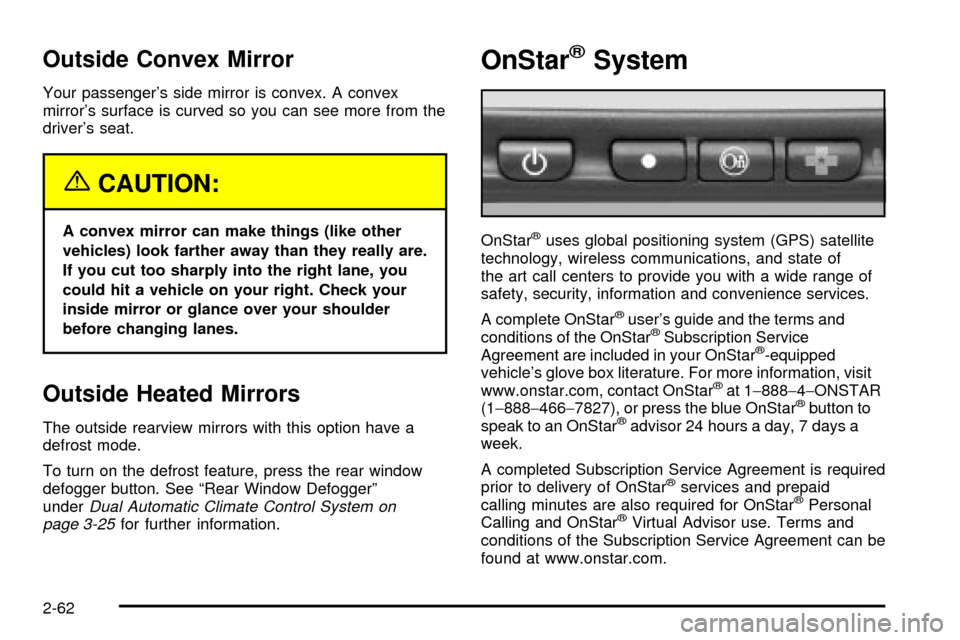
OnStaržSystem
OnStaržuses global positioning system (GPS) satellite
technology, wireless communications, and state of
the art call centers to provide you with a wide range of
safety, security, information and convenience services.
A complete OnStar
žuser's guide and the terms and
conditions of the OnStaržSubscription Service
Agreement are included in your OnStarž-equipped
vehicle's glove box literature. For more information, visit
www.onstar.com, contact OnStar
žat 1-888-4-ONSTAR
(1-888-466-7827), or press the blue OnStaržbutton to
speak to an OnStaržadvisor 24 hours a day, 7 days a
week.
A completed Subscription Service Agreement is required
prior to delivery of OnStar
žservices and prepaid
calling minutes are also required for OnStaržPersonal
Calling and OnStaržVirtual Advisor use. Terms and
conditions of the Subscription Service Agreement can be
found at www.onstar.com.
2-62
Page 166 of 556

Windshield Wipers
9
:OFF
8:MIST
You control the windshield wipers by turning the band
with the wiper symbol on it.
For a single wiping cycle, turn the band to mist. Hold it
there until the wipers start, then let go. The wipers
will stop after one wipe. If you want more wipes, hold
the band on mist longer.
You can set the wiper speed for a long or short delay
between wipes. This can be very useful in light rain
or snow. Turn the band to choose the delay time. The
closer to the top of the lever, the shorter the delay.
For steady wiping at low speed, turn the band away from
you to the ®rst solid band past the delay settings.
position. For high-speed wiping, turn the band further, to
the second solid band past the delay settings. To
stop the wipers, move the band to off position.
Be sure to clear ice and snow from the wiper blades
before using them. If they're frozen to the windshield,
carefully loosen or thaw them. If your blades do become
worn or damaged, get new blades or blade inserts.
Windshield Washer
There is a paddle marked with the windshield washer
symbol at the top of the multifunction lever. To
spray washer ¯uid on the windshield, push the paddle.
The wipers will clear the window and then either
stop or return to your preset speed.
{CAUTION:
In freezing weather, do not use your washer
until the windshield is warmed. Otherwise the
washer ¯uid can form ice on the windshield,
blocking your vision.
3-10