2003 CHEVROLET MALIBU horn
[x] Cancel search: hornPage 67 of 326

W(Unlock):Press the unlock button once to unlock
the driver's door. Press the button again within ®ve
seconds for all remaining doors to unlock. The interior
lamps will stay on for 10 seconds or until the ignition
is turned on.
V(Remote Trunk Release):Press the remote trunk
release button to unlock and release the trunk lid.
You can open the trunk with the transmitter when the
vehicle speed is less than 2 mph (3 km/h), when
the parking brake is engaged, or when the ignition is off.
The interior lamps will come on for 10 seconds or
until the ignition is turned to ON.
L(Remote Alarm):Press the horn button for the
horn to sound and the headlamps and the parking lamps
to ¯ash for up to two minutes. The interior lamps will
come on and remain on while the horn is sounding and
the lamps are ¯ashing. Press the horn button again,
or turn the ignition to ON, to turn off the horn and lamps.
Programmable Horn Chirp
When you use the remote keyless entry transmitter to
lock the doors or use the delayed locking feature
the parking lamps will ¯ash and the horn will chirp.
The programmable horn chirp can be disabled by
pressing and holding either of the door lock switches in
the unlock position for 10 seconds with the ignition
ON and all of the doors closed. When you hear the horn
chirp, programming is complete.
To reactivate the horn chirp feature, repeat the above
procedure.
Matching Transmitter(s) to Your
Vehicle
Each remote keyless entry transmitter is coded to
prevent another transmitter from unlocking your vehicle.
If a transmitter is lost or stolen, a replacement can
be purchased through your dealer. Remember to bring
any remaining transmitters with you when you go to
your dealer. When the dealer matches the replacement
transmitter to your vehicle, any remaining transmitters
must also be matched. Once your dealer has coded the
new transmitter, the lost transmitter will not unlock
your vehicle. Each vehicle can have a maximum of four
transmitters matched to it.
2-5
Page 70 of 326

Power Door Locks
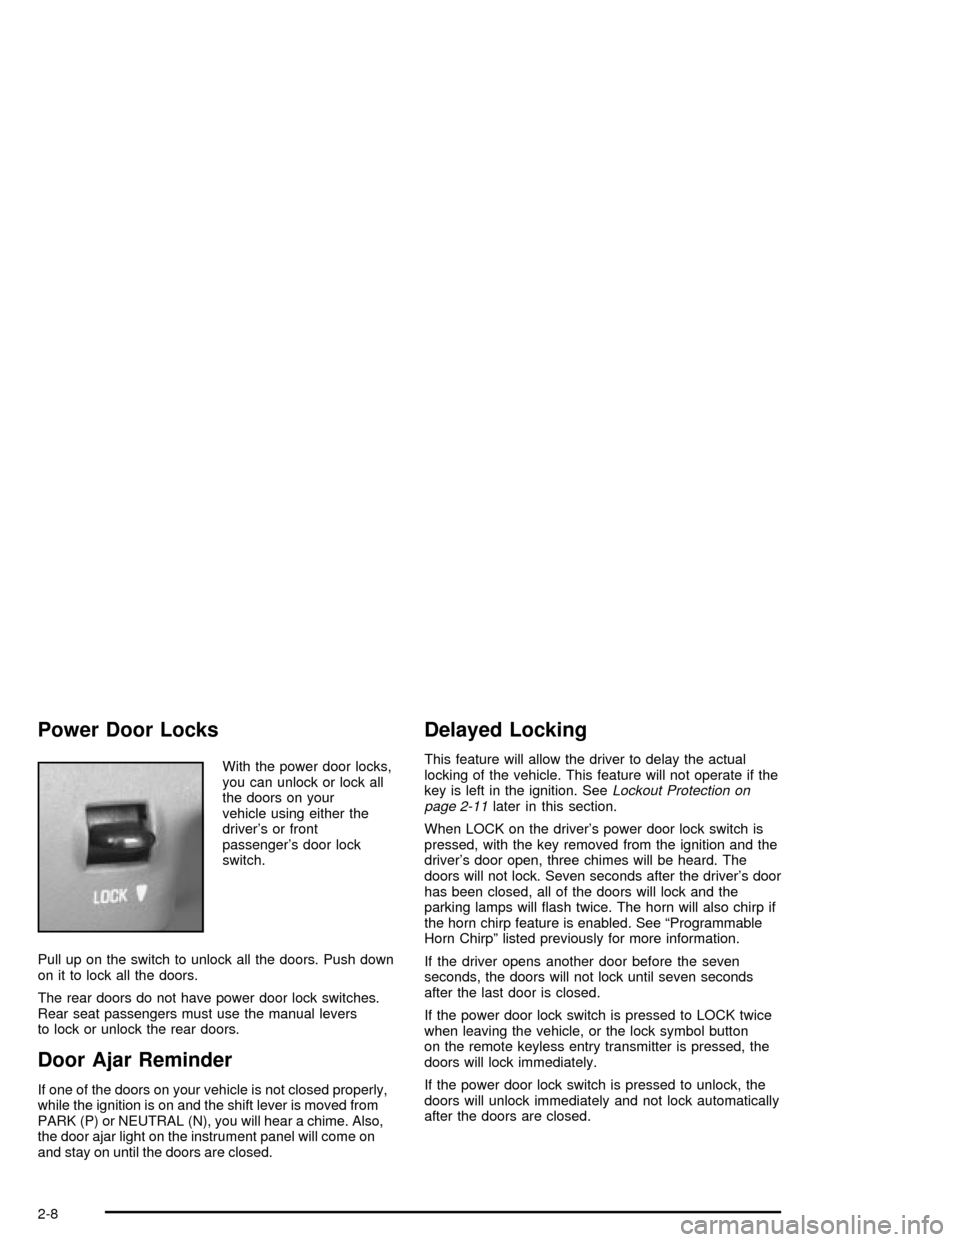
With the power door locks,
you can unlock or lock all
the doors on your
vehicle using either the
driver's or front
passenger's door lock
switch.
Pull up on the switch to unlock all the doors. Push down
on it to lock all the doors.
The rear doors do not have power door lock switches.
Rear seat passengers must use the manual levers
to lock or unlock the rear doors.
Door Ajar Reminder
If one of the doors on your vehicle is not closed properly,
while the ignition is on and the shift lever is moved from
PARK (P) or NEUTRAL (N), you will hear a chime. Also,
the door ajar light on the instrument panel will come on
and stay on until the doors are closed.
Delayed Locking
This feature will allow the driver to delay the actual
locking of the vehicle. This feature will not operate if the
key is left in the ignition. See
Lockout Protection on
page 2-11later in this section.
When LOCK on the driver's power door lock switch is
pressed, with the key removed from the ignition and the
driver's door open, three chimes will be heard. The
doors will not lock. Seven seconds after the driver's door
has been closed, all of the doors will lock and the
parking lamps will ¯ash twice. The horn will also chirp if
the horn chirp feature is enabled. See ªProgrammable
Horn Chirpº listed previously for more information.
If the driver opens another door before the seven
seconds, the doors will not lock until seven seconds
after the last door is closed.
If the power door lock switch is pressed to LOCK twice
when leaving the vehicle, or the lock symbol button
on the remote keyless entry transmitter is pressed, the
doors will lock immediately.
If the power door lock switch is pressed to unlock, the
doors will unlock immediately and not lock automatically
after the doors are closed.
2-8
Page 95 of 326

Instrument Panel Overview...............................3-2
Hazard Warning Flashers................................3-4
Other Warning Devices...................................3-4
Horn.............................................................3-5
Tilt Wheel.....................................................3-5
Turn Signal/Multifunction Lever.........................3-5
Exterior Lamps.............................................3-12
Interior Lamps..............................................3-15
Accessory Power Outlets...............................3-16
Ashtrays and Cigarette Lighter........................3-17
Climate Controls............................................3-17
Climate Control System.................................3-17
Outlet Adjustment.........................................3-21
Warning Lights, Gages and Indicators.............3-22
Instrument Panel Cluster................................3-23
Speedometer and Odometer...........................3-24
Tachometer.................................................3-25
Safety Belt Reminder Light.............................3-25
Air Bag Readiness Light................................3-26
Charging System Light..................................3-27
Brake System Warning Light..........................3-27
Anti-Lock Brake System Warning Light.............3-28
Engine Coolant Temperature Gage..................3-29
Low Coolant Warning Light............................3-29
Malfunction Indicator Lamp.............................3-30Oil Pressure Light.........................................3-32
Check Oil Level Light....................................3-33
Passlock
žWarning Light................................3-34
Low Washer Fluid Warning Light.....................3-34
Door Ajar Light.............................................3-34
Service Vehicle Soon Light............................3-35
Fuel Gage...................................................3-35
Audio System(s).............................................3-36
Setting the Time for Radios without
Radio Data Systems (RDS)........................3-36
Setting the Time for Radios with
Radio Data Systems (RDS)........................3-37
Radio with CD (Base Level)...........................3-37
Radio with CD (Up Level)..............................3-41
Radio with Cassette and CD..........................3-48
Theft-Deterrent Feature
(Non-RDS Radios).....................................3-57
Theft-Deterrent Feature
(RDS Radios)...........................................3-57
Understanding Radio Reception......................3-57
Care of Your Cassette Tape Player.................3-58
Care of Your CDs.........................................3-59
Care of Your CD Player................................3-59
Fixed Mast Antenna......................................3-59
Chime Level Adjustment................................3-59
Section 3 Instrument Panel
3-1
Page 97 of 326

The main components of your instrument panel are the
following:
A. Side Window Defogger Vents. See ªDefogging and
Defrostingº in
Climate Control System on
page 3-17.
B. Vent Outlets. See
Outlet Adjustment on page 3-21.
C. Instrument Panel Brightness Thumbwheel. See
Interior Lamps on page 3-15.
D. Fog Lamp Button (If Equipped). See ªFog Lampsº in
Exterior Lamps on page 3-12.
E. Turn Signal/Multifunction Lever. See
Turn
Signal/Multifunction Lever on page 3-5.
F. Cruise Control Buttons (If Equipped). See ªCruise
Controlº in
Turn Signal/Multifunction Lever on
page 3-5.
G. Instrument Panel Cluster. See
Instrument Panel
Cluster on page 3-23.
H. Windshield Wiper/Washer Lever. See ªWindshield
Wipersº in
Turn Signal/Multifunction Lever on
page 3-5.
I. Ignition Switch. See
Ignition Positions on
page 2-17.J. Hazard Warning Flashers Button. See
Hazard
Warning Flashers on page 3-4.
K. Instrument Panel Fuse Blocks. See
Fuses and
Circuit Breakers on page 5-77.
L. Instrument Panel Cupholder. See
Cupholder(s) on
page 2-30.
M. Remote Trunk Release Button. See ªRemote Trunk
Releaseº in
Trunk on page 2-11.
N. Hood Release. See
Hood Release on page 5-10.
O. Tilt Wheel Lever. See
Tilt Wheel on page 3-5.
P. Parking Brake. See
Parking Brake on page 2-23.
Q. Horn. See
Horn on page 3-5.
R. Audio System. See
Audio System(s) on page 3-36.
S. Cigarette Lighter. See
Ashtrays and Cigarette
Lighter on page 3-17.
T. Ashtray. See
Ashtrays and Cigarette Lighter on
page 3-17.
U. Accessory Power Outlet. See
Accessory Power
Outlets on page 3-16.
V. Climate Control System. See
Climate Control
System on page 3-17.
3-3
Page 99 of 326

Horn
You can sound the horn by pressing the horn symbol on
your steering wheel.
Tilt Wheel
A tilt wheel allows you to adjust the steering wheel before
you drive. You can raise it to the highest level to give your
legs more room when you exit and enter your vehicle.
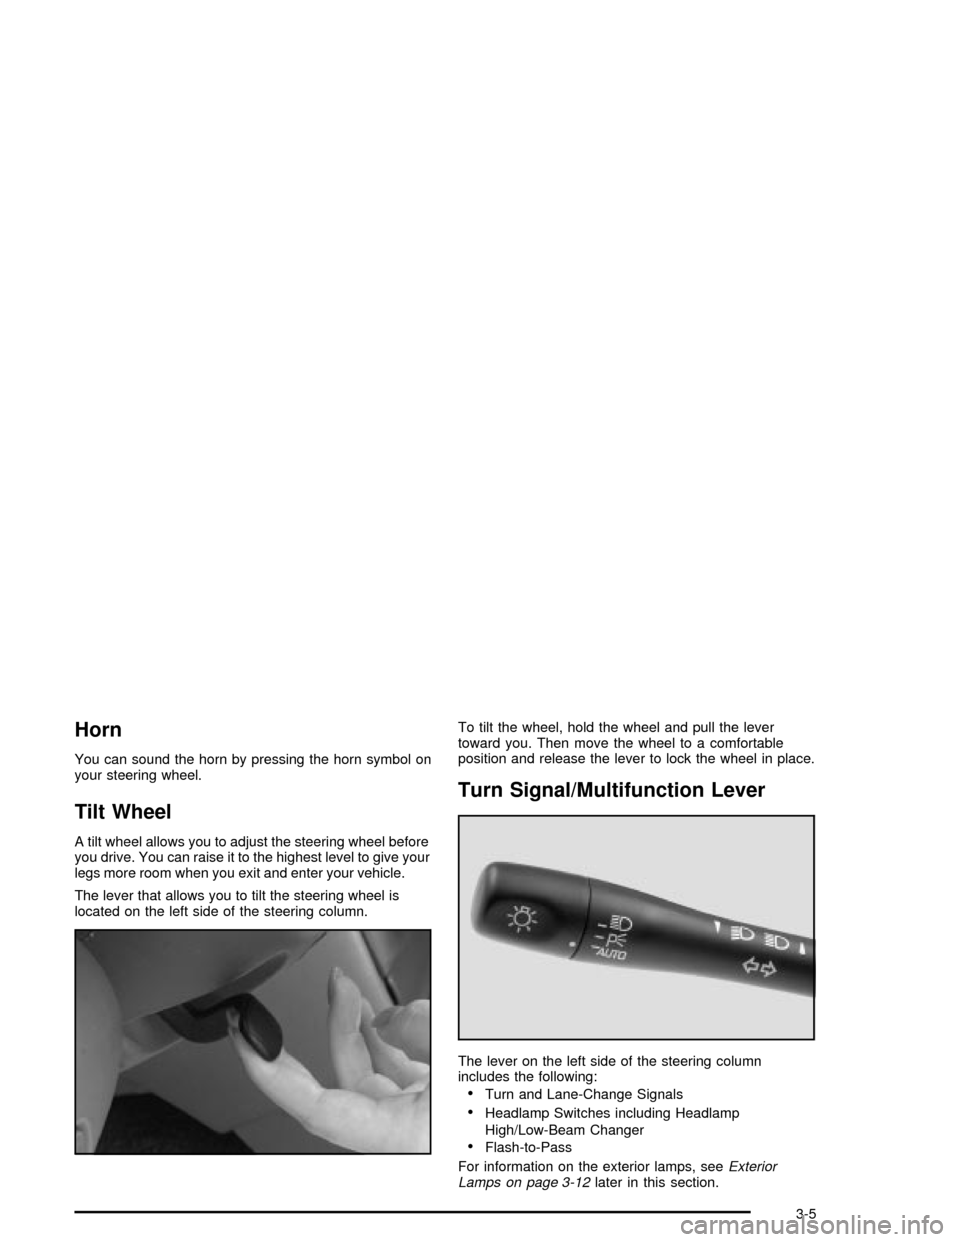
The lever that allows you to tilt the steering wheel is
located on the left side of the steering column.To tilt the wheel, hold the wheel and pull the lever
toward you. Then move the wheel to a comfortable
position and release the lever to lock the wheel in place.
Turn Signal/Multifunction Lever
The lever on the left side of the steering column
includes the following:
·Turn and Lane-Change Signals
·Headlamp Switches including Headlamp
High/Low-Beam Changer
·Flash-to-Pass
For information on the exterior lamps, see
Exterior
Lamps on page 3-12later in this section.
3-5
Page 109 of 326

Interior Lamps
Instrument Panel Brightness
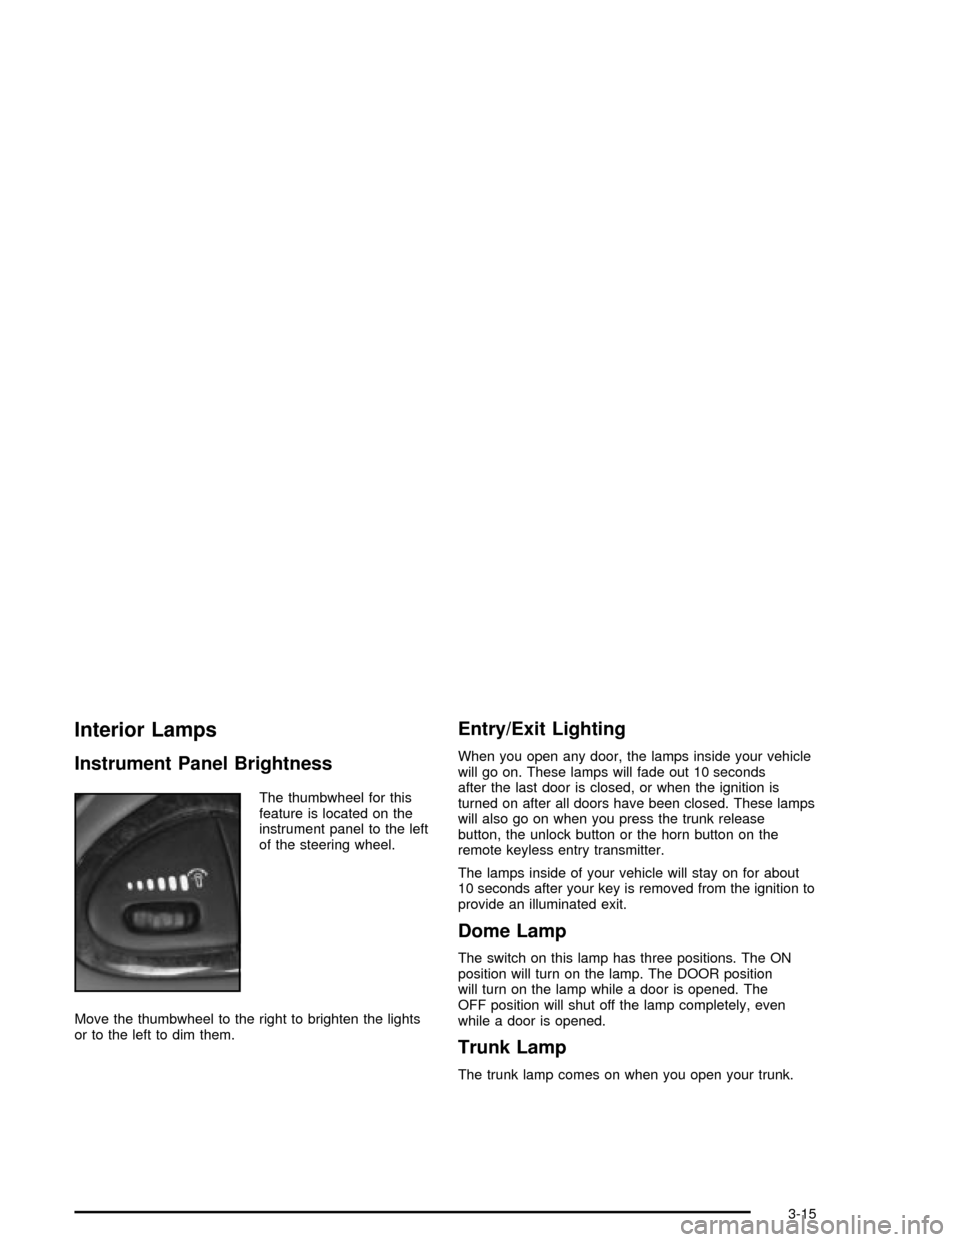
The thumbwheel for this
feature is located on the
instrument panel to the left
of the steering wheel.
Move the thumbwheel to the right to brighten the lights
or to the left to dim them.
Entry/Exit Lighting
When you open any door, the lamps inside your vehicle
will go on. These lamps will fade out 10 seconds
after the last door is closed, or when the ignition is
turned on after all doors have been closed. These lamps
will also go on when you press the trunk release
button, the unlock button or the horn button on the
remote keyless entry transmitter.
The lamps inside of your vehicle will stay on for about
10 seconds after your key is removed from the ignition to
provide an illuminated exit.
Dome Lamp
The switch on this lamp has three positions. The ON
position will turn on the lamp. The DOOR position
will turn on the lamp while a door is opened. The
OFF position will shut off the lamp completely, even
while a door is opened.
Trunk Lamp
The trunk lamp comes on when you open your trunk.
3-15
Page 275 of 326

Relays Usage
20 Automatic Headlamp System
21 Horn
22 Daytime Running Lamps (DRL)
Fuses Usage
23±32 Spare Fuse Holder
33 Rear Defogger
34Accessory Power Outlets,
Cigar Lighter
35 Generator
36 Not Used
37Air Conditioning Compressor,
Body Function Control Module
38 Automatic Transaxle
39Powertrain Control Module (PCM),
Ignition
40 Anti-Lock Brakes (ABS)
41 Ignition System
42Back-Up Lamps, Automatic
Transaxle Shift Lock Control SystemFuses Usage
43 Horn
44 PCM
45 Parking Lamps
46 Climate Control System
47Canister Purge Valve, PCM, Exhaust
Gas Recirculation, Heated Oxygen
Sensor
48 Fuel Pump Injectors
49 Not Used
50 Right Headlamp
51 Left Headlamp
52 Cooling Fan
53 HVAC Blower (Climate Control)
54 Not Used
55 Cooling Fan #2 Ground
56 Fuse Puller
57 Not Used
5-81
Page 318 of 326

Following Distance..........................................4-38
Fuel............................................................... 5-4
Additives...................................................... 5-5
California Fuel.............................................. 5-5
Filling a Portable Fuel Container..................... 5-9
Filling Your Tank........................................... 5-6
Fuels in Foreign Countries.............................. 5-6
Gage.........................................................3-35
Gasoline Octane........................................... 5-4
Gasoline Speci®cations.................................. 5-4
System Inspection.......................................6-19
Fuses...........................................................5-77
Fuses and Circuit Breakers...........................5-77
Windshield Wiper.........................................5-76
G
Gage............................................................3-29
Engine Coolant Temperature.........................3-29
Fuel..........................................................3-35
Speedometer..............................................3-24
Tachometer.................................................3-25
Garment Hooks..............................................2-30
Gasoline......................................................... 5-4
Octane........................................................ 5-4
Speci®cations............................................... 5-4
Glove Box.....................................................2-30
GM Mobility Program for Persons with
Disabilities.................................................... 7-5
H
Hazard Warning Flashers................................... 3-4
Head Restraints............................................... 1-5
Headlamp High/Low-Beam Changer.................... 3-7
Headlamp Wiring............................................5-76
Headlamps..............................................3-6, 5-42
Bulb Replacement.......................................5-42
Front Turn Signal Lamps..............................5-44
Halogen Bulbs............................................5-42
Headlamps Off in Park (P)...............................3-14
Headlamps On Reminder................................... 3-7
Highway Hypnosis...........................................4-21
Hill and Mountain Roads..................................4-21
Hitches..........................................................4-37
Hood.............................................................. 5-9
Checking Things Under.................................. 5-9
Release.....................................................5-10
Horn............................................................... 3-5
How to Add Coolant to the Coolant
Surge Tank.................................................5-26
How to Check Power Steering Fluid..................5-31
How to Check................................................5-50
How to Inspect the Engine Air Cleaner/Filter.......5-18
How to Use This Manual...................................... ii
How to Wear Safety Belts Properly...................1-11
Hydroplaning..................................................4-17
6