2003 CHEVROLET MALIBU bulb
[x] Cancel search: bulbPage 1 of 326
Seats and Restraint Systems........................... 1-1
Front Seats
............................................... 1-2
Rear Seats
............................................... 1-5
Safety Belts
.............................................. 1-6
Child Restraints
.......................................1-28
Supplemental Restraint System (SRS)
.........1-48
Restraint System Check
............................1-54
Features and Controls..................................... 2-1
Keys
........................................................ 2-2
Doors and Locks
....................................... 2-7
Windows
.................................................2-14
Theft-Deterrent Systems
............................2-15
Starting and Operating Your Vehicle
...........2-16
Mirrors
....................................................2-28
Storage Areas
.........................................2-30
Sunroof
..................................................2-31
Instrument Panel............................................. 3-1
Instrument Panel Overview
.......................... 3-2
Climate Controls
......................................3-17
Warning Lights, Gages and Indicators
.........3-22
Audio System(s)
.......................................3-36Driving Your Vehicle....................................... 4-1
Your Driving, the Road, and Your Vehicle
..... 4-2
Towing
...................................................4-28
Service and Appearance Care.......................... 5-1
Service
..................................................... 5-3
Fuel
......................................................... 5-4
Checking Things Under the Hood
................. 5-9
Bulb Replacement
....................................5-42
Windshield Wiper Blade Replacement
.........5-48
Tires
......................................................5-48
Appearance Care
.....................................5-67
Vehicle Identi®cation
.................................5-75
Electrical System
......................................5-76
Capacities and Speci®cations
.....................5-82
Normal Maintenance Replacement Parts
......5-83
Maintenance Schedule..................................... 6-1
Maintenance Schedule
................................ 6-2
Customer Assistance Information.................... 7-1
Customer Assistance Information
.................. 7-2
Reporting Safety Defects
............................ 7-8
Index................................................................ 1
2003 Chevy Malibu Owner ManualM
Page 100 of 326
Turn and Lane-Change Signals
The turn signal has two upward (for right) and two
downward (for left) positions. These positions allow you
to signal a turn or a lane change.
To signal a turn, move the lever all the way up or down.
When the turn is ®nished, the lever will return
automatically.
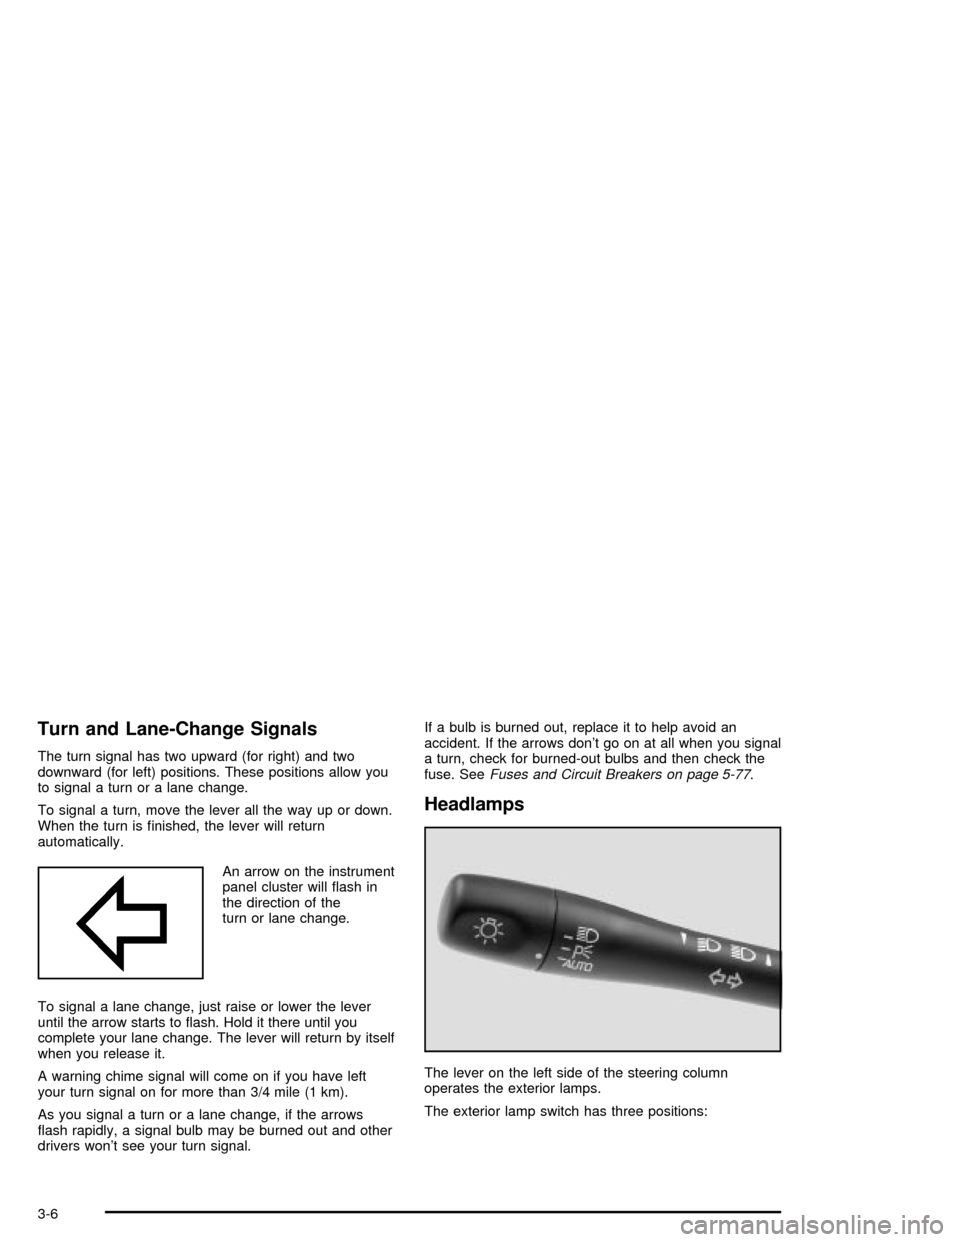
An arrow on the instrument
panel cluster will ¯ash in
the direction of the
turn or lane change.
To signal a lane change, just raise or lower the lever
until the arrow starts to ¯ash. Hold it there until you
complete your lane change. The lever will return by itself
when you release it.
A warning chime signal will come on if you have left
your turn signal on for more than 3/4 mile (1 km).
As you signal a turn or a lane change, if the arrows
¯ash rapidly, a signal bulb may be burned out and other
drivers won't see your turn signal.If a bulb is burned out, replace it to help avoid an
accident. If the arrows don't go on at all when you signal
a turn, check for burned-out bulbs and then check the
fuse. See
Fuses and Circuit Breakers on page 5-77.
Headlamps
The lever on the left side of the steering column
operates the exterior lamps.
The exterior lamp switch has three positions:
3-6
Page 127 of 326
When the ignition is on but the engine is not running,
the light will come on as a test to show you it is working,
but the light will go out when the engine is running.
If it doesn't come on with the ignition on, you may have
a problem with the bulb. Have it ®xed right away.
{CAUTION:
Don't keep driving if the oil pressure is low.
If you do, your engine can become so hot that
it catches ®re. You or others could be burned.
Check your oil as soon as possible and have
your vehicle serviced.
Notice:Damage to your engine from neglected oil
problems can be costly and is not covered by
your warranty.
Check Oil Level Light
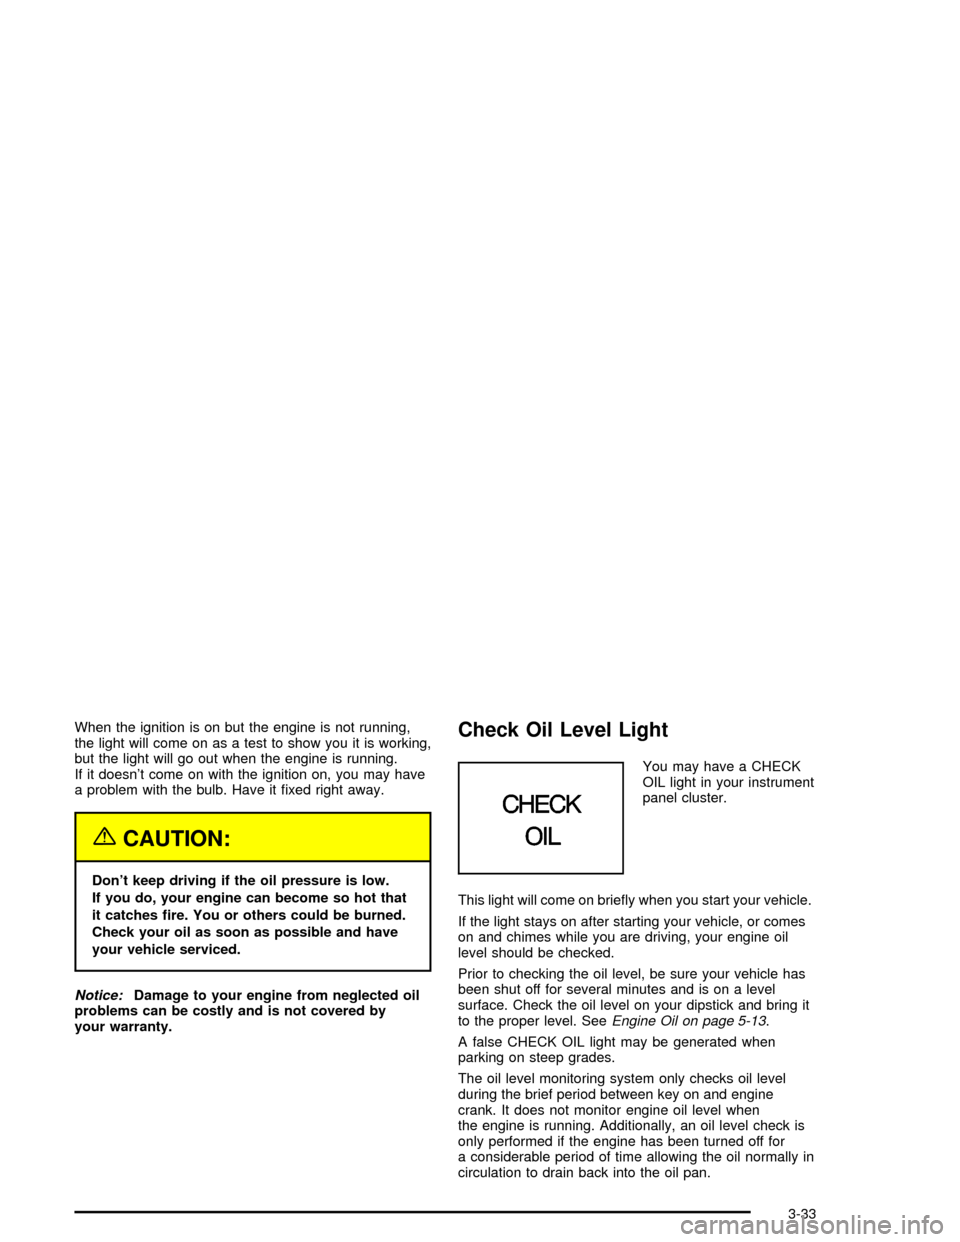
You may have a CHECK
OIL light in your instrument
panel cluster.
This light will come on brie¯y when you start your vehicle.
If the light stays on after starting your vehicle, or comes
on and chimes while you are driving, your engine oil
level should be checked.
Prior to checking the oil level, be sure your vehicle has
been shut off for several minutes and is on a level
surface. Check the oil level on your dipstick and bring it
to the proper level. See
Engine Oil on page 5-13.
A false CHECK OIL light may be generated when
parking on steep grades.
The oil level monitoring system only checks oil level
during the brief period between key on and engine
crank. It does not monitor engine oil level when
the engine is running. Additionally, an oil level check is
only performed if the engine has been turned off for
a considerable period of time allowing the oil normally in
circulation to drain back into the oil pan.
3-33
Page 193 of 326
When towing a trailer, the arrows on your instrument
panel will ¯ash for turns even if the bulbs on the trailer
are burned out. Thus, you may think drivers behind
you are seeing your signal when they are not. It's
important to check occasionally to be sure the trailer
bulbs are still working.
Driving On Grades
Notice:Do not tow on steep continuous grades
exceeding 6 miles (9.6 km). Extended, higher than
normal engine and transaxle temperatures may result
and damage your vehicle. Frequent stops are very
important to allow the engine and transaxle to cool.
Reduce speed and shift to a lower gear
beforeyou start
down a long or steep downgrade. If you don't shift
down, you might have to use your brakes so much that
they would get hot and no longer work well.
On a long uphill grade, shift down and reduce your
speed to around 45 mph (70 km/h) to reduce the
possibility of engine and transaxle overheating.
Pay attention to the engine coolant gage. If the indicator
is in the red area, turn off the air conditioning to
reduce engine load. See
Engine Overheating on
page 5-22.
Parking on Hills
{CAUTION:
You really should not park your vehicle, with a
trailer attached, on a hill. If something goes
wrong, your rig could start to move. People
can be injured, and both your vehicle and the
trailer can be damaged.
But if you ever have to park your rig on a hill, here's
how to do it:
1. Apply your regular brakes, but don't shift into
PARK (P) yet.
2. Have someone place chocks under the trailer
wheels.
3. When the wheel chocks are in place, release the
regular brakes until the chocks absorb the load.
4. Reapply the regular brakes. Then apply your
parking brake and shift into PARK (P).
5. Release the regular brakes.
4-39
Page 195 of 326

Service............................................................5-3
Doing Your Own Service Work.........................5-3
Adding Equipment to the Outside of
Your Vehicle..............................................5-4
Fuel................................................................5-4
Gasoline Octane............................................5-4
Gasoline Speci®cations....................................5-4
California Fuel...............................................5-5
Additives.......................................................5-5
Fuels in Foreign Countries...............................5-6
Filling Your Tank............................................5-6
Filling a Portable Fuel Container.......................5-9
Checking Things Under the Hood.....................5-9
Hood Release..............................................5-10
Engine Compartment Overview.......................5-12
Engine Oil...................................................5-13
Engine Air Cleaner/Filter................................5-17
Automatic Transaxle Fluid..............................5-18
Engine Coolant.............................................5-19
Coolant Surge Tank Pressure Cap..................5-21
Engine Overheating.......................................5-22
Cooling System............................................5-24
Power Steering Fluid.....................................5-30
Windshield Washer Fluid................................5-31Brakes........................................................5-32
Battery........................................................5-36
Jump Starting...............................................5-36
Bulb Replacement..........................................5-42
Halogen Bulbs..............................................5-42
Headlamps..................................................5-42
Front Turn Signal Lamps...............................5-44
Center High-Mounted Stoplamp (CHMSL).........5-44
Taillamps, Turn Signal, Stoplamps and
Back-up Lamps.........................................5-45
Replacement Bulbs.......................................5-47
Windshield Wiper Blade Replacement..............5-48
Tires..............................................................5-48
In¯ation -- Tire Pressure................................5-49
Tire Inspection and Rotation...........................5-50
When It Is Time for New Tires.......................5-51
Buying New Tires.........................................5-52
Uniform Tire Quality Grading..........................5-53
Wheel Alignment and Tire Balance..................5-54
Wheel Replacement......................................5-54
Tire Chains..................................................5-55
If a Tire Goes Flat........................................5-56
Changing a Flat Tire.....................................5-57
Compact Spare Tire......................................5-66
Section 5 Service and Appearance Care
5-1
Page 236 of 326
Bulb Replacement
For bulb types, seeReplacement Bulbs on page 5-47.
For any bulb changing procedures not listed in this
section, contact your dealer.
Halogen Bulbs
{CAUTION:
Halogen bulbs have pressurized gas inside
and can burst if you drop or scratch the bulb.
You or others could be injured. Be sure to read
and follow the instructions on the bulb
package.
Headlamps
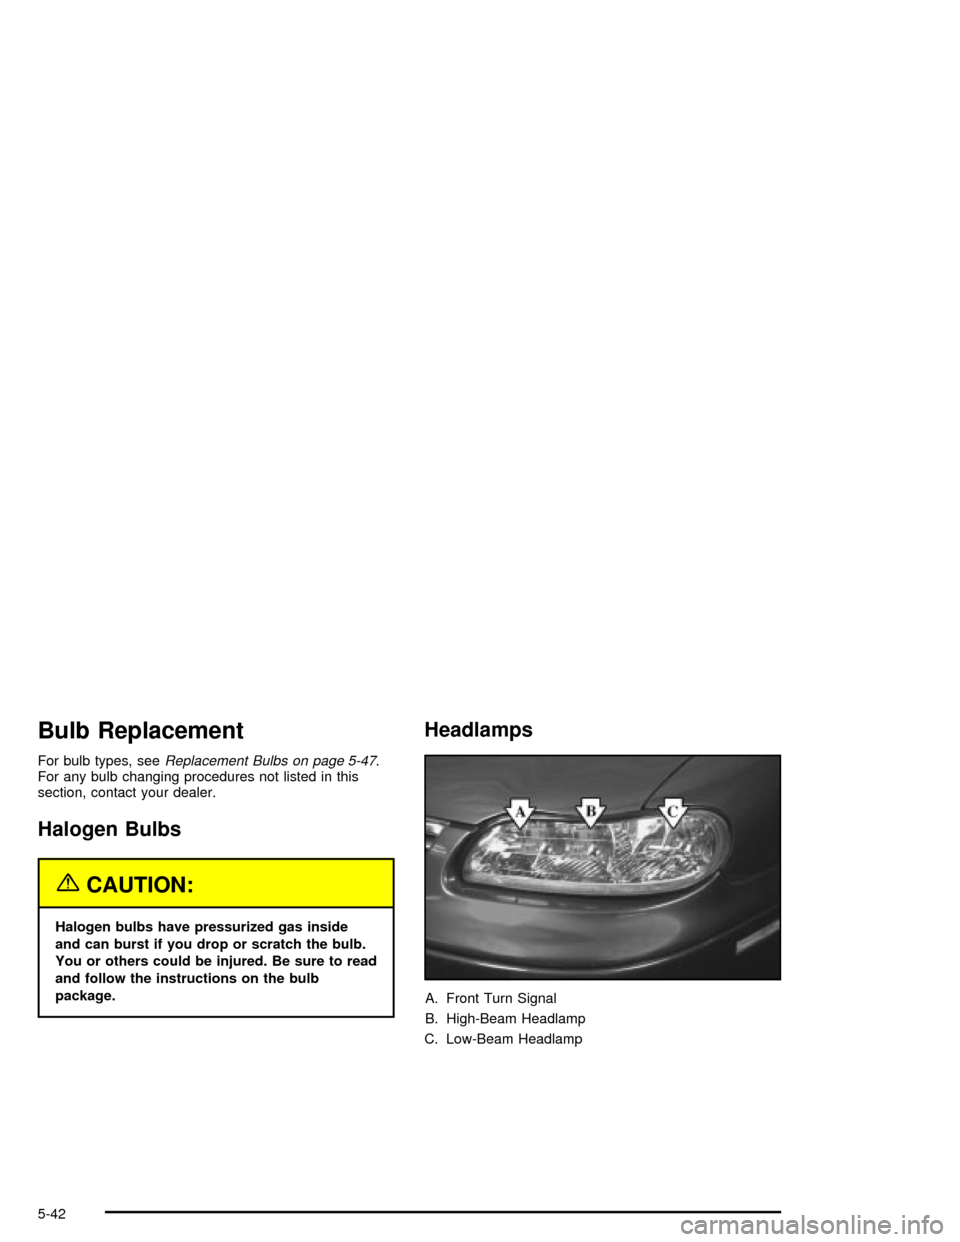
A. Front Turn Signal
B. High-Beam Headlamp
C. Low-Beam Headlamp
5-42
Page 237 of 326
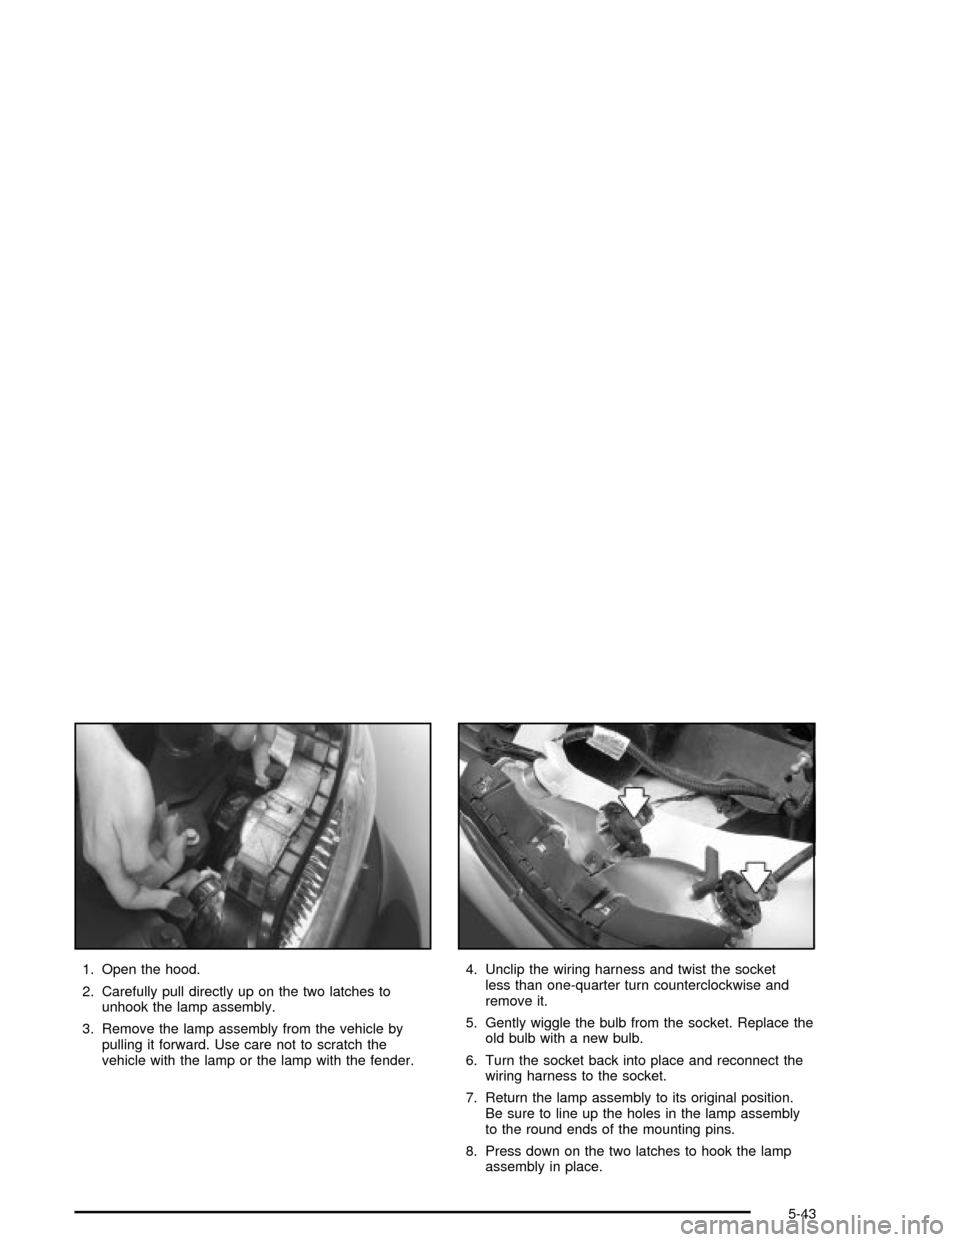
1. Open the hood.
2. Carefully pull directly up on the two latches to
unhook the lamp assembly.
3. Remove the lamp assembly from the vehicle by
pulling it forward. Use care not to scratch the
vehicle with the lamp or the lamp with the fender.4. Unclip the wiring harness and twist the socket
less than one-quarter turn counterclockwise and
remove it.
5. Gently wiggle the bulb from the socket. Replace the
old bulb with a new bulb.
6. Turn the socket back into place and reconnect the
wiring harness to the socket.
7. Return the lamp assembly to its original position.
Be sure to line up the holes in the lamp assembly
to the round ends of the mounting pins.
8. Press down on the two latches to hook the lamp
assembly in place.
5-43
Page 238 of 326
Front Turn Signal Lamps
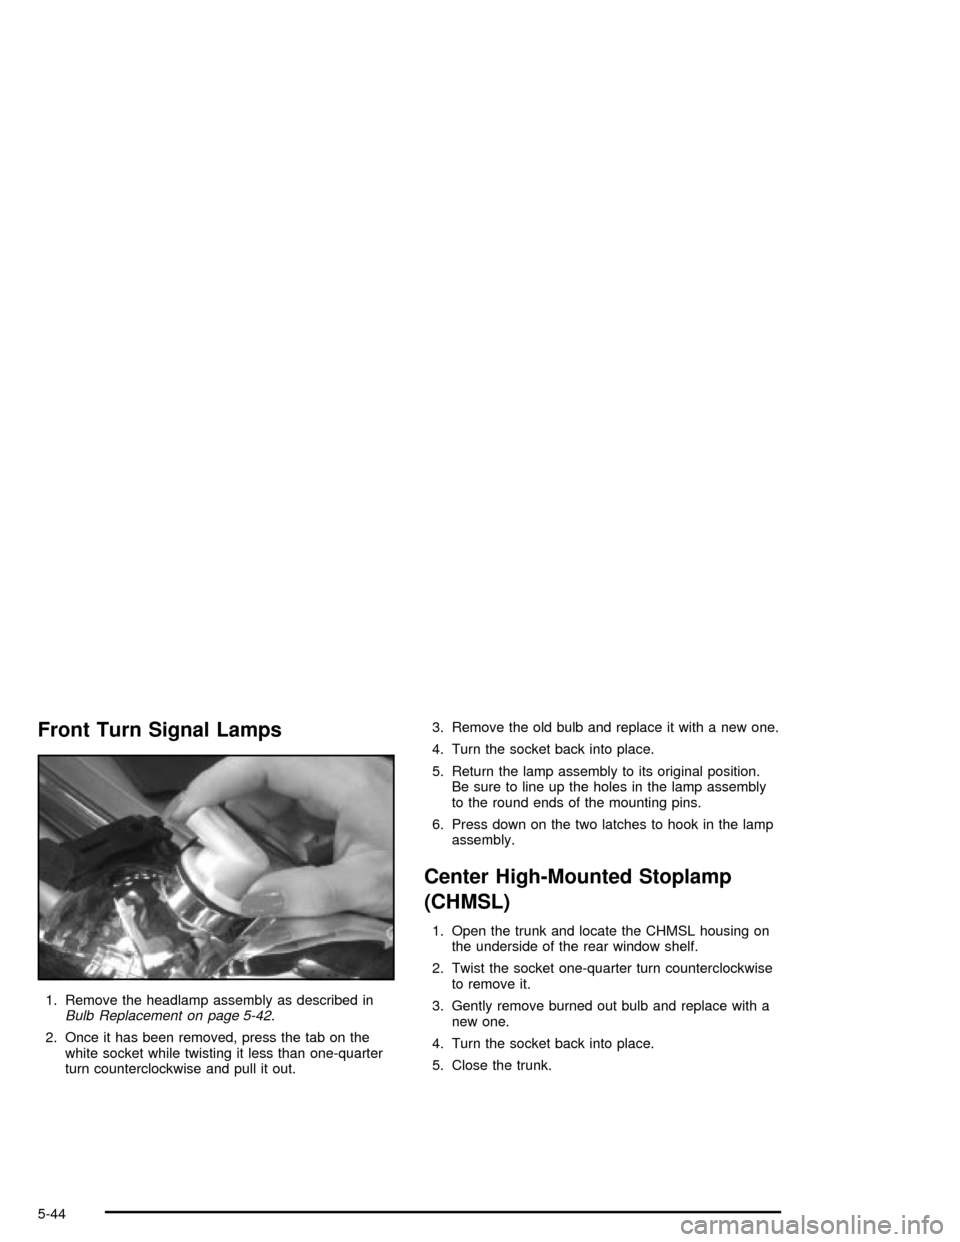
1. Remove the headlamp assembly as described inBulb Replacement on page 5-42.
2. Once it has been removed, press the tab on the
white socket while twisting it less than one-quarter
turn counterclockwise and pull it out.3. Remove the old bulb and replace it with a new one.
4. Turn the socket back into place.
5. Return the lamp assembly to its original position.
Be sure to line up the holes in the lamp assembly
to the round ends of the mounting pins.
6. Press down on the two latches to hook in the lamp
assembly.
Center High-Mounted Stoplamp
(CHMSL)
1. Open the trunk and locate the CHMSL housing on
the underside of the rear window shelf.
2. Twist the socket one-quarter turn counterclockwise
to remove it.
3. Gently remove burned out bulb and replace with a
new one.
4. Turn the socket back into place.
5. Close the trunk.
5-44