2003 CHEVROLET MALIBU Rear brake
[x] Cancel search: Rear brakePage 63 of 326

Keys...............................................................2-2
Remote Keyless Entry System.........................2-3
Remote Keyless Entry System Operation...........2-4
Doors and Locks.............................................2-7
Door Locks....................................................2-7
Power Door Locks..........................................2-8
Door Ajar Reminder........................................2-8
Delayed Locking.............................................2-8
Programmable Automatic Door Locks................2-9
Rear Door Security Locks..............................2-10
Lockout Protection........................................2-11
Leaving Your Vehicle....................................2-11
Trunk..........................................................2-11
Windows........................................................2-14
Manual Windows..........................................2-14
Power Windows............................................2-15
Sun Visors...................................................2-15
Theft-Deterrent Systems..................................2-15
Passlock
ž....................................................2-16
Starting and Operating Your Vehicle................2-16
New Vehicle Break-In....................................2-16Ignition Positions..........................................2-17
Starting Your Engine.....................................2-18
Engine Coolant Heater..................................2-19
Automatic Transaxle Operation.......................2-20
Parking Brake..............................................2-23
Shifting Into Park (P).....................................2-23
Shifting Out of Park (P).................................2-25
Parking Over Things That Burn.......................2-26
Engine Exhaust............................................2-26
Running Your Engine While You Are Parked.......2-27
Mirrors...........................................................2-28
Manual Rearview Mirror.................................2-28
Outside Remote Control Mirrors......................2-28
Outside Power Mirrors...................................2-29
Outside Convex Mirror...................................2-29
Storage Areas................................................2-30
Glove Box...................................................2-30
Cupholder(s)................................................2-30
Center Console Storage Area.........................2-30
Garment Hooks............................................2-30
Sunroof.........................................................2-31
Section 2 Features and Controls
2-1
Page 85 of 326

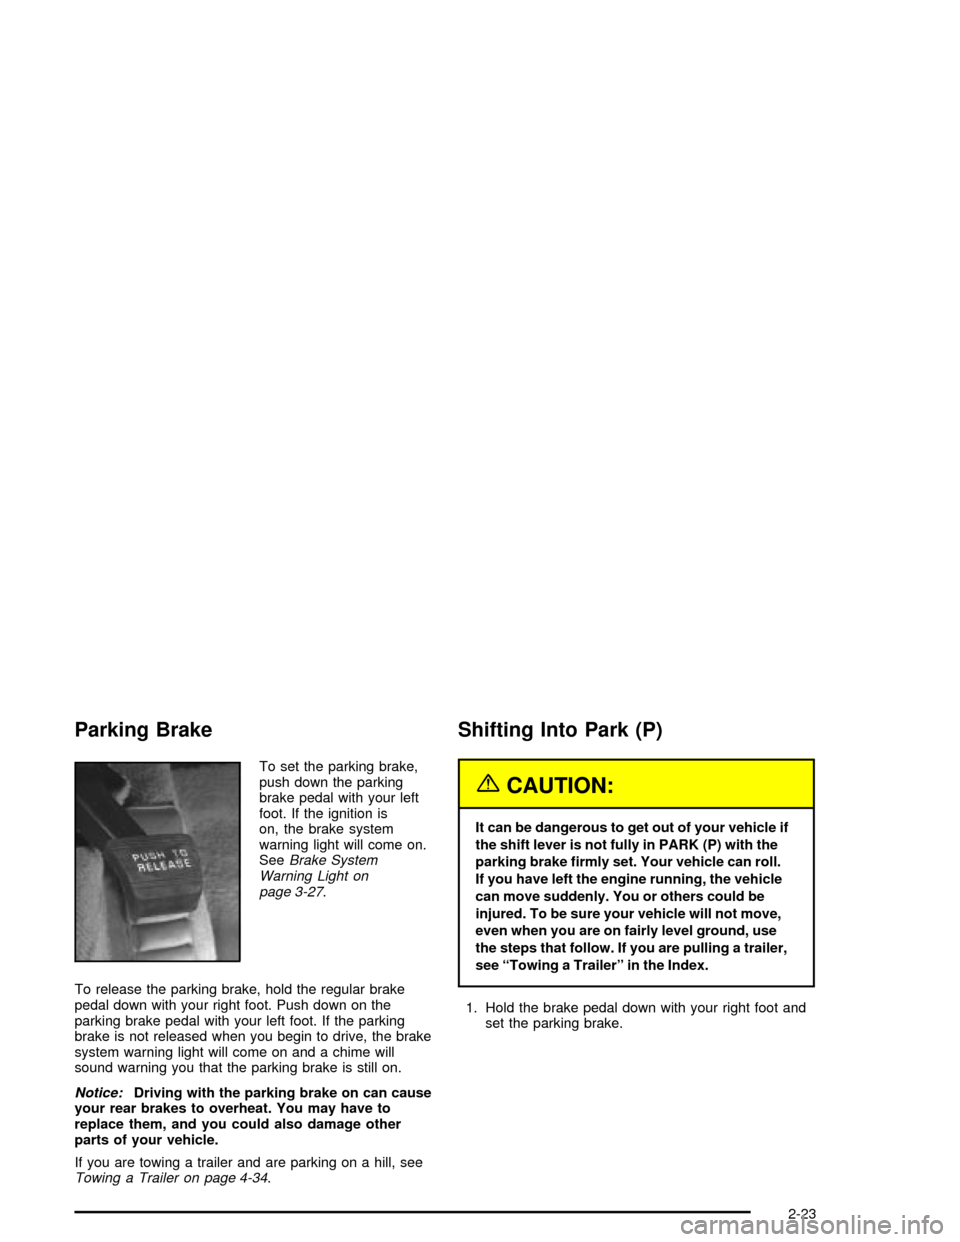
Parking Brake
To set the parking brake,
push down the parking
brake pedal with your left
foot. If the ignition is
on, the brake system
warning light will come on.
See
Brake System
Warning Light on
page 3-27
.
To release the parking brake, hold the regular brake
pedal down with your right foot. Push down on the
parking brake pedal with your left foot. If the parking
brake is not released when you begin to drive, the brake
system warning light will come on and a chime will
sound warning you that the parking brake is still on.
Notice:Driving with the parking brake on can cause
your rear brakes to overheat. You may have to
replace them, and you could also damage other
parts of your vehicle.
If you are towing a trailer and are parking on a hill, see
Towing a Trailer on page 4-34.
Shifting Into Park (P)
{CAUTION:
It can be dangerous to get out of your vehicle if
the shift lever is not fully in PARK (P) with the
parking brake ®rmly set. Your vehicle can roll.
If you have left the engine running, the vehicle
can move suddenly. You or others could be
injured. To be sure your vehicle will not move,
even when you are on fairly level ground, use
the steps that follow. If you are pulling a trailer,
see ªTowing a Trailerº in the Index.
1. Hold the brake pedal down with your right foot and
set the parking brake.
2-23
Page 156 of 326

Your Driving, the Road, and
Your Vehicle
Defensive Driving
The best advice anyone can give about driving is: Drive
defensively.
Please start with a very important safety device in your
vehicle: Buckle up. See
Safety Belts: They Are for
Everyone on page 1-6.
Defensive driving really means ªbe ready for anything.º
On city streets, rural roads or freeways, it means
ªalways expect the unexpected.º
Assume that pedestrians or other drivers are going to
be careless and make mistakes. Anticipate what
they might do. Be ready for their mistakes.
Rear-end collisions are about the most preventable of
accidents. Yet they are common. Allow enough following
distance. It's the best defensive driving maneuver, in
both city and rural driving. You never know when
the vehicle in front of you is going to brake or turn
suddenly.
Defensive driving requires that a driver concentrate on
the driving task. Anything that distracts from the
driving task Ð such as concentrating on a cellular
telephone call, reading, or reaching for something onthe ¯oor Ð makes proper defensive driving more
difficult and can even cause a collision, with resulting
injury. Ask a passenger to help do things like this, or pull
off the road in a safe place to do them yourself. These
simple defensive driving techniques could save
your life.
Drunken Driving
Death and injury associated with drinking and driving is
a national tragedy. It's the number one contributor to
the highway death toll, claiming thousands of victims
every year.
Alcohol affects four things that anyone needs to drive a
vehicle:
·Judgment
·Muscular Coordination
·Vision
·Attentiveness.
Police records show that almost half of all motor
vehicle-related deaths involve alcohol. In most cases,
these deaths are the result of someone who was
drinking and driving. In recent years, more than
16,000 annual motor vehicle-related deaths have been
associated with the use of alcohol, with more than
300,000 people injured.
4-2
Page 175 of 326

Highway Hypnosis
Is there actually such a condition as ªhighway
hypnosisº? Or is it just plain falling asleep at the wheel?
Call it highway hypnosis, lack of awareness, or
whatever.
There is something about an easy stretch of road with
the same scenery, along with the hum of the tires on the
road, the drone of the engine, and the rush of the
wind against the vehicle that can make you sleepy. Don't
let it happen to you! If it does, your vehicle can leave
the road in
less than a second,and you could crash and
be injured.
What can you do about highway hypnosis? First, be
aware that it can happen.
Then here are some tips:
·Make sure your vehicle is well ventilated, with a
comfortably cool interior.
·Keep your eyes moving. Scan the road ahead and
to the sides. Check your rearview mirrors and your
instruments frequently.
·If you get sleepy, pull off the road into a rest,
service or parking area and take a nap, get some
exercise, or both. For safety, treat drowsiness
on the highway as an emergency.
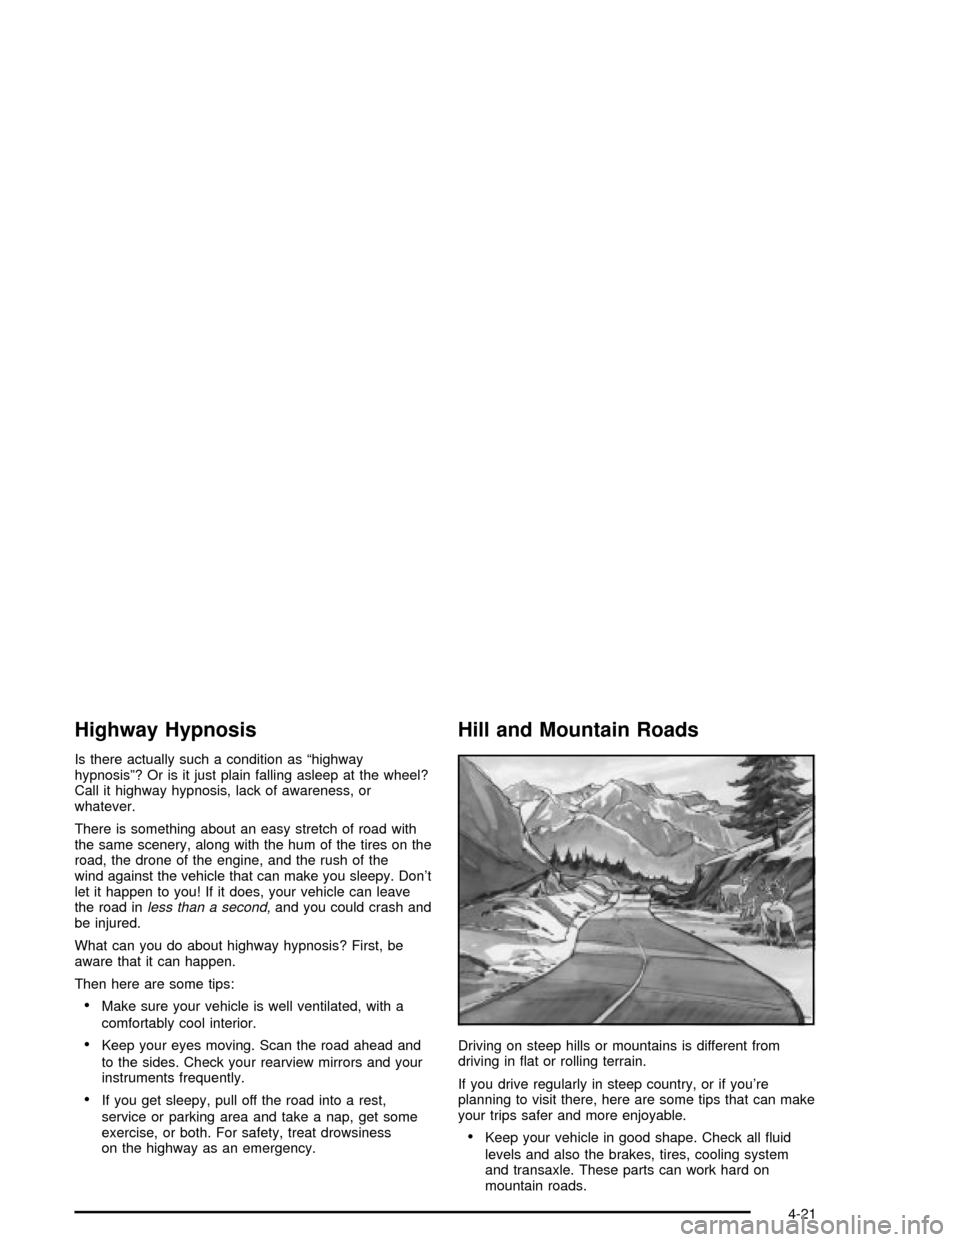
Hill and Mountain Roads
Driving on steep hills or mountains is different from
driving in ¯at or rolling terrain.
If you drive regularly in steep country, or if you're
planning to visit there, here are some tips that can make
your trips safer and more enjoyable.
·Keep your vehicle in good shape. Check all ¯uid
levels and also the brakes, tires, cooling system
and transaxle. These parts can work hard on
mountain roads.
4-21
Page 184 of 326

4. To prevent your battery from draining while the
vehicle is being towed, remove the following
fuses from the driver's side instrument panel fuse
block: A) Wiper, G) Powertrain Control Module
and J) Body Function Control Module. See
ªInstrument Panel Fuse Block (Driver's Side)º in
Fuses and Circuit Breakers on page 5-77for
location of these fuses.
5. Turn the ignition switch to ACCESSORY.
6. Shift your transaxle to NEUTRAL (N).
7. Release the parking brake.
Remember to install the fuses once you reach your
destination. To reinstall a fuse:
1. Set the parking brake.
2. Remove the key from the ignition switch.
3. Reinstall the fuse.
Notice:Make sure that the towing speed does not
exceed 65 mph (110 km/h), or your vehicle could
be badly damaged.
Notice:Do not tow your vehicle from the rear.
Your vehicle could be badly damaged and the
repairs would not be covered by your warranty.
Dolly Towing
To tow your vehicle with a dolly and two wheels on the
ground, follow these steps:
4-30
Page 191 of 326

Hitches
It's important to have the correct hitch equipment.
Crosswinds, large trucks going by and rough roads are
a few reasons why you'll need the right hitch. Here
are some rules to follow:
·The rear bumper on your vehicle is not intended for
hitches. Do not attach rental hitches or other
bumper-type hitches to it. Use only a
frame-mounted hitch that does not attach to the
bumper.
·Will you have to make any holes in the body of
your vehicle when you install a trailer hitch? If
you do, then be sure to seal the holes later when
you remove the hitch. If you don't seal them, deadly
carbon monoxide (CO) from your exhaust can get
into your vehicle. See
Engine Exhaust on
page 2-26. Dirt and water can, too.
Safety Chains
You should always attach chains between your vehicle
and your trailer. Cross the safety chains under the
tongue of the trailer so that the tongue will not drop to
the road if it becomes separated from the hitch.
Instructions about safety chains may be provided by thehitch manufacturer or by the trailer manufacturer.
Follow the manufacturer's recommendation for attaching
safety chains and do not attach them to the bumper.
Always leave just enough slack so you can turn
with your rig. And, never allow safety chains to drag on
the ground.
Trailer Brakes
Does your trailer have its own brakes?
Be sure to read and follow the instructions for the trailer
brakes so you'll be able to install, adjust and maintain
them properly. And because you may have anti-lock
brakes, do not try to tap into your vehicle's brake
system. If you do, both systems won't work well,
or at all.
Driving with a Trailer
Towing a trailer requires a certain amount of experience.
Before setting out for the open road, you'll want to get
to know your rig. Acquaint yourself with the feel of
handling and braking with the added weight of the trailer.
And always keep in mind that the vehicle you are
driving is now a good deal longer and not nearly as
responsive as your vehicle is by itself.
4-37
Page 228 of 326

{CAUTION:
With the wrong kind of ¯uid in your brake
system, your brakes may not work well, or they
may not even work at all. This could cause a
crash. Always use the proper brake ¯uid.
Notice:
·Using the wrong ¯uid can badly damage brake
system parts. For example, just a few drops of
mineral-based oil, such as engine oil, in your
brake system can damage brake system
parts so badly that they'll have to be replaced.
Don't let someone put in the wrong kind of ¯uid.
·If you spill brake ¯uid on your vehicle's painted
surfaces, the paint ®nish can be damaged. Be
careful not to spill brake ¯uid on your vehicle.
If you do, wash it off immediately. See
ªAppearance Careº in the Index.
Brake Wear
Your vehicle has front disc brakes and rear drum
brakes.
Disc brake pads have built-in wear indicators that make
a high-pitched warning sound when the brake pads
are worn and new pads are needed. The sound
may come and go or be heard all the time your vehicle
is moving (except when you are pushing on the
brake pedal ®rmly).
{CAUTION:
The brake wear warning sound means that
soon your brakes won't work well. That could
lead to an accident. When you hear the brake
wear warning sound, have your vehicle
serviced.
Notice:Continuing to drive with worn-out brake
pads could result in costly brake repair.
Some driving conditions or climates may cause a brake
squeal when the brakes are ®rst applied or lightly
applied. This does not mean something is wrong with
your brakes.
5-34
Page 229 of 326

Properly torqued wheel nuts are necessary to help
prevent brake pulsation. When tires are rotated, inspect
brake pads for wear and evenly tighten wheel nuts in
the proper sequence to GM torque speci®cations.
Your rear drum brakes don't have wear indicators, but if
you ever hear a rear brake rubbing noise, have the
rear brake linings inspected immediately. Also, the rear
brake drums should be removed and inspected each
time the tires are removed for rotation or changing.
When you have the front brake pads replaced, have the
rear brakes inspected, too.
Brake linings should always be replaced as complete
axle sets.
See
Brake System Inspection on page 6-20.
Brake Pedal Travel
See your dealer if the brake pedal does not return to
normal height, or if there is a rapid increase in
pedal travel. This could be a sign of brake trouble.
Brake Adjustment
Every time you make a moderate brake stop, your disc
brakes adjust for wear. If you rarely make a moderate or
heavier stop, then your brakes might not adjust correctly.
If you drive in that way, then Ð very carefully Ð make a
few moderate brake stops about every 1,000 miles
(1 600 km), so your brakes will adjust properly.If your brake pedal goes down farther than normal, your
rear drum brakes may need adjustment. Adjust them
by pumping the brake pedal repeatedly while the engine
is running with the shift lever in PARK (P).
Replacing Brake System Parts
The braking system on a vehicle is complex. Its many
parts have to be of top quality and work well together if
the vehicle is to have really good braking. Your
vehicle was designed and tested with top-quality GM
brake parts. When you replace parts of your braking
system Ð for example, when your brake linings
wear down and you need new ones put in Ð be sure
you get new approved replacement parts. If you
don't, your brakes may no longer work properly. For
example, if someone puts in brake linings that are wrong
for your vehicle, the balance between your front and
rear brakes can change Ð for the worse. The braking
performance you've come to expect can change in
many other ways if someone puts in the wrong
replacement brake parts.
5-35