2003 CHEVROLET MALIBU remote control
[x] Cancel search: remote controlPage 63 of 326

Keys...............................................................2-2
Remote Keyless Entry System.........................2-3
Remote Keyless Entry System Operation...........2-4
Doors and Locks.............................................2-7
Door Locks....................................................2-7
Power Door Locks..........................................2-8
Door Ajar Reminder........................................2-8
Delayed Locking.............................................2-8
Programmable Automatic Door Locks................2-9
Rear Door Security Locks..............................2-10
Lockout Protection........................................2-11
Leaving Your Vehicle....................................2-11
Trunk..........................................................2-11
Windows........................................................2-14
Manual Windows..........................................2-14
Power Windows............................................2-15
Sun Visors...................................................2-15
Theft-Deterrent Systems..................................2-15
Passlock
ž....................................................2-16
Starting and Operating Your Vehicle................2-16
New Vehicle Break-In....................................2-16Ignition Positions..........................................2-17
Starting Your Engine.....................................2-18
Engine Coolant Heater..................................2-19
Automatic Transaxle Operation.......................2-20
Parking Brake..............................................2-23
Shifting Into Park (P).....................................2-23
Shifting Out of Park (P).................................2-25
Parking Over Things That Burn.......................2-26
Engine Exhaust............................................2-26
Running Your Engine While You Are Parked.......2-27
Mirrors...........................................................2-28
Manual Rearview Mirror.................................2-28
Outside Remote Control Mirrors......................2-28
Outside Power Mirrors...................................2-29
Outside Convex Mirror...................................2-29
Storage Areas................................................2-30
Glove Box...................................................2-30
Cupholder(s)................................................2-30
Center Console Storage Area.........................2-30
Garment Hooks............................................2-30
Sunroof.........................................................2-31
Section 2 Features and Controls
2-1
Page 73 of 326

Lockout Protection
Lockout protection is intended to provide enhanced
security and convenience. This feature prevents a driver
who has left the key in the ignition from locking the
doors, using the power door locks while any door
is open.
To override this feature, when the key is in the ignition
and any door is open, press and hold down the
power door lock switch for three seconds.
This feature cannot guarantee that you will never be
locked out of your vehicle. If you don't leave the key in
the ignition, or if you use the manual door lock or
the remote keyless entry transmitter, you could still lock
your key inside your vehicle. Always remember to
take your key with you.
Leaving Your Vehicle
If you are leaving your vehicle, open your door and set
the locks from the inside, then get out and close the door.
Trunk
To unlock the trunk from the outside, insert the key and
turn the trunk lock cylinder. When closing the trunk
lid, close from the center to ensure it fully latches.
{CAUTION:
It can be dangerous to drive with the trunk lid
open because carbon monoxide (CO) gas can
come into your vehicle. You can't see or smell
CO. It can cause unconsciousness and even
death. If you must drive with the trunk lid open
or if electrical wiring or other cable
connections must pass through the seal
between the body and the trunk lid:
·Make sure all other windows are shut.
·Turn the fan on your heating or cooling
system to its highest speed and select the
control setting that will force outside air
into your vehicle. See ªClimate Control
Systemº in the Index.
·If you have air outlets on or under the
instrument panel, open them all the way.
See ªEngine Exhaustº in the Index.
2-11
Page 90 of 326

Mirrors
Manual Rearview Mirror
This mirror can be adjusted two ways. First, to adjust
the angle of the mirror, move the mirror to a position that
allows you see to out of the back window. To adjust
the height of the mirror, adjust the arm that connects the
mirror to the windshield.
To reduce glare from lights behind you, move the lever
toward you to the night position.
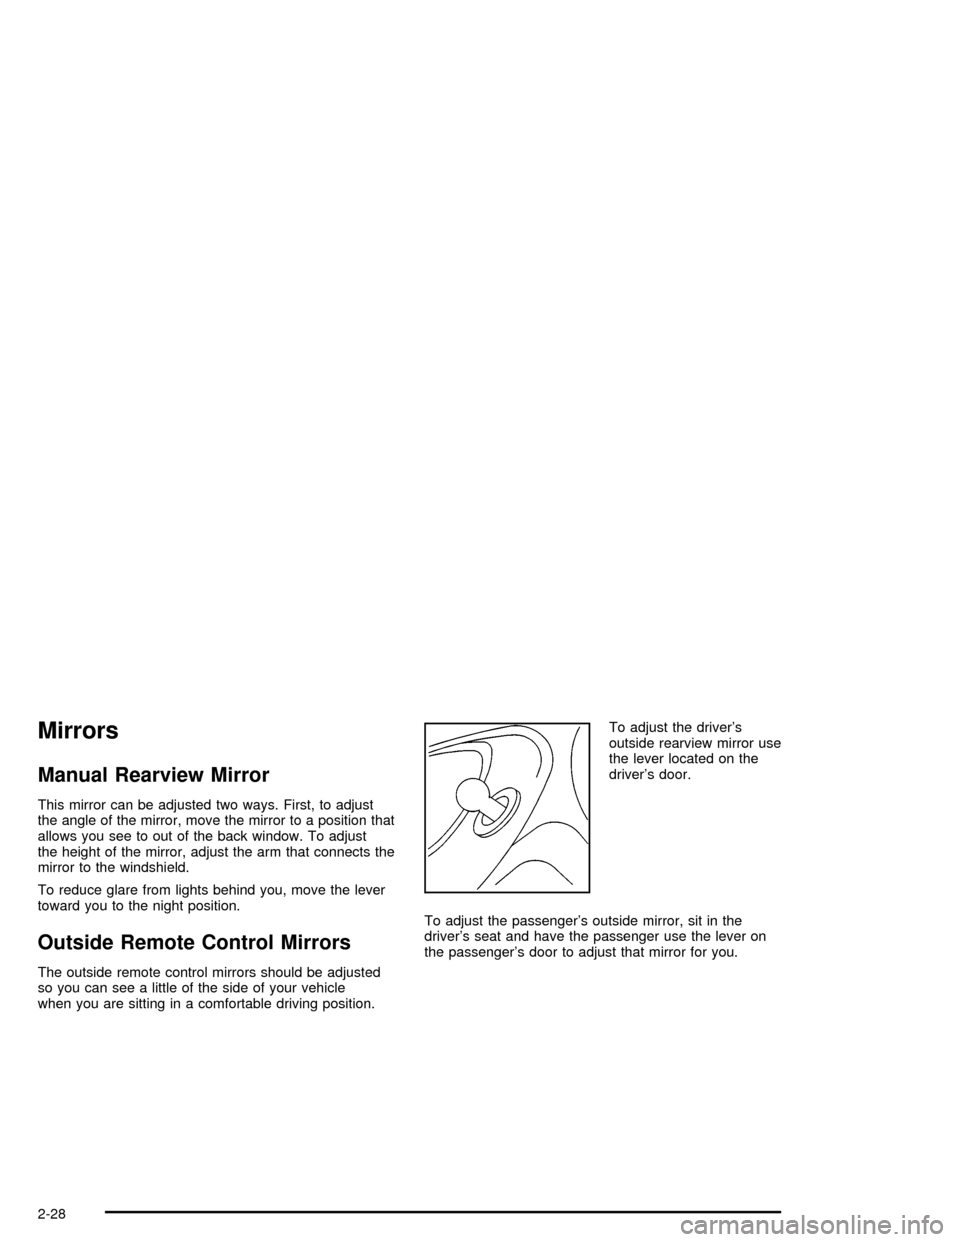
Outside Remote Control Mirrors
The outside remote control mirrors should be adjusted
so you can see a little of the side of your vehicle
when you are sitting in a comfortable driving position.To adjust the driver's
outside rearview mirror use
the lever located on the
driver's door.
To adjust the passenger's outside mirror, sit in the
driver's seat and have the passenger use the lever on
the passenger's door to adjust that mirror for you.
2-28
Page 97 of 326

The main components of your instrument panel are the
following:
A. Side Window Defogger Vents. See ªDefogging and
Defrostingº in
Climate Control System on
page 3-17.
B. Vent Outlets. See
Outlet Adjustment on page 3-21.
C. Instrument Panel Brightness Thumbwheel. See
Interior Lamps on page 3-15.
D. Fog Lamp Button (If Equipped). See ªFog Lampsº in
Exterior Lamps on page 3-12.
E. Turn Signal/Multifunction Lever. See
Turn
Signal/Multifunction Lever on page 3-5.
F. Cruise Control Buttons (If Equipped). See ªCruise
Controlº in
Turn Signal/Multifunction Lever on
page 3-5.
G. Instrument Panel Cluster. See
Instrument Panel
Cluster on page 3-23.
H. Windshield Wiper/Washer Lever. See ªWindshield
Wipersº in
Turn Signal/Multifunction Lever on
page 3-5.
I. Ignition Switch. See
Ignition Positions on
page 2-17.J. Hazard Warning Flashers Button. See
Hazard
Warning Flashers on page 3-4.
K. Instrument Panel Fuse Blocks. See
Fuses and
Circuit Breakers on page 5-77.
L. Instrument Panel Cupholder. See
Cupholder(s) on
page 2-30.
M. Remote Trunk Release Button. See ªRemote Trunk
Releaseº in
Trunk on page 2-11.
N. Hood Release. See
Hood Release on page 5-10.
O. Tilt Wheel Lever. See
Tilt Wheel on page 3-5.
P. Parking Brake. See
Parking Brake on page 2-23.
Q. Horn. See
Horn on page 3-5.
R. Audio System. See
Audio System(s) on page 3-36.
S. Cigarette Lighter. See
Ashtrays and Cigarette
Lighter on page 3-17.
T. Ashtray. See
Ashtrays and Cigarette Lighter on
page 3-17.
U. Accessory Power Outlet. See
Accessory Power
Outlets on page 3-16.
V. Climate Control System. See
Climate Control
System on page 3-17.
3-3
Page 110 of 326

Battery Run-Down Protection
Your vehicle has a battery run-down protection feature
designed to protect your vehicle's battery.
When any interior lamp (trunk, reading, footwell, visor
vanity or glove box) is left on when the ignition is turned
off, the battery run-down protection system will
automatically shut the lamp(s) off after 20 minutes. This
will avoid draining the battery.
To reactivate the interior lamps, do one of the following:
·Turn on the ignition,
·turn the exterior lamp control off and then on,
·open a door,
·press any remote keyless entry transmitter button
(if equipped),
·press the remote trunk release button, or
·press the power door lock switch.
The battery run-down feature will also be activated
when any door on the vehicle is left open and the
ignition is in OFF.
Accessory Power Outlets
With accessory power outlets you can plug in
auxiliary electrical equipment such as a cellular
telephone or CB radio.The accessory power outlet is located to the right of
the ashtray.
Notice:When using accessory power outlets the
maximum load should not exceed 15 amps. Be sure
to turn off any electrical equipment when not in
use. Leaving electrical equipment on for extended
periods can drain the battery.
Certain electrical accessories may not be compatible
with the accessory power outlet and could result
in blown vehicle or adapter fuses. If you experience a
problem see your dealer for additional information
on accessory power outlets.
Notice:Adding some electrical equipment to your
vehicle can damage it or keep other things from
working as they should. This wouldn't be covered by
your warranty. Check with your dealer before
adding electrical equipment, and never use anything
that exceeds the amperage rating.
When adding electrical equipment, be sure to follow
the proper installation instructions included with
the equipment.
Notice:Power outlets are designed for accessory
plugs only. Do not hang any type of accessory
or accessory bracket from the plug. Improper use of
the power outlet can cause damage not covered
by your warranty.
3-16
Page 272 of 326

Instrument Panel Fuse Block
(Driver's Side)
Fuses Usage
A Wipers
BTrunk Release and Remote Keyless
Entry
C Turn Signals
D Power MirrorsFuses Usage
E Air Bag
F Body Function Control Module
G Powertrain Control Module (PCM)
H Door Locks
JBody Function Control
Module/Instrument Panel Cluster
MICRO RELAY
TRUNK RELRemote Trunk Release
CIRCUIT
BRKR
PWR SEATSPower Seats
MICRO RELAY
DR UNLOCKDoor Locks
MICRO RELAY
DR LOCKDoor Locks
MICRO RELAY
DRIVERS
DR UNLOCKDoor Locks
STOP LPS Stoplamps
HAZARD LPS Hazard Lamps
IPC/HVAC
BATTInstrument Panel Cluster,
Climate Control
5-78
Page 274 of 326

Engine Compartment Fuse Block
The engine compartment fuse block is located on the
driver's side of the vehicle, near the engine air
cleaner/®lter. See
Engine Compartment Overview on
page 5-12for more information on location.
Fuses Usage
1 Ignition Switch
2Right Electrical Center-Fog Lamps,
Radio, Body Function Control
Module, Interior LampsFuses Usage
3Left Electrical Center-Stoplamps,
Hazard Lamps, Body Function
Control Module, Cluster, Climate
Control System
4 Anti-Lock Brakes
5 Ignition Switch
6 Not Used
7Left Electrical Center-Power Seats,
Power Mirrors, Door Locks, Trunk
Release and Remote Lock Control
8 Cooling Fan #1
Relays Usage
9 Rear Defogger
10 Not Used
11 Not Used
12 Cooling Fan #1
13 HVAC Blower (Climate Control)
14 Cooling Fan #2
15 Cooling Fan
16 Air Conditioning Compressor
17 Not Used
18 Fuel Pump
19 Automatic Headlamp System
5-80
Page 321 of 326

Maintenance When Trailer Towing.....................4-40
Making Turns.................................................4-38
Malfunction Indicator Light................................3-30
Manual Seats................................................... 1-2
Manual Windows............................................2-14
Matching Transmitter(s) to Your Vehicle............... 2-5
Mexico, Central America and Caribbean
Islands/Countries (Except Puerto Rico and
U.S. Virgin Islands) ± Customer Assistance....... 7-4
Mirrors..........................................................2-28
Manual Rearview Mirror................................2-28
Outside Convex Mirror.................................2-29
Outside Power Mirrors..................................2-29
Outside Remote Control Mirrors.....................2-28
MyGMLink.com................................................ 7-3
N
New Vehicle Break-In......................................2-16
Normal Maintenance Replacement Parts............5-83
O
Odometer......................................................3-24
Off-Road Recovery..........................................4-11
Oil ................................................................3-33
Check Oil Level Light...................................3-33
Engine.......................................................5-13
Pressure Light.............................................3-32Oil (cont.)
Older Children, Restraints................................1-28
Online Owner Center........................................ 7-3
Operation Tips................................................3-21
Operation......................................................3-17
Other Warning Devices...................................... 3-4
Outlet Adjustment............................................3-21
Outside.........................................................2-29
Convex Mirror.............................................2-29
Power Mirrors.............................................2-29
Remote Controls Mirrors...............................2-28
Overseas ± Customer Assistance........................ 7-4
Owners, Canadian............................................... ii
Owner's Information........................................7-10
P
Park (P)........................................................2-25
Shifting Into................................................2-23
Shifting Out of............................................2-25
Parking Brake and Automatic Transaxle
Park (P) Mechanism Check...........................6-18
Parking on Hills..............................................4-39
Parking.........................................................2-23
Brake........................................................2-23
Over Things That Burn.................................2-26
Part A - Scheduled Maintenance Services............. 6-4
Part B - Owner Checks and Services.................6-15
Part C - Periodic MaintenanceInspections...........6-19
9