Page 115 of 386
2. Turn the mirror head
so that it swings further
outboard and adjust
the mirror surface
as needed.Outside Power Mirrors
If you have power mirrors, they can be adjusted from
inside the vehicle.
Select the mirror you want
to move by turning the
knob clockwise to adjust
the passenger's side mirror
and counterclockwise to
adjust the driver's side
mirror. The center position
is neutral.
Then, adjust the mirror angle by pushing the knob in the
direction desired until the mirror is adjusted to where
you want it.
2-33
Page 117 of 386

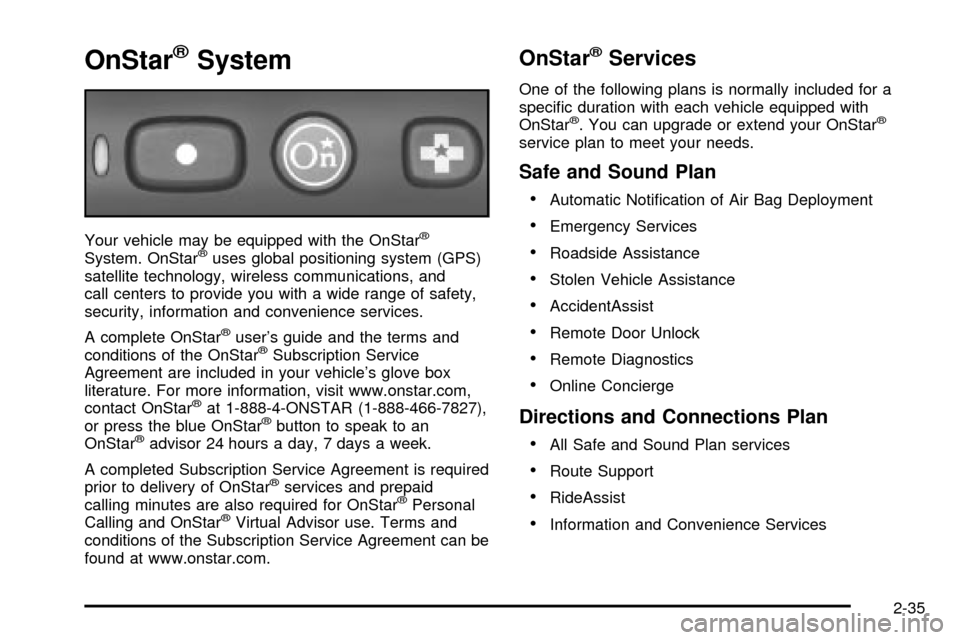
OnStaržSystem
Your vehicle may be equipped with the OnStarž
System. OnStaržuses global positioning system (GPS)
satellite technology, wireless communications, and
call centers to provide you with a wide range of safety,
security, information and convenience services.
A complete OnStar
žuser's guide and the terms and
conditions of the OnStaržSubscription Service
Agreement are included in your vehicle's glove box
literature. For more information, visit www.onstar.com,
contact OnStar
žat 1-888-4-ONSTAR (1-888-466-7827),
or press the blue OnStaržbutton to speak to an
OnStaržadvisor 24 hours a day, 7 days a week.
A completed Subscription Service Agreement is required
prior to delivery of OnStar
žservices and prepaid
calling minutes are also required for OnStaržPersonal
Calling and OnStaržVirtual Advisor use. Terms and
conditions of the Subscription Service Agreement can be
found at www.onstar.com.
OnStaržServices
One of the following plans is normally included for a
speci®c duration with each vehicle equipped with
OnStar
ž. You can upgrade or extend your OnStarž
service plan to meet your needs.
Safe and Sound Plan
·
Automatic Noti®cation of Air Bag Deployment
·Emergency Services
·Roadside Assistance
·Stolen Vehicle Assistance
·AccidentAssist
·Remote Door Unlock
·Remote Diagnostics
·Online Concierge
Directions and Connections Plan
·
All Safe and Sound Plan services
·Route Support
·RideAssist
·Information and Convenience Services
2-35
Page 119 of 386

Instrument Panel Overview...............................3-4
Hazard Warning Flashers................................3-5
Other Warning Devices...................................3-6
Horn.............................................................3-6
Tilt Wheel.....................................................3-7
Turn Signal/Multifunction Lever.........................3-7
Exterior Lamps.............................................3-13
Interior Lamps..............................................3-16
Accessory Power Outlets...............................3-18
Ashtrays and Cigarette Lighter........................3-18
Climate Controls............................................3-19
Climate Control System.................................3-19
Rear Heating System....................................3-20
Rear Air Conditioning and Heating System.......3-21Warning Lights, Gages and Indicators.............3-23
Instrument Panel Cluster................................3-24
Speedometer...............................................3-25
Safety Belt Reminder Light.............................3-26
Air Bag Readiness Light................................3-27
Air Bag Off Light..........................................3-28
Charging System Light..................................3-29
Voltmeter Gage............................................3-30
Brake System Warning Light..........................3-31
Anti-Lock Brake System
Warning Light...........................................3-32
Engine Coolant Temperature Gage..................3-32
Low Coolant Warning Light............................3-33
Malfunction Indicator Lamp.............................3-33
Section 3 Instrument Panel
3-1
Page 125 of 386
Tilt Wheel
A tilt steering wheel allows you to adjust the steering
wheel before you drive. You can also raise it to the
highest level to give your legs more room when
you enter and exit the vehicle.
The lever is located on the lower left side of the steering
column.
To tilt the wheel, hold the steering wheel and pull the
lever. Move the steering wheel to a comfortable
level, then release the lever to lock the wheel in place.
Turn Signal/Multifunction Lever
The lever on the left side of the steering column
includes the following:
·Turn and Lane Change Signals
·Headlamp High/Low Beam Changer
·Flash-to-Pass Feature
·Windshield Wipers
·Windshield Washer
·Cruise Control
For information on the exterior lamps, see
Exterior
Lamps on page 3-13later in this section.
3-7
Page 128 of 386

Windshield Washer
L
(Washer Fluid):There is a paddle marked with the
windshield washer symbol at the top of the multifunction
lever. To spray washer ¯uid on the windshield, push
the paddle. The wipers will clear the window and then
either stop or return to your preset speed.
{CAUTION:
In freezing weather, don't use your washer
until the windshield is warmed. Otherwise the
washer ¯uid can form ice on the windshield,
blocking your vision.
Cruise Control
If your vehicle has cruise control, you can maintain a
speed of about 25 mph (40 km/h) or more without
keeping your foot on the accelerator. This can really
help on long trips. Cruise control does not work at
speeds below about 25 mph (40 km/h).
If you apply your brakes, the cruise control will
disengage.
{CAUTION:
·Cruise control can be dangerous where
you can't drive safely at a steady speed.
So, don't use your cruise control on
winding roads or in heavy traffic.
·Cruise control can be dangerous on
slippery roads. On such roads, fast
changes in tire traction can cause
needless wheel spinning, and you could
lose control. Don't use cruise control on
slippery roads.
3-10
Page 131 of 386

Using Cruise Control on Hills
How well your cruise control will work on hills depends
upon your speed, load and the steepness of the
hills. When going up steep hills, you may want to step
on the accelerator pedal to maintain your speed.
When going downhill, you may have to brake or shift to
a lower gear to keep your speed down. Of course,
applying the brake takes you out of cruise control. Many
drivers ®nd this to be too much trouble and don't use
cruise control on steep hills.
Ending Cruise Control
There are two ways to turn off the cruise control:
·Step lightly on the brake pedal,
·or move the cruise control switch to off.
Erasing Speed Memory
When you turn off the cruise control or the ignition, your
cruise control set speed memory is erased.
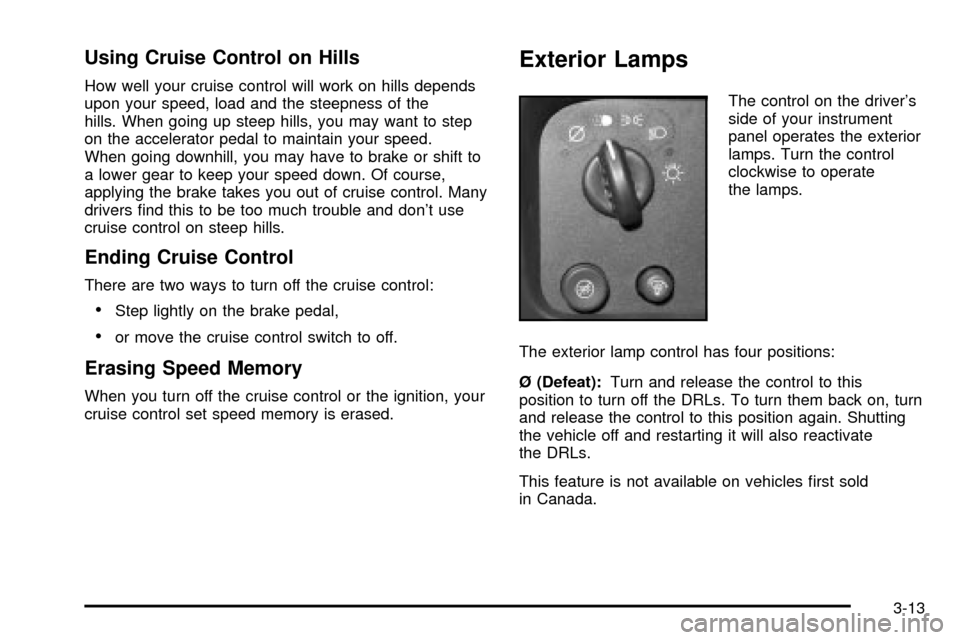
Exterior Lamps
The control on the driver's
side of your instrument
panel operates the exterior
lamps. Turn the control
clockwise to operate
the lamps.
The exterior lamp control has four positions:
é (Defeat):Turn and release the control to this
position to turn off the DRLs. To turn them back on, turn
and release the control to this position again. Shutting
the vehicle off and restarting it will also reactivate
the DRLs.
This feature is not available on vehicles ®rst sold
in Canada.
3-13
Page 133 of 386

Daytime Running Lamps
Daytime Running Lamps (DRL) can make it easier for
others to see the front of your vehicle during the
day. DRL can be helpful in many different driving
conditions, but they can be especially helpful in the short
periods after dawn and before sunset. Fully functional
daytime running lamps are required on all vehicles
®rst sold in Canada.
The DRL system will come on when the following
conditions are met:
·the ignition is on,
·the exterior lamps control in DRL mode and not in
the defeat position.
When the DRL are on, only your headlamps will be on.
The taillamps, sidemarker and other lamps won't be
on. The instrument panel will be lit.
When you turn the headlamp switch off, the headlamps
will go off, and your DRL lamps will illuminate.
Turn the exterior lamp control to the defeat position or
shift into PARK (P). The DRLs will stay off until the
control is toggled again or the vehicle is shifted out
of PARK (P).
This procedure applies only to vehicles ®rst sold in the
United States.
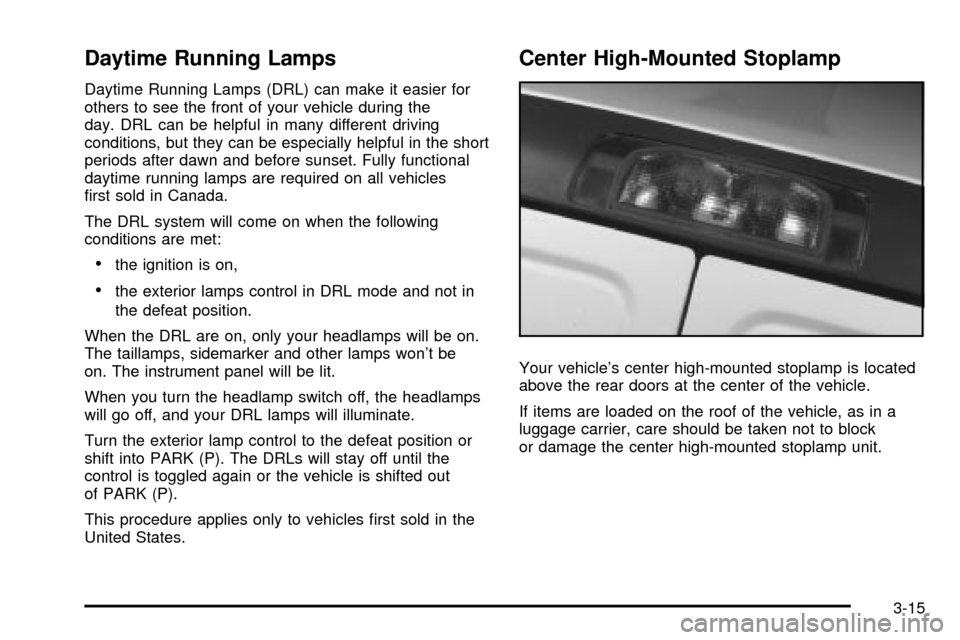
Center High-Mounted Stoplamp
Your vehicle's center high-mounted stoplamp is located
above the rear doors at the center of the vehicle.
If items are loaded on the roof of the vehicle, as in a
luggage carrier, care should be taken not to block
or damage the center high-mounted stoplamp unit.
3-15
Page 134 of 386
Interior Lamps
Instrument Panel Brightness Control
Press this knob located
next to the exterior lamps
knob to extend and
turn it to adjust the
instrument panel
brightness.
Turn the knob all the way up to turn on the interior
lamps. Press the knob back into its stored position.
Dome Lamp Override
You can use the dome
override button, located
below the exterior
lamp control, to set the
dome lamps to come
on automatically while a
door is opened, or to
remain off.
To turn the automatic operation of the lamps off, press
the button. The dome lamps will remain off while a
door is open. To return the lamps to automatic
operation, press the button again.
While pressed in, this will override the illuminated entry
feature unless you use your keyless entry transmitter
to unlock the vehicle.
3-16