2003 CHEVROLET CORVETTE key
[x] Cancel search: keyPage 163 of 368

If you choose LOCK & ARM ± OFF, you will receive no
security feedback when locking or unlocking your
vehicle.
If you choose LOCK & ARM ± HORN ONLY, only the
horn will chirp to let you know when your alarm system
has armed when locking your vehicle.
If you choose LOCK & ARM ± LIGHTS ONLY, only your
exterior lamps will ¯ash to let you know when your
alarm system has armed when locking your vehicle.
If you choose LOCK & ARM ± HORN & LIGHTS,
the horn will chirp and the exterior lamps will ¯ash brie¯y
to let you know the system has armed when locking
your vehicle.
Alarm
Press the OPTIONS button until ALARM appears on the
display, then use the RESET button to page through
the following selections:
·ALARM-HORN
·ALARM HORN & LIGHTS
If you choose ALARM-HORN, the horn will sound during
an alarm.
If you choose ALARM HORN & LIGHTS, the horn will
sound and the interior and exterior lamps will ¯ash
during an alarm.
Approach Lights
Press the OPTIONS button until APPROACH LIGHTS
appears on the display, then use the RESET button
to page through the following choices:
·APPROACH LIGHTS ON
·APPROACH LIGHTS OFF
If you choose APPROACH LIGHTS ON, the fog lamps,
front turn signal, rear back-up and courtesy lamps
will come on for 30 seconds when you press UNLOCK
on the remote keyless entry transmitter. This will
occur only when it is dark outside.
APPROACH LIGHTS OFF turns off this option.
See
Remote Keyless Entry System on page 2-4for
more information.
Auto Lock
Press the OPTIONS button until AUTO LOCK appears
on the display, then use the RESET button to page
through the following choices:
·AUTO LOCK ON
·AUTO LOCK OFF
If you choose AUTO LOCK ON, both doors will
automatically lock when the vehicle exceeds 10 mph
(16 km/h) in a manual transmission. In a vehicle with an
automatic transmission, both doors will automatically
lock when you move the shift lever out of PARK (P).
Choose AUTO LOCK OFF to turn this option off.
3-51
Page 164 of 368

Auto Unlock
The AUTO UNLOCK will be available only if AUTO
LOCK is set to ON as described previously.
Press the OPTIONS button until AUTO UNLOCK
appears on the display, then use the RESET button to
page through the following choices:
·AUTO UNLOCK DRIVER
·AUTO UNLOCK BOTH
·AUTO UNLOCK OFF
If you choose AUTO UNLOCK DRIVER, the driver's
door will automatically unlock when you turn the vehicle
off and pull the key out of the ignition.
Choose AUTO UNLOCK BOTH, and both doors will
automatically unlock when you turn the vehicle off and
pull the key out of the ignition.
AUTO UNLOCK OFF turns off this option.
Easy Entry
The easy entry feature will only be available if the
vehicle is equipped with the memory option.
Press the OPTIONS button until SEAT EASY ENTRY
appears on the display, then use the RESET button
to page through the following choices:
·SEAT EASY ENTRY ON
·SEAT EASY ENTRY OFFIf you choose SEAT EASY ENTRY ON, when you turn
the ignition off and remove the key, the seat will
automatically move back and the telescopic steering
wheel (if equipped) will return to its full-forward position
for an easy exit or an easy entrance when returning
to the vehicle.
The seat will only return to the forward position if you
unlock the door with the keyless entry transmitter
or press the appropriate MEMORY button.
SEAT EASY ENTRY OFF turns off this option.
Languages
You can select which language the DIC will display its
messages. Press the OPTIONS button until the
word LANGUAGES appears on the display, then use
the RESET button to page through the following choices:
·LANGUAGE ENGLISH
·LANGUAGE FRENCH
·LANGUAGE GERMAN
·LANGUAGE SPANISH
3-52
Page 165 of 368

Blank Page
There is a blank page at the end of the OPTIONS
menu. When the blank page is displayed, you
can access the following items:
FOB TRAINING:This option allows you to match the
RKE transmitter(s) to your vehicle. You can access this
option by pressing and holding RESET for three
seconds while you are on the blank page at the end of
the OPTIONS menu. The message FOB TRAINING
will be displayed. See ªMatching Transmitter(s) To Your
Vehicleº under
Remote Keyless Entry System
Operation on page 2-5
TIRE TRAINING (Except Z06):The Tire Pressure
Monitor (TPM) operates with battery-powered sensors
that are located inside the valve stems on each tire.
Each sensor has a unique ID code so the vehicle knows
the tire location of the sensor. When the vehicle
reaches a speed of greater than 15 mph (24 km/h), the
sensors begin to send the tire pressure readings to
a receiver inside the vehicle. These readings are
displayed when using the GAGES button on the DIC. If
you are unable to display your tire pressures while
the vehicle speed is greater than 15 mph (24 km/h), you
may need to have your sensor ID codes learned by
the vehicle. See your dealer.
DIC Warnings and Messages
The following messages and warnings may appear in
the DIC display. The DIC display area is located in
the instrument panel cluster below the speedometer and
tachometer, directly above the steering column. You
may receive more than one message at a time.
Messages will appear one behind the other. To
acknowledge a message and remove it from the display,
press RESET. You may scroll through the messages
that may have been sent at the same time. The
message center is continuously updated with the vehicle
performance status.
ABS ACTIVE (Anti-Lock Brake System
Active):When your anti-lock system is adjusting brake
pressure to help avoid a braking skid, the ABS
ACTIVE message will be displayed.
Slippery road conditions may exist if this message is
displayed, so adjust your driving accordingly. The
message will stay on for a few seconds after the system
stops adjusting brake pressure.
3-53
Page 167 of 368

If the SERVICE ABS message is being displayed, your
Traction Control System and the Active Handling
System will also be disabled. The Driver Information
Center will scroll three messages: SERVICE ABS,
SERVICE TRACTION SYS and SERVICE ACTIVE
HNDLG, and the instrument cluster car icon will
be illuminated. The driver can acknowledge these
messages by pressing the reset button three times.
When the service message is displayed the computer
controlled systems will not assist the driver and you
should have the system repaired as soon as possible.
Adjust your driving accordingly.
SERVICE COLUMN LOCK (Manual Transmission
Only):If the system that controls the locking and
unlocking of the steering column does not work properly,
have the vehicle towed to a dealer for service.
PULL KEY ± WAIT 10 SEC (Manual Transmission
Only):If this message comes on, the steering column
lock system has detected a problem while disengaging
the steering column lock. This message may occur when
the ignition key is removed and reinserted before the
steering column lock system fully locks or unlocks
the steering column. To acknowledge that you have read
this message, and to clear it from the display, remove
the ignition key and wait 10 seconds before reinserting
the key into the ignition. If you attempt to operate
your vehicle without removing the key for 10 seconds,
the vehicle's fuel system will shut off when you
reach 1.5 mph (2.4 km/h). If the message stays on afterremoving the key and waiting 10 seconds, have your
vehicle taken to an authorized dealer as soon as
possible for diagnosis and repair.
LOW OIL PRESSURE:You will hear four chimes and
the CHECK GAGES telltale will come on when this
message is displayed. To acknowledge the warning,
press the RESET button. After you press the RESET
button, a message will be displayed and you will hear a
chime every minute until the vehicle is serviced. If
you do not press RESET, the message will remain on
the digital display until the vehicle is serviced.
Low oil pressure may be the result of a combination of
low oil level and abrupt changes in the vehicle's
direction. When this warning is displayed, you should
not operate the engine at high rpm or make fast abrupt
moves. As soon as possible, you should check the
oil level. See
Engine Oil on page 5-13.
LOW OIL LEVEL:Press RESET to acknowledge that
you have read the message and to remove it from
the display. The message will reappear every
10 minutes until this condition changes. Once the
vehicle senses a temperature change in the engine oil,
the light will remain off.
You will hear two chimes when this message is
displayed. If this message appears after starting your
engine, your engine oil level may be too low. You
may need to add oil. See
Engine Overheating on
page 5-26.
3-55
Page 195 of 368

Many adults Ð by some estimates, nearly half the adult
population Ð choose never to drink alcohol, so they
never drive after drinking. For persons under 21,
it's against the law in every U.S. state to drink alcohol.
There are good medical, psychological and
developmental reasons for these laws.
The obvious way to eliminate the leading highway
safety problem is for people never to drink alcohol and
then drive. But what if people do? How much is ªtoo
muchº if someone plans to drive? It's a lot less
than many might think. Although it depends on each
person and situation, here is some general information
on the problem.
The Blood Alcohol Concentration (BAC) of someone
who is drinking depends upon four things:
·The amount of alcohol consumed
·The drinker's body weight
·The amount of food that is consumed before and
during drinking
·The length of time it has taken the drinker to
consume the alcohol.
According to the American Medical Association, a 180 lb
(82 kg) person who drinks three 12 ounce (355 ml)
bottles of beer in an hour will end up with a BAC
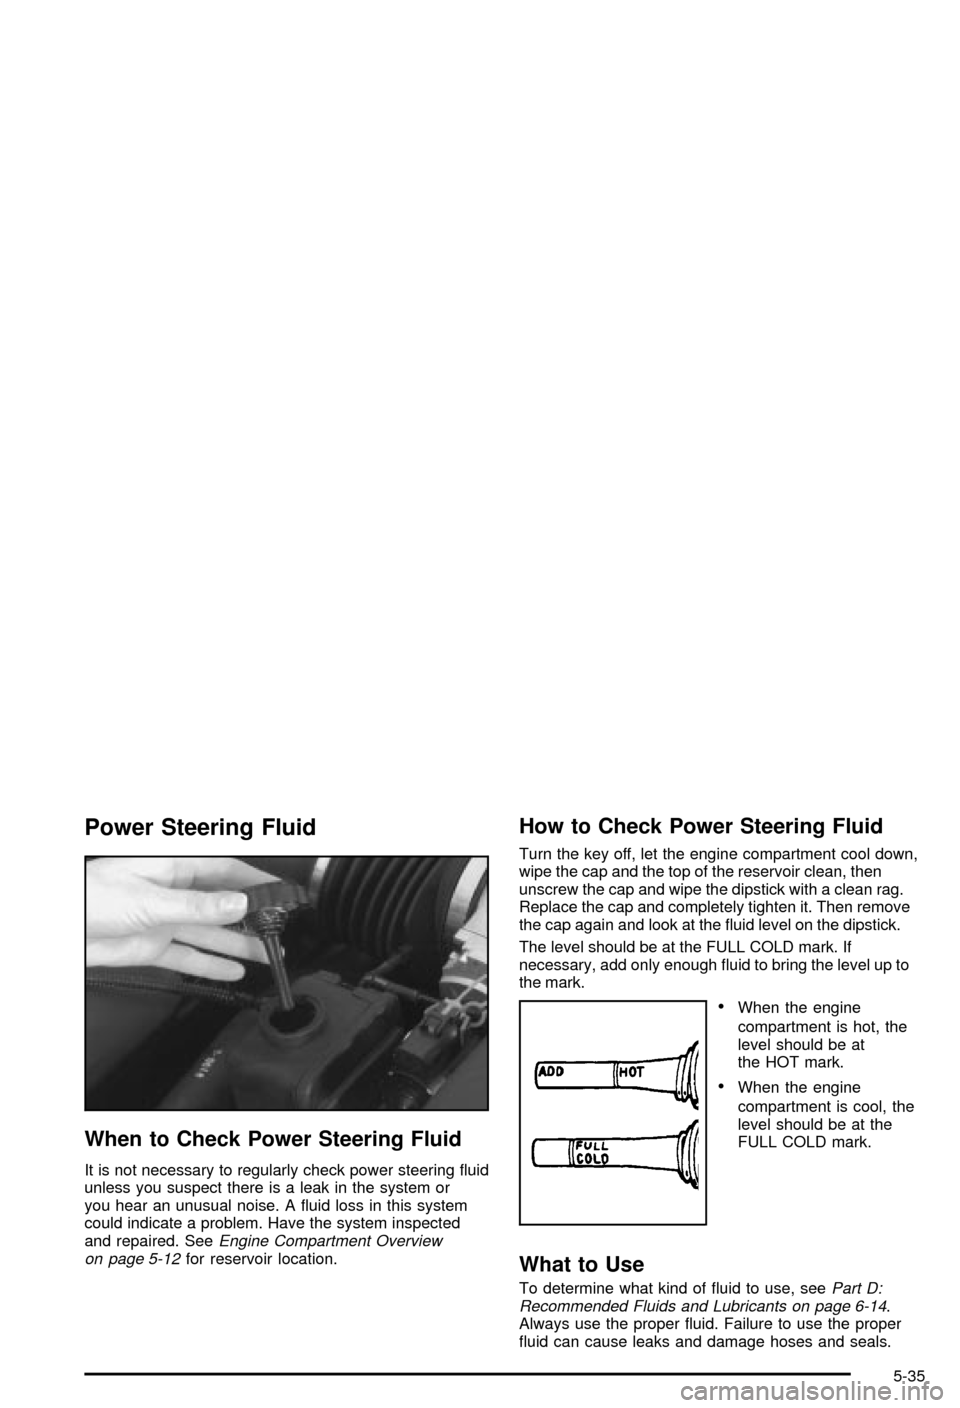
of about 0.06 percent. The person would reach thesame BAC by drinking three 4 ounce (120 ml) glasses
of wine or three mixed drinks if each had 1-1/2 ounces
(45 ml) of liquors like whiskey, gin or vodka.
It's the amount of alcohol that counts. For example, if
the same person drank three double martinis (3 ounces
or 90 ml of liquor each) within an hour, the person's
BAC would be close to 0.12 percent. A person
who consumes food just before or during drinking will
have a somewhat lower BAC level.
4-3
Page 263 of 368

Power Steering Fluid
When to Check Power Steering Fluid
It is not necessary to regularly check power steering ¯uid
unless you suspect there is a leak in the system or
you hear an unusual noise. A ¯uid loss in this system
could indicate a problem. Have the system inspected
and repaired. See
Engine Compartment Overview
on page 5-12for reservoir location.
How to Check Power Steering Fluid
Turn the key off, let the engine compartment cool down,
wipe the cap and the top of the reservoir clean, then
unscrew the cap and wipe the dipstick with a clean rag.
Replace the cap and completely tighten it. Then remove
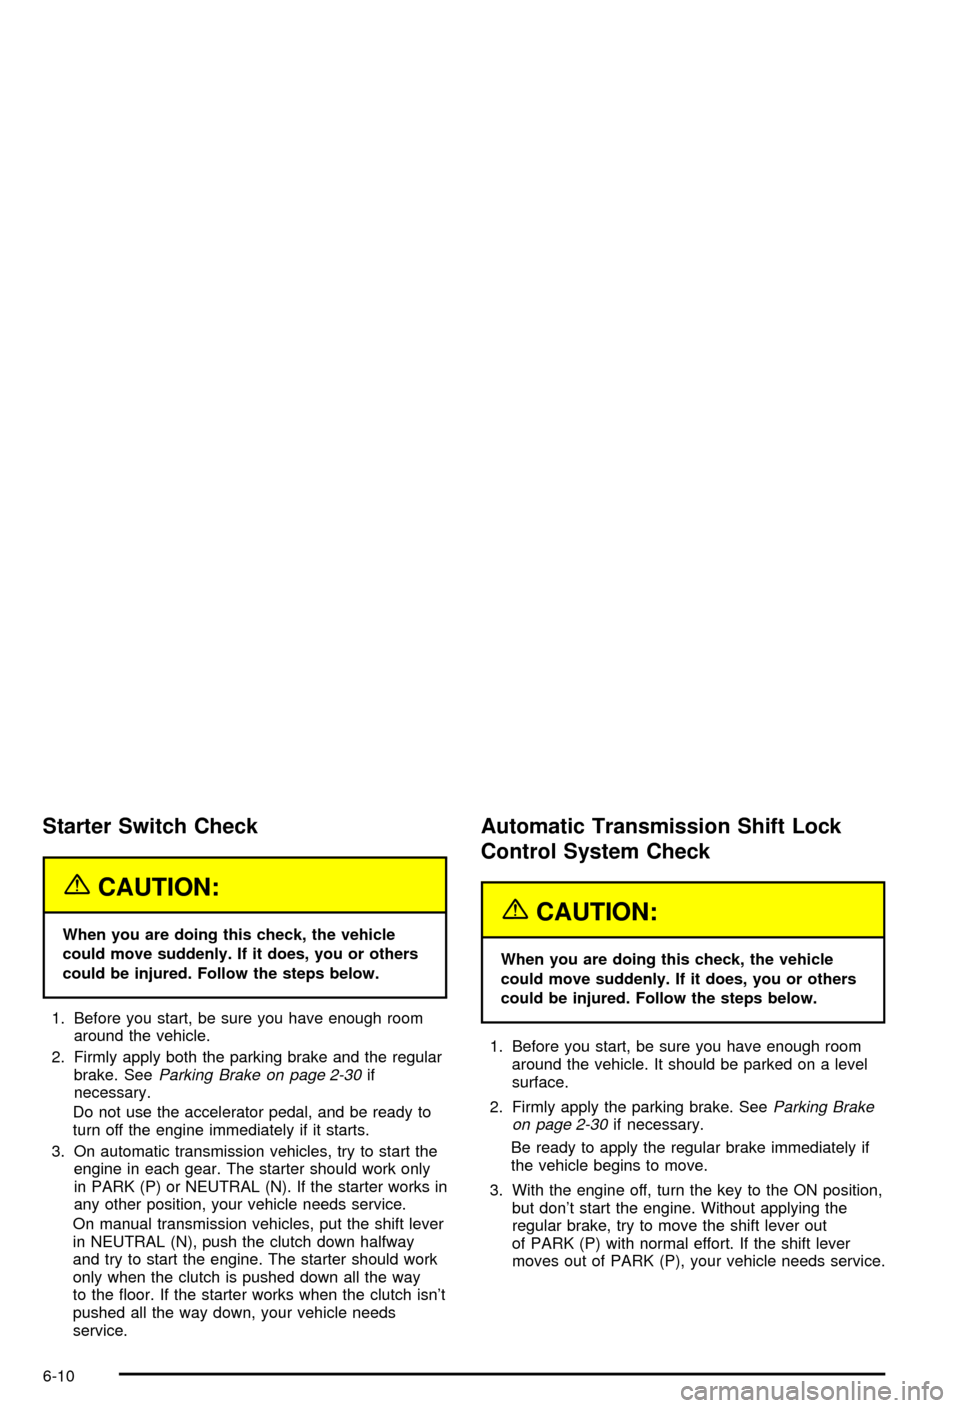
the cap again and look at the ¯uid level on the dipstick.
The level should be at the FULL COLD mark. If
necessary, add only enough ¯uid to bring the level up to
the mark.
·When the engine
compartment is hot, the
level should be at
the HOT mark.
·When the engine
compartment is cool, the
level should be at the
FULL COLD mark.
What to Use
To determine what kind of ¯uid to use, seePart D:
Recommended Fluids and Lubricants on page 6-14.
Always use the proper ¯uid. Failure to use the proper
¯uid can cause leaks and damage hoses and seals.
5-35
Page 333 of 368

At Least Twice a Year
Restraint System Check
Make sure the safety belt reminder light and all your
belts, buckles, latch plates, retractors and anchorages
are working properly. Look for any other loose or
damaged safety belt system parts. If you see anything
that might keep a safety belt system from doing its
job, have it repaired. Have any torn or frayed safety belts
replaced.
Also look for any opened or broken air bag coverings,
and have them repaired or replaced. (The air bag
system does not need regular maintenance.)
Wiper Blade Check
Inspect wiper blades for wear or cracking. Replace
blade inserts that appear worn or damaged or that
streak or miss areas of the windshield. Also see
Cleaning the Outside of Your Vehicle on page 5-78.
Weatherstrip Lubrication
Silicone grease on weatherstrips will make them last
longer, seal better, and not stick or squeak. Apply
silicone grease with a clean cloth. During very cold,
damp weather more frequent application may be
required. See
Part D: Recommended Fluids and
Lubricants on page 6-14.
Manual Transmission Check
Check the transmission ¯uid level; add if needed. SeeManual Transmission Fluid on page 5-20. Check
for leaks. A ¯uid leak is the only reason for ¯uid loss.
Have the system inspected and repaired if needed.
Automatic Transmission Check
It is not necessary to check the transmission ¯uid level.
A transmission ¯uid leak is the only reason for ¯uid
loss. Check for leaks. If a leak occurs, take the vehicle
to your dealer and have it repaired as soon as
possible.
At Least Once a Year
Key Lock Cylinders Service
Lubricate the key lock cylinders with the lubricant
speci®ed in Part D.
Body Lubrication Service
Lubricate all body door hinges. Also lubricate all hinges
and latches, including those for the hood, rear
compartment, console door and any folding seat
hardware. Part D tells you what to use. More frequent
lubrication may be required when exposed to a corrosive
environment.
6-9
Page 334 of 368

Starter Switch Check
{CAUTION:
When you are doing this check, the vehicle
could move suddenly. If it does, you or others
could be injured. Follow the steps below.
1. Before you start, be sure you have enough room
around the vehicle.
2. Firmly apply both the parking brake and the regular
brake. See
Parking Brake on page 2-30if
necessary.
Do not use the accelerator pedal, and be ready to
turn off the engine immediately if it starts.
3. On automatic transmission vehicles, try to start the
engine in each gear. The starter should work only
in PARK (P) or NEUTRAL (N). If the starter works in
any other position, your vehicle needs service.
On manual transmission vehicles, put the shift lever
in NEUTRAL (N), push the clutch down halfway
and try to start the engine. The starter should work
only when the clutch is pushed down all the way
to the ¯oor. If the starter works when the clutch isn't
pushed all the way down, your vehicle needs
service.
Automatic Transmission Shift Lock
Control System Check
{CAUTION:
When you are doing this check, the vehicle
could move suddenly. If it does, you or others
could be injured. Follow the steps below.
1. Before you start, be sure you have enough room
around the vehicle. It should be parked on a level
surface.
2. Firmly apply the parking brake. See
Parking Brake
on page 2-30if necessary.
Be ready to apply the regular brake immediately if
the vehicle begins to move.
3. With the engine off, turn the key to the ON position,
but don't start the engine. Without applying the
regular brake, try to move the shift lever out
of PARK (P) with normal effort. If the shift lever
moves out of PARK (P), your vehicle needs service.
6-10