Page 314 of 492

{CAUTION:
Shifting the transfer case to NEUTRAL can
cause your vehicle to roll even if the
transmission is in PARK (P). You or someone
else could be seriously injured. Be sure to set
the parking brake before placing the transfer
case in NEUTRAL. See ªParking Brakeº in the
Index.
4. Shift the transfer case to NEUTRAL (N). See
Four-Wheel Drive on page 2-34for the proper
procedure to select the neutral position for your
vehicle.
5. Release the parking brake only after the vehicle
being towed is ®rmly attached to the towing
vehicle.
6. When the vehicle is properly attached to the tow
vehicle and is ready to be towed, turn the ignition
to LOCK.
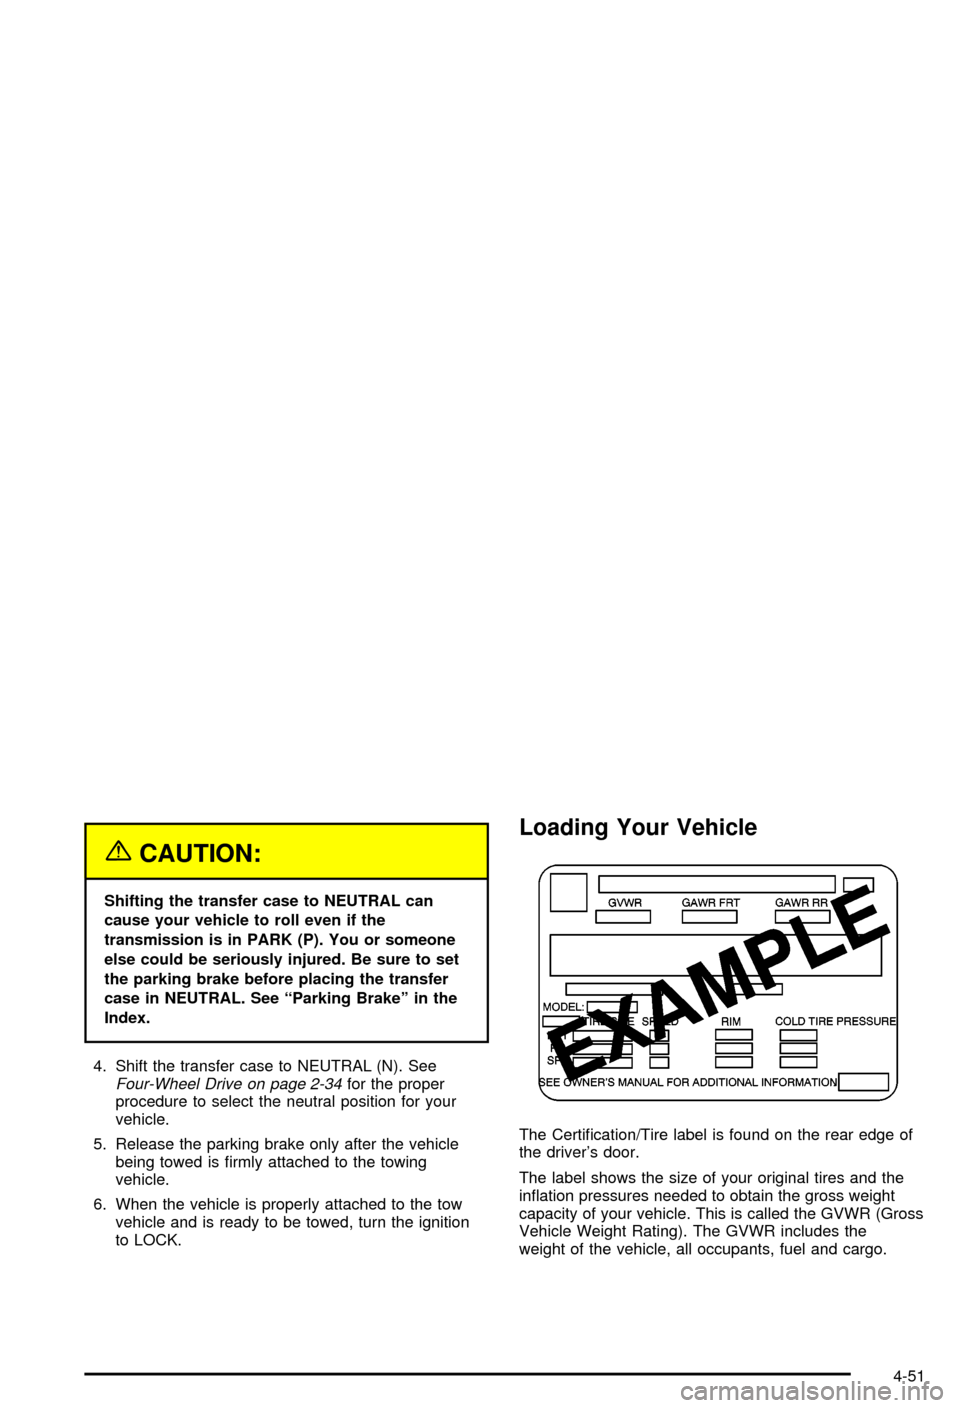
Loading Your Vehicle
The Certi®cation/Tire label is found on the rear edge of
the driver's door.
The label shows the size of your original tires and the
in¯ation pressures needed to obtain the gross weight
capacity of your vehicle. This is called the GVWR (Gross
Vehicle Weight Rating). The GVWR includes the
weight of the vehicle, all occupants, fuel and cargo.
4-51
Page 341 of 492
While refueling, hang the fuel cap by the tether using
the hook located on the inside of the ®ller door.
To remove the fuel cap, turn it slowly to the left
(counterclockwise).
{CAUTION:
If you get fuel on yourself and then something
ignites it, you could be badly burned. Fuel can
spray out on you if you open the fuel cap too
quickly. This spray can happen if your tank is
nearly full, and is more likely in hot weather.
Open the fuel cap slowly and wait for any
ªhissº noise to stop. Then unscrew the cap all
the way.
Be careful not to spill fuel. Clean fuel from painted
surfaces as soon as possible. See
Cleaning the Outside
of Your Vehicle on page 5-91.
5-8
Page 342 of 492

When you put the fuel cap back on, turn it to the right
(clockwise) until you hear a clicking sound. Make
sure you fully install the cap. The diagnostic system can
determine if the fuel cap has been left off or improperly
installed. this would allow fuel to evaporate into the
atmosphere. See
Malfunction Indicator Lamp on
page 3-41.
Notice:If you need a new fuel cap, be sure to get
the right type. Your dealer can get one for you.
If you get the wrong type, it may not ®t properly.
This may cause your malfunction indicator lamp to
light and may damage your fuel tank and emissions
system. See ªMalfunction Indicator Lampº in the
Index.
Filling a Portable Fuel Container
{CAUTION:
Never ®ll a portable fuel container while it is in
your vehicle. Static electricity discharge from
the container can ignite the gasoline vapor.
You can be badly burned and your vehicle
damaged if this occurs. To help avoid injury to
you and others:
·Dispense gasoline only into approved
containers.
·Do not ®ll a container while it is inside a
vehicle, in a vehicle's trunk, pickup bed or
on any surface other than the ground.
·Bring the ®ll nozzle in contact with the
inside of the ®ll opening before operating
the nozzle. Contact should be maintained
until the ®lling is complete.
·Don't smoke while pumping gasoline.
5-9
Page 346 of 492

A. Engine Air Cleaner/Filter. SeeEngine Air
Cleaner/Filter on page 5-20.
B. Coolant Surge Tank. See
Cooling System on
page 5-30andCoolant Surge Tank Pressure Cap
on page 5-27.
C. Air Filter Restriction Indicator (If Equipped). See
Engine Air Cleaner/Filter on page 5-20.
D. Engine Oil Fill. See
Engine Oil on page 5-15.
E. Engine Oil Dipstick. See
Engine Oil on page 5-15.
F. Automatic Transmission Dipstick. See
Automatic
Transmission Fluid on page 5-22.
G. Fan. See
Cooling System on page 5-30andEngine
Fan Noise on page 5-36.H. Remote Negative (-) Terminal (GND). See
Jump
Starting on page 5-43.
I. Power Steering Fluid Reservoir (Out of View). See
Power Steering Fluid on page 5-36.
J. Remote Positive (+) Terminal. See
Jump Starting on
page 5-43.
K. Brake Fluid Reservoir. See
Brakes on page 5-39.
L. Underhood Fuse Block. See ªUnderhood Fuse Blockº
under
Fuses and Circuit Breakers on page 5-97.
M. Battery. See
Battery on page 5-42.
N. Windshield Washer Fluid Reservoir. See
Windshield
Washer Fluid on page 5-38.
5-13
Page 348 of 492

A. Engine Air Cleaner/Filter. SeeEngine Air
Cleaner/Filter on page 5-20.
B. Coolant Surge Tank. See
Cooling System on
page 5-30andCoolant Surge Tank Pressure Cap
on page 5-27.
C. Air Filter Restriction Indicator (If Equipped). See
Engine Air Cleaner/Filter on page 5-20.
D. Engine Oil Dipstick. See
Engine Oil on page 5-15.
E. Automatic Transmission Dipstick. See
Automatic
Transmission Fluid on page 5-22.
F. Engine Oil Fill. See
Engine Oil on page 5-15.
G. Fan. See
Cooling System on page 5-30andEngine
Fan Noise on page 5-36.
H. Remote Negative (-) Terminal (GND). See
Jump
Starting on page 5-43.
I. Remote Positive (+) Terminal. See
Jump Starting on
page 5-43.
J. Power Steering Fluid Reservoir. See
Power Steering
Fluid on page 5-36.
K. Brake Fluid Reservoir. See
Brakes on page 5-39.
L. Underhood Fuse Block. See ªUnderhood Fuse Blockº
under
Fuses and Circuit Breakers on page 5-97.
M. Battery. See
Battery on page 5-42.
N. Windshield Washer Fluid Reservoir. See
Windshield
Washer Fluid on page 5-38.
Engine Oil
If the CHECK OIL LEVEL light appears on the
instrument cluster, it means you need to check your
engine oil level right away.
For more information, see ªCHECK OIL LEVELº under
DIC Warnings and Messages on page 3-57.
You should check your engine oil level regularly; this is
an added reminder.
Checking Engine Oil
It's a good idea to check your engine oil every time you
get fuel. In order to get an accurate reading, the oil
must be warm and the vehicle must be on level ground.
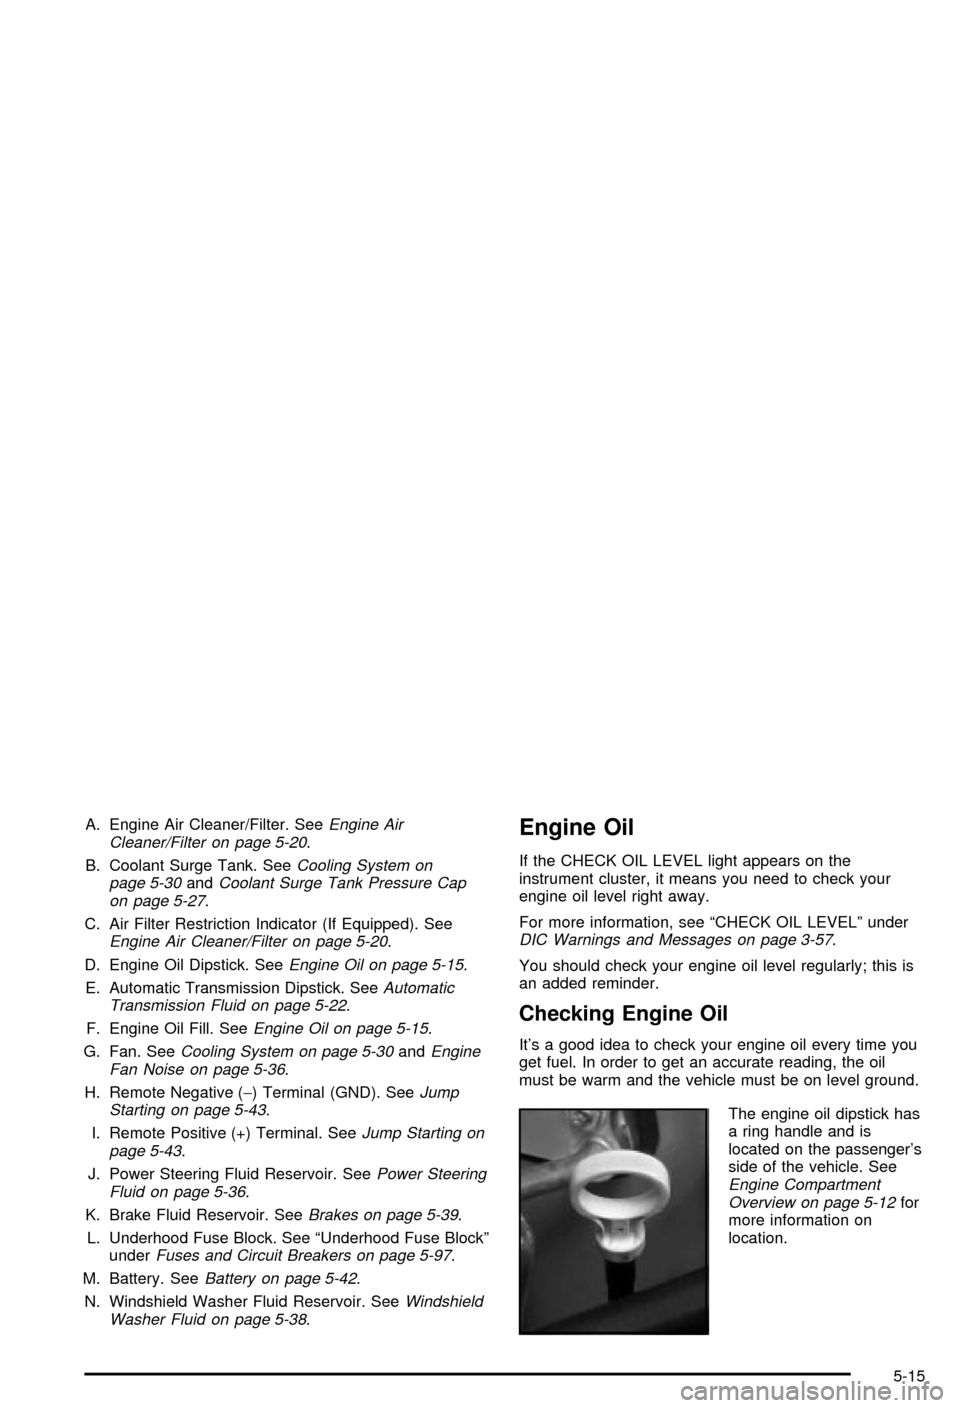
The engine oil dipstick has
a ring handle and is
located on the passenger's
side of the vehicle. See
Engine Compartment
Overview on page 5-12for
more information on
location.
5-15
Page 357 of 492

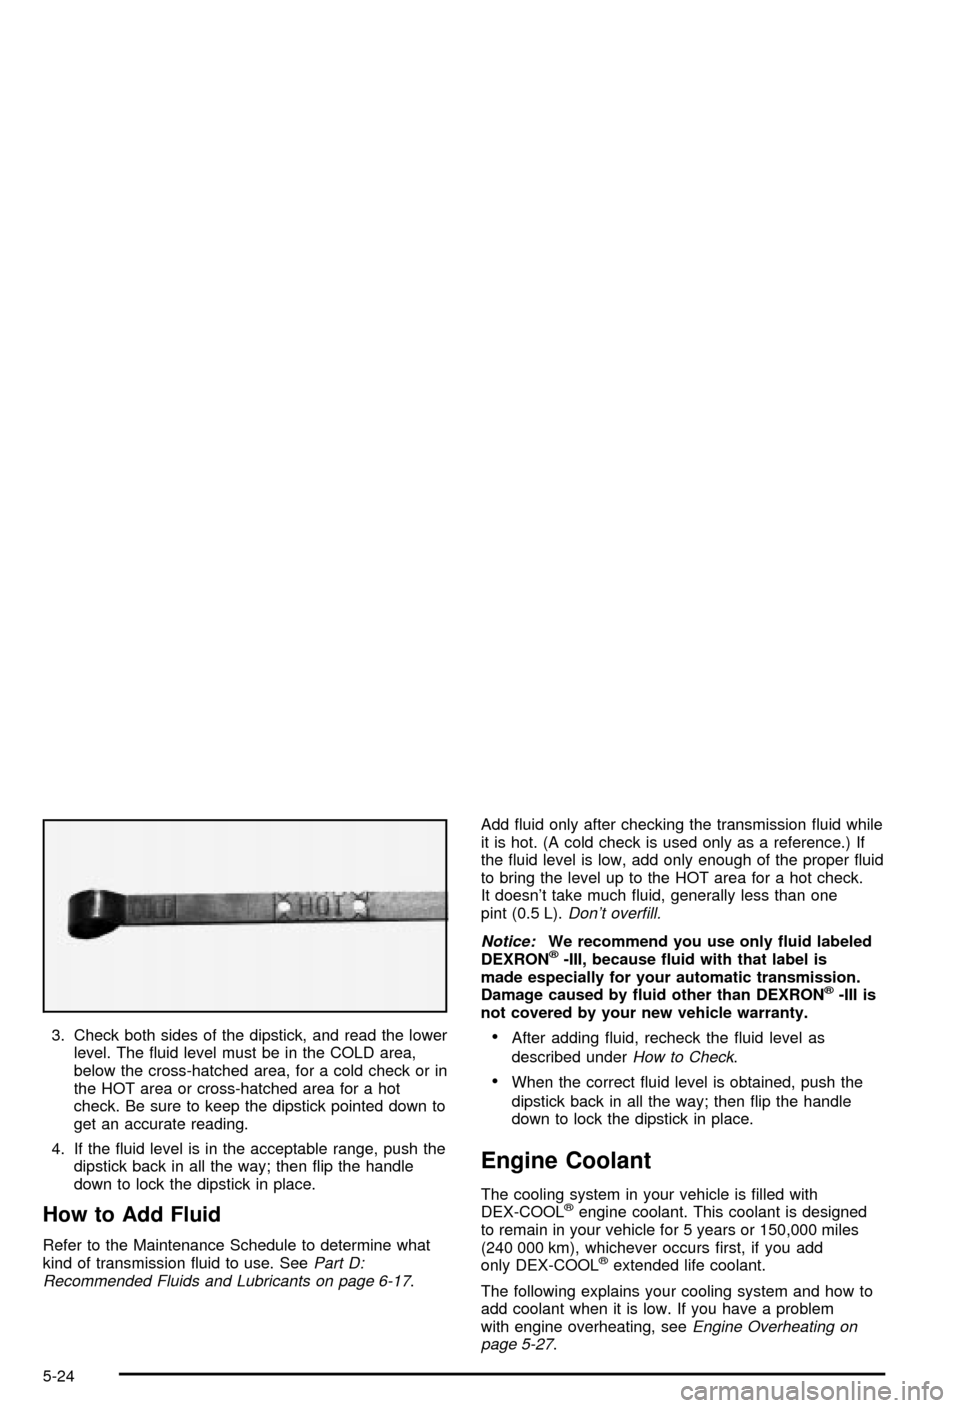
3. Check both sides of the dipstick, and read the lower
level. The ¯uid level must be in the COLD area,
below the cross-hatched area, for a cold check or in
the HOT area or cross-hatched area for a hot
check. Be sure to keep the dipstick pointed down to
get an accurate reading.
4. If the ¯uid level is in the acceptable range, push the
dipstick back in all the way; then ¯ip the handle
down to lock the dipstick in place.
How to Add Fluid
Refer to the Maintenance Schedule to determine what
kind of transmission ¯uid to use. SeePart D:
Recommended Fluids and Lubricants on page 6-17.Add ¯uid only after checking the transmission ¯uid while
it is hot. (A cold check is used only as a reference.) If
the ¯uid level is low, add only enough of the proper ¯uid
to bring the level up to the HOT area for a hot check.
It doesn't take much ¯uid, generally less than one
pint (0.5 L).
Don't over®ll.
Notice:
We recommend you use only ¯uid labeled
DEXRONž-III, because ¯uid with that label is
made especially for your automatic transmission.
Damage caused by ¯uid other than DEXRON
ž-III is
not covered by your new vehicle warranty.
·After adding ¯uid, recheck the ¯uid level as
described under
How to Check.
·When the correct ¯uid level is obtained, push the
dipstick back in all the way; then ¯ip the handle
down to lock the dipstick in place.
Engine Coolant
The cooling system in your vehicle is ®lled with
DEX-COOLžengine coolant. This coolant is designed
to remain in your vehicle for 5 years or 150,000 miles
(240 000 km), whichever occurs ®rst, if you add
only DEX-COOL
žextended life coolant.
The following explains your cooling system and how to
add coolant when it is low. If you have a problem
with engine overheating, see
Engine Overheating on
page 5-27.
5-24
Page 367 of 492
1. Park the vehicle on a level surface. You can
remove the coolant surge tank pressure cap
when the cooling system, including the coolant
surge tank pressure cap and upper radiator hose, is
no longer hot. Turn the pressure cap slowly
counterclockwise (left) about one full turn. If you
hear a hiss, wait for that to stop. A hiss means there
is still some pressure left.2. Then keep turning the pressure cap slowly, and
remove it.
5-34
Page 386 of 492
3. Pull the pins away from their clips and pull them up
until they completely release from the vehicle.
4. Pull the headlamp assembly out of the vehicle.A. Low-Beam Headlamp
B. High-Beam Headlamp
5. Turn the bulb connector counterclockwise and pull it
out of the housing.
6. Unplug the electrical connector from the old bulb.
7. Plug in the electrical connector to the new bulb. Use
care not to touch the new bulb with your bare
hands or anything damp or oily.
8. Place the connector with the new bulb into the
headlamp housing and turn it clockwise until it is
tight.
9. Put the headlamp assembly back into the vehicle
and reinstall the two pins.
10. Place the inboard end of the turn signal/parking
lamp housing into the pocket.
11. Push the outboard side of the housing in until the
release clip snaps into place.
5-53