Page 416 of 492
3. Attach the wheel wrench (H) and extensions (I)
together.
4. Insert the hoist end (F)
through the hole (G) in
the rear bumper
and into the hoist
shaft.5. Raise the tire part way upward. Make sure the
retainer is seated in the wheel opening.
6. Raise the tire fully against the underside of the
vehicle by turning the wheel wrench clockwise
until you hear two clicks or feel it skip twice. You
cannot overtighten the cable.
7. Make sure the tire is stored securely. Push, pull,
and then try to rotate or turn the tire. If the tire
moves, use the wheel wrench to tighten the cable.
Reinstall the spare tire lock (if equipped).
(A) Push and Pull (B) Rotate or Turn
5-83
Page 417 of 492

To store the tools, follow these procedures:
1. Return the tools to the tool bag and place it back in
the Top-Box Storage unit.
2. Assemble wheel blocks and bottle jack together
with the wing nut.
3. Replace the jack cover and tighten the jack-cover
wingnuts.
Secondary Latch System
Your vehicle has an underbody mounted tire hoist
assembly equipped with a secondary latch system. It's
designed to stop the spare tire from suddenly falling
off your vehicle. For the secondary latch to work,
the spare must be installed with the valve stem pointing
down and toward the rear of the vehicle. See ªStoring
a Flat or Spare Tire, Jack and Toolsº earlier in this
section.
{CAUTION:
Before beginning this procedure read all the
instructions. Failure to read and follow the
instructions could damage the hoist assembly
and you and others could get hurt. Read and
follow the instructions listed below.To release the spare tire from the secondary latch do
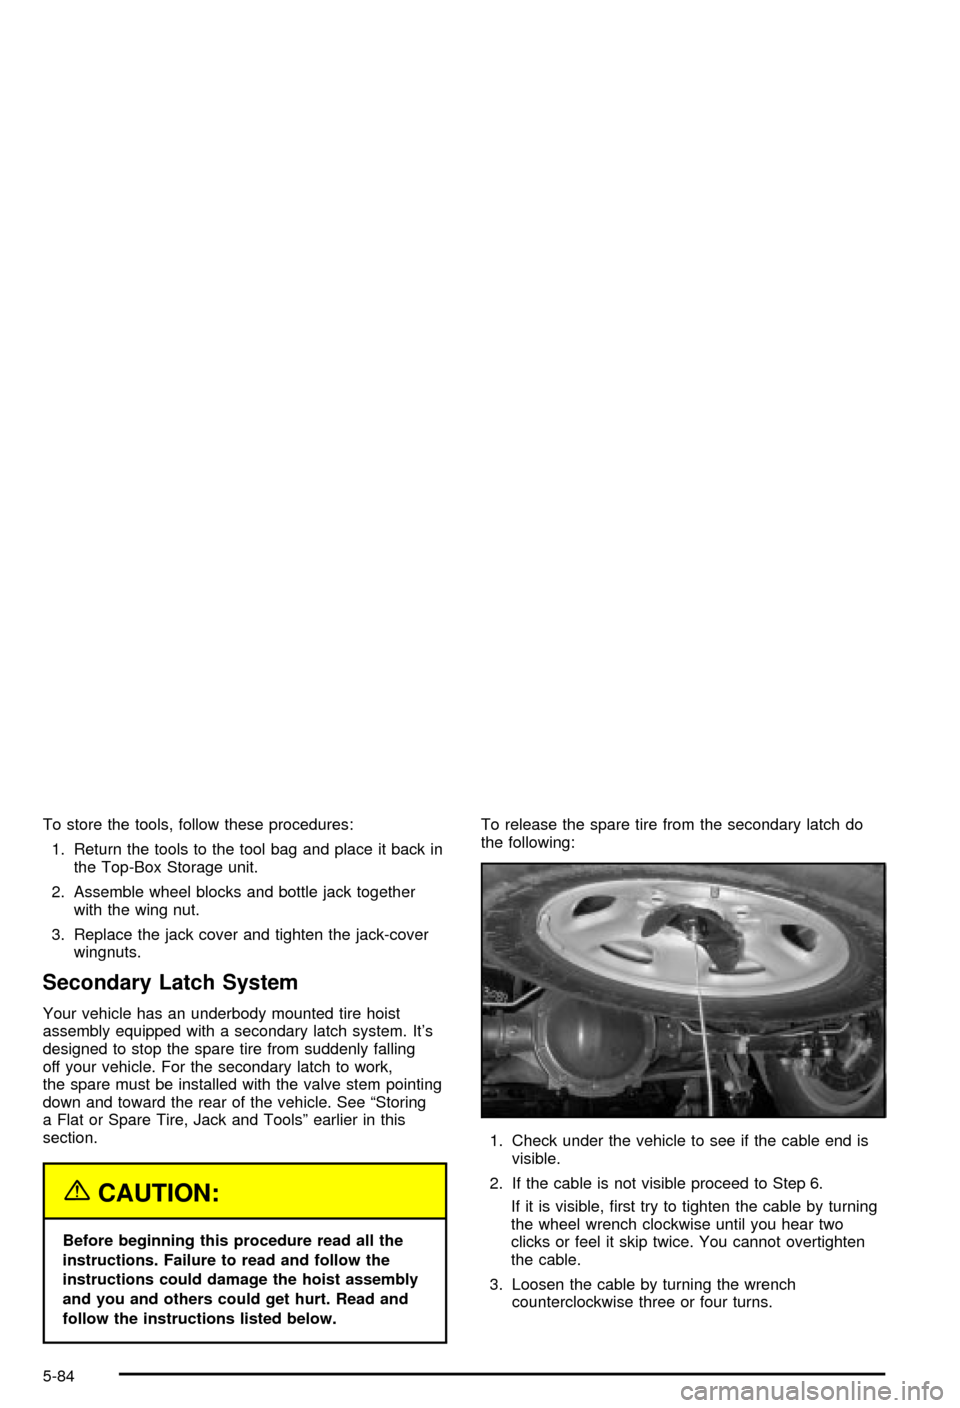
the following:
1. Check under the vehicle to see if the cable end is
visible.
2. If the cable is not visible proceed to Step 6.
If it is visible, ®rst try to tighten the cable by turning
the wheel wrench clockwise until you hear two
clicks or feel it skip twice. You cannot overtighten
the cable.
3. Loosen the cable by turning the wrench
counterclockwise three or four turns.
5-84
Page 418 of 492
4. Repeat this procedure at least two times. If the
spare tire lowers to the ground, continue with
Step 5 of ªRemoving the Spare Tire and Toolsº
earlier in this section.
5. Turn the wrench counterclockwise until
approximately six inches (15 cm) of cable is
exposed.
6. Stand the wheel blocks
on their shortest ends,
with the backs
facing each other.
7. Place the bottom edge of the jack on the wheel
blocks, separating them so that the jack is
balanced securely.
5-85
Page 419 of 492

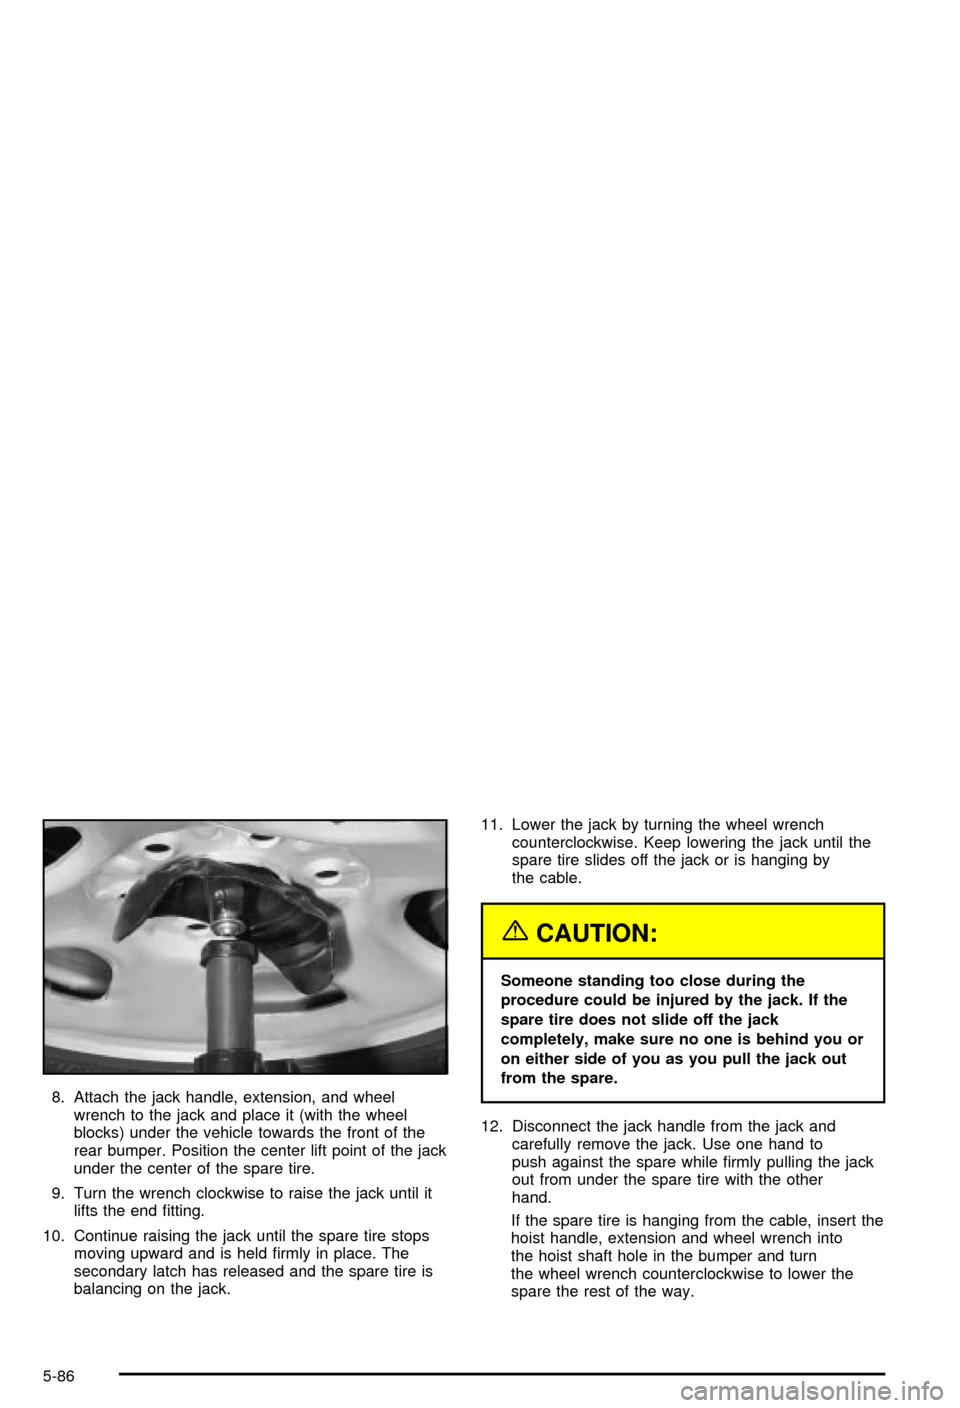
8. Attach the jack handle, extension, and wheel
wrench to the jack and place it (with the wheel
blocks) under the vehicle towards the front of the
rear bumper. Position the center lift point of the jack
under the center of the spare tire.
9. Turn the wrench clockwise to raise the jack until it
lifts the end ®tting.
10. Continue raising the jack until the spare tire stops
moving upward and is held ®rmly in place. The
secondary latch has released and the spare tire is
balancing on the jack.11. Lower the jack by turning the wheel wrench
counterclockwise. Keep lowering the jack until the
spare tire slides off the jack or is hanging by
the cable.
{CAUTION:
Someone standing too close during the
procedure could be injured by the jack. If the
spare tire does not slide off the jack
completely, make sure no one is behind you or
on either side of you as you pull the jack out
from the spare.
12. Disconnect the jack handle from the jack and
carefully remove the jack. Use one hand to
push against the spare while ®rmly pulling the jack
out from under the spare tire with the other
hand.
If the spare tire is hanging from the cable, insert the
hoist handle, extension and wheel wrench into
the hoist shaft hole in the bumper and turn
the wheel wrench counterclockwise to lower the
spare the rest of the way.
5-86
Page 420 of 492

13. Tilt the retainer at the
end of the cable and
pull it through the
wheel opening. Pull the
tire out from under
the vehicle.
14. If the cable is hanging under the vehicle, turn the
wheel wrench clockwise to raise the cable back up.
Have the hoist assembly inspected as soon as you can.
You will not be able to store a spare or ¯at tire using
the hoist assembly until it has been replaced.
To continue changing the ¯at tire, see ªRemoving the
Flat Tire and Installing the Spare Tireº earlier in
this section.Spare Tire
Your vehicle, when new, had a fully in¯ated spare tire.
A spare tire may lose air over time, so check its
in¯ation pressure regularly. See
In¯ation -- Tire Pressure
on page 5-62andLoading Your Vehicle on page 4-51for information regarding proper tire in¯ation and loading
your vehicle. For instruction on how to remove, install
or store a spare tire, see
Changing a Flat Tire on
page 5-70.
After installing the spare tire on your vehicle, you should
stop as soon as possible and make sure the spare is
correctly in¯ated. Have the damaged or ¯at road
tire repaired or replaced as soon as you can and
installed back onto your vehicle. This way, a spare tire
will be available in case you need it again.
If your vehicle has a spare tire that does not match your
vehicle's original road tires and wheels in size and
type, do not include the spare in the tire rotation.
5-87
Page 430 of 492

Windshield Wiper Fuses
The windshield wiper motor is protected by an internal
circuit breaker and a fuse. If the motor overheats due to
heavy snow, etc., the wiper will stop until the motor
cools. If the overload is caused by some electrical
problem and not snow, etc., be sure to get it ®xed.
Power Windows and Other Power
Options
Circuit breakers protect the power windows and other
power accessories. When the current load is too heavy,
the circuit breaker opens and closes, protecting the
circuit until the problem is ®xed or goes away.
Fuses and Circuit Breakers
The wiring circuits in your vehicle are protected from
short circuits by a combination of fuses, circuit breakers
and fusible thermal links. This greatly reduces the
chance of ®res caused by electrical problems.
Look at the silver-colored band inside the fuse. If the
band is broken or melted, replace the fuse. Be sure you
replace a bad fuse with a new one of the identical
size and rating.If you ever have a problem on the road and don't have
a spare fuse, you can borrow one that has the same
amperage. Just pick some feature of your vehicle
that you can get along without ± like the radio or
cigarette lighter ± and use its fuse, if it is the correct
amperage. Replace it as soon as you can.
Instrument Panel Fuse Block
The fuse block access
door is on the driver's side
edge of the instrument
panel. Pull off the cover to
access the fuse block.
You can remove fuses with a fuse extractor which is
mounted to the fuse block access door. To remove fuses
if you don't have a fuse extractor, hold the end of the
fuse between your thumb and index ®nger and pull
straight out.
5-97
Page 431 of 492
You may have spare fuses located behind the fuse
block access door. These can be used to replace a bad
fuse. However, make sure it is of the correct amperage.
Your vehicle may not have all of the features or
fuses listed in this section.
Fuses Usage
RR Wiper Rear Window Wiper Switch
SEO ACCYSpecial Equipment Option
Accessory
Fuses Usage
WS WPR Windshield Wipers
TBC ACCYTruck Body Controller
Accessory
IGN 3 Ignition, Heated Seats
4WDFour-Wheel Drive System,
Auxiliary Battery
HTR A/C Climate Control System
LOCKPower Door Lock Relay
(Lock Function)
HVAC 1Inside Rearview Mirror,
Climate Control System
L DOORDriver's Door Harness
Connection
CRUISE Cruise Control
UNLOCKPower Door Lock Relay
(Unlock Function)
RR FOG LP Rear Fog Lamp (Export Only)
BRAKE Anti-Lock Brake System
DRIVER UNLOCKPower Door Lock Relay
(Driver's Door Unlock
Function)
5-98
Page 432 of 492
Fuses Usage
IGN 0 PCM, TCM
TBC IGN 0 Truck Body Controller
VEH CHMSLVehicle and Trailer High
Mounted Stoplamp
LT TRLR ST/TRN Left Turn Signal/Stop Trailer
LT TRNLeft Turn Signals and
Sidemarkers
VEH STOPVehicle Stoplamps, Brake
Module, Electronic Throttle
Control Module
RT TRLR ST/TRN Right Turn Signal/Stop Trailer
RT TRNRight Turn Signals and
Sidemarkers
BODY Harness Connector
DDM Driver Door ModuleFuses Usage
AUX PWR 2Rear Cargo Area Power
Outlets
LOCKS Power Door Lock System
ECCRear Electronic Climate
Control
TBC 2C Truck Body Controller
FLASH Flasher Module
CB LT DOORSLeft Power Window Circuit
Breaker
TBC 2B Truck Body Controller
TBC 2A Truck Body Controller
5-99