2003 CADILLAC SEVILLE seat memory
[x] Cancel search: seat memoryPage 62 of 408

OnStaržSystem.............................................2-42
HomeLinkžTransmitter...................................2-44
Programming the HomeLinkžTransmitter.........2-45
Storage Areas................................................2-48
Glove Box...................................................2-48
Cellular Telephone........................................2-48
Center Console Storage Area.........................2-49
Map Pocket.................................................2-49Assist Handles.............................................2-49
Garment Hooks............................................2-49
Umbrella Holder...........................................2-49
Floor Mats...................................................2-49
Convenience Net..........................................2-49
Sunroof.........................................................2-50
Vehicle Personalization...................................2-51
Memory Seat, Mirrors and Steering Wheel.......2-51
Section 2 Features and Controls
2-2
Page 67 of 408

.(Fuel Door):Press this button to open the fuel
door. The valet lockout switch must be in the OFF
position for this feature to work. See
Valet Lockout
SwitchunderTheft-Deterrent Systems on page 2-19for
more information.
V(Trunk):Press this button to open the trunk. The
valet lockout switch must be in the OFF position for
this feature to work. See
Valet Lockout SwitchunderTheft-Deterrent Systems on page 2-19for more
information.
The remote keyless entry transmitter can be used to
recall the memory settings for up to two drivers.
For more information, see
DIC Vehicle Personalization
on page 3-64andMemory Seat, Mirrors and Steering
Wheel on page 2-51.
Matching Transmitter(s) to Your
Vehicle
Each remote keyless entry transmitter is coded to
prevent another transmitter from unlocking your vehicle.
If a transmitter is lost or stolen, a replacement can
be purchased through your dealer. Remember to bring
any remaining transmitters with you when you go to
your dealer. When the dealer matches the replacement
transmitter to your vehicle, any remaining transmitters
must also be matched. Once your dealer has coded the
new transmitter, the lost transmitter will not unlock
your vehicle. Each vehicle can have a maximum of four
transmitters matched to it.
Vehicles are delivered with two transmitters. See your
dealer for information on how to obtain additional
transmitters.
2-7
Page 100 of 408

Cleaning the Mirror
When cleaning the mirror, use a paper towel or similar
material dampened with glass cleaner. Do not spray
glass cleaner directly on the mirror as that may cause
the liquid cleaner to enter the mirror housing.
Outside Power Mirrors
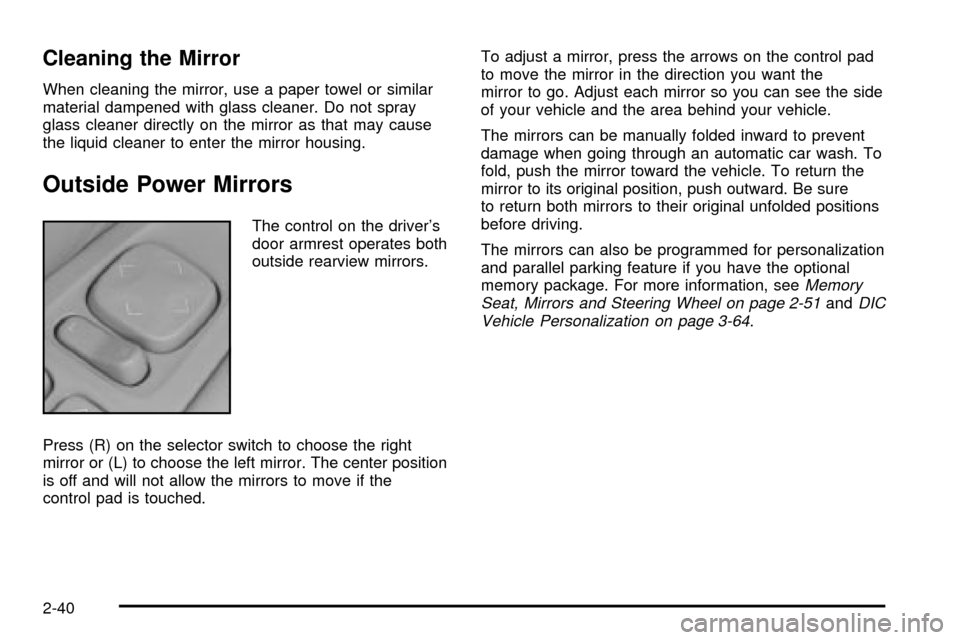
The control on the driver's
door armrest operates both
outside rearview mirrors.
Press (R) on the selector switch to choose the right
mirror or (L) to choose the left mirror. The center position
is off and will not allow the mirrors to move if the
control pad is touched.To adjust a mirror, press the arrows on the control pad
to move the mirror in the direction you want the
mirror to go. Adjust each mirror so you can see the side
of your vehicle and the area behind your vehicle.
The mirrors can be manually folded inward to prevent
damage when going through an automatic car wash. To
fold, push the mirror toward the vehicle. To return the
mirror to its original position, push outward. Be sure
to return both mirrors to their original unfolded positions
before driving.
The mirrors can also be programmed for personalization
and parallel parking feature if you have the optional
memory package. For more information, see
Memory
Seat, Mirrors and Steering Wheel on page 2-51andDIC
Vehicle Personalization on page 3-64.
2-40
Page 101 of 408

Outside Automatic Dimming Mirror
If your vehicle is equipped with this feature, the
driver's side mirror will adjust for the glare of headlamps
behind you. This feature is controlled by the on and
off settings on the automatic dimming rearview mirror.
See
Automatic Dimming Rearview Mirror with OnStarž
on page 2-37.
Outside Curb View Assist Mirror
If your vehicle is equipped with memory mirrors, it will
also be capable of performing the curb view assist mirror
feature. This feature will cause the passenger's mirror
to tilt to a factory programmed position when the vehicle
is in REVERSE (R). This feature may be useful in
allowing you to view the curb when you are parallel
parking.
When the vehicle is shifted out of REVERSE (R) and a
®ve-second delay has occurred, the passenger's
mirror will return to its original position.
If further adjustment is needed after the mirror is tilted,
the mirror switch may be used.
This feature can be enabled/disabled through the Driver
Information Center (DIC). See
DIC Vehicle
Personalization on page 3-64for more information.
Outside Convex Mirror
Your passenger's side mirror is convex. A convex
mirror's surface is curved so you can see more from the
driver's seat. This mirror does not have a dimming
feature.
{CAUTION:
A convex mirror can make things (like other
vehicles) look farther away than they really are.
If you cut too sharply into the right lane, you
could hit a vehicle on your right. Check your
inside mirror or glance over your shoulder
before changing lanes.
Outside Heated Mirrors
When you operate the rear window defogger, it also
warms both outside mirrors to help clear them of fog or
ice. See
Dual Climate Control System on page 3-28for more information.
2-41
Page 111 of 408

Vehicle Personalization
Memory Seat, Mirrors and Steering
Wheel
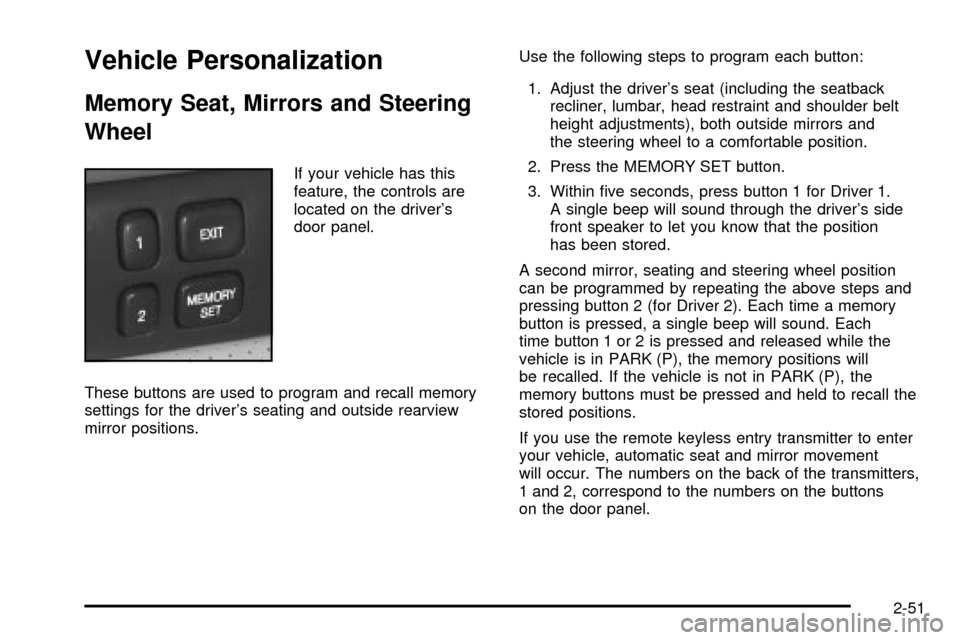
If your vehicle has this
feature, the controls are
located on the driver's
door panel.
These buttons are used to program and recall memory
settings for the driver's seating and outside rearview
mirror positions.Use the following steps to program each button:
1. Adjust the driver's seat (including the seatback
recliner, lumbar, head restraint and shoulder belt
height adjustments), both outside mirrors and
the steering wheel to a comfortable position.
2. Press the MEMORY SET button.
3. Within ®ve seconds, press button 1 for Driver 1.
A single beep will sound through the driver's side
front speaker to let you know that the position
has been stored.
A second mirror, seating and steering wheel position
can be programmed by repeating the above steps and
pressing button 2 (for Driver 2). Each time a memory
button is pressed, a single beep will sound. Each
time button 1 or 2 is pressed and released while the
vehicle is in PARK (P), the memory positions will
be recalled. If the vehicle is not in PARK (P), the
memory buttons must be pressed and held to recall the
stored positions.
If you use the remote keyless entry transmitter to enter
your vehicle, automatic seat and mirror movement
will occur. The numbers on the back of the transmitters,
1 and 2, correspond to the numbers on the buttons
on the door panel.
2-51
Page 112 of 408

When the key is placed in the ignition in OFF and you
have entered the vehicle without using the remote
keyless entry transmitter, the seats and mirrors
will automatically adjust to the programmed position of
the last driver.
To stop recall movement of the memory feature at any
time, press one of the power seat controls or memory
buttons.
Two personalized exit positions can be set by ®rst
recalling the driving position (by pressing 1 or 2), then
positioning the steering wheel and seat in the desired
exit positions. Then press and release the
MEMORY SET button and, within ®ve seconds, press
the EXIT button. With the vehicle in PARK (P), the
exit position for the previously set driver can be recalled
by pressing the EXIT button. The mirrors, power
lumbar and shoulder belt height positions will not be
stored or recalled for the exit positions.Further programming for automatic seat and mirror
movement can be done using the Driver Information
Center (DIC). You can select or not select the following:
·Automatic seat and mirror movement when the
vehicle is unlocked with the remote keyless
entry transmitter, or
·automatic seat and mirror movement when a key is
placed in the ignition.
For programming information, see
DIC Vehicle
Personalization on page 3-64.
2-52
Page 120 of 408

Power Tilt Wheel and Telescopic
Steering Column
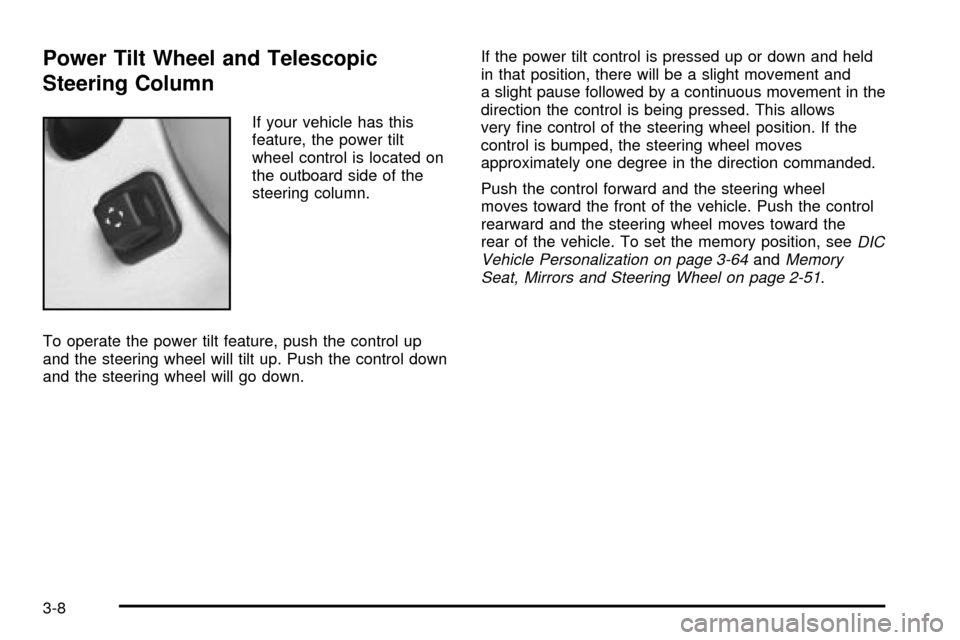
If your vehicle has this
feature, the power tilt
wheel control is located on
the outboard side of the
steering column.
To operate the power tilt feature, push the control up
and the steering wheel will tilt up. Push the control down
and the steering wheel will go down.If the power tilt control is pressed up or down and held
in that position, there will be a slight movement and
a slight pause followed by a continuous movement in the
direction the control is being pressed. This allows
very ®ne control of the steering wheel position. If the
control is bumped, the steering wheel moves
approximately one degree in the direction commanded.
Push the control forward and the steering wheel
moves toward the front of the vehicle. Push the control
rearward and the steering wheel moves toward the
rear of the vehicle. To set the memory position, see
DIC
Vehicle Personalization on page 3-64andMemory
Seat, Mirrors and Steering Wheel on page 2-51.
3-8
Page 148 of 408

Climate Controls Personalization
If your vehicle is equipped with this feature, you
can store and recall climate control settings for the
temperature, the fan speed and the direction of
the air¯ow.
Memory buttons 1 and 2 are located on the driver's door
panel and correspond to the numbers 1 or 2 found on
the back of each remote keyless entry transmitter.
To recall the climate control settings last stored on your
transmitter, press the unlock button on your remote
keyless entry transmitter and put the ignition in ACC or
ON. The settings will be recalled.
To change the stored settings, do the following:
1. Select the desired temperature, fan speed and
air¯ow mode. If desired, a separate temperature
setting may also be selected for the front seat
passenger. For information on how to do this, see
Dual Climate Control System on page 3-28.2. Locate memory buttons 1 and 2 on the driver's
door panel.
3. Press the memory button on the door panel that
corresponds to the number on the back of the
transmitter you are programming, until you hear two
beeps. The beeps con®rm that your selection has
been saved and can now be recalled. For more
information on the memory feature, see
Memory
Seat, Mirrors and Steering Wheel on page 2-51.
Follow these steps each time you want to change the
stored settings.
3-36